
 Winter 2023 Update
During winter quarter, we finally managed to complete our base pieces and make progress in the electrical side! For construction, we hit the ground running and started with using the water jet and table saw for the base plate and base piece walls, and spent the rest of the quarter drilling and assembling all the different parts of our base pieces together! On the electrical side, we tested our MPPT (which allows us to charge and use our battery!) and solar panels, which can successfully charge devices!
At the start of the quarter, we had a small team learn to use the waterjet in order to cut out our base pieces. Because of the large nature of our construction, we had to split the base plate into 4 smaller triangles (similar to our 4 triangular base piece modules). After consulting different shop experts, we decided to go with a “T” shaped puzzle piece to fit together our base plates. After cutting the first piece, we tested different sized “T” pieces on the waterjet first, to ensure that the two pieces would fit together (since the water jet cut was not 100% accurate and we needed to allow space to easily assemble/disassemble the puzzle pieces).
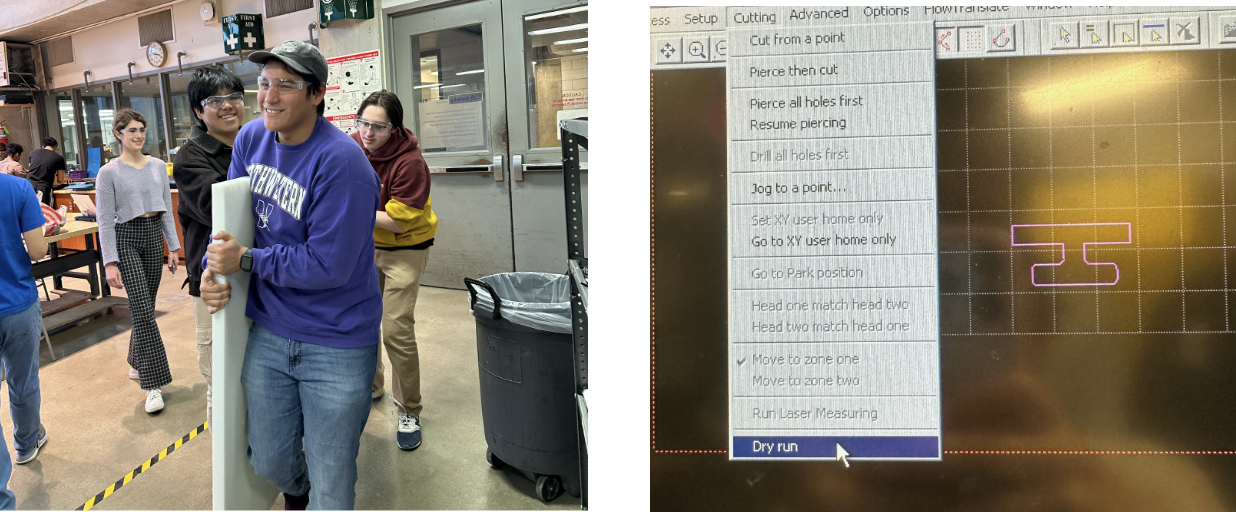
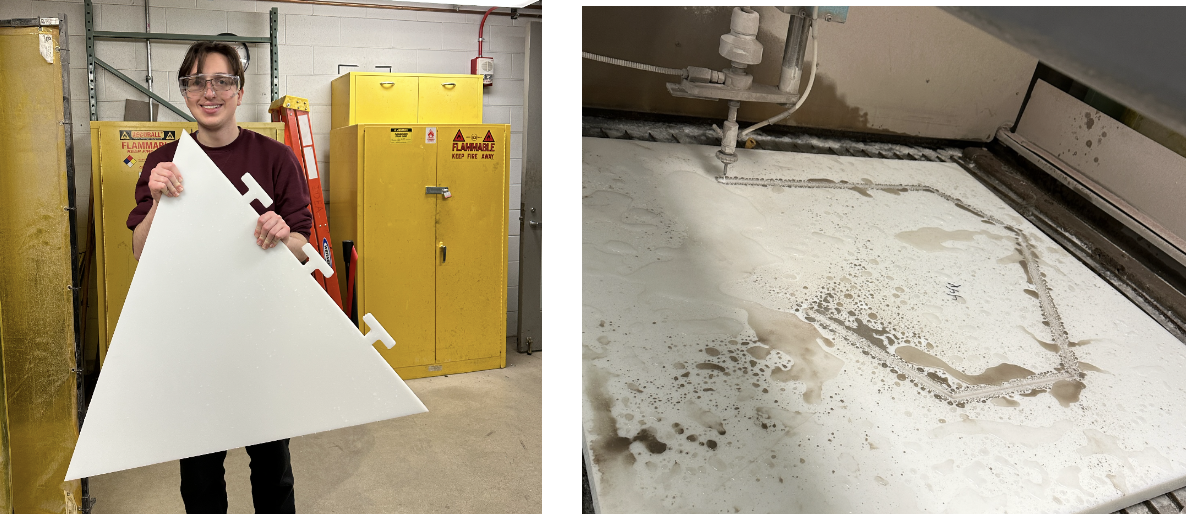
After trying different pieces, we finally found the correct fit and were able to cut the rest of the base plate, including the thicker top layer to it as well! Simultaneously, we had another team working with the table saw to level out previously uneven base piece walls. Then, we were ready to start assembling!
We first temporarily lined up the side pieces and brackets to mark holes and drill each 60° bracket. When first drilling these brackets, we did not take into account the difficulties in lining them up with the corresponding walls to drill - in the future we should definitely make them uniform! After lots of trial and error, we managed to drill all the holes correctly, counterbore the holes, and screw together all of the side piece walls. With our full assembly, we were able to router out the middle bottom and use short wood screws and glue to attach the connecting brackets (which hold each of the modules together). For future iterations, we hope to better consider how we are attaching each part ahead of time - if we had designed and lined it up correctly, the middle bottom could have been screwed straight into the middle piece module with longer wood screws for a more secure, permanent fix. However, the entirety of the base of our structure was complete!

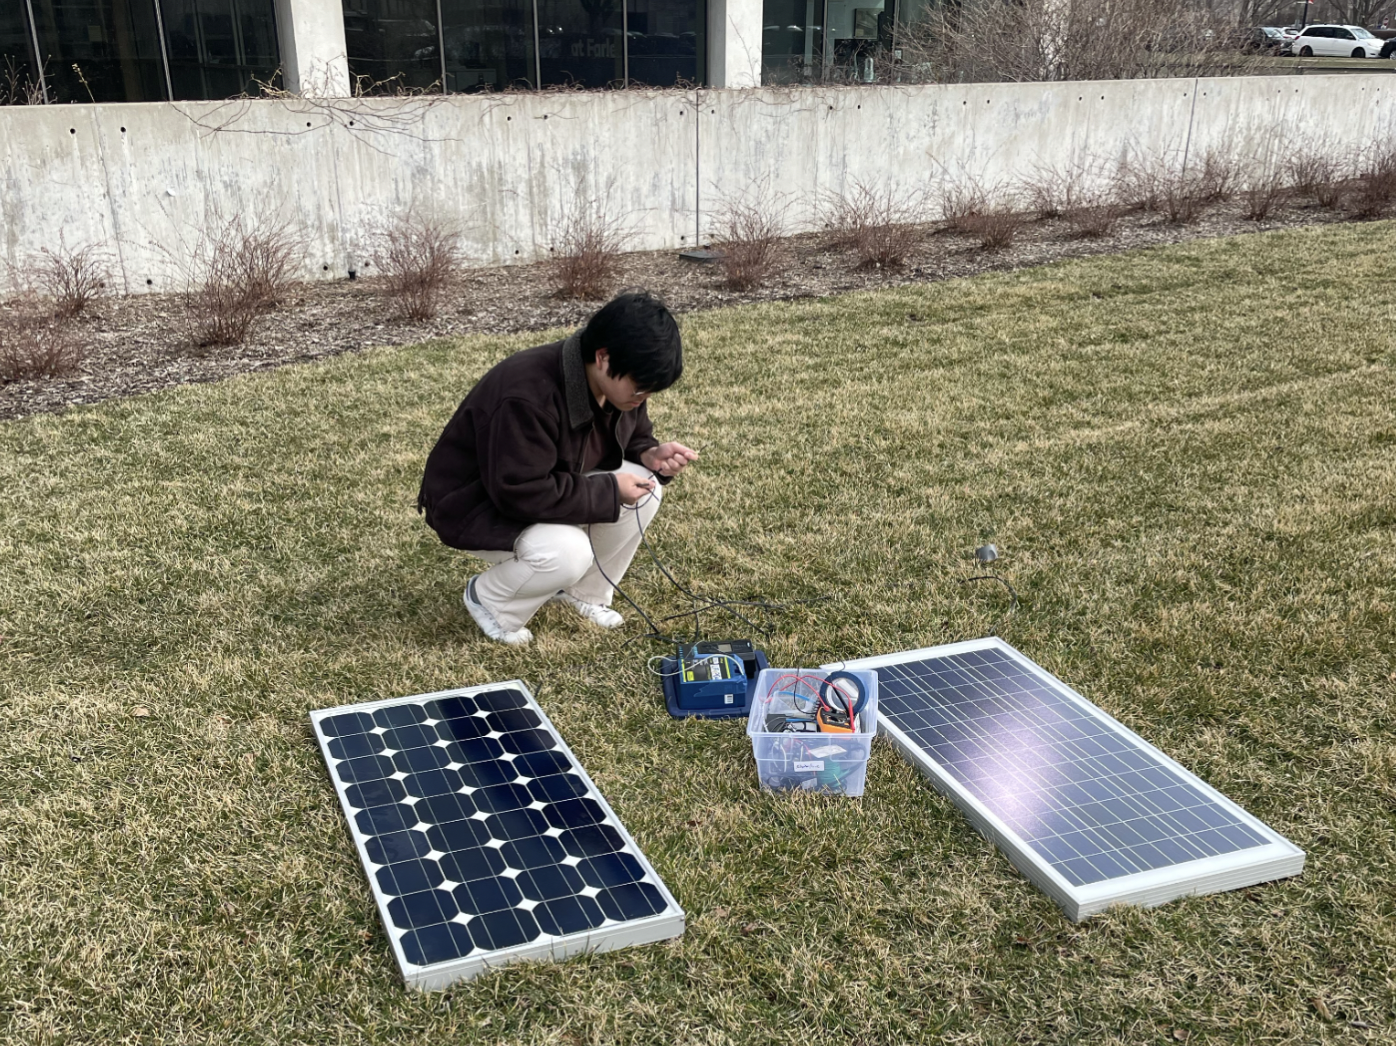
On the electrical side, we were able to test our MPPT (which allows our batteries to be charged), discharging from the battery, and also charging from the solar panels! We were able to first charge a set of LED lights, and later even a laptop! We also tested charging multiple devices at once, since that is our ultimate goal. Next steps include creating an electrical box to hold and weather-proof all of our components.
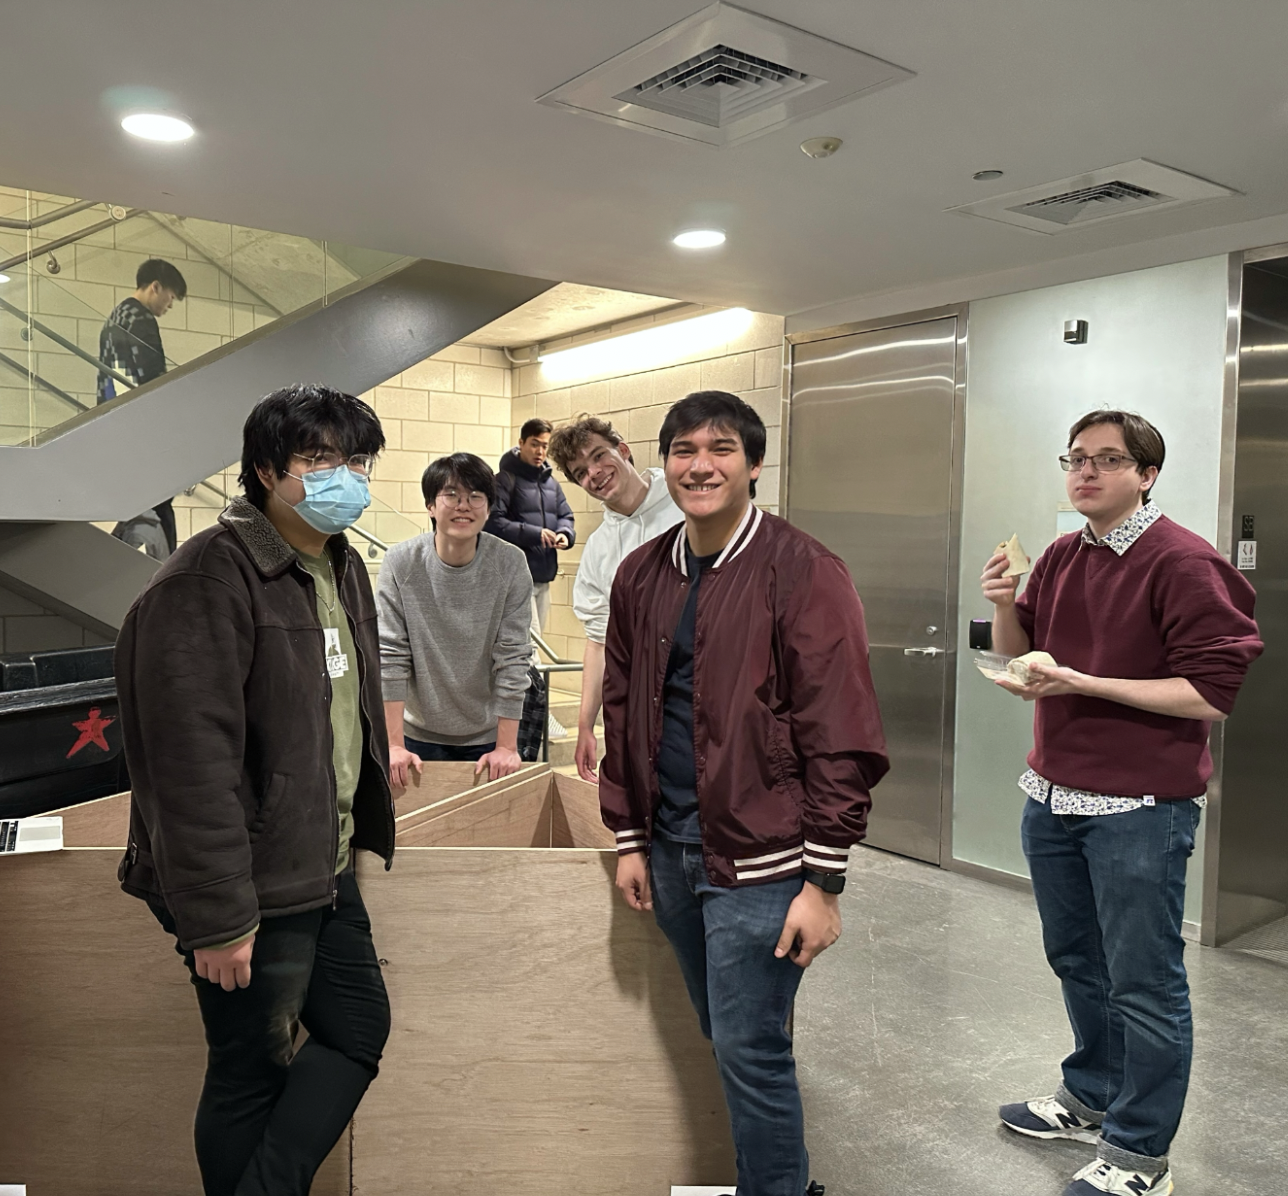
Fay-Ling and Thomas are both extremely proud of what the team has accomplished this quarter, and are looking forward to making more progress into new parts of the structure in the spring! Our construction goal is to move from the base pieces of our structure to the poles and locking mechanisms (which will ultimately hold up our solar panels), and to integrate in our electrical system and components! Look forward to seeing our prototype soon!
Comments