 Spring 2021 Update
AutoAquaponics Progress From Spring of 2021
This quarter marks the 1-year anniversary of AutoAquaponics! Our work is far from over, but we have gone quite a long way from where we started with the outstanding innovation and determination of our members and the great support we have received from both Northwestern and ESW Global. Throughout this past year, we have been fortunate enough to be featured on a number of Northwestern's media as a result of our work. Check them out here:
- McCormick Engineering Magazine, Spring 2021 (we made the back cover!)
- The Daily Northwestern discussed how AutoAquaponics received funding from NU's Associated Student Government grant, which was put in place to eliminate barriers for students with creative projects
- Northwestern's One McCormick webinar featured us as one of the leading student groups who continued to engage students in the NU community despite the COVID-19 pandemic
Now on to project updates, AutoAquaponics finished the year strong by completing the following during Spring Quarter:
- Two 40 gallon grow beds that hold water
- The structure and waterproof coating of our 110 gallon fish tank
- A stand capable of supporting the full weight (~1000 lbs) of our fish tank
- 3D CAD model of the entire plumbing system minus the PVC pipes
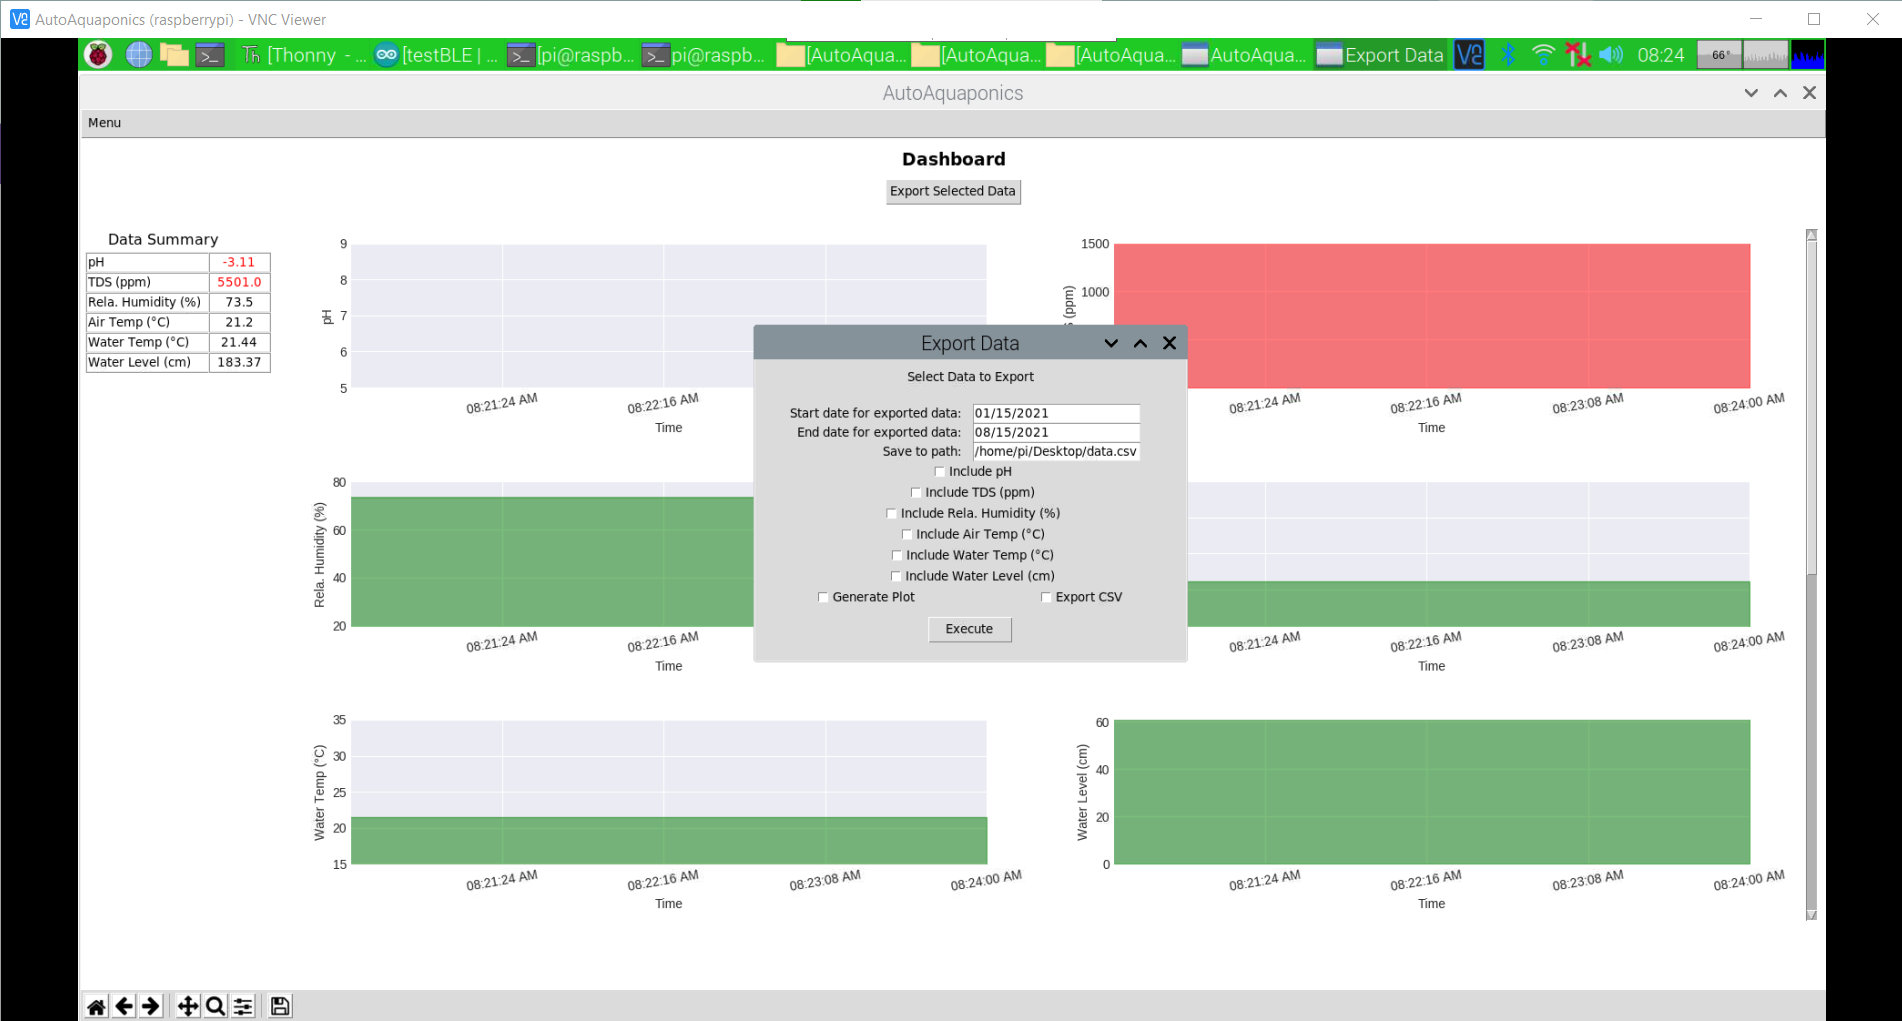
- New features on our GUI program - export/indexing data by time and also more Control Panel subpages!
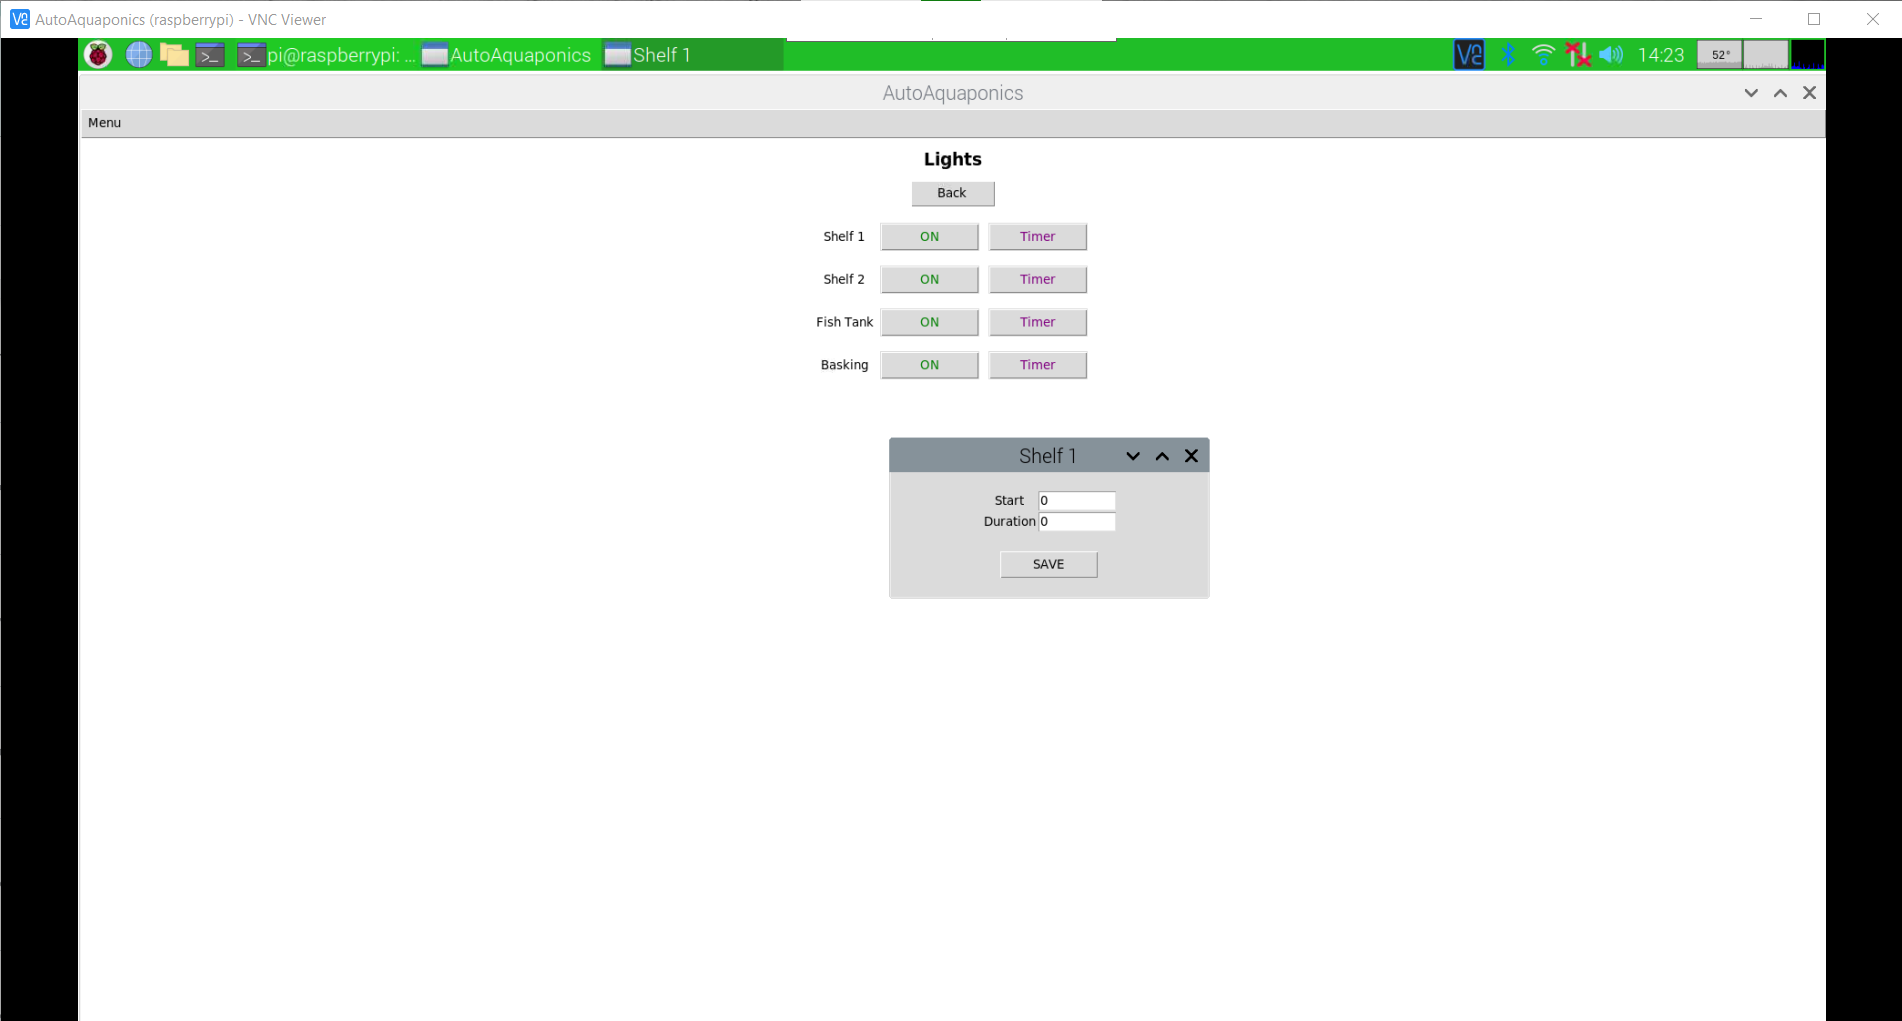
- Approximately half of the controlling software that will allow us to toggle our remote-controlled outlet box and set it on a timer via Bluetooth Low Energy and an ESP32
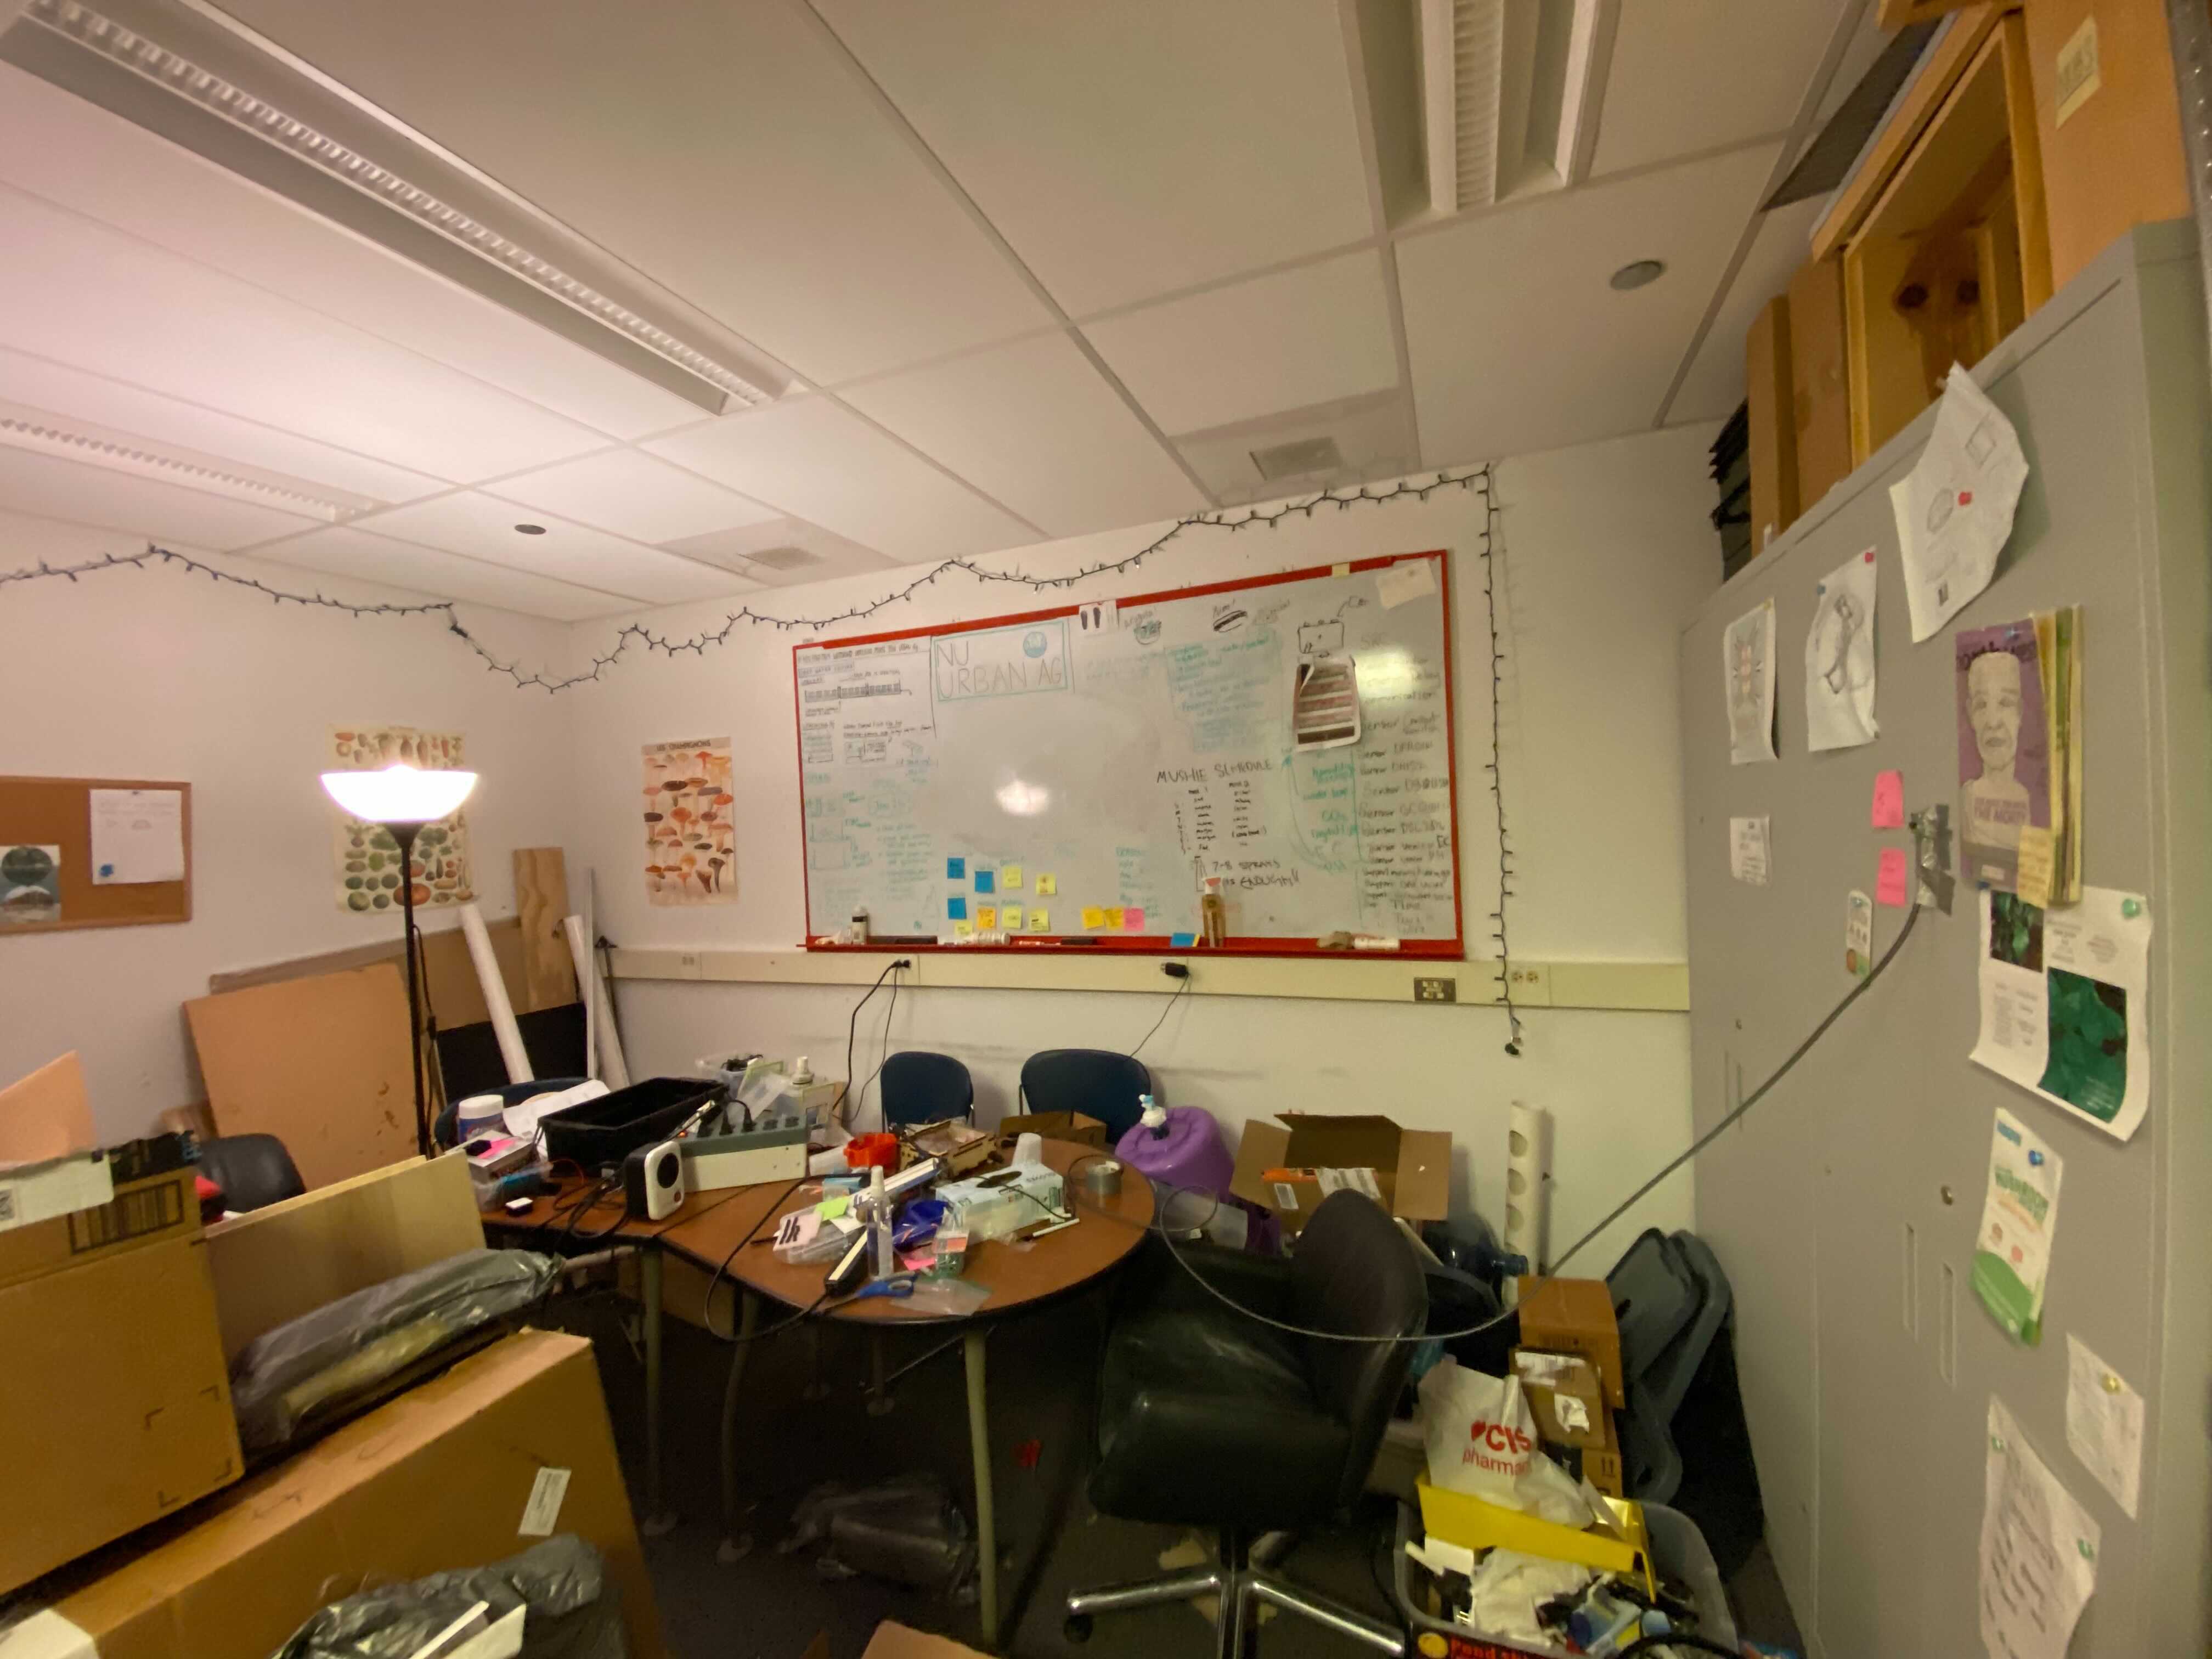
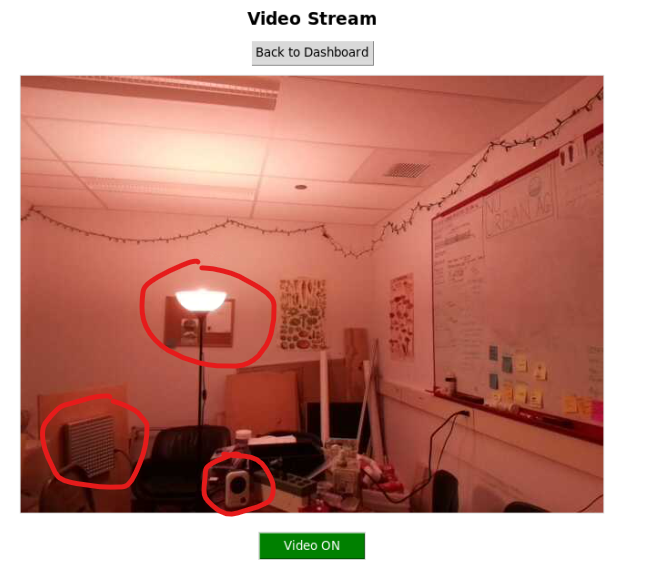
This quarter we also welcomed Johnny Chen, Jake Turner, and Kayd Bhagat to our Electronics (Johnny) and Plumbing (Jake and Kayd) teams. They have all made tremendous contributions to the design and construction aspects of our project, and we're super excited to have them be part of AutoAquaponics! Over the summer, a few of us will continue to chug along with the plumbing and software portion of this project. We've plugged a number of lights into our remote-controlled outlet box and angled the camera attached to our Raspberry Pi at those devices so our Software/Electronics member can work on timing actuators and see them work in real time wherever they are.
What our setup in the club room looks like (camera is taped to cabinet on the right, and the outlet box/lights are on the left):
What members can see on our GUI (controlled devices are circled in red):
New feature on our GUI program - export/index data as CSV or plot them for further analysis:
The user interface we hope to integrate so that each light can be set on a timer:
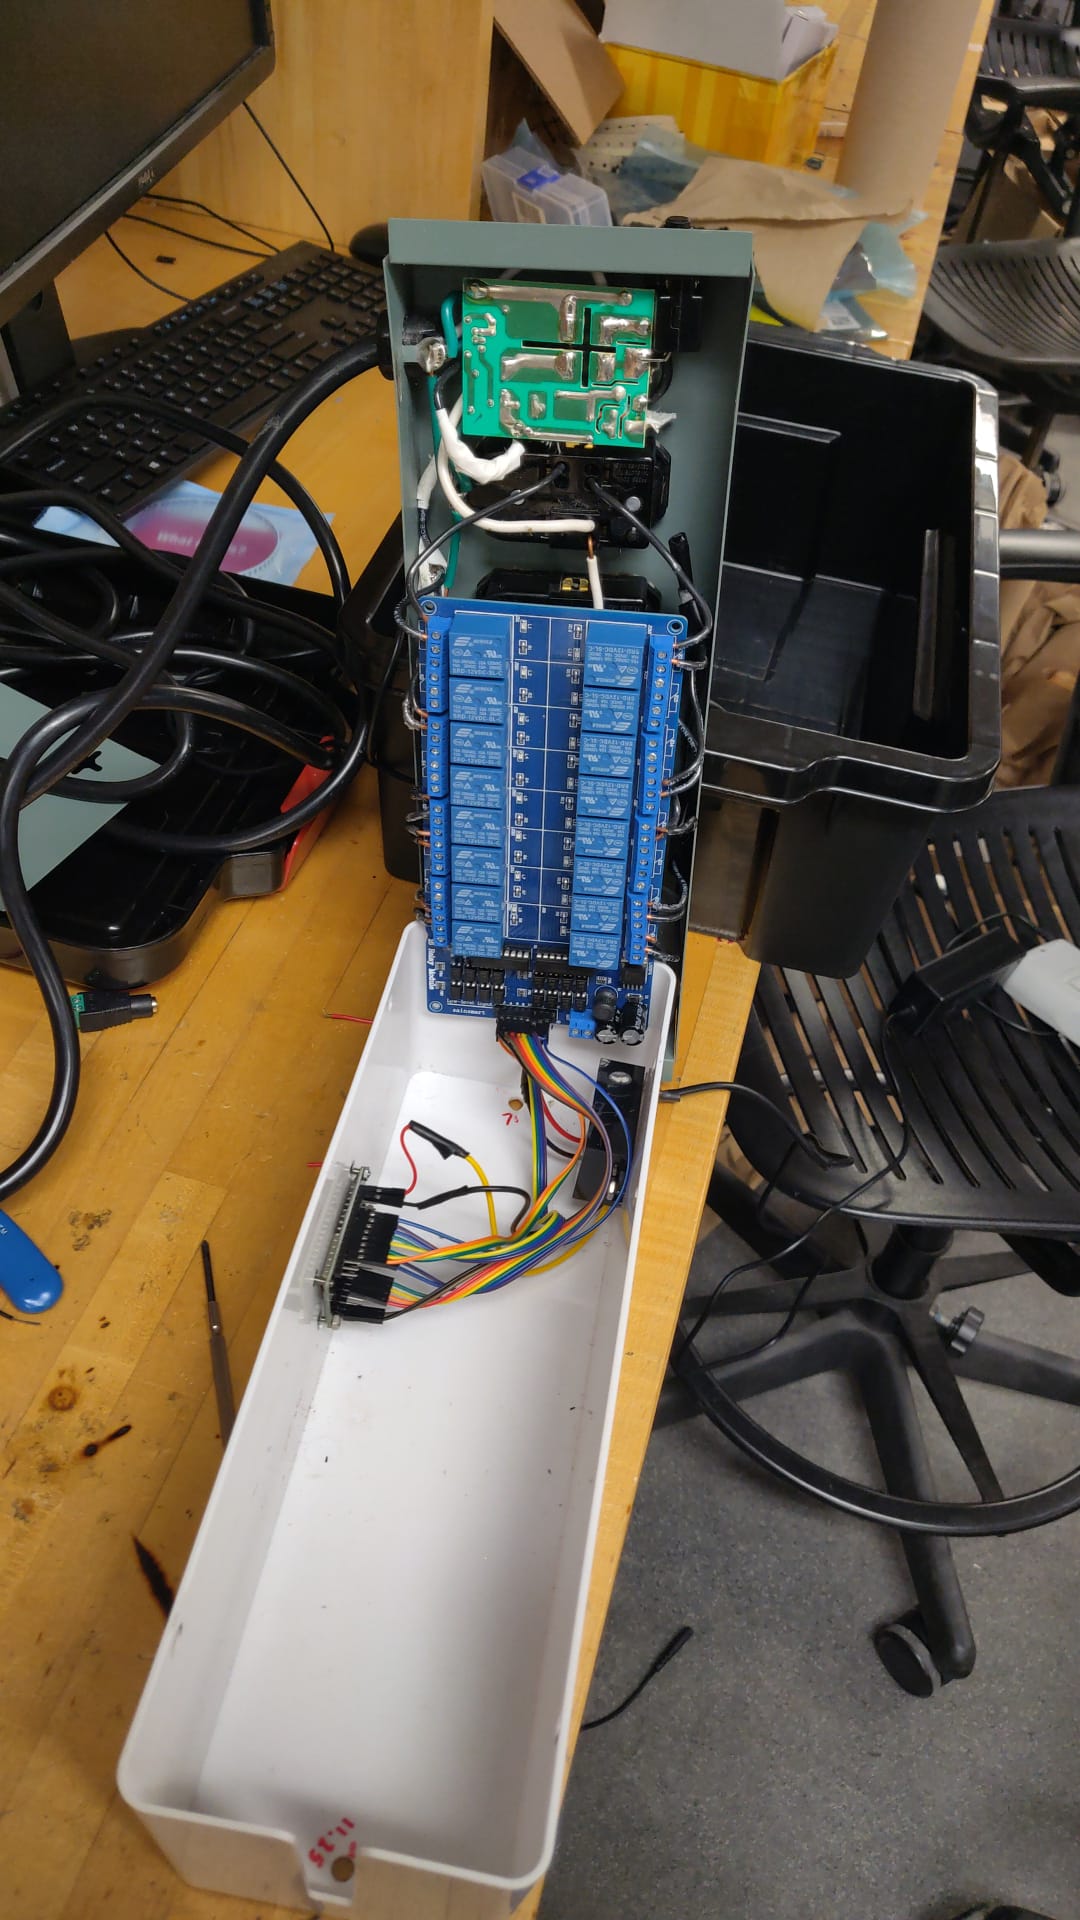
Close-up view of the outlet box with an ESP32 microcontroller inside and a 16 channel relay:
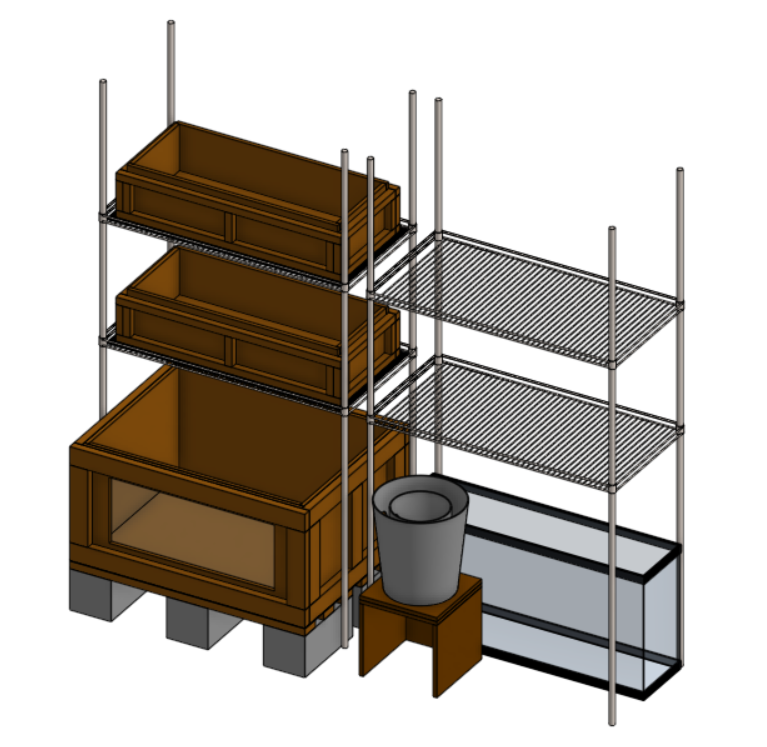
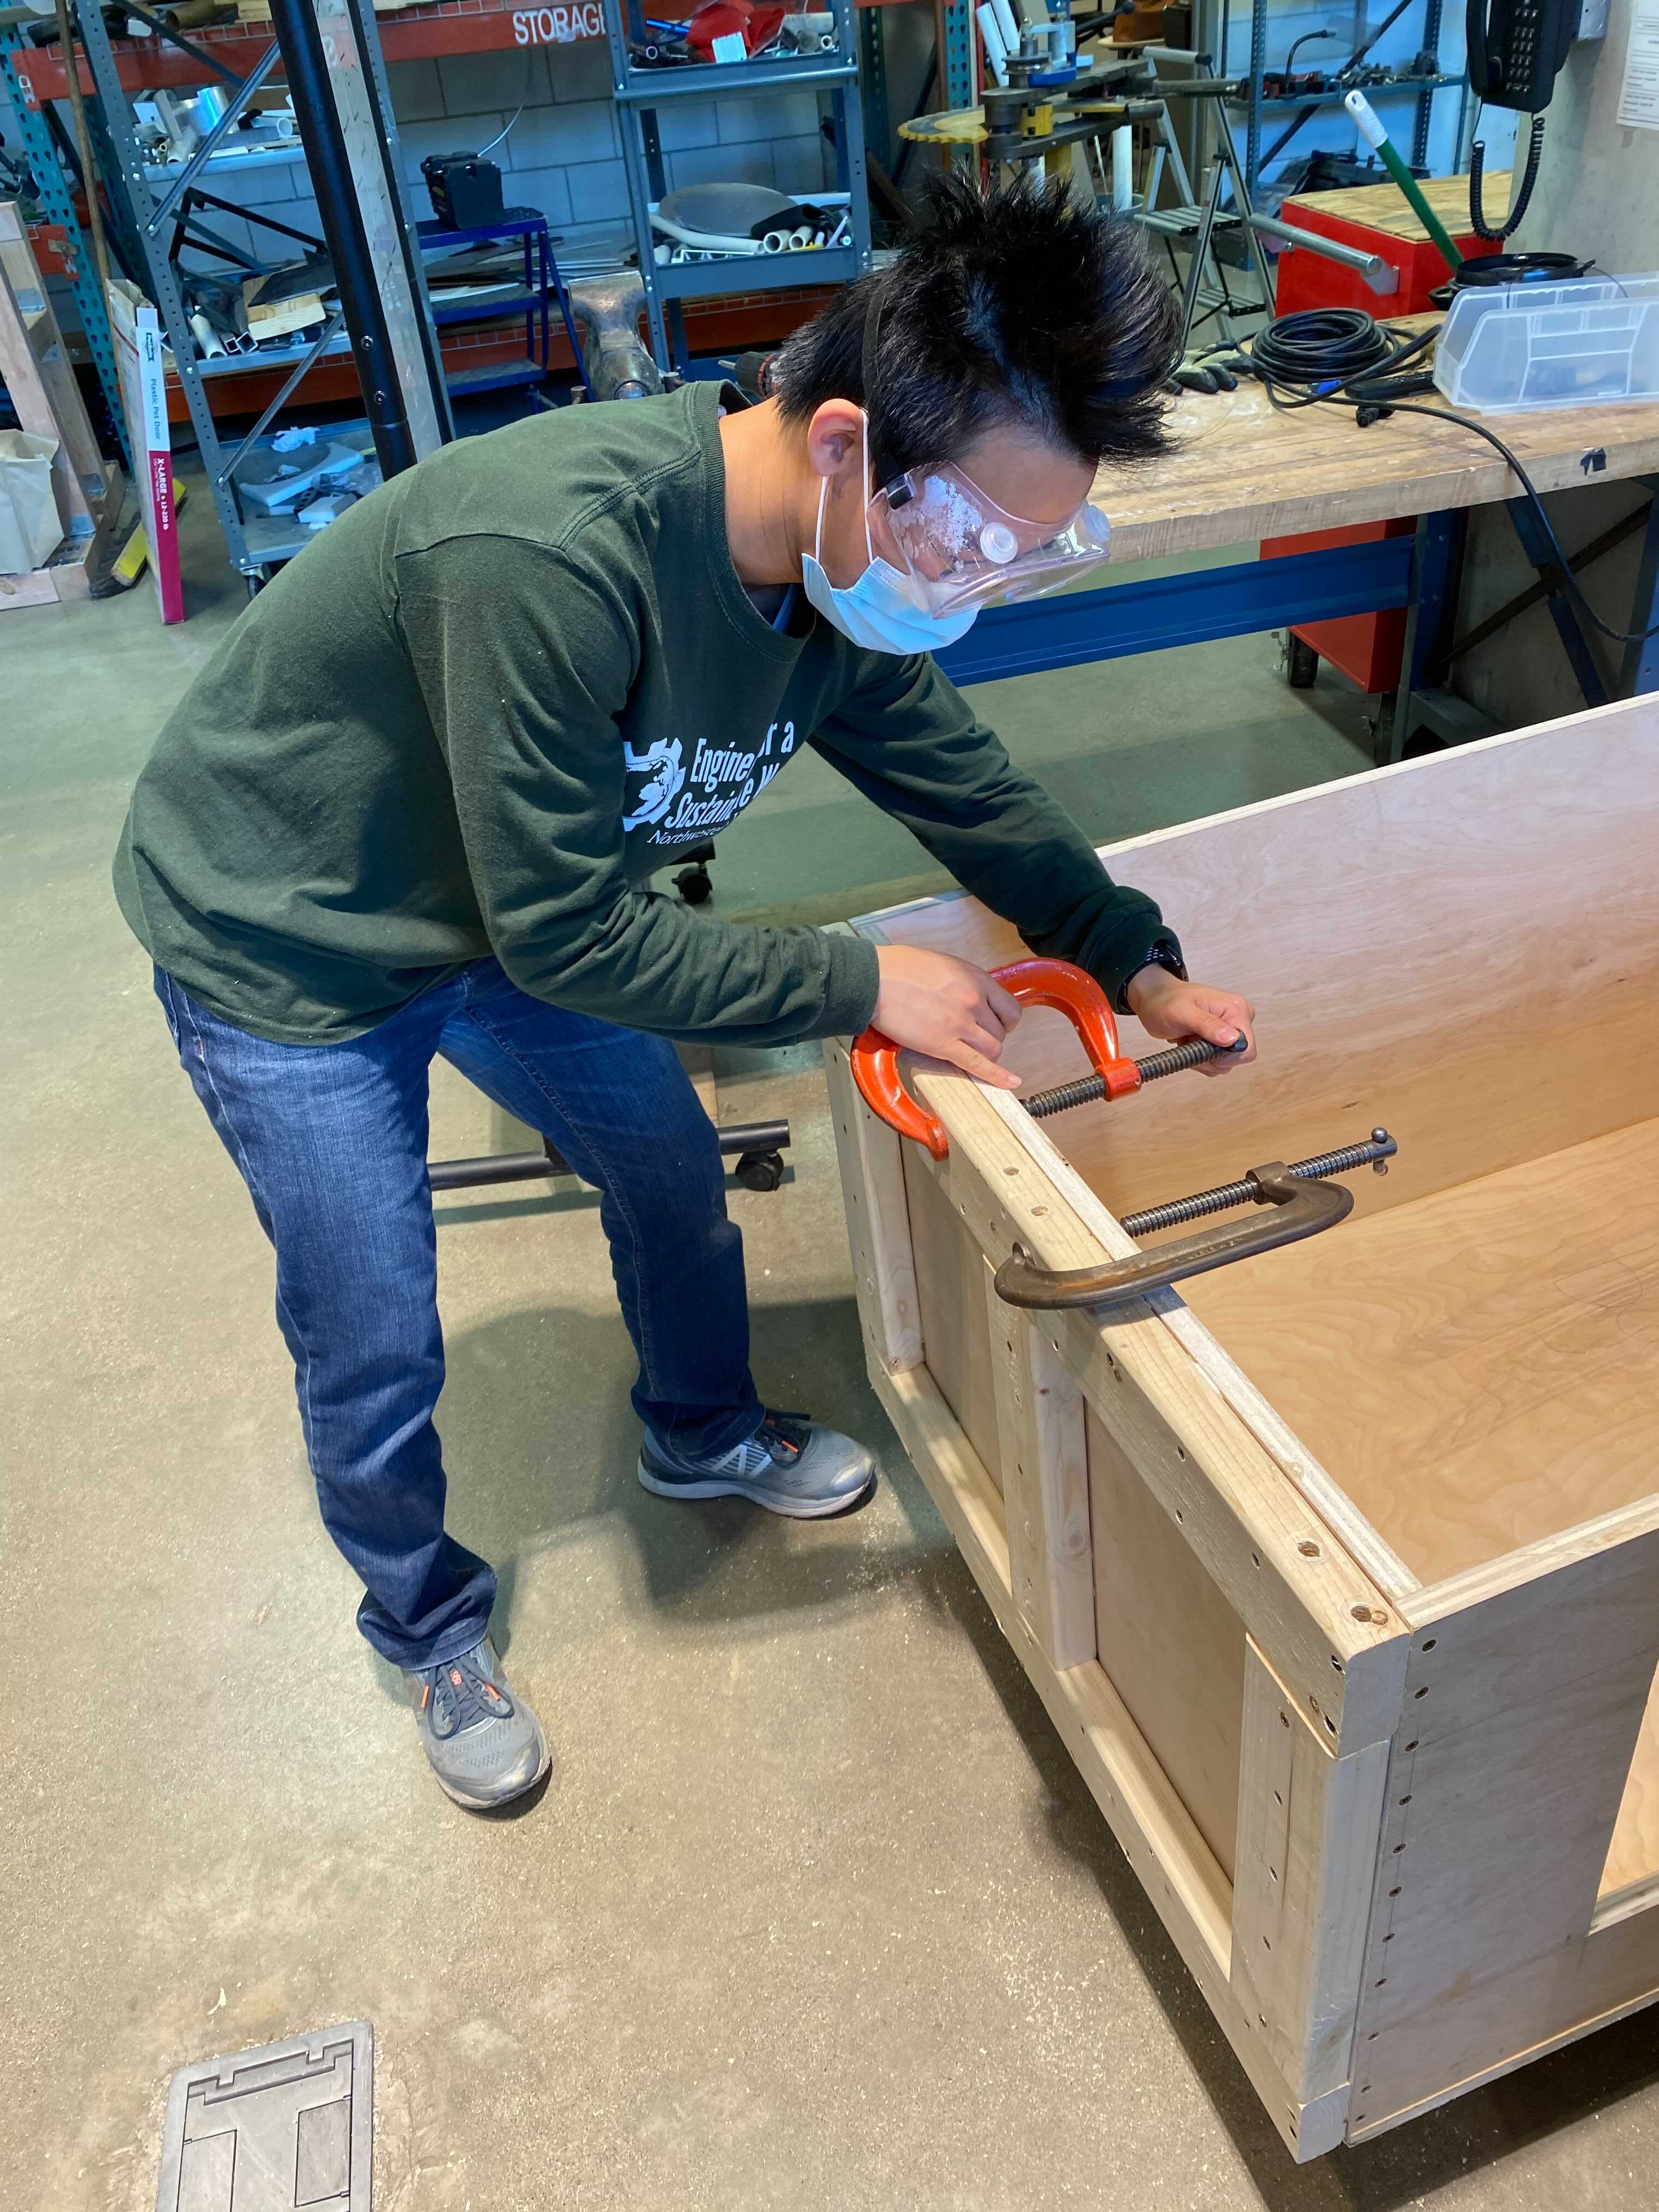
On the plumbing side, we've spent a lot of our effort completing the epoxy coatings on the two grow beds, water testing them, and building the fish tank. Building the fish tank was especially challenging, as most of our lumber and plywood arrived warped, which meant that our pieces would not match up well unless we bent each of them straight. This was achieved through a series of clamps and a lot of determination, and in the end we were able to ensure that the structure of the tank is strong enough to resist water pressure. All that's left for the fish tank now is to install a sheet of glass to cover up the cutout window on the front panel. At the same time we were doing physical construction, we were also creating a 3D CAD model of our overall system to help estimate our PVC pipe requirements later on. Enjoy these pictures of our construction process below, and a detailed tutorial of how we built these tanks will be released upon the completion of this project!
CAD of our entire system minus the PVC pipes:
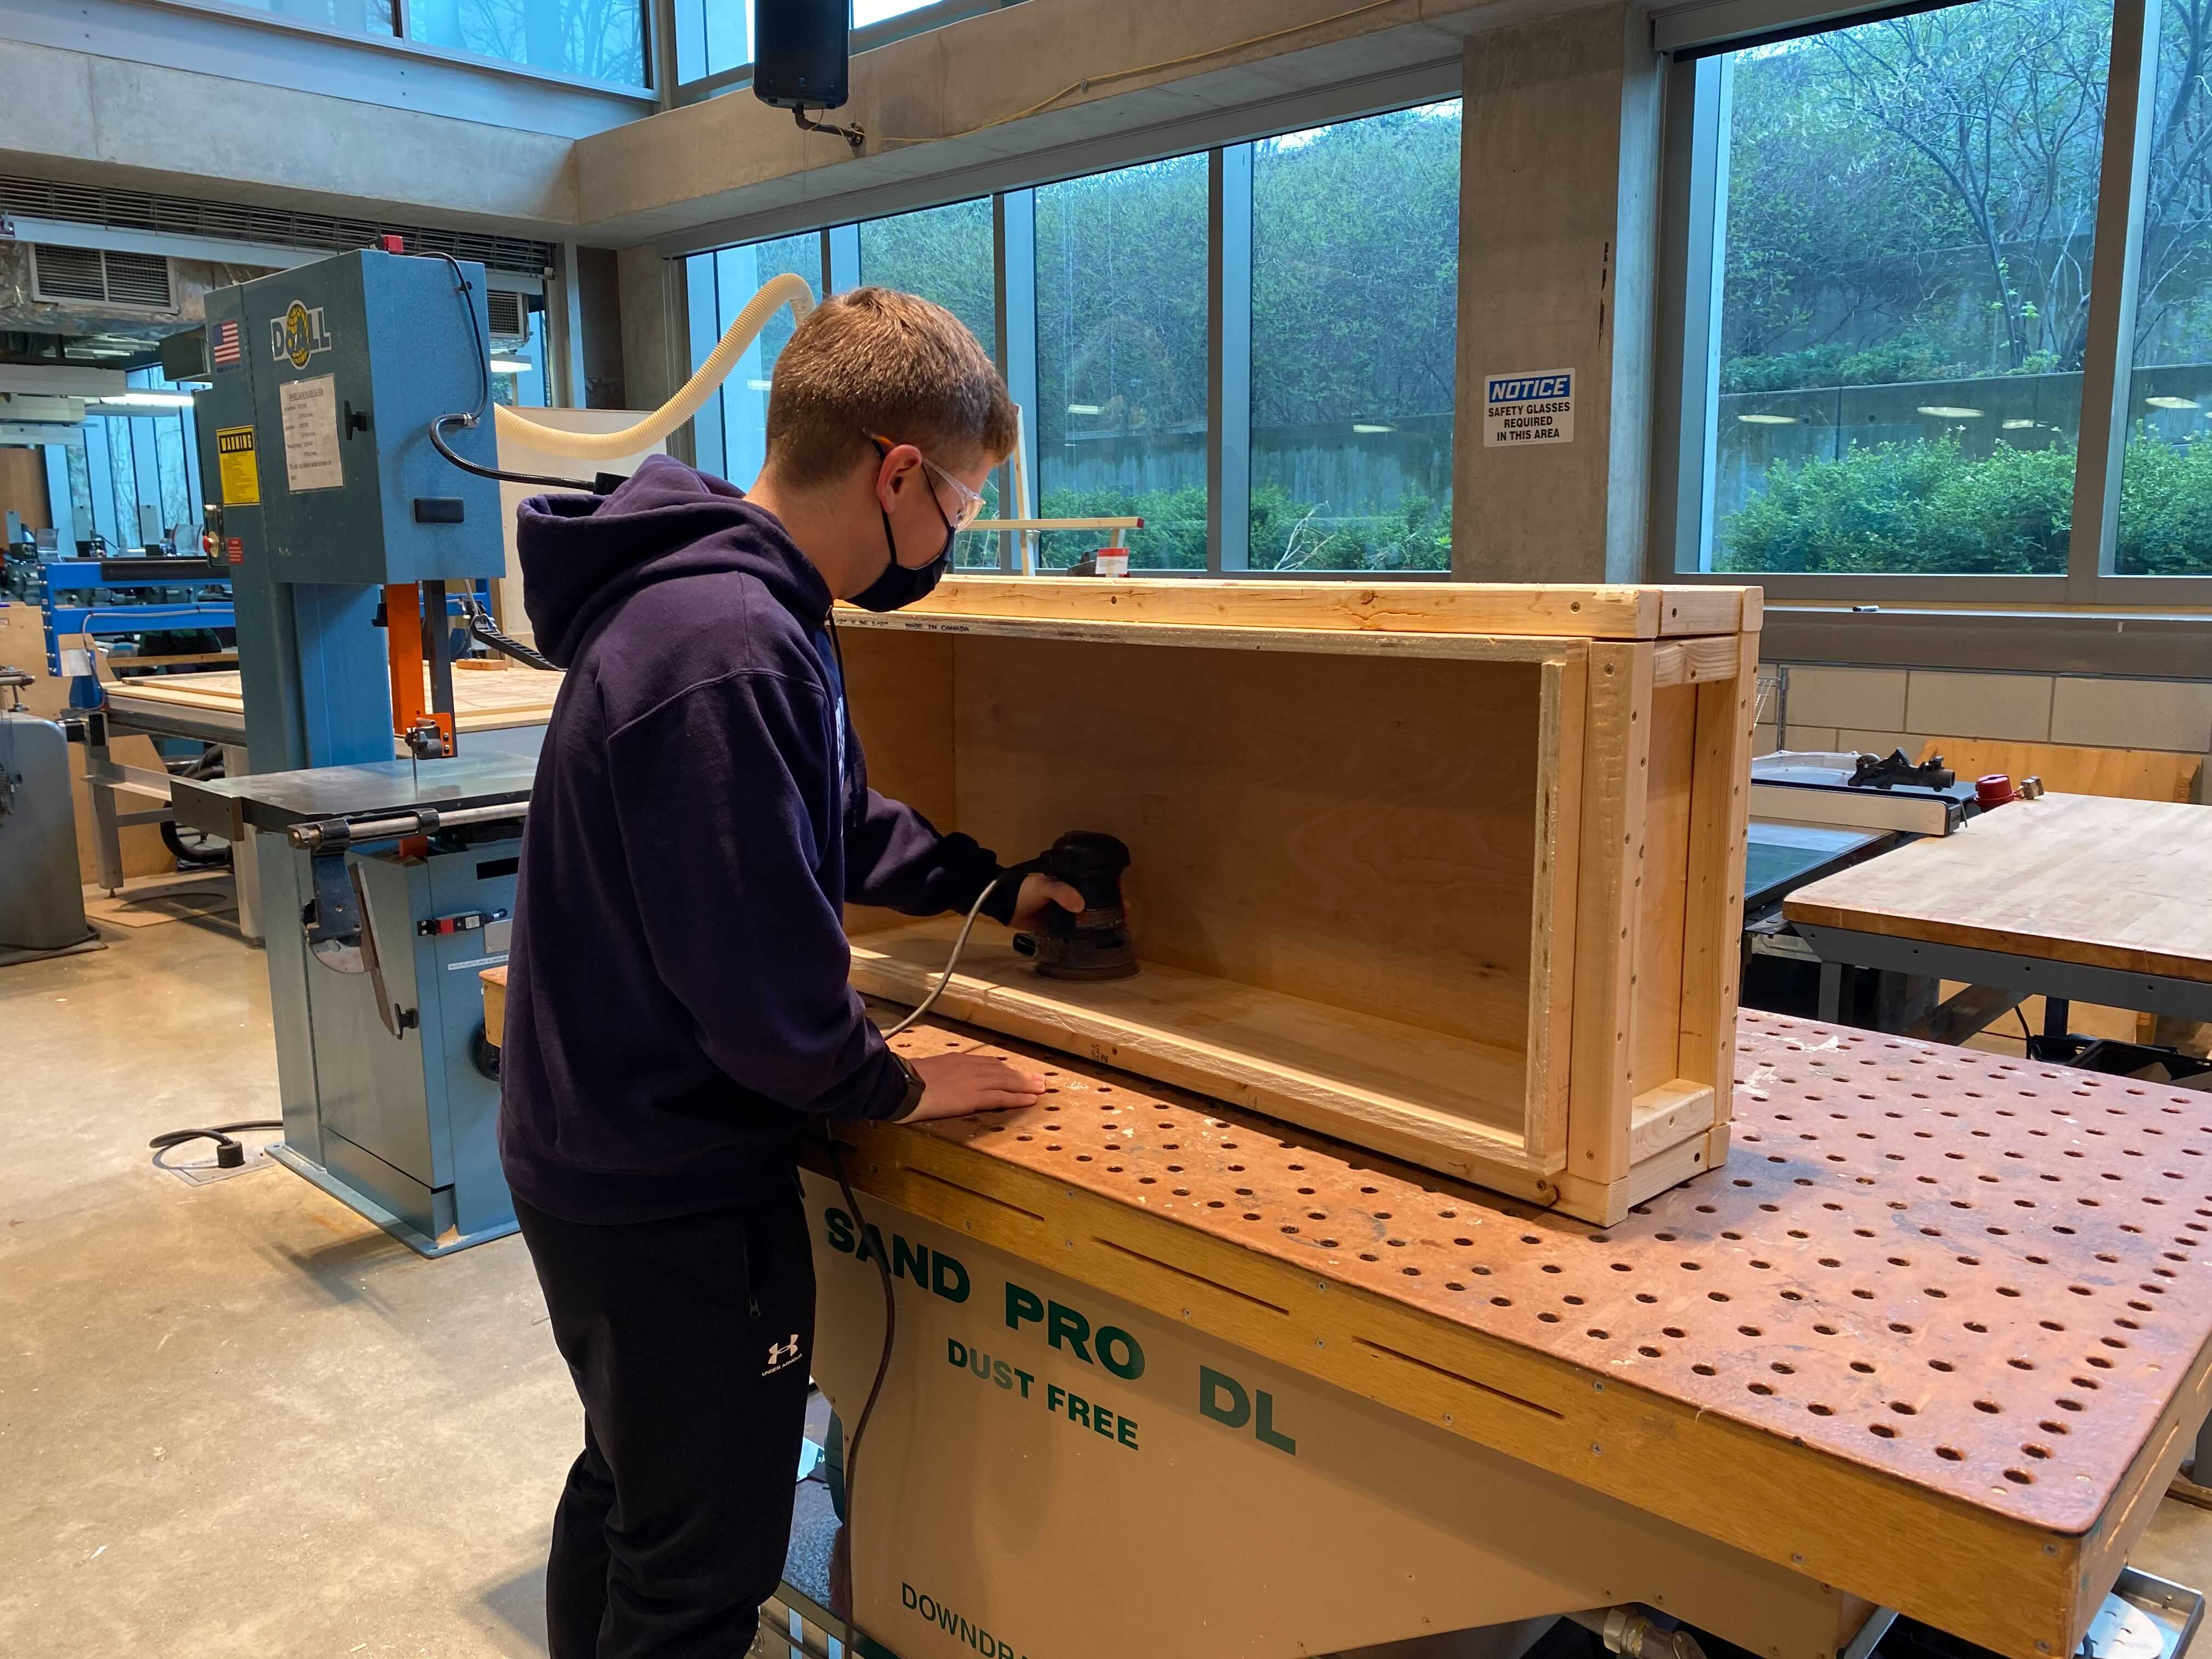
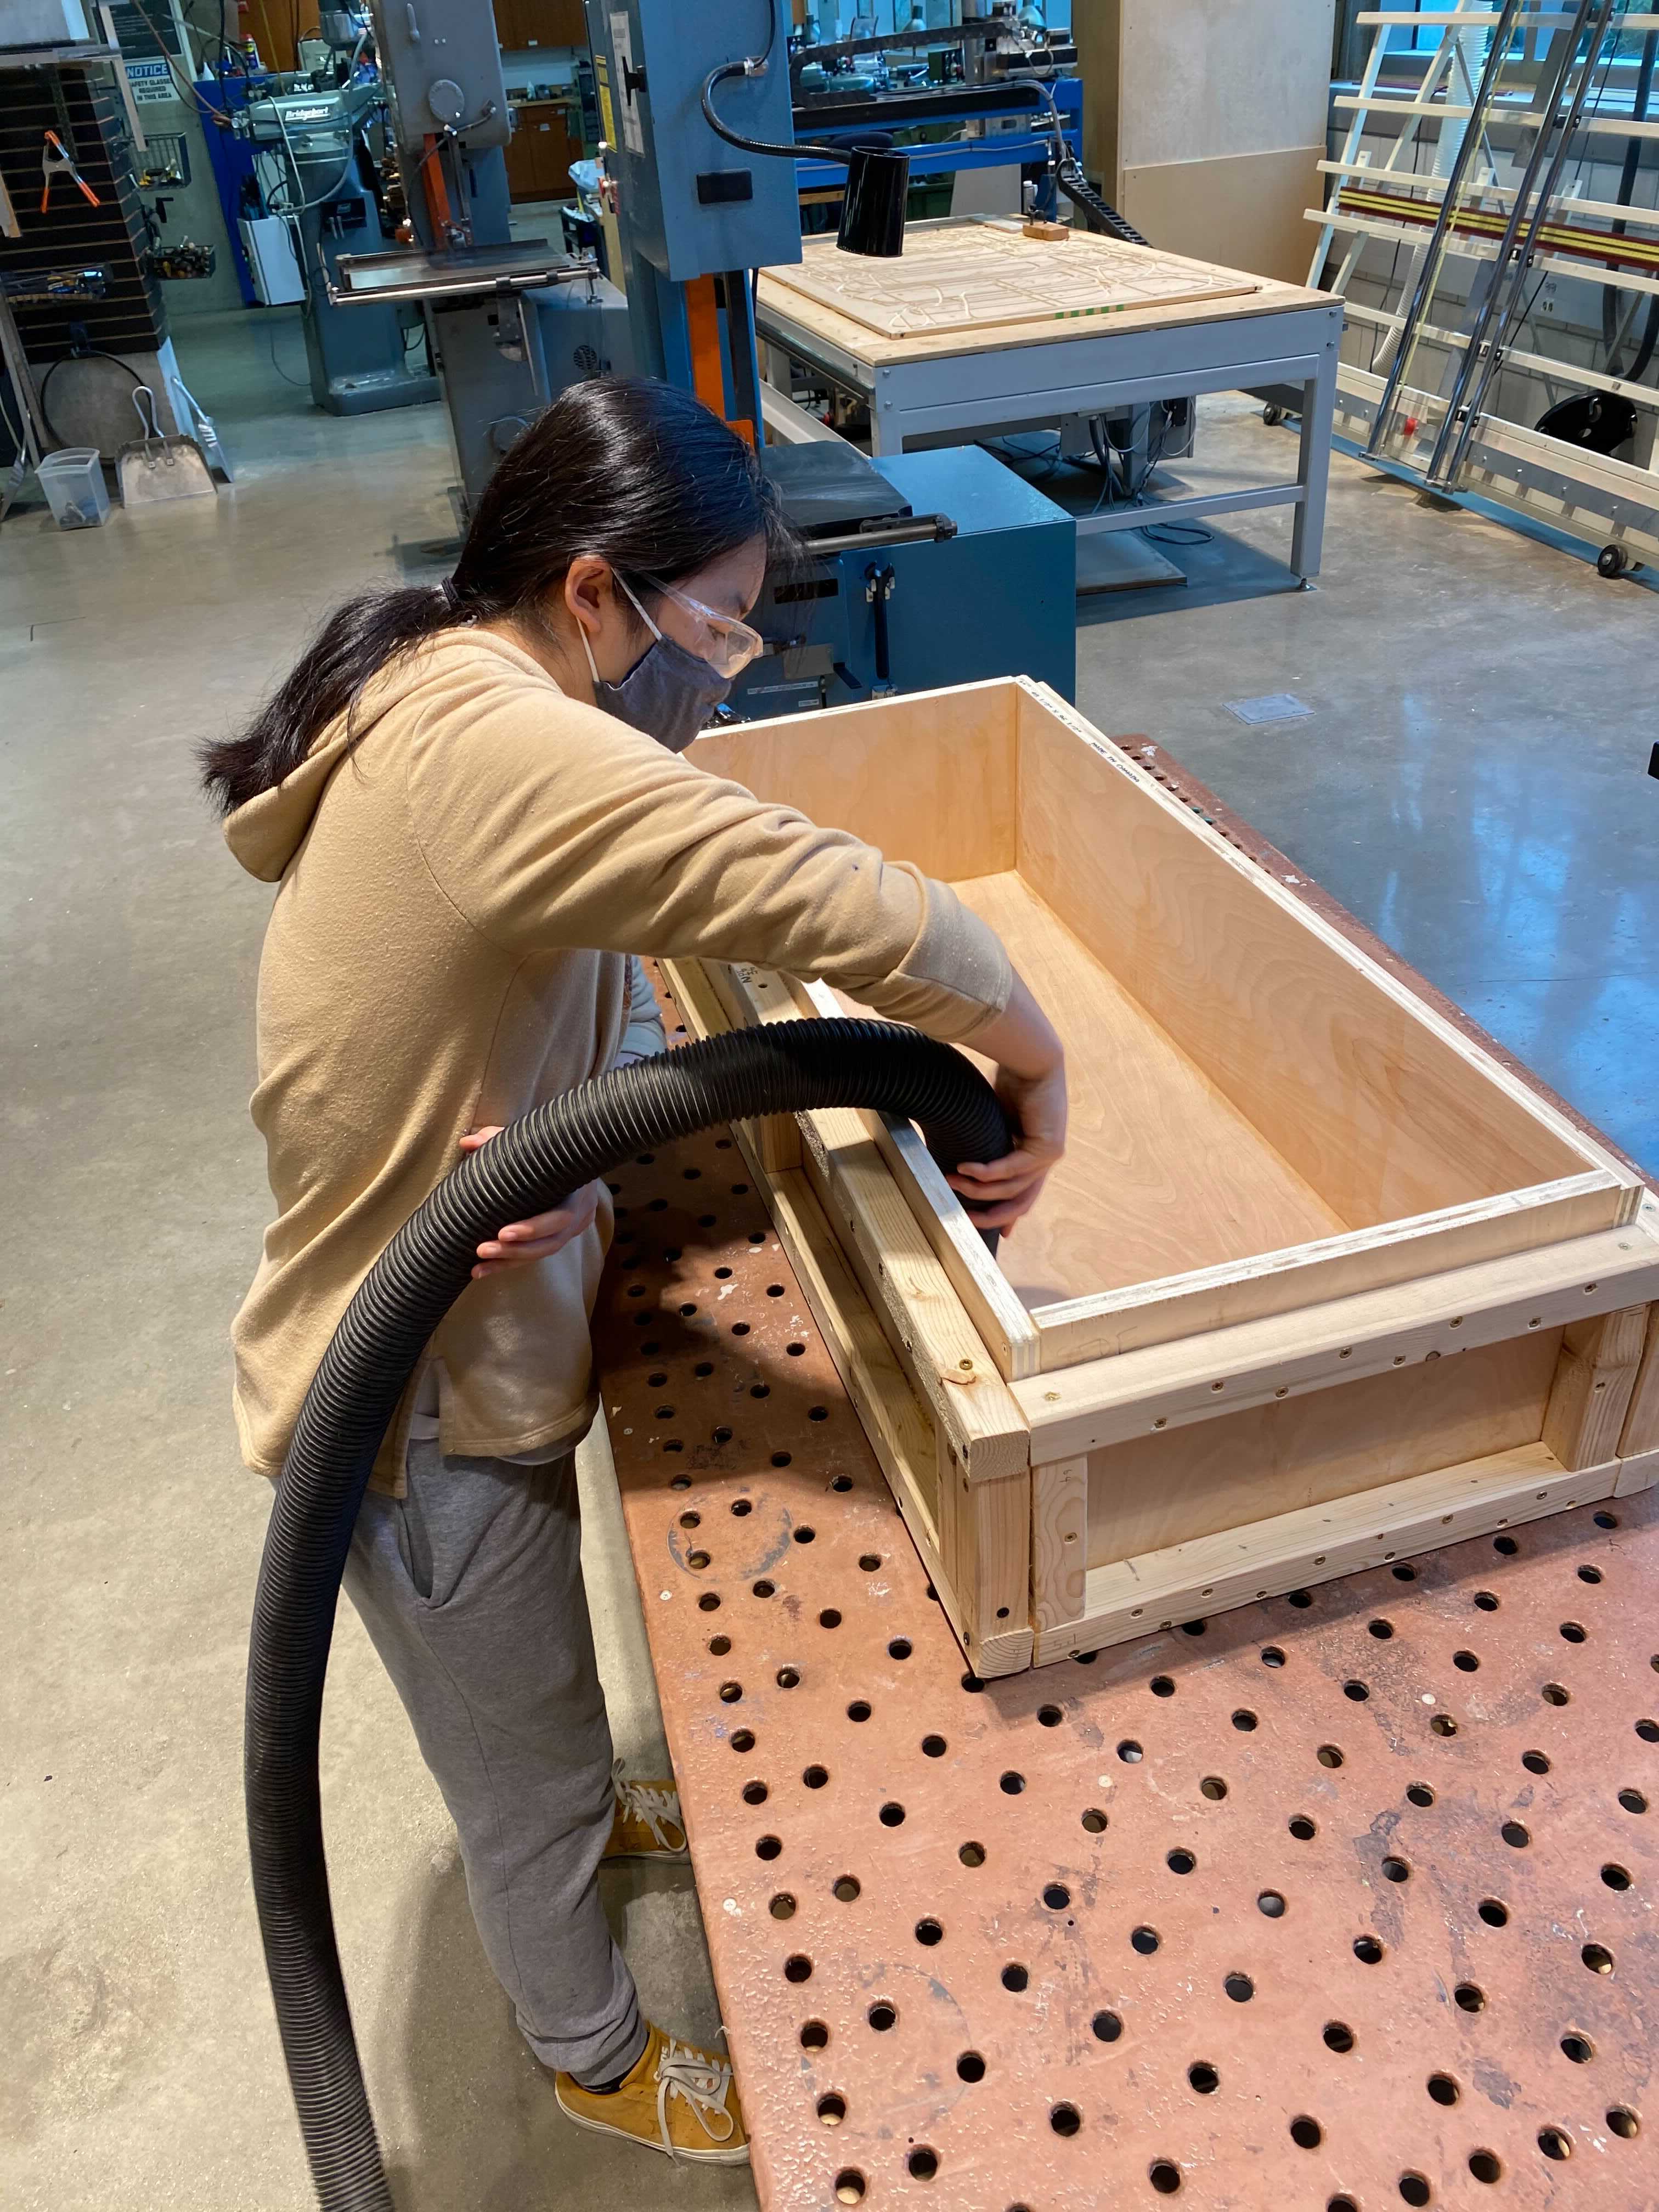
It was important for us to sand/vacuum all the surfaces we applied epoxy to so that it adheres properly:
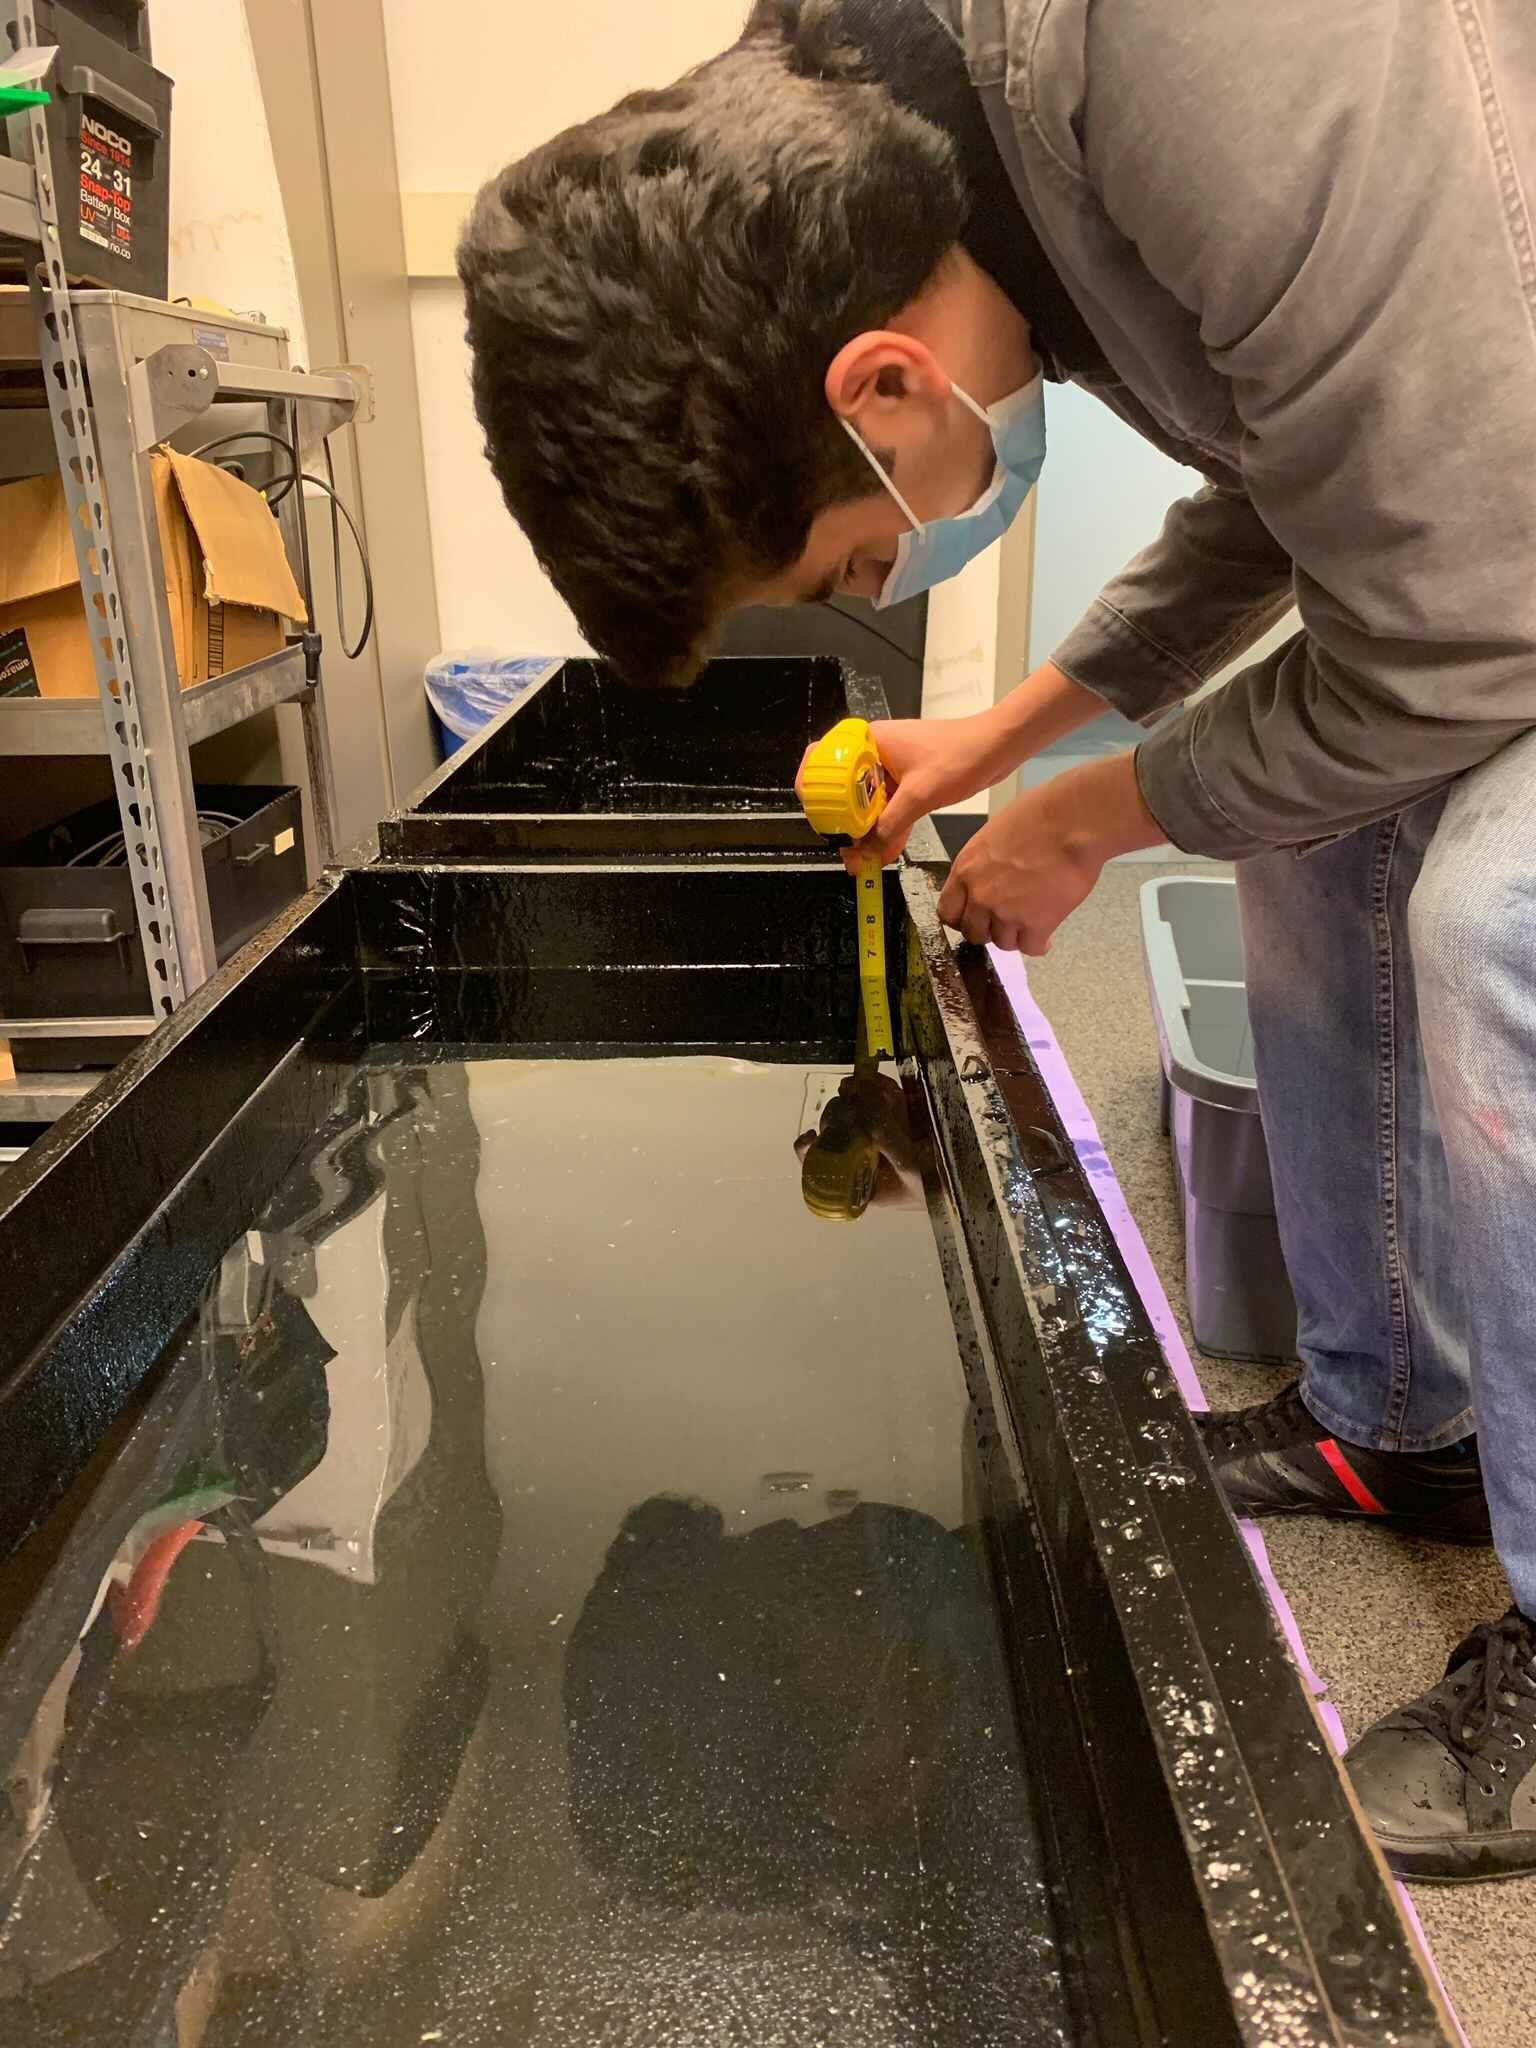
Our team member filling up our two grow beds to an appropriate depth and checking for leaks:
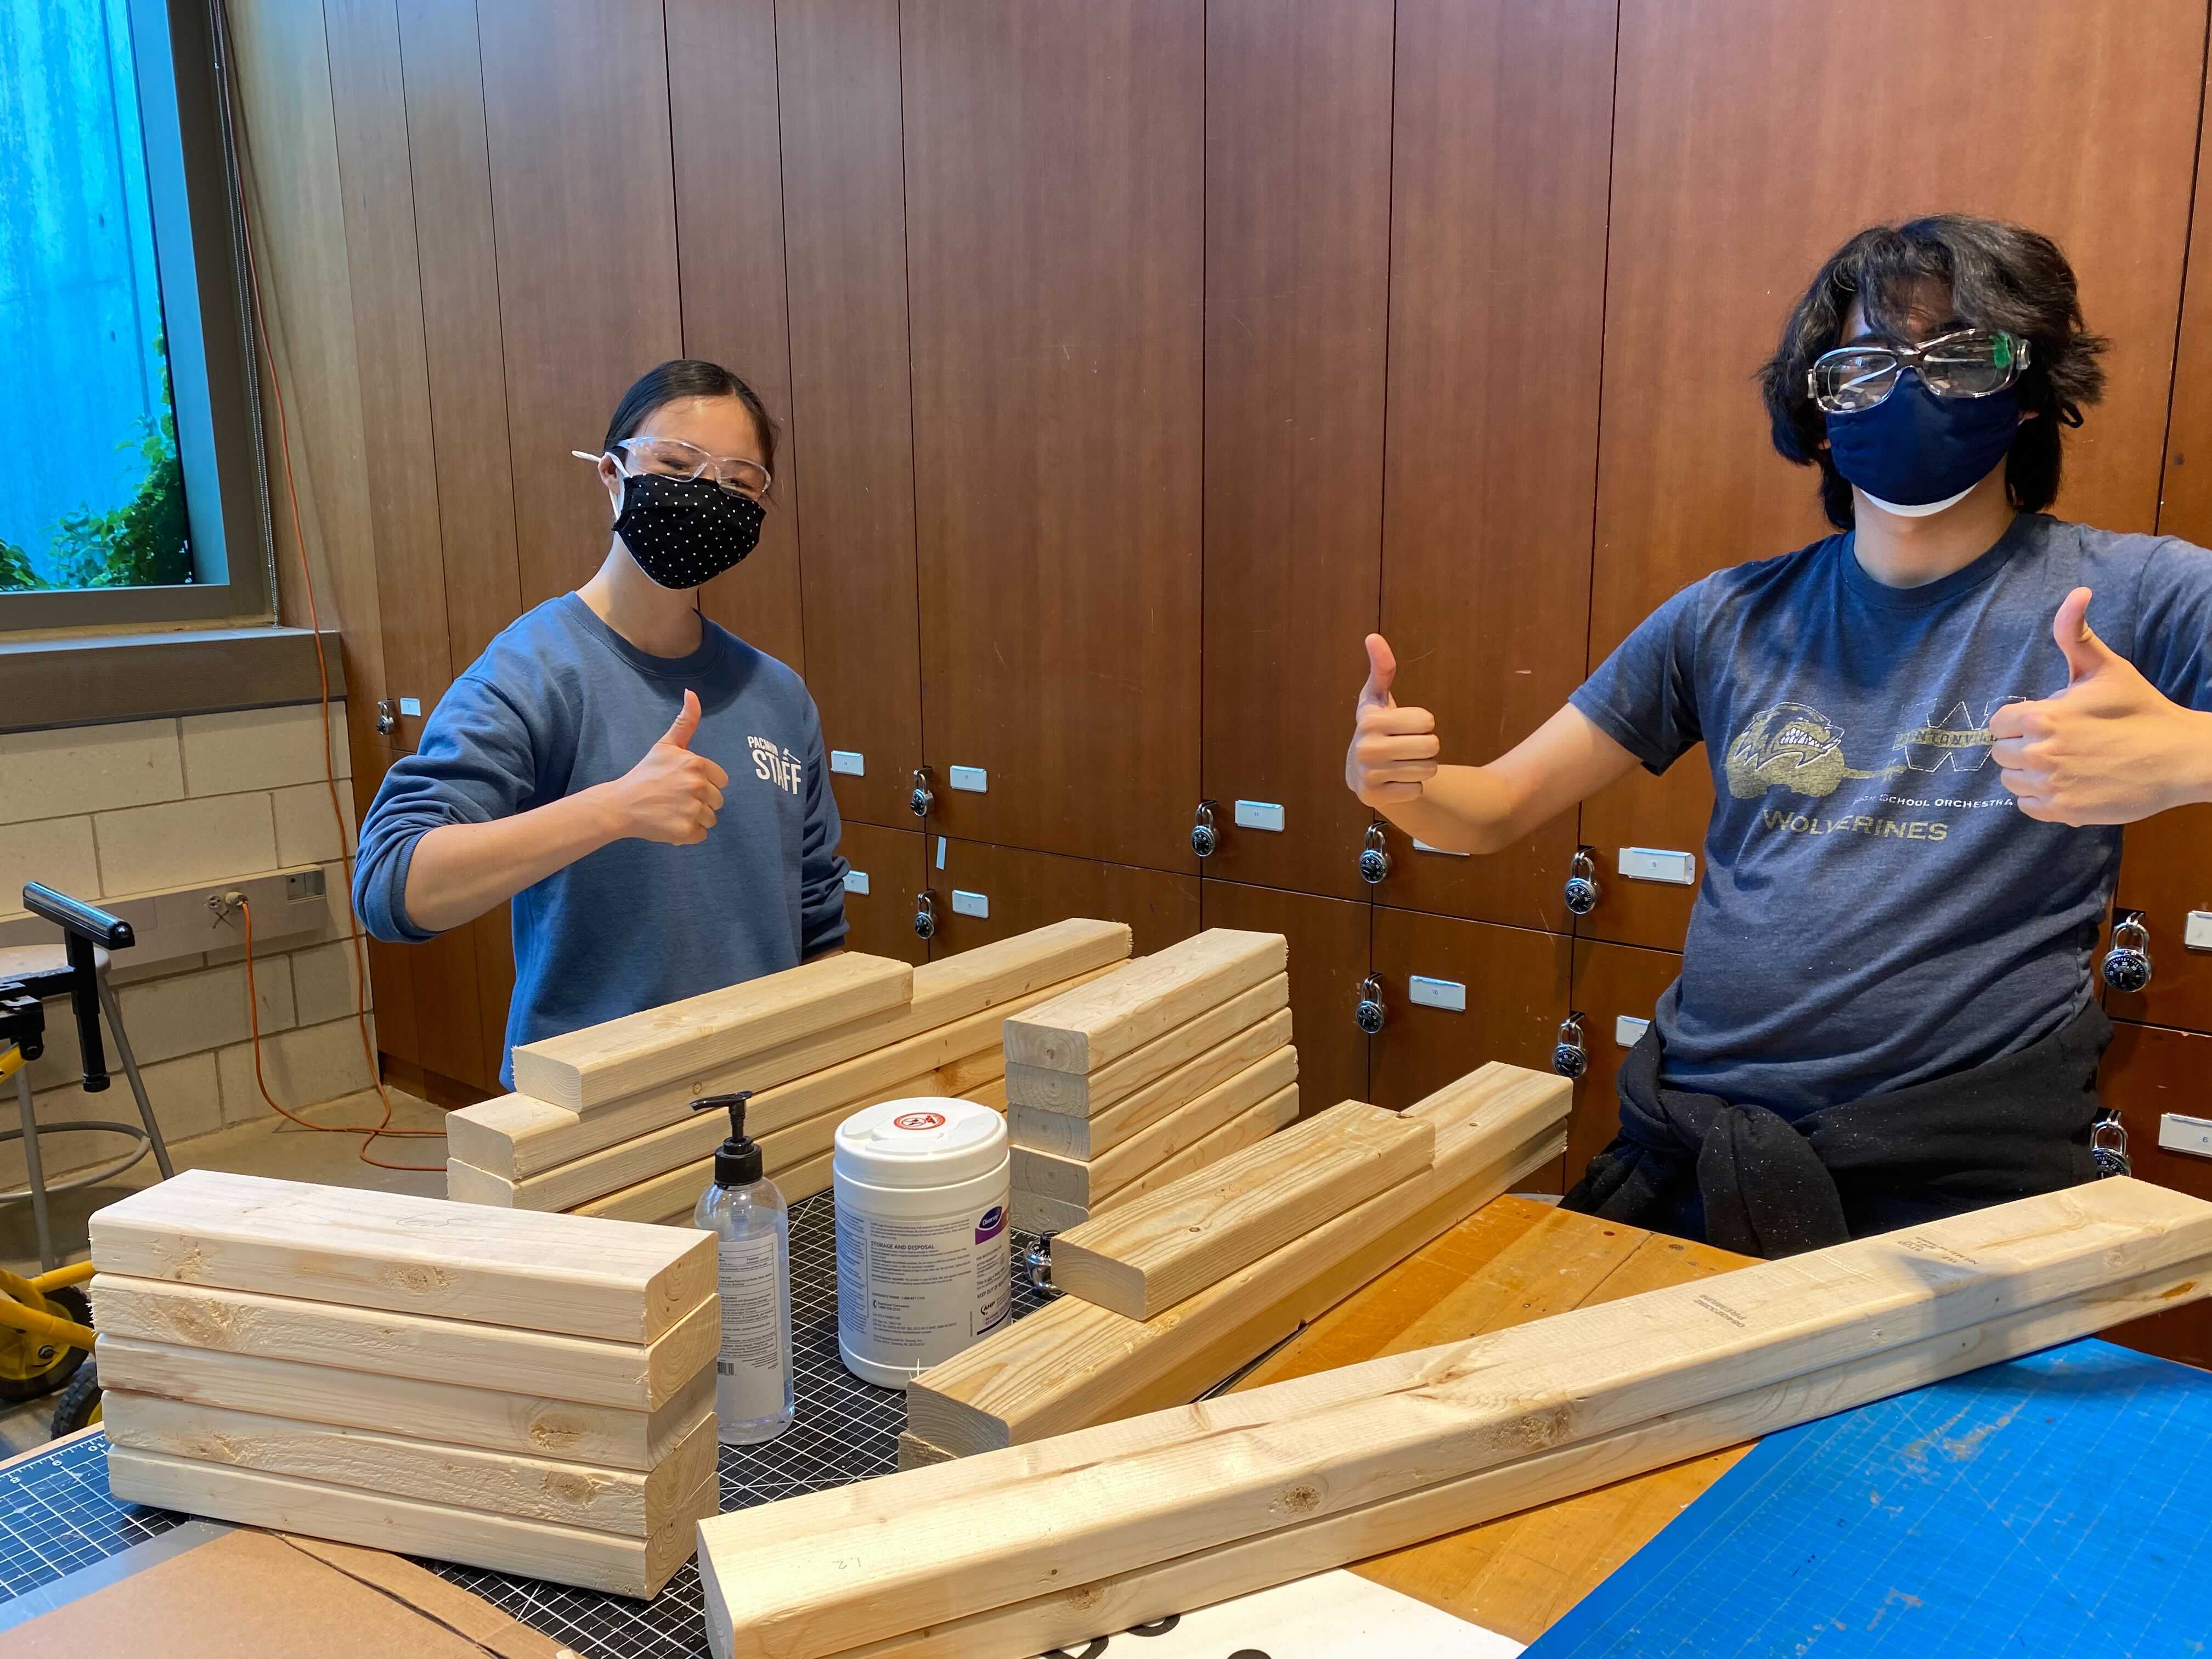
Our fish tank's humble beginning as pieces of lumber and sheets of plywood:
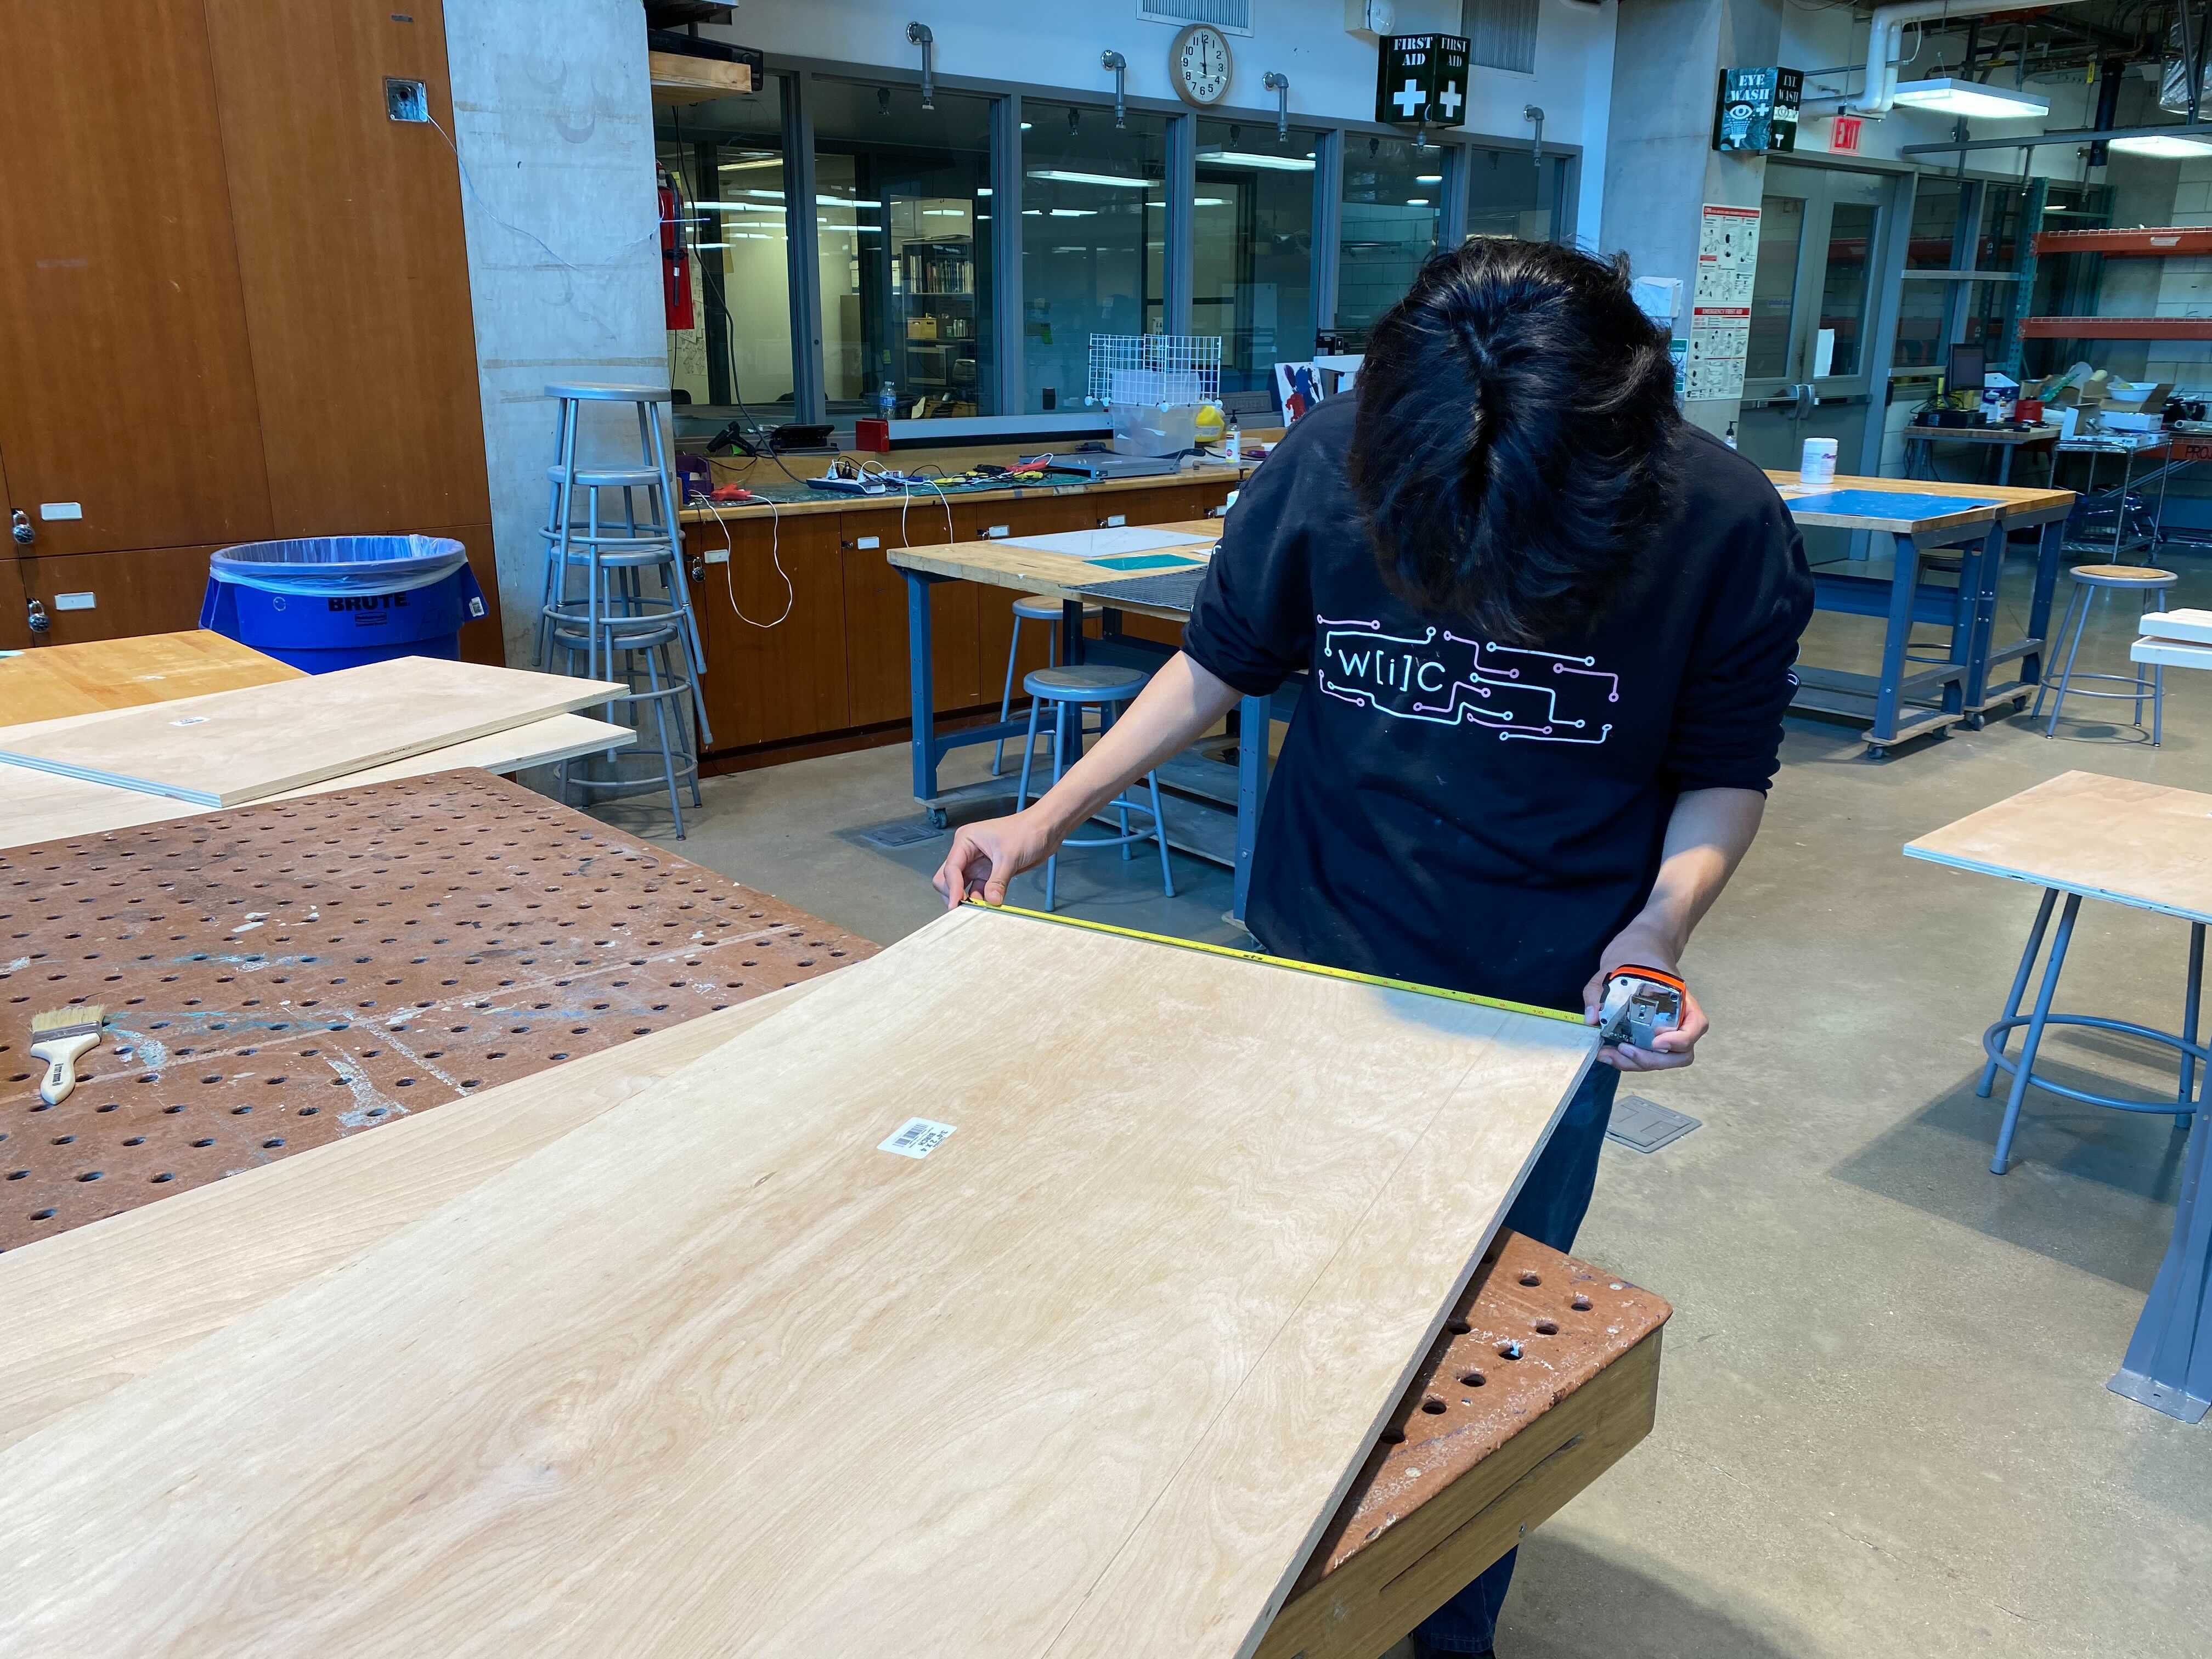
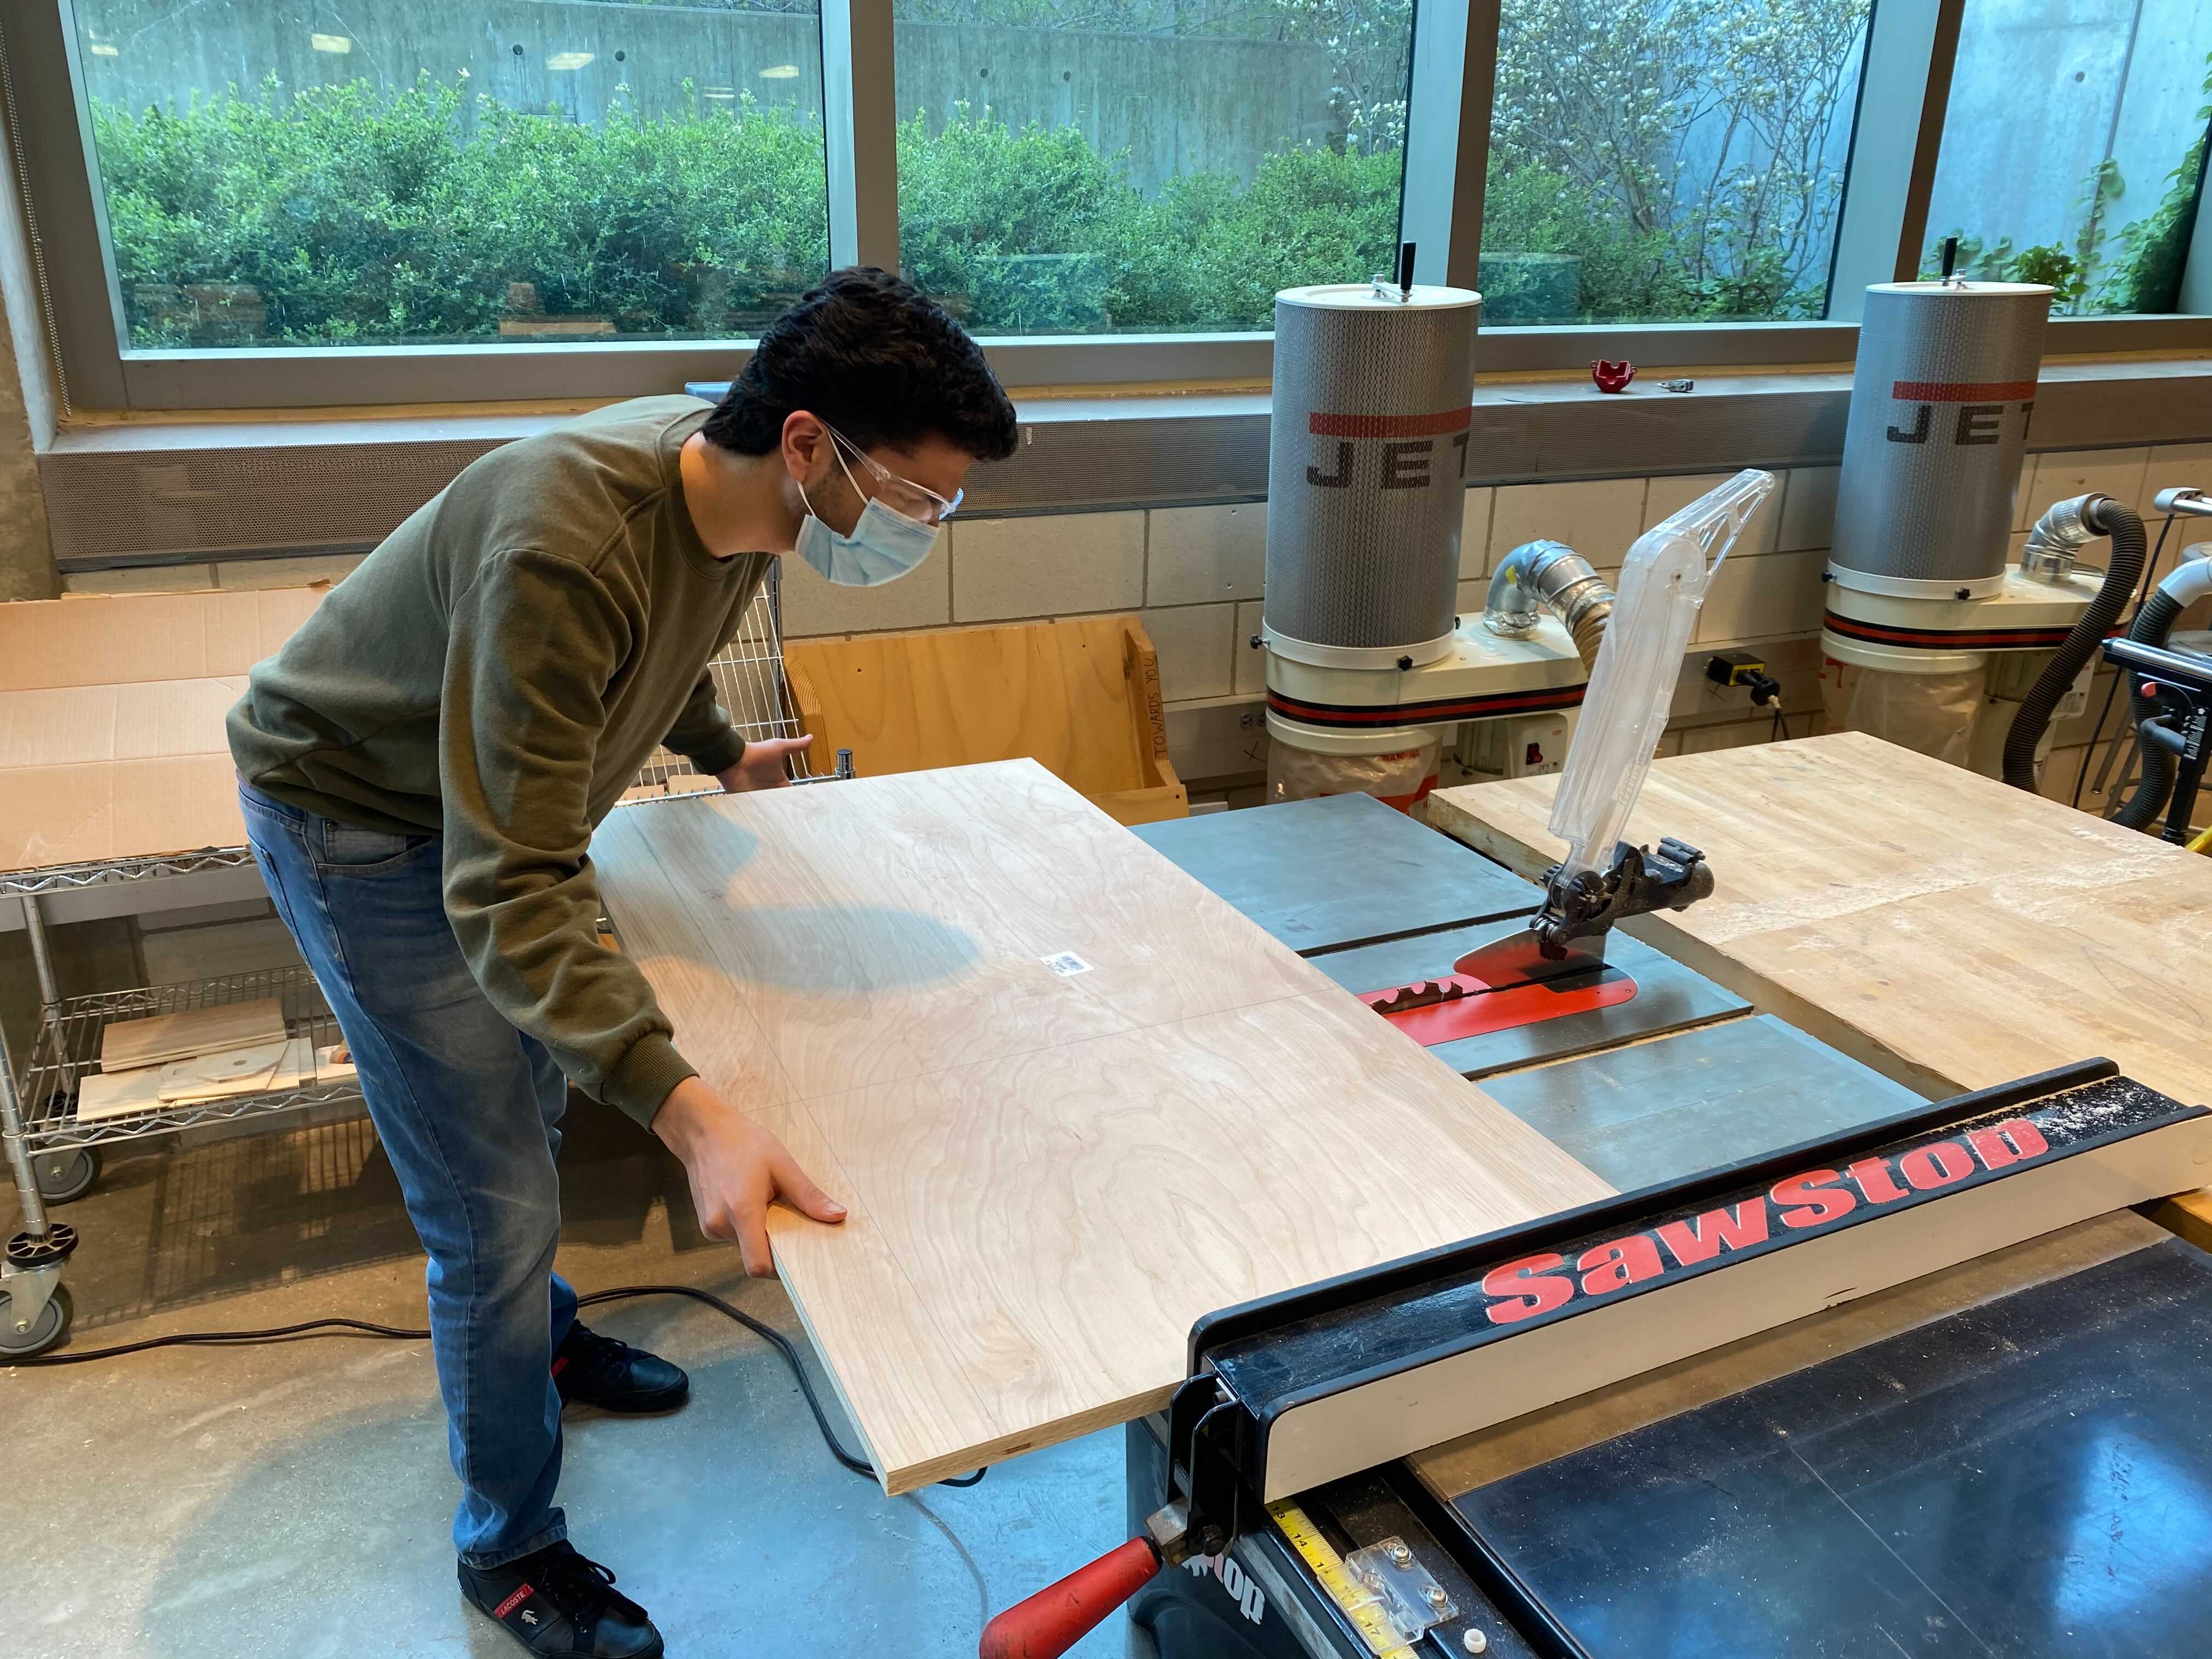
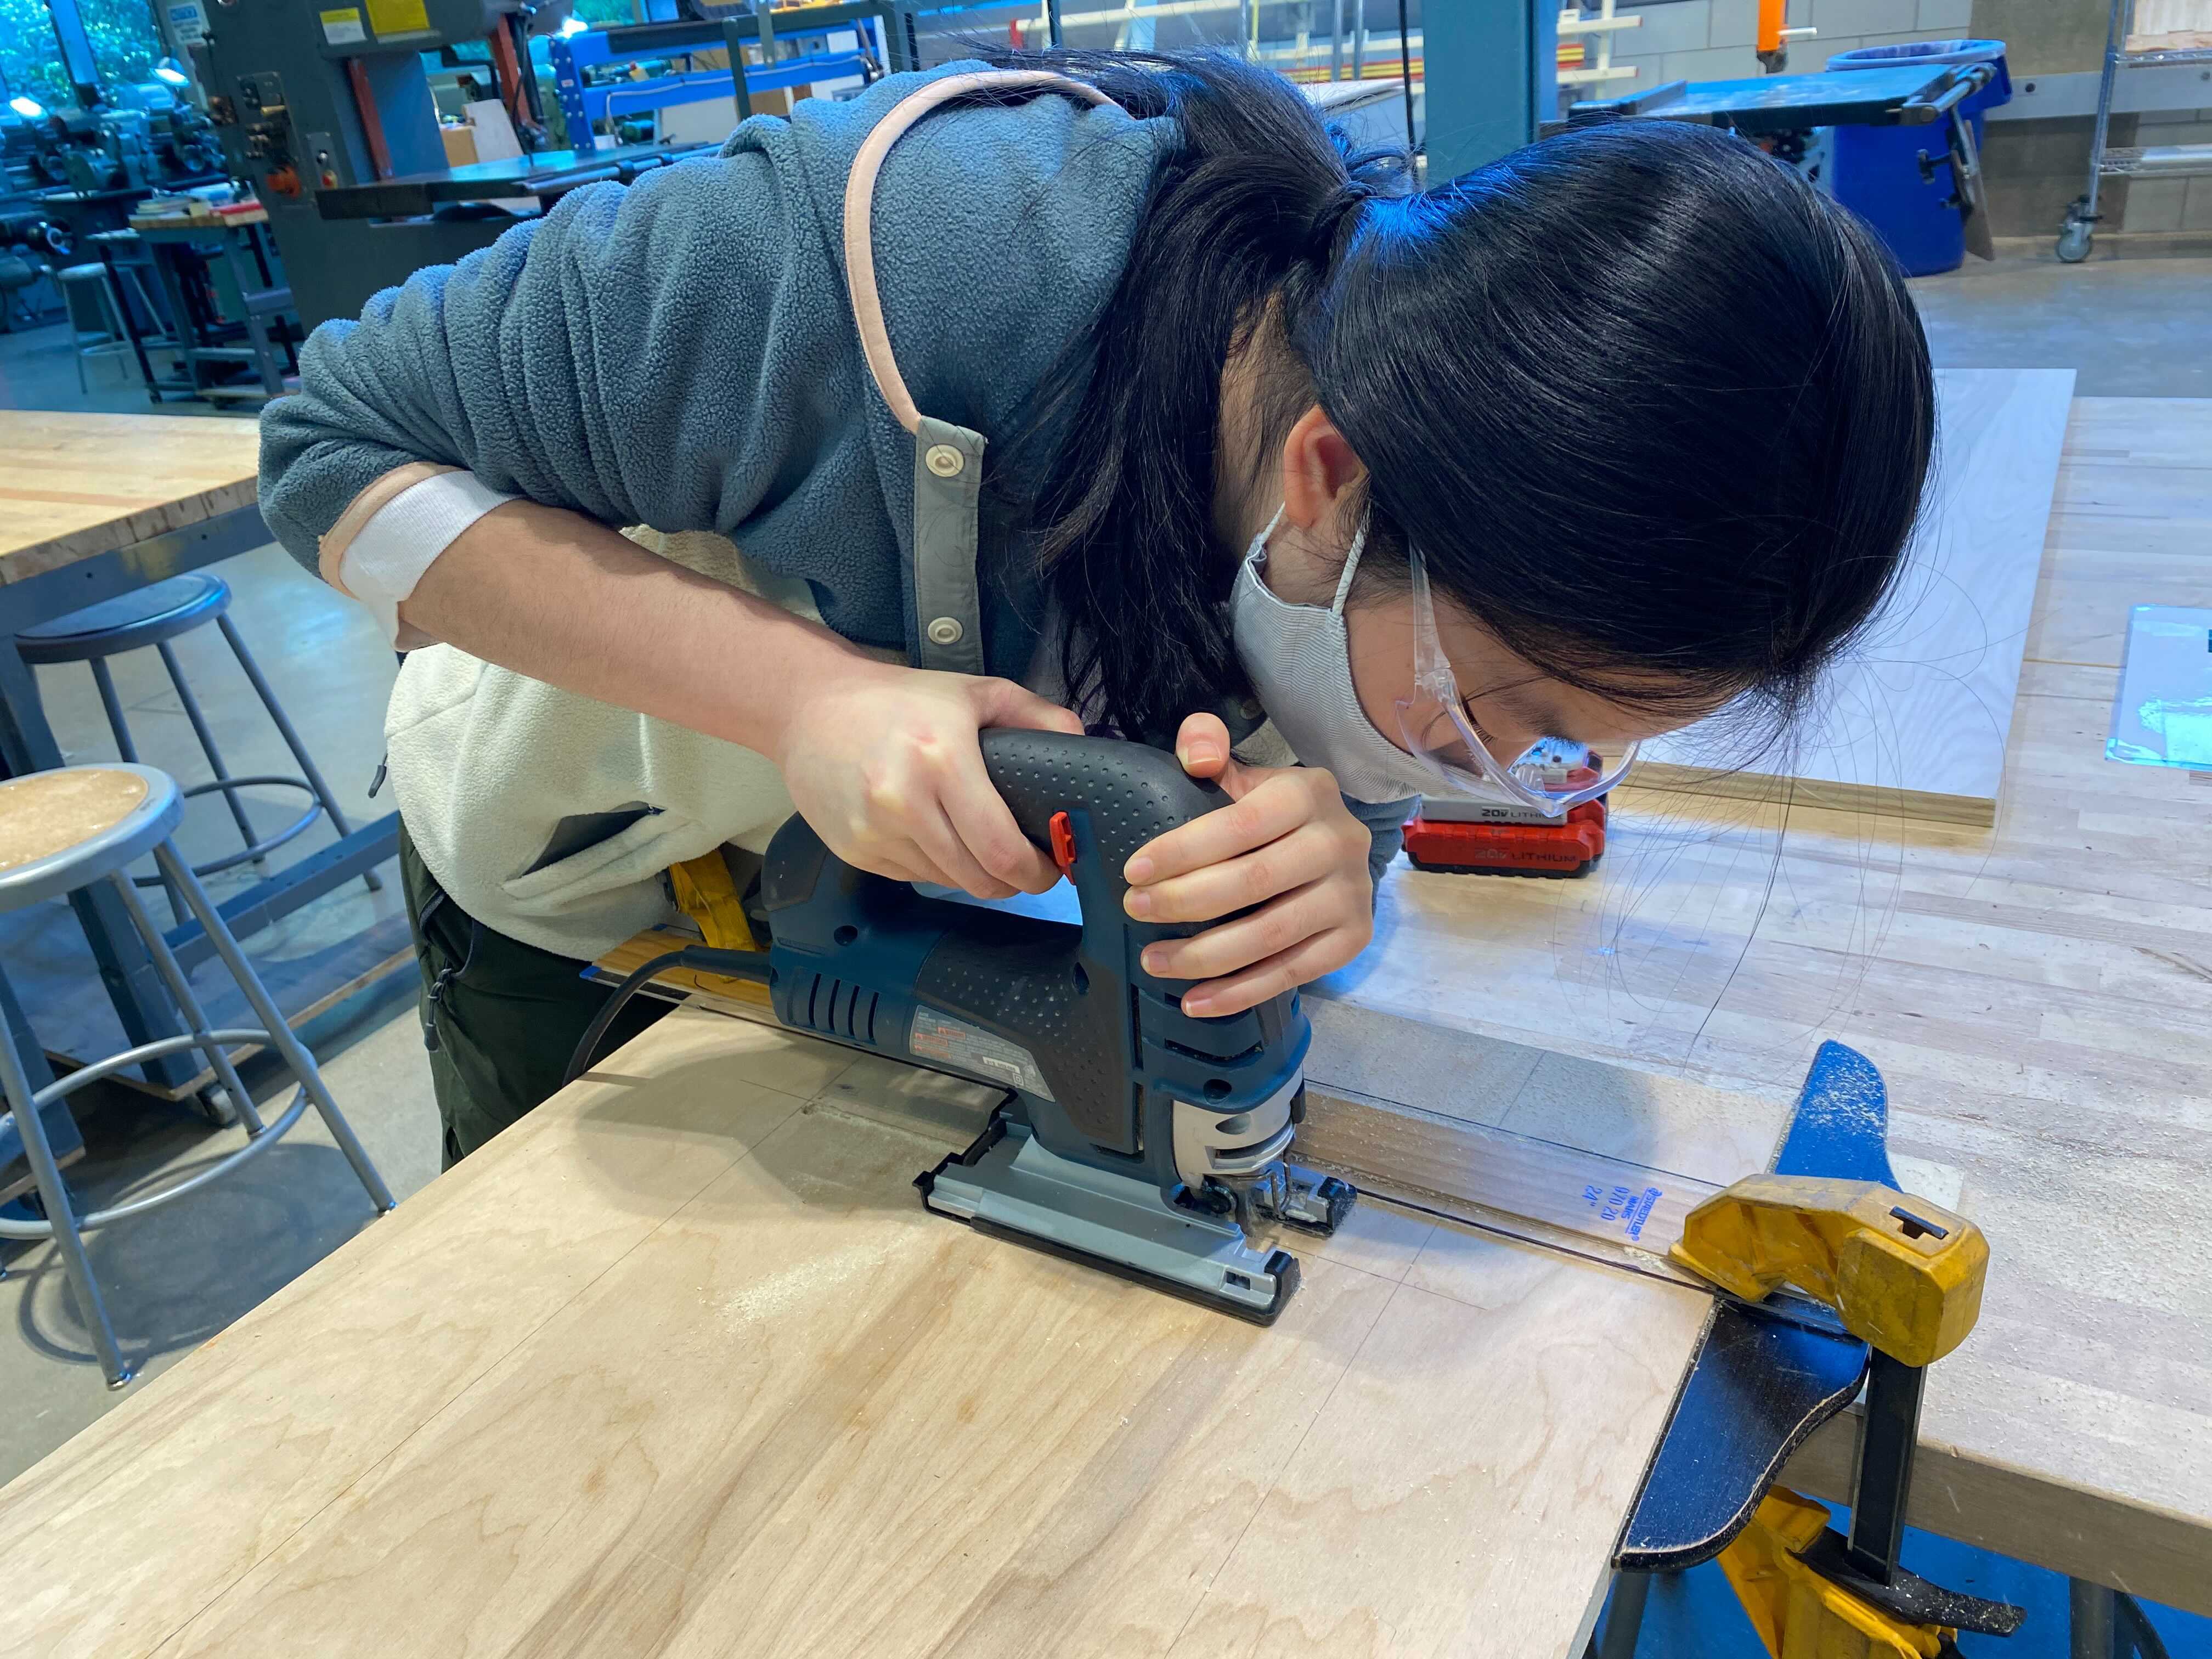
Cutting a window cutout on the front plywood panel with a jigsaw for our eventual glass installation:
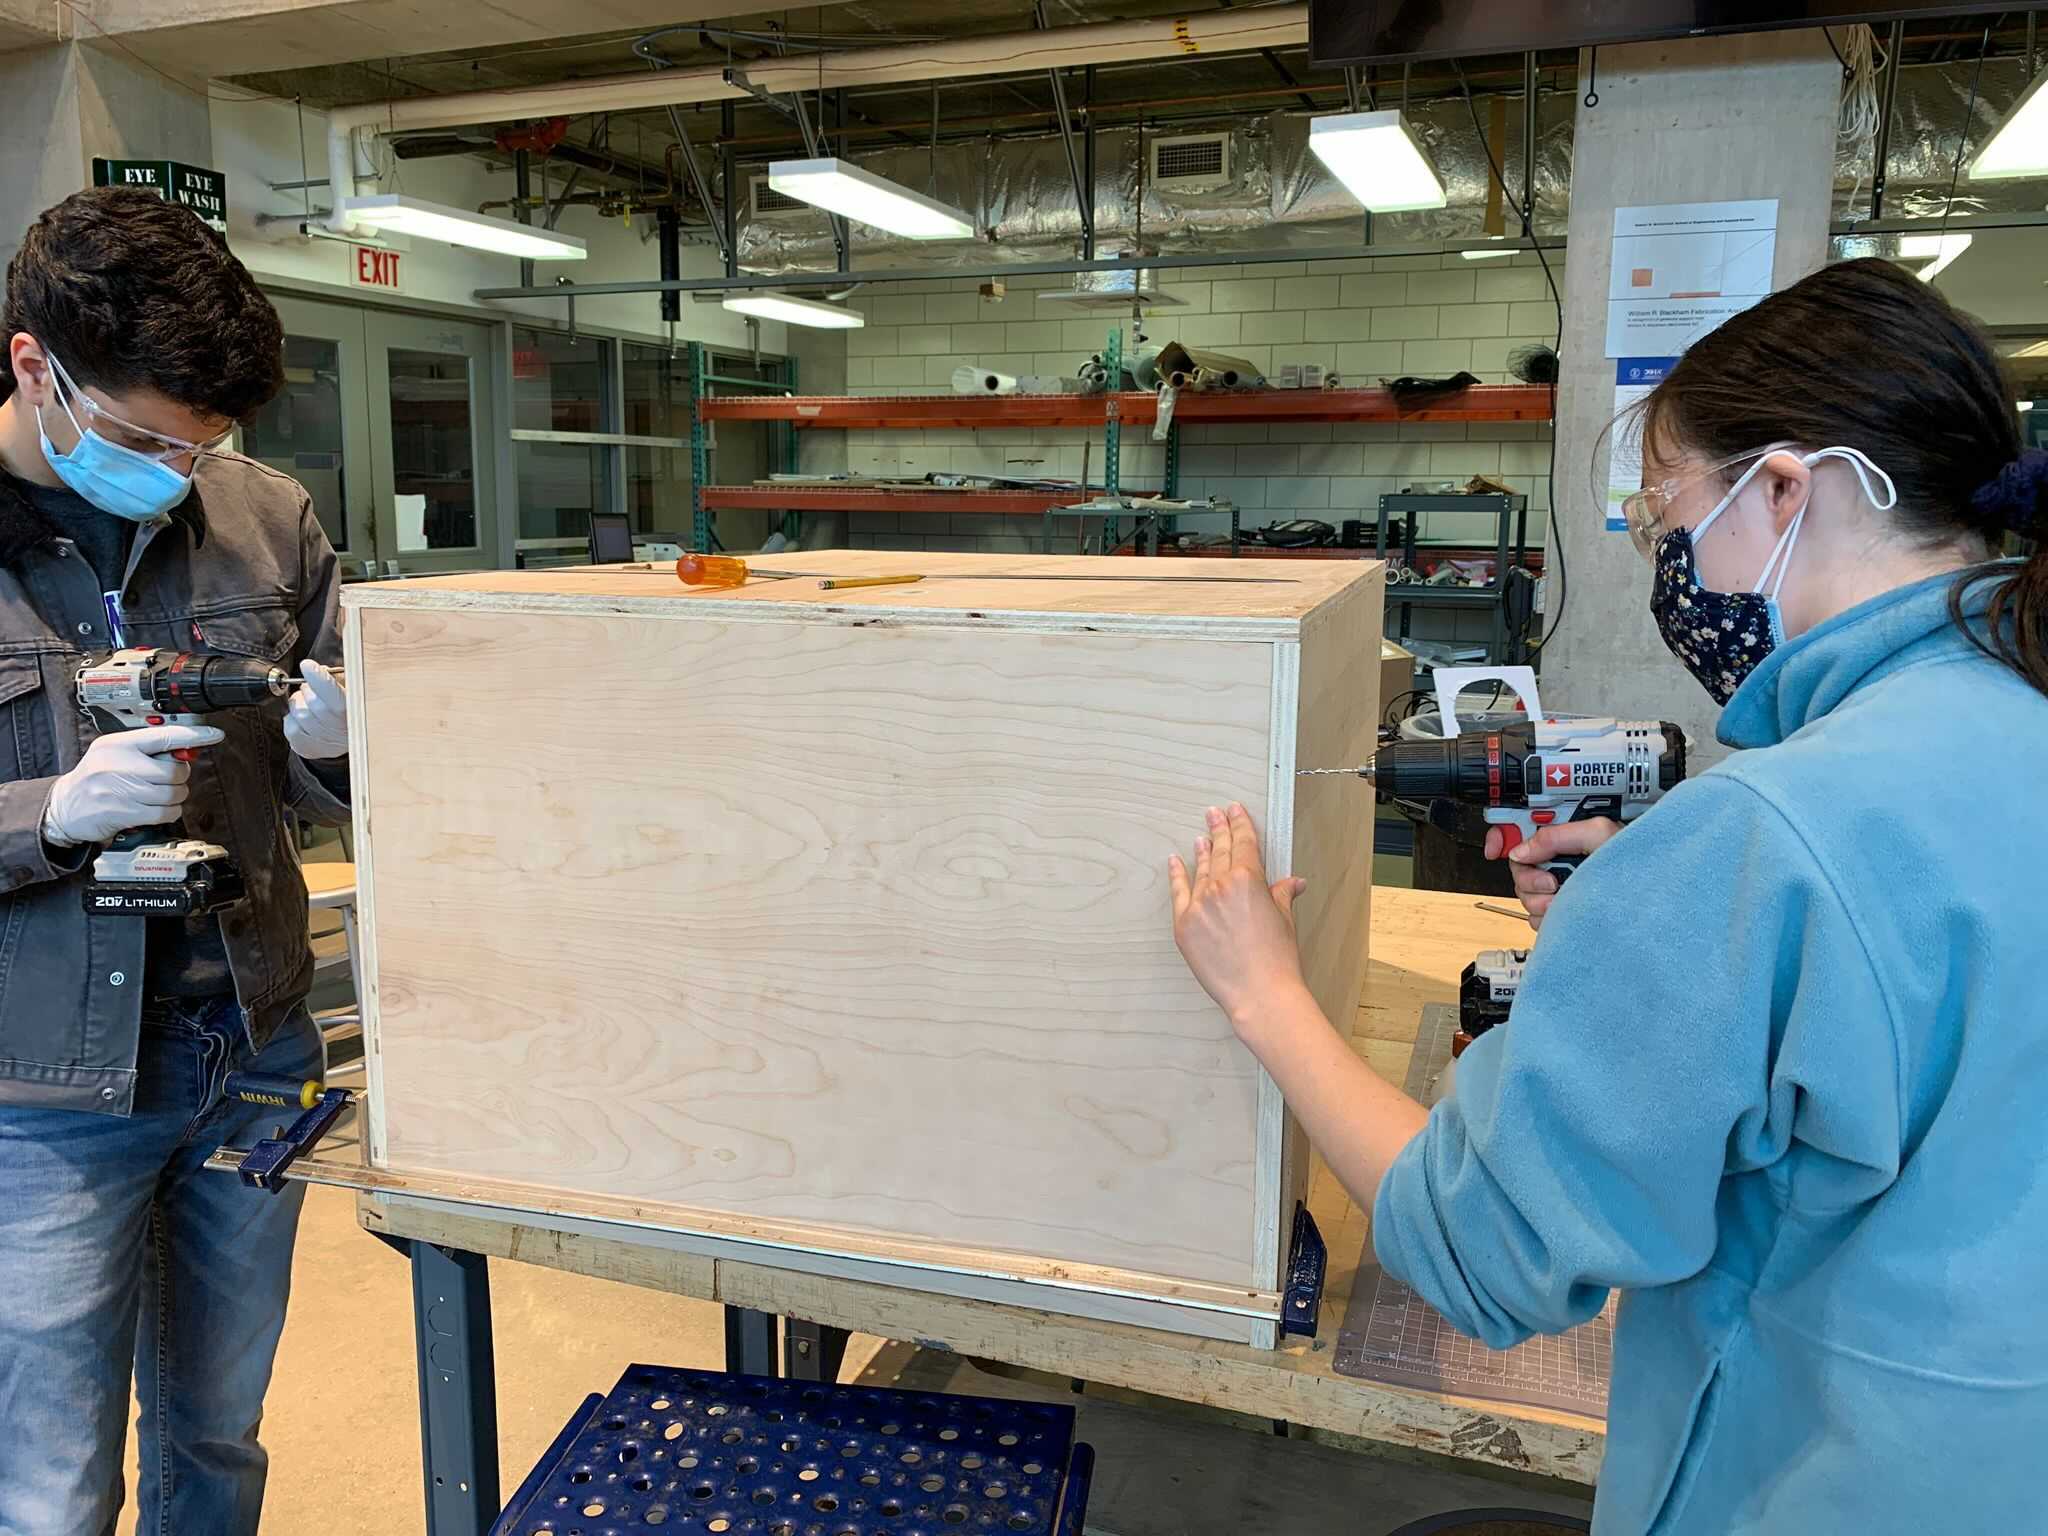
Putting the tank together piece by piece:
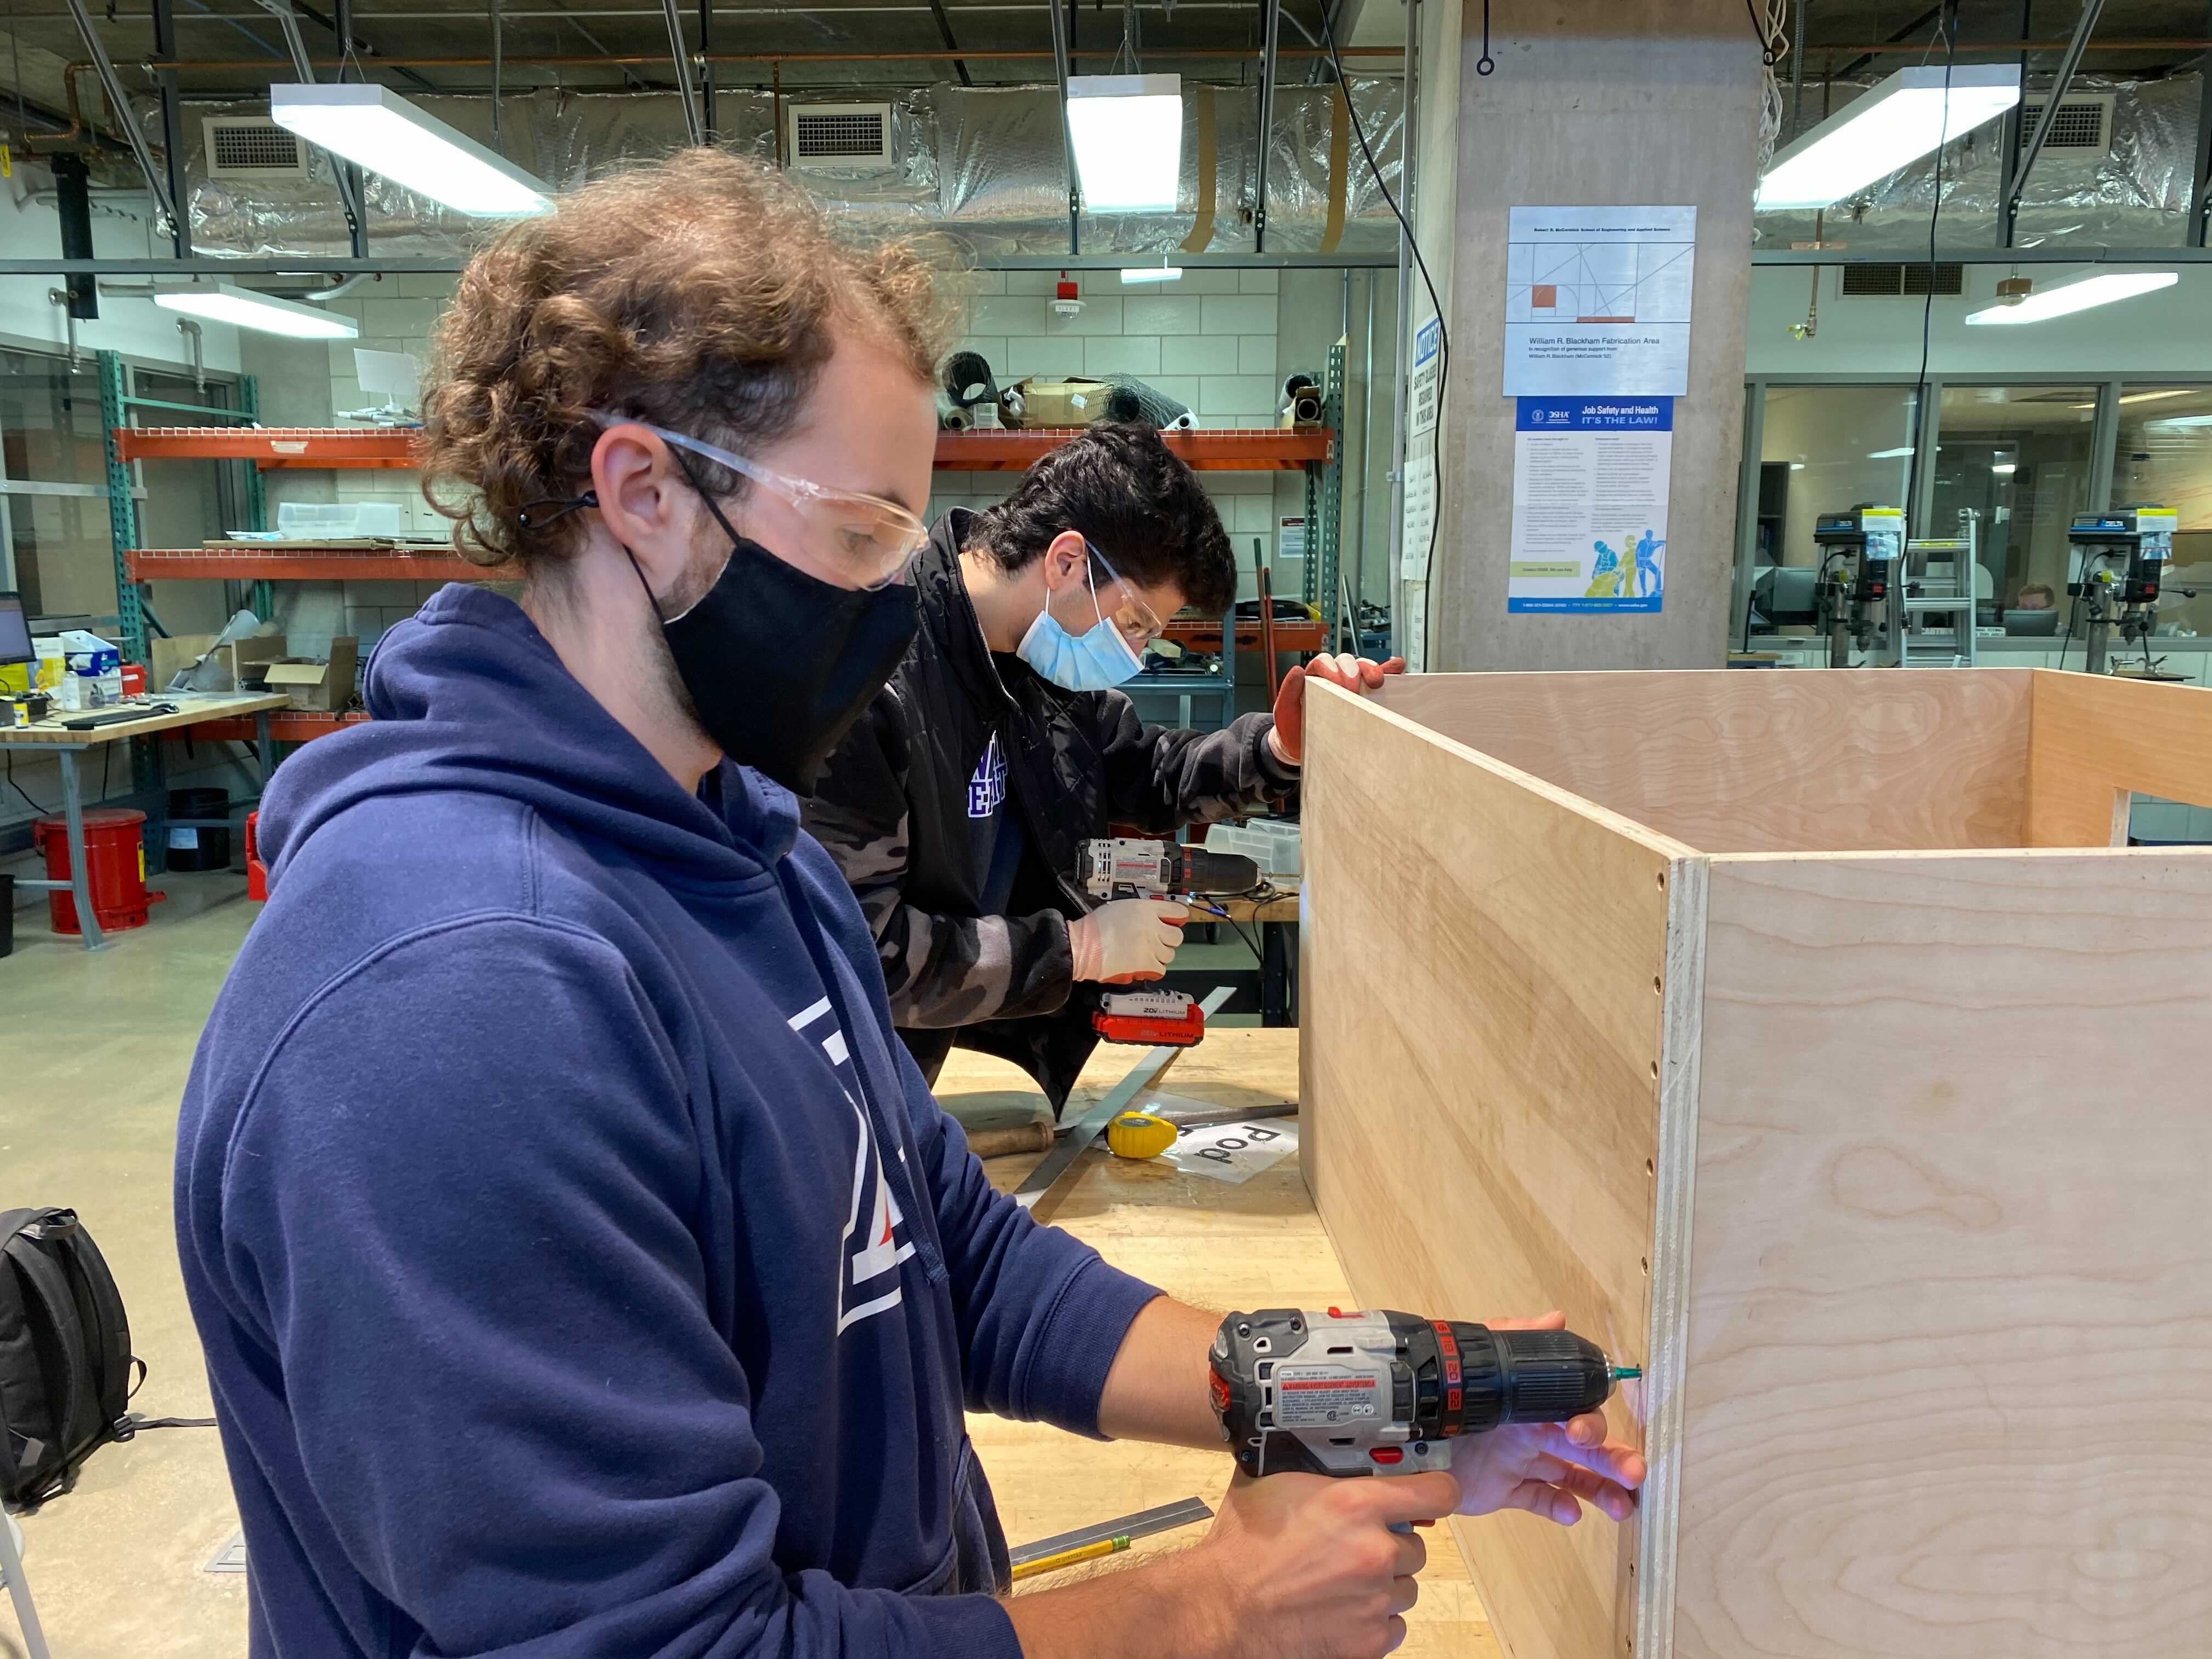
Look at all the different types of clamps we used!
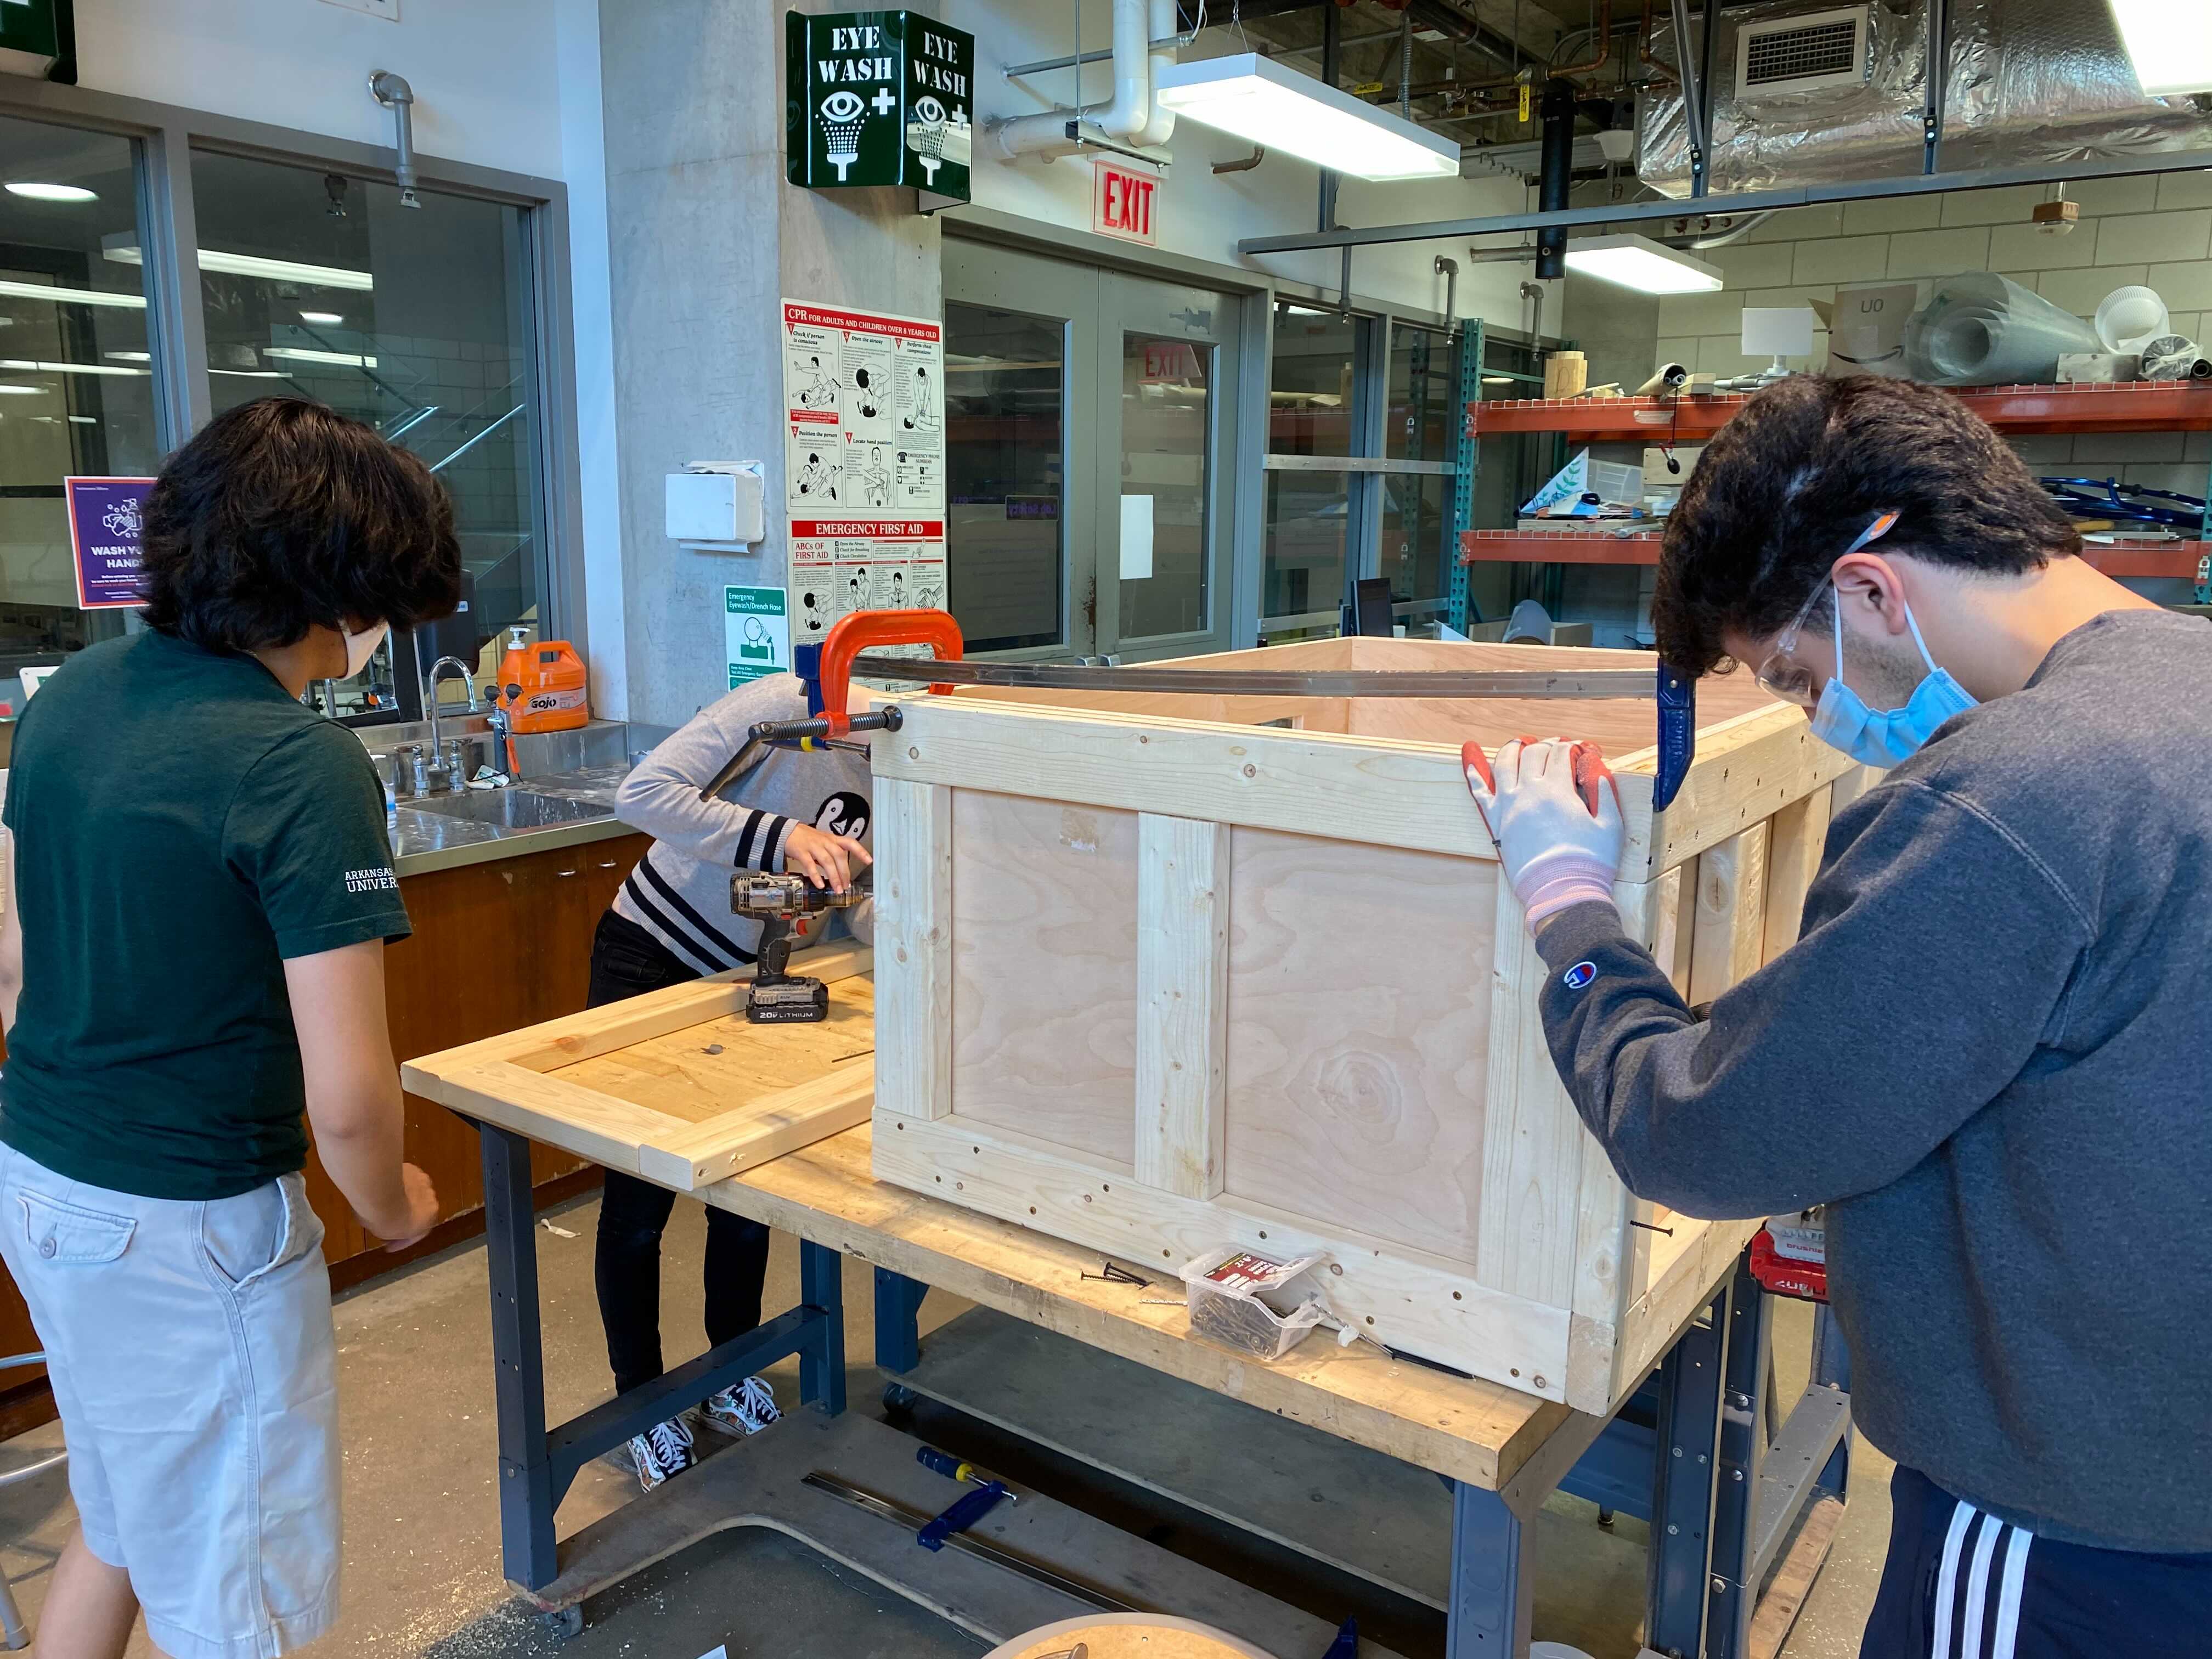

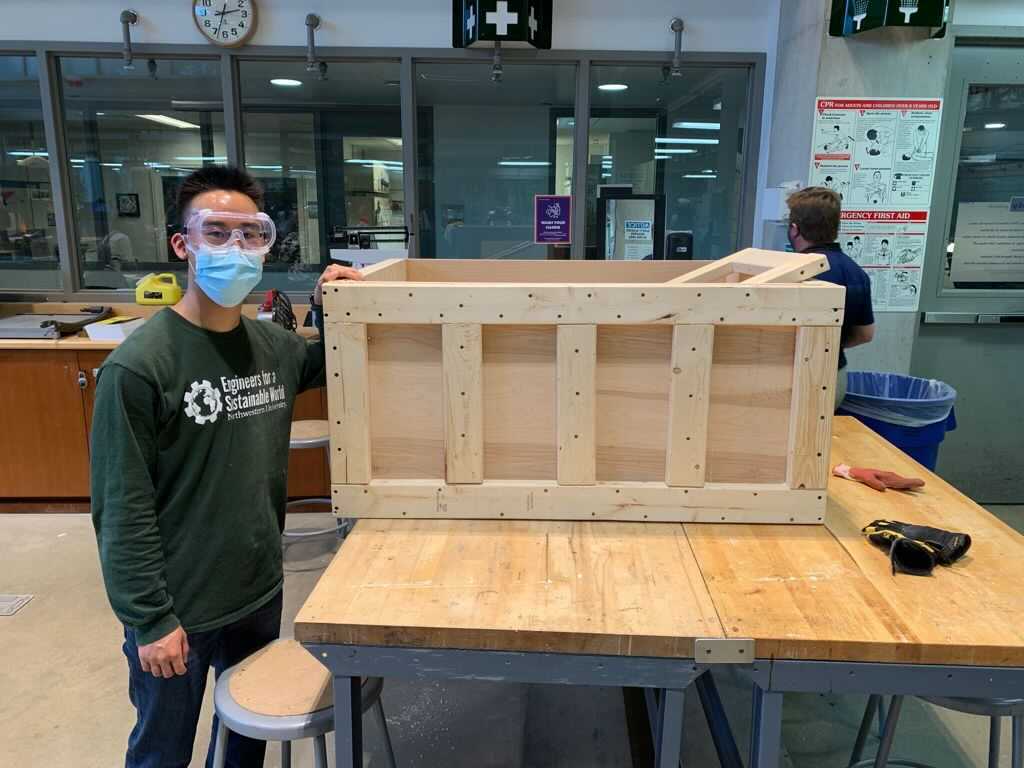
Completed back frame of the fish tank. The thick lumber support will prevent our plywood from bowing out from the water pressure:
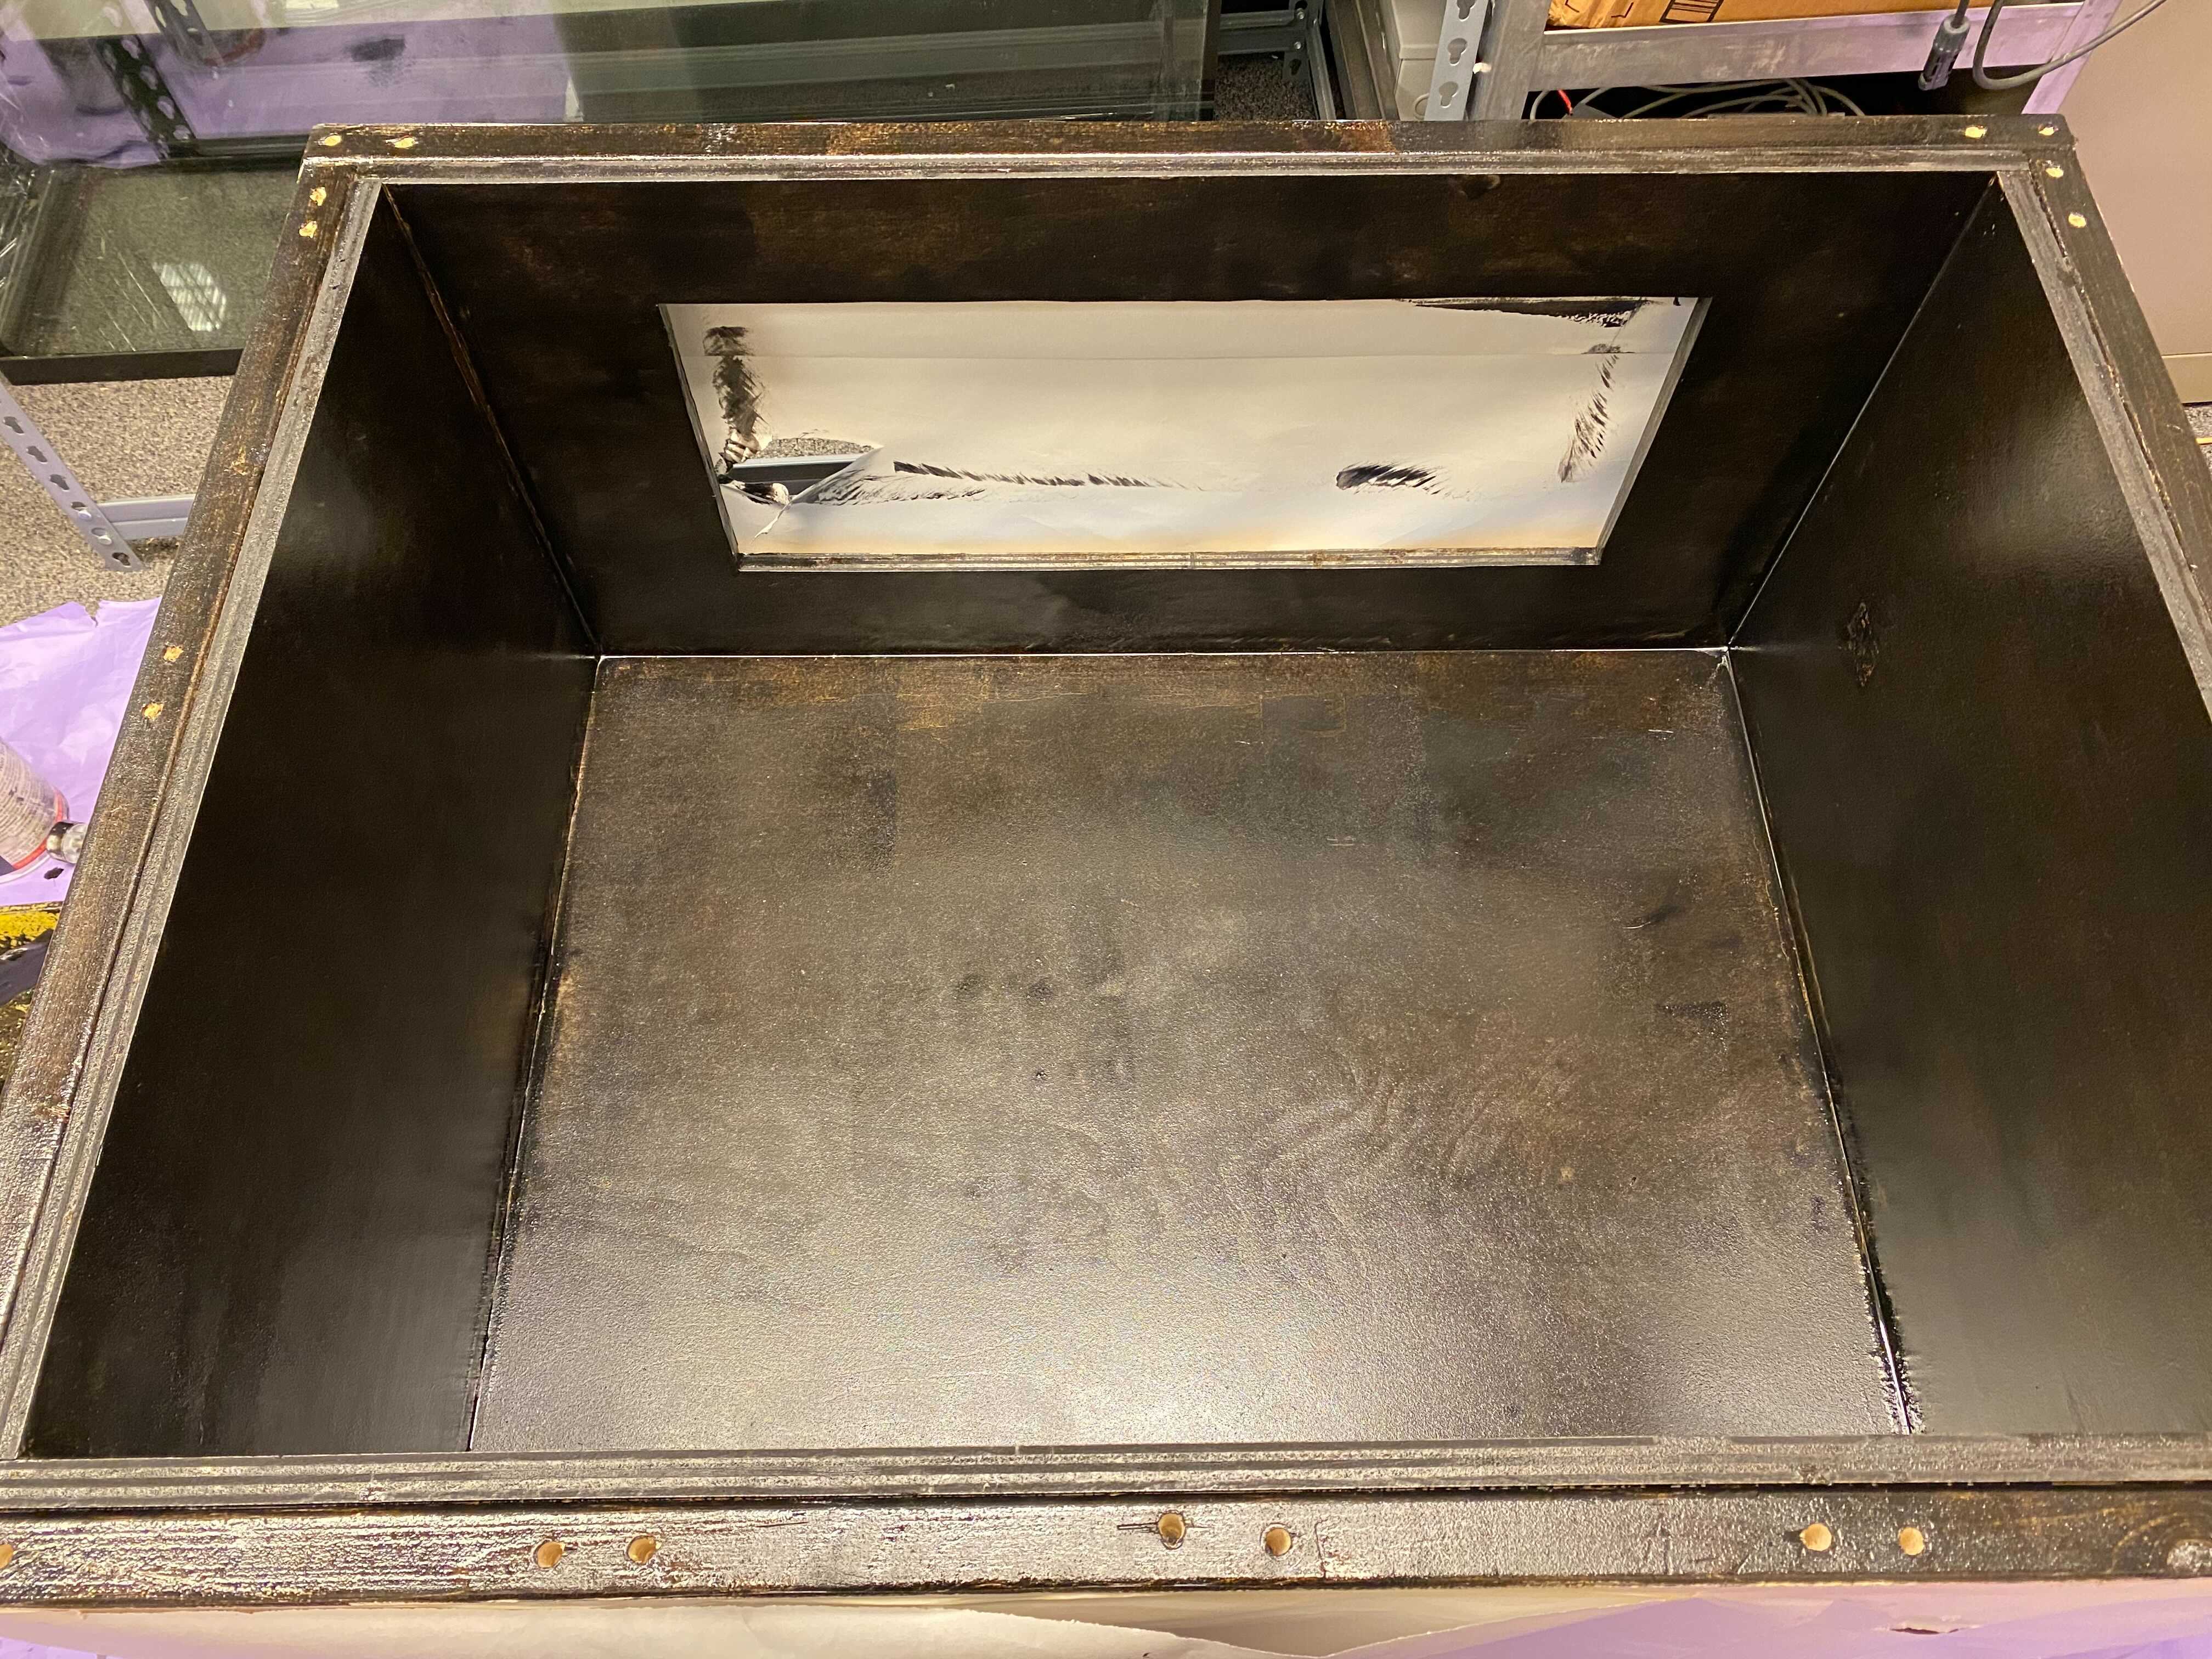
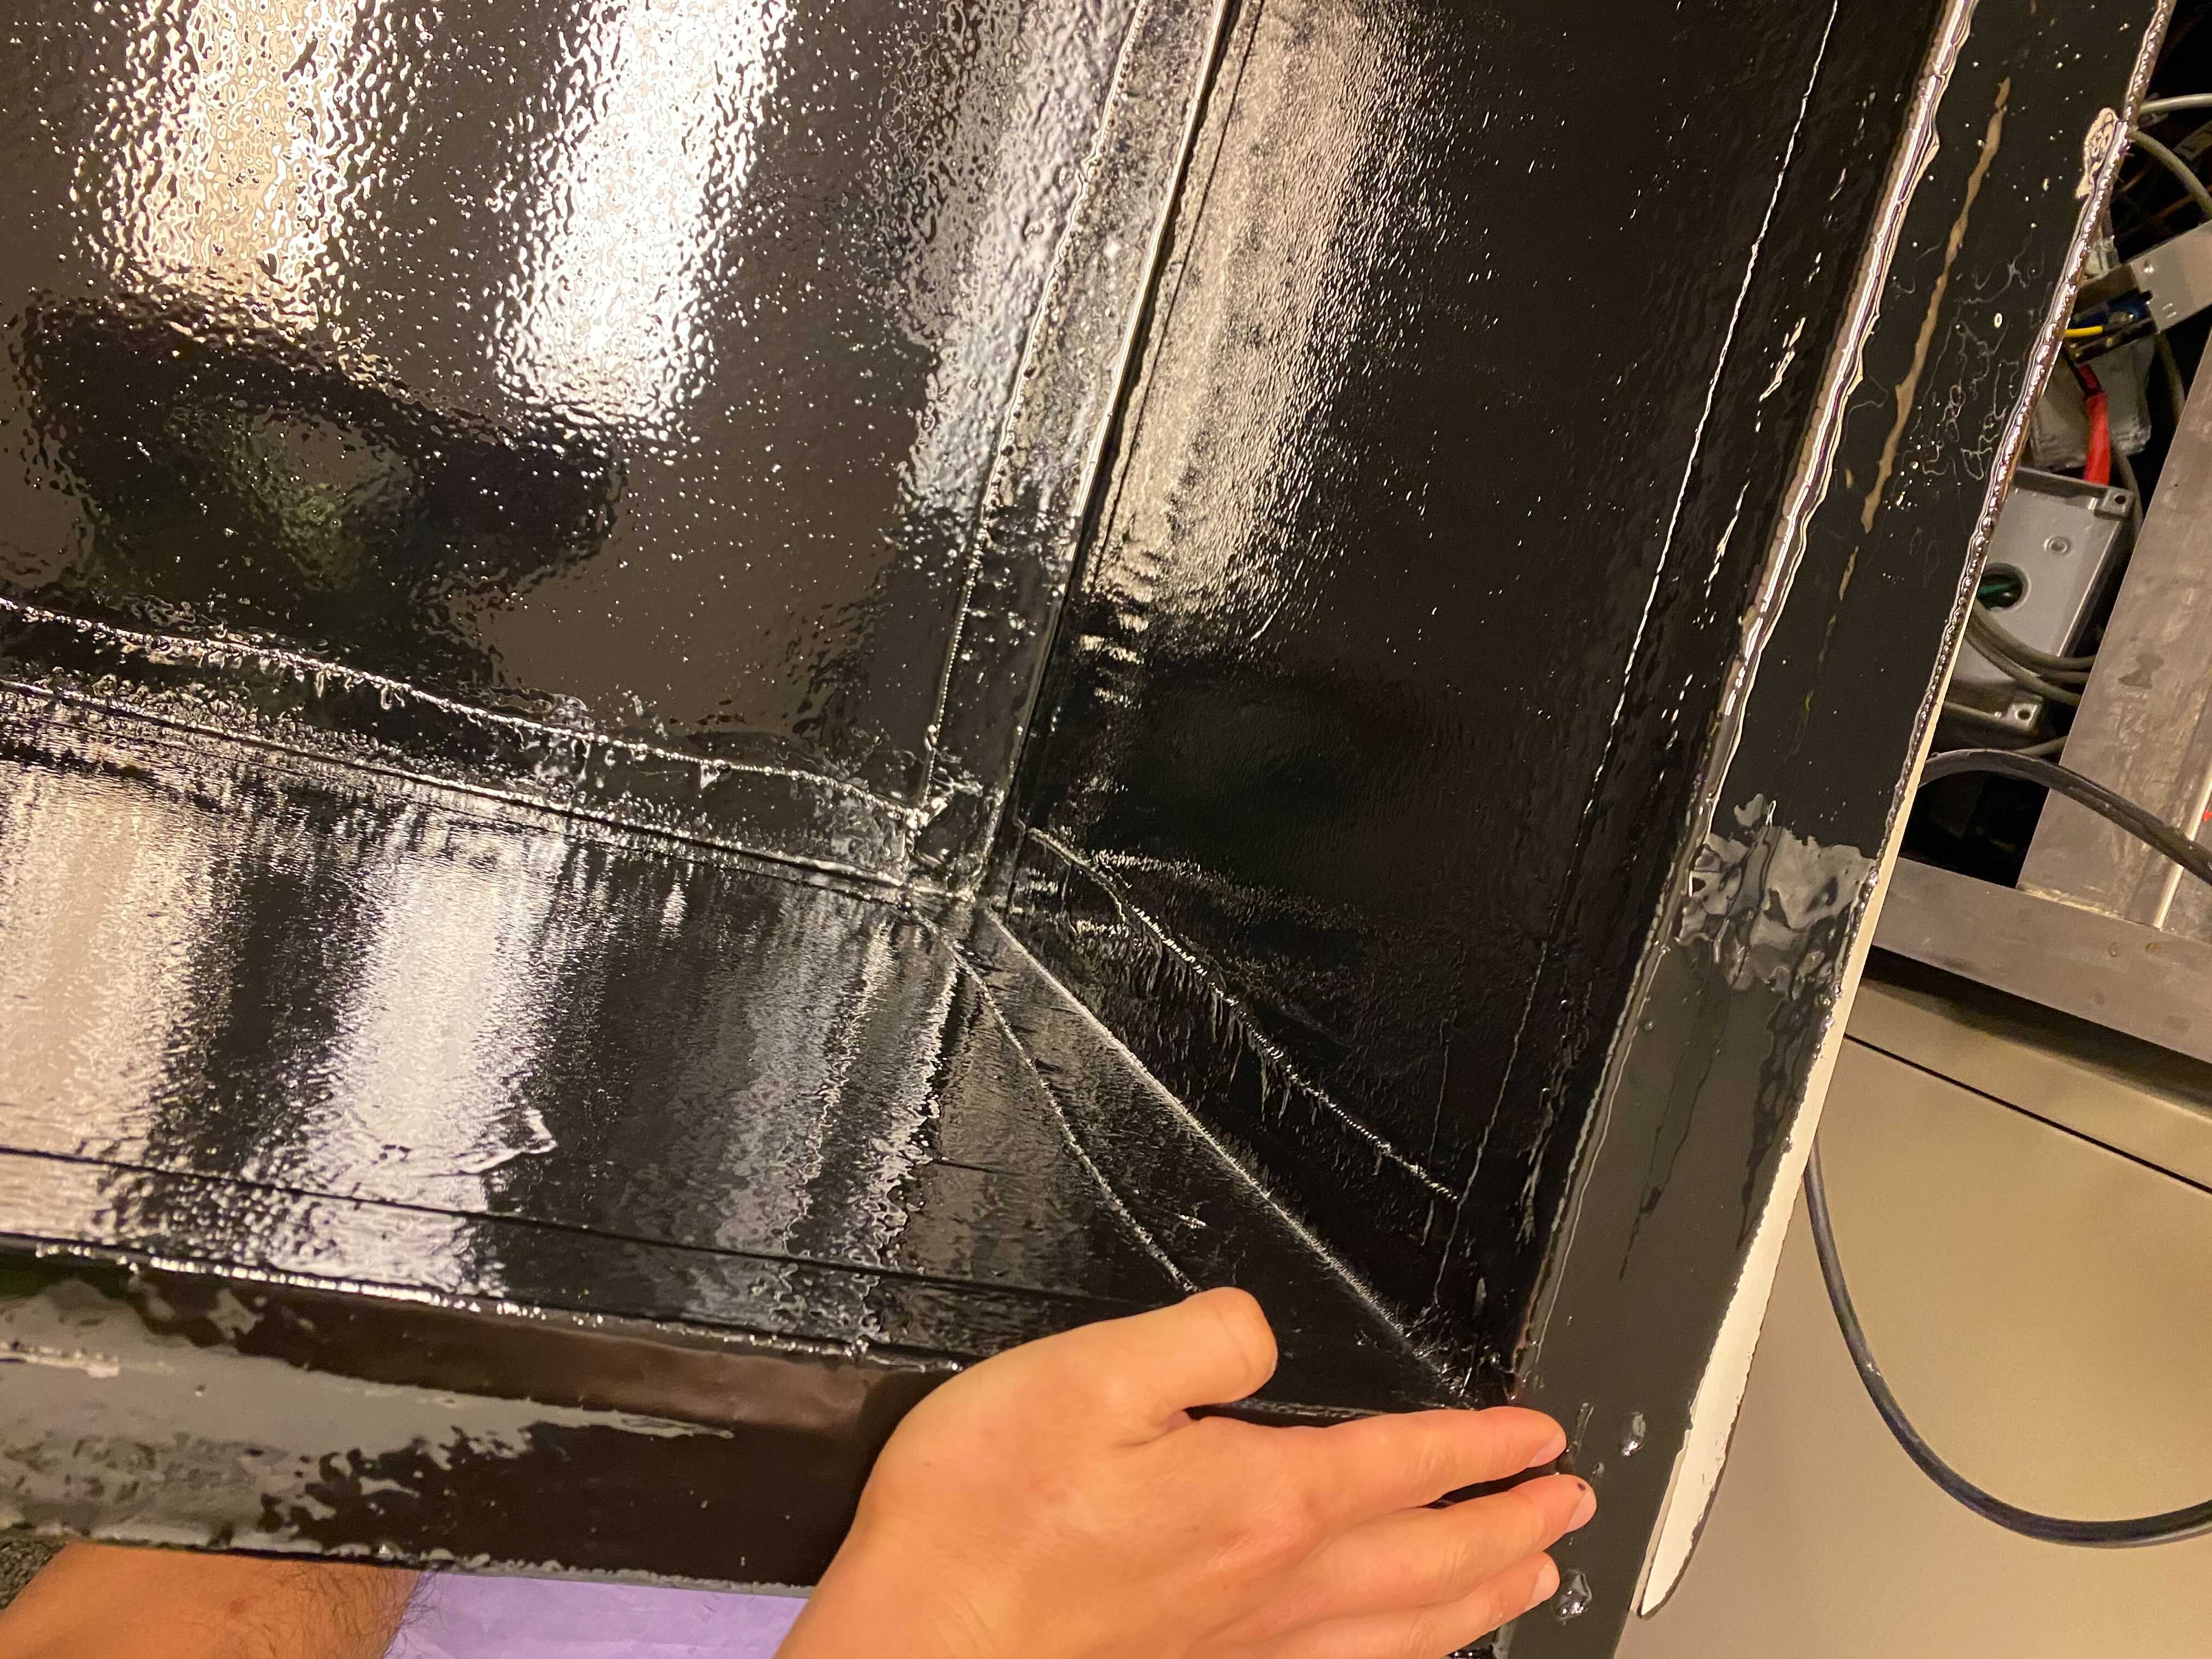
We coating the inside of our fish tank with the same non-toxic, low VOC epoxy we coated our grow beds with. It took many coats and a lot of sanding/waiting for the epoxy to dry, but the gorgeous, glossy surface we ended up with made it worth it.
Coat 1, with just enough epoxy to soak into the wood and provide a good surface for later coats to bond to:
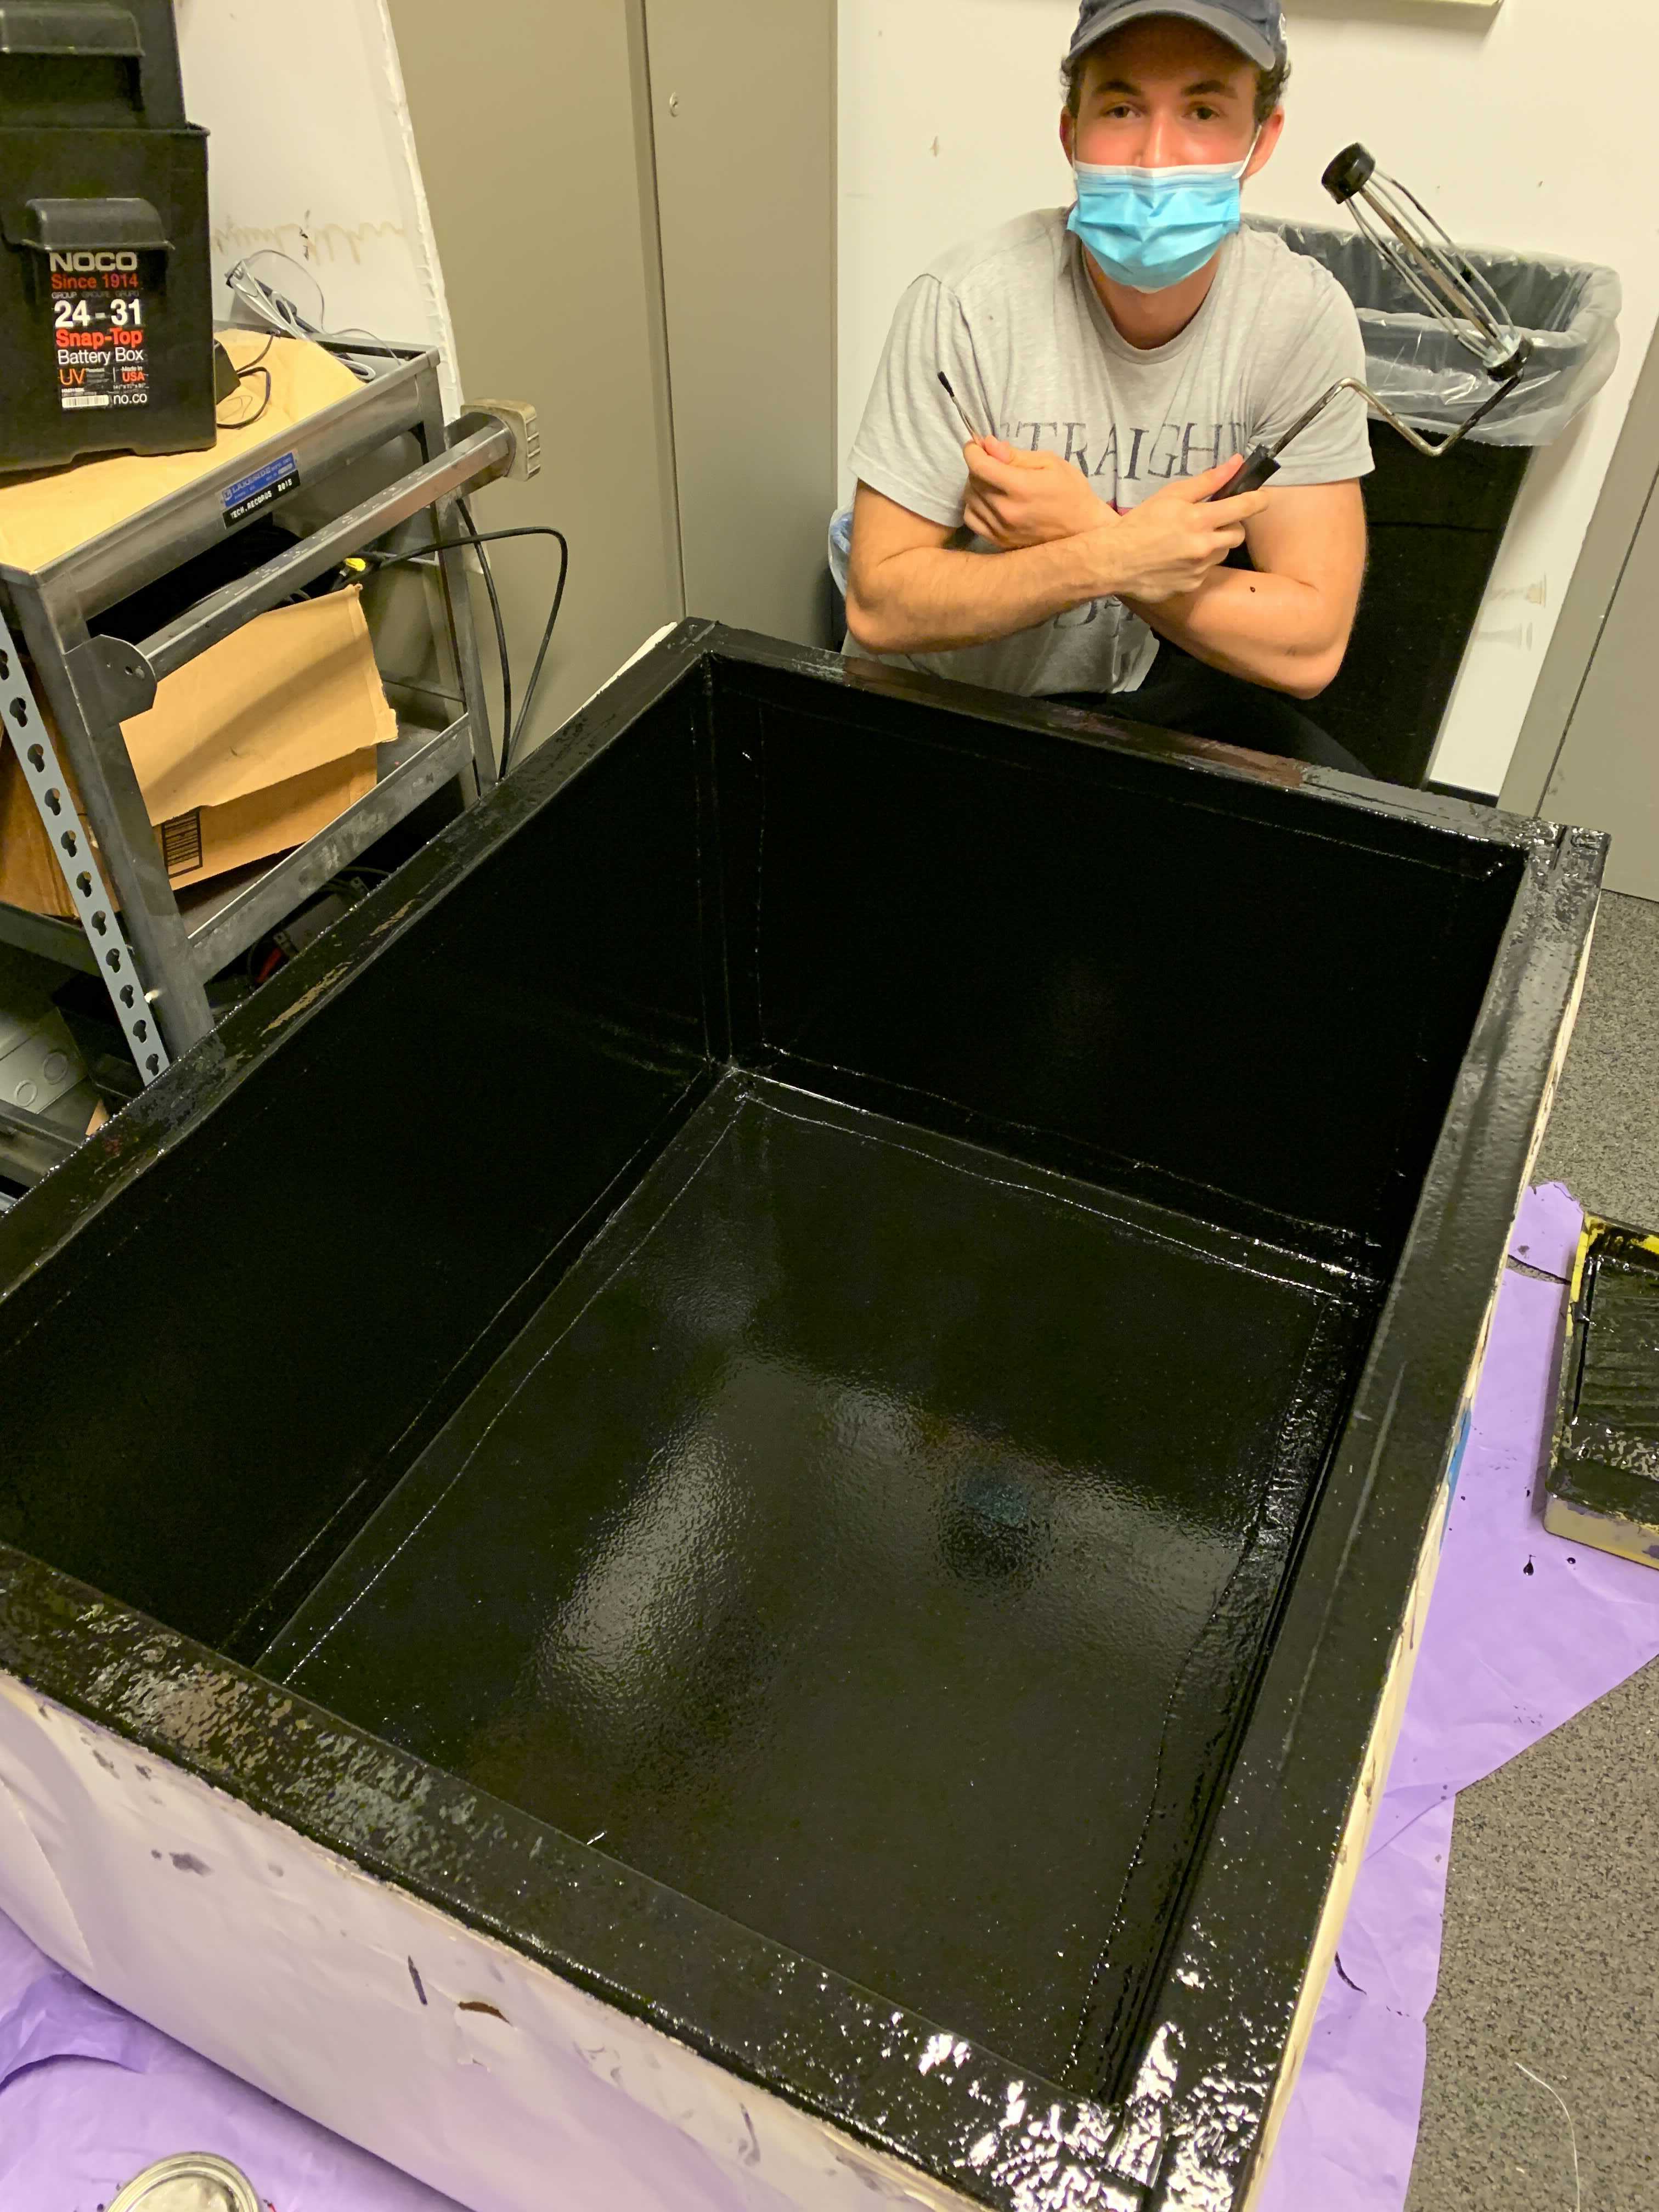
Having fun while painting:
The seams of the fish tank were reinforced with epoxy-saturated fiberglass to prevent water from escaping through the gaps between our plywood pieces (check out how shiny our dried epoxy looks!):
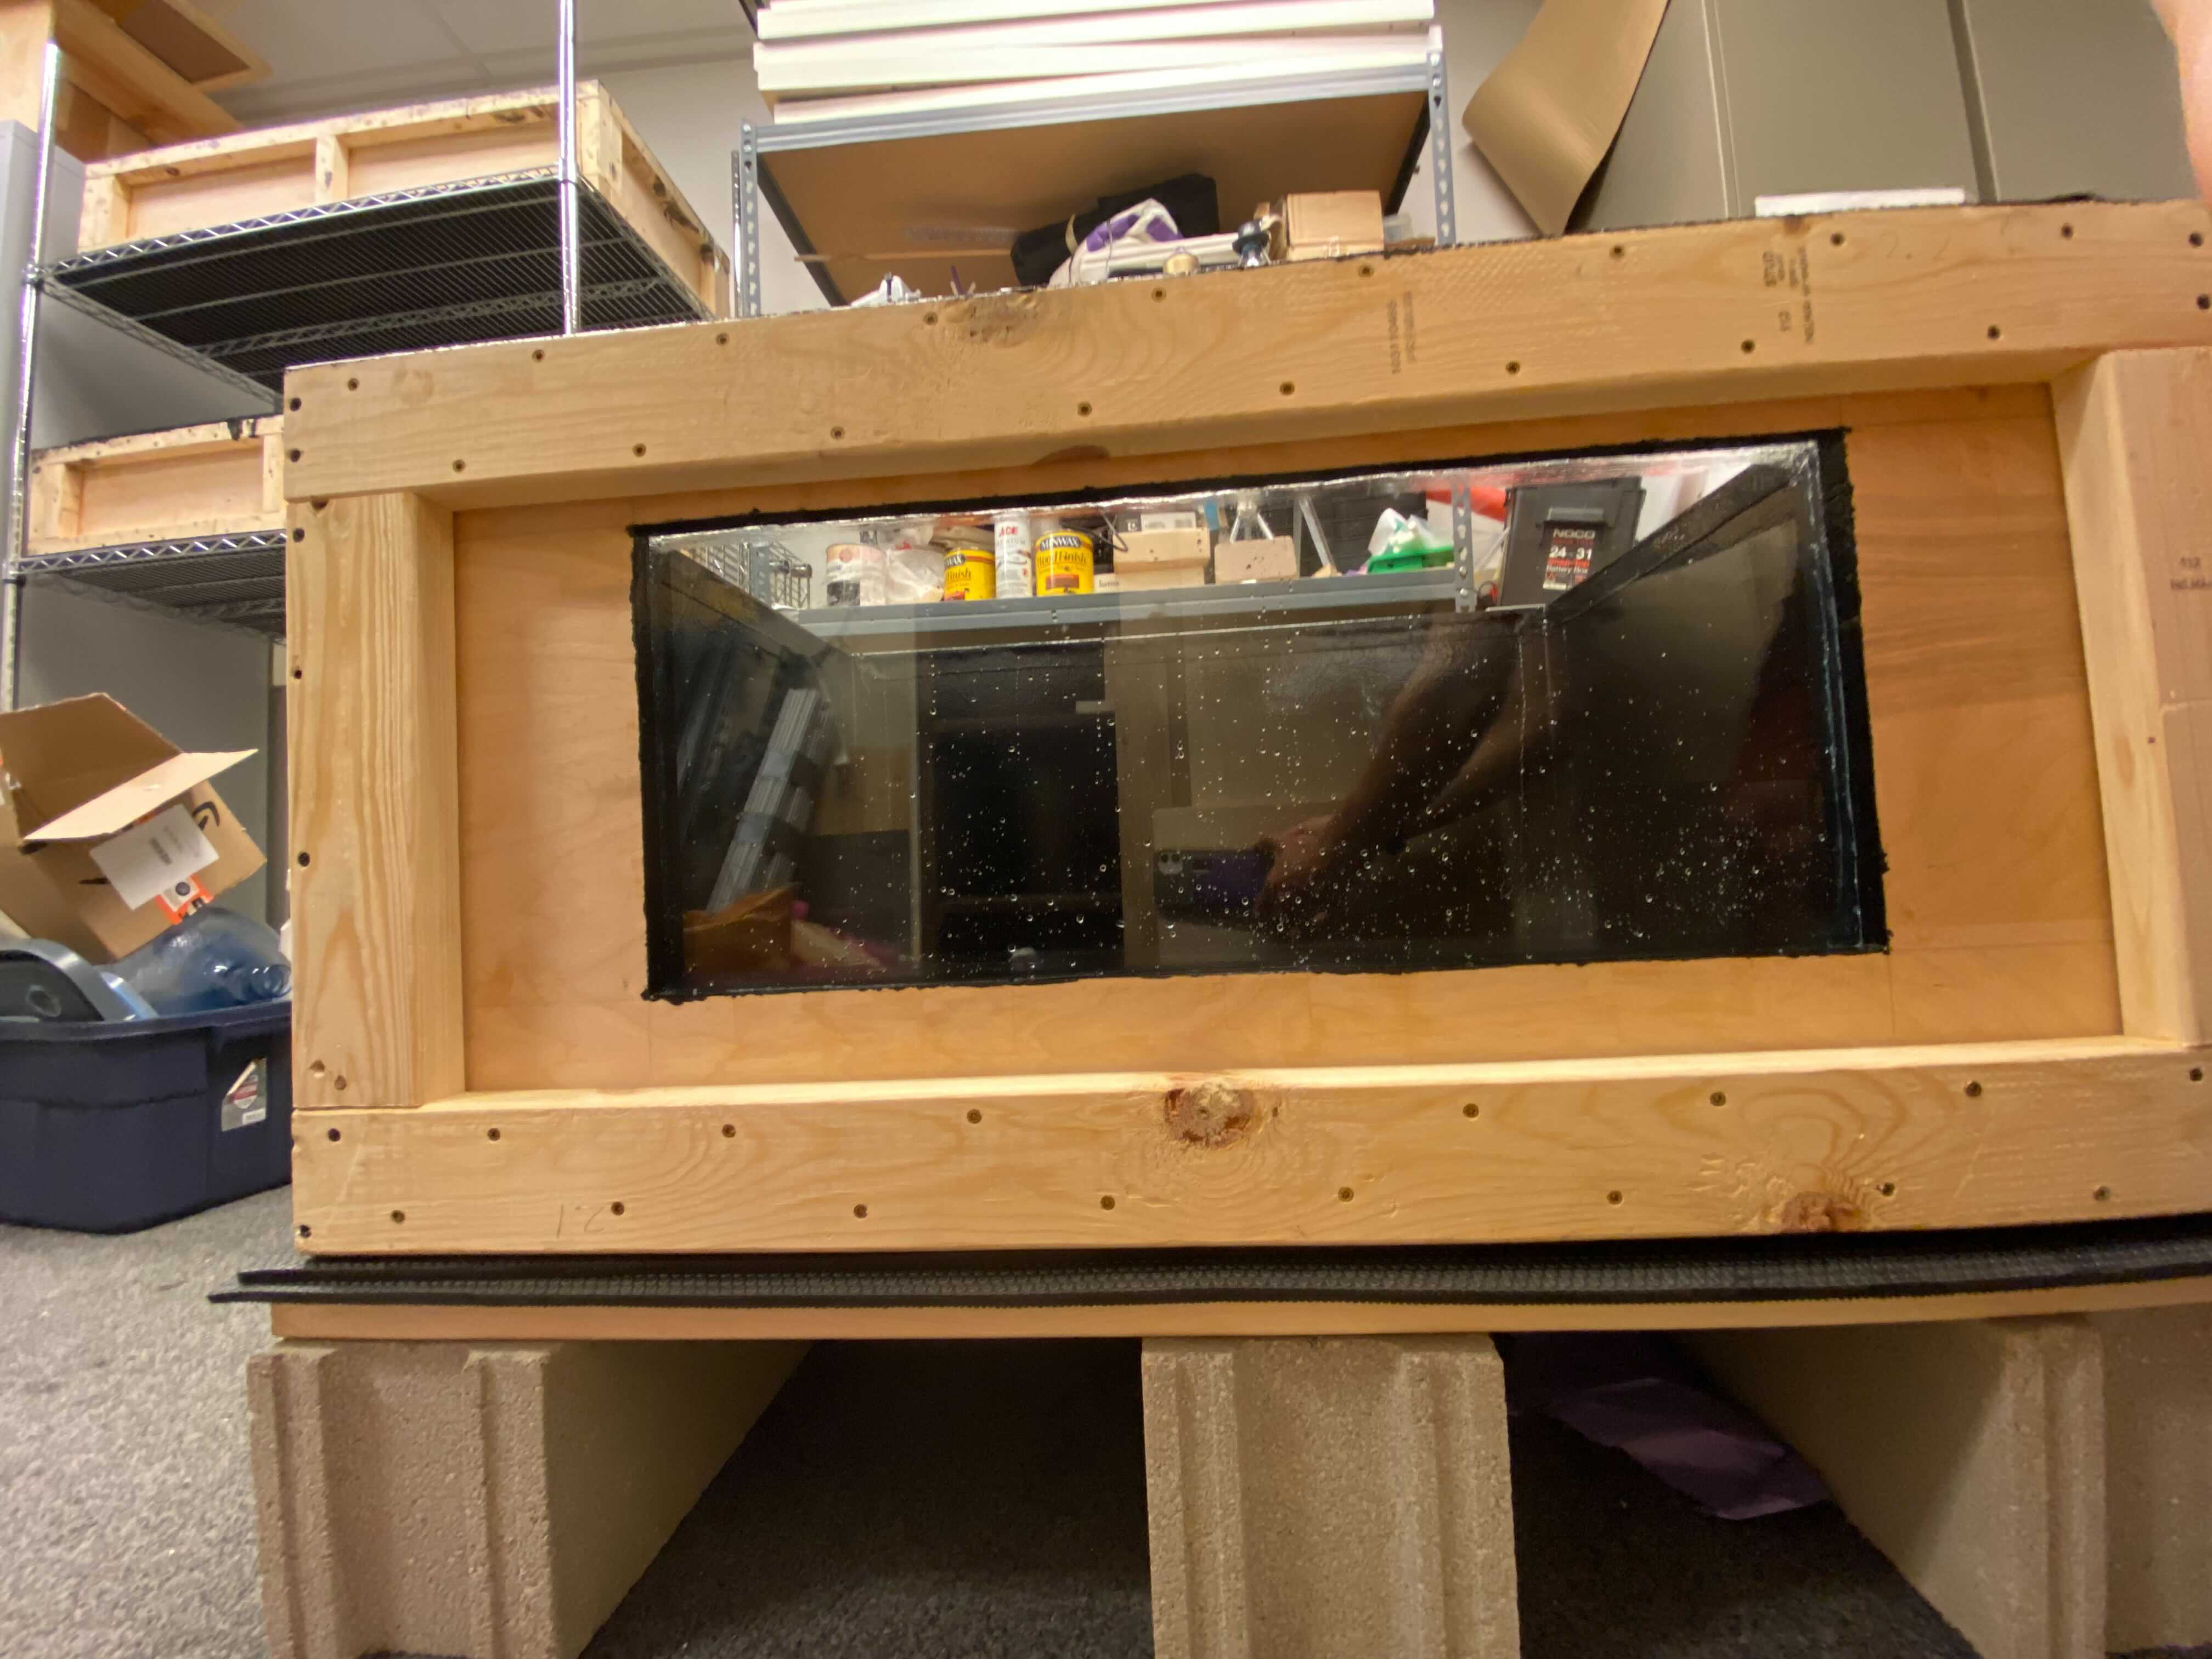
After we finished coating the fish tank, we attempted to install our fish tank glass. Unfortunately, we did not apply enough silicone to fill up all the gap between the glass and the front wood panel, which resulted in the tank leaking. We will be reinstalling a fresh piece of glass in the Fall with ample silicone to finish up the fish tank.
Fish tank after first glass installation attempt:
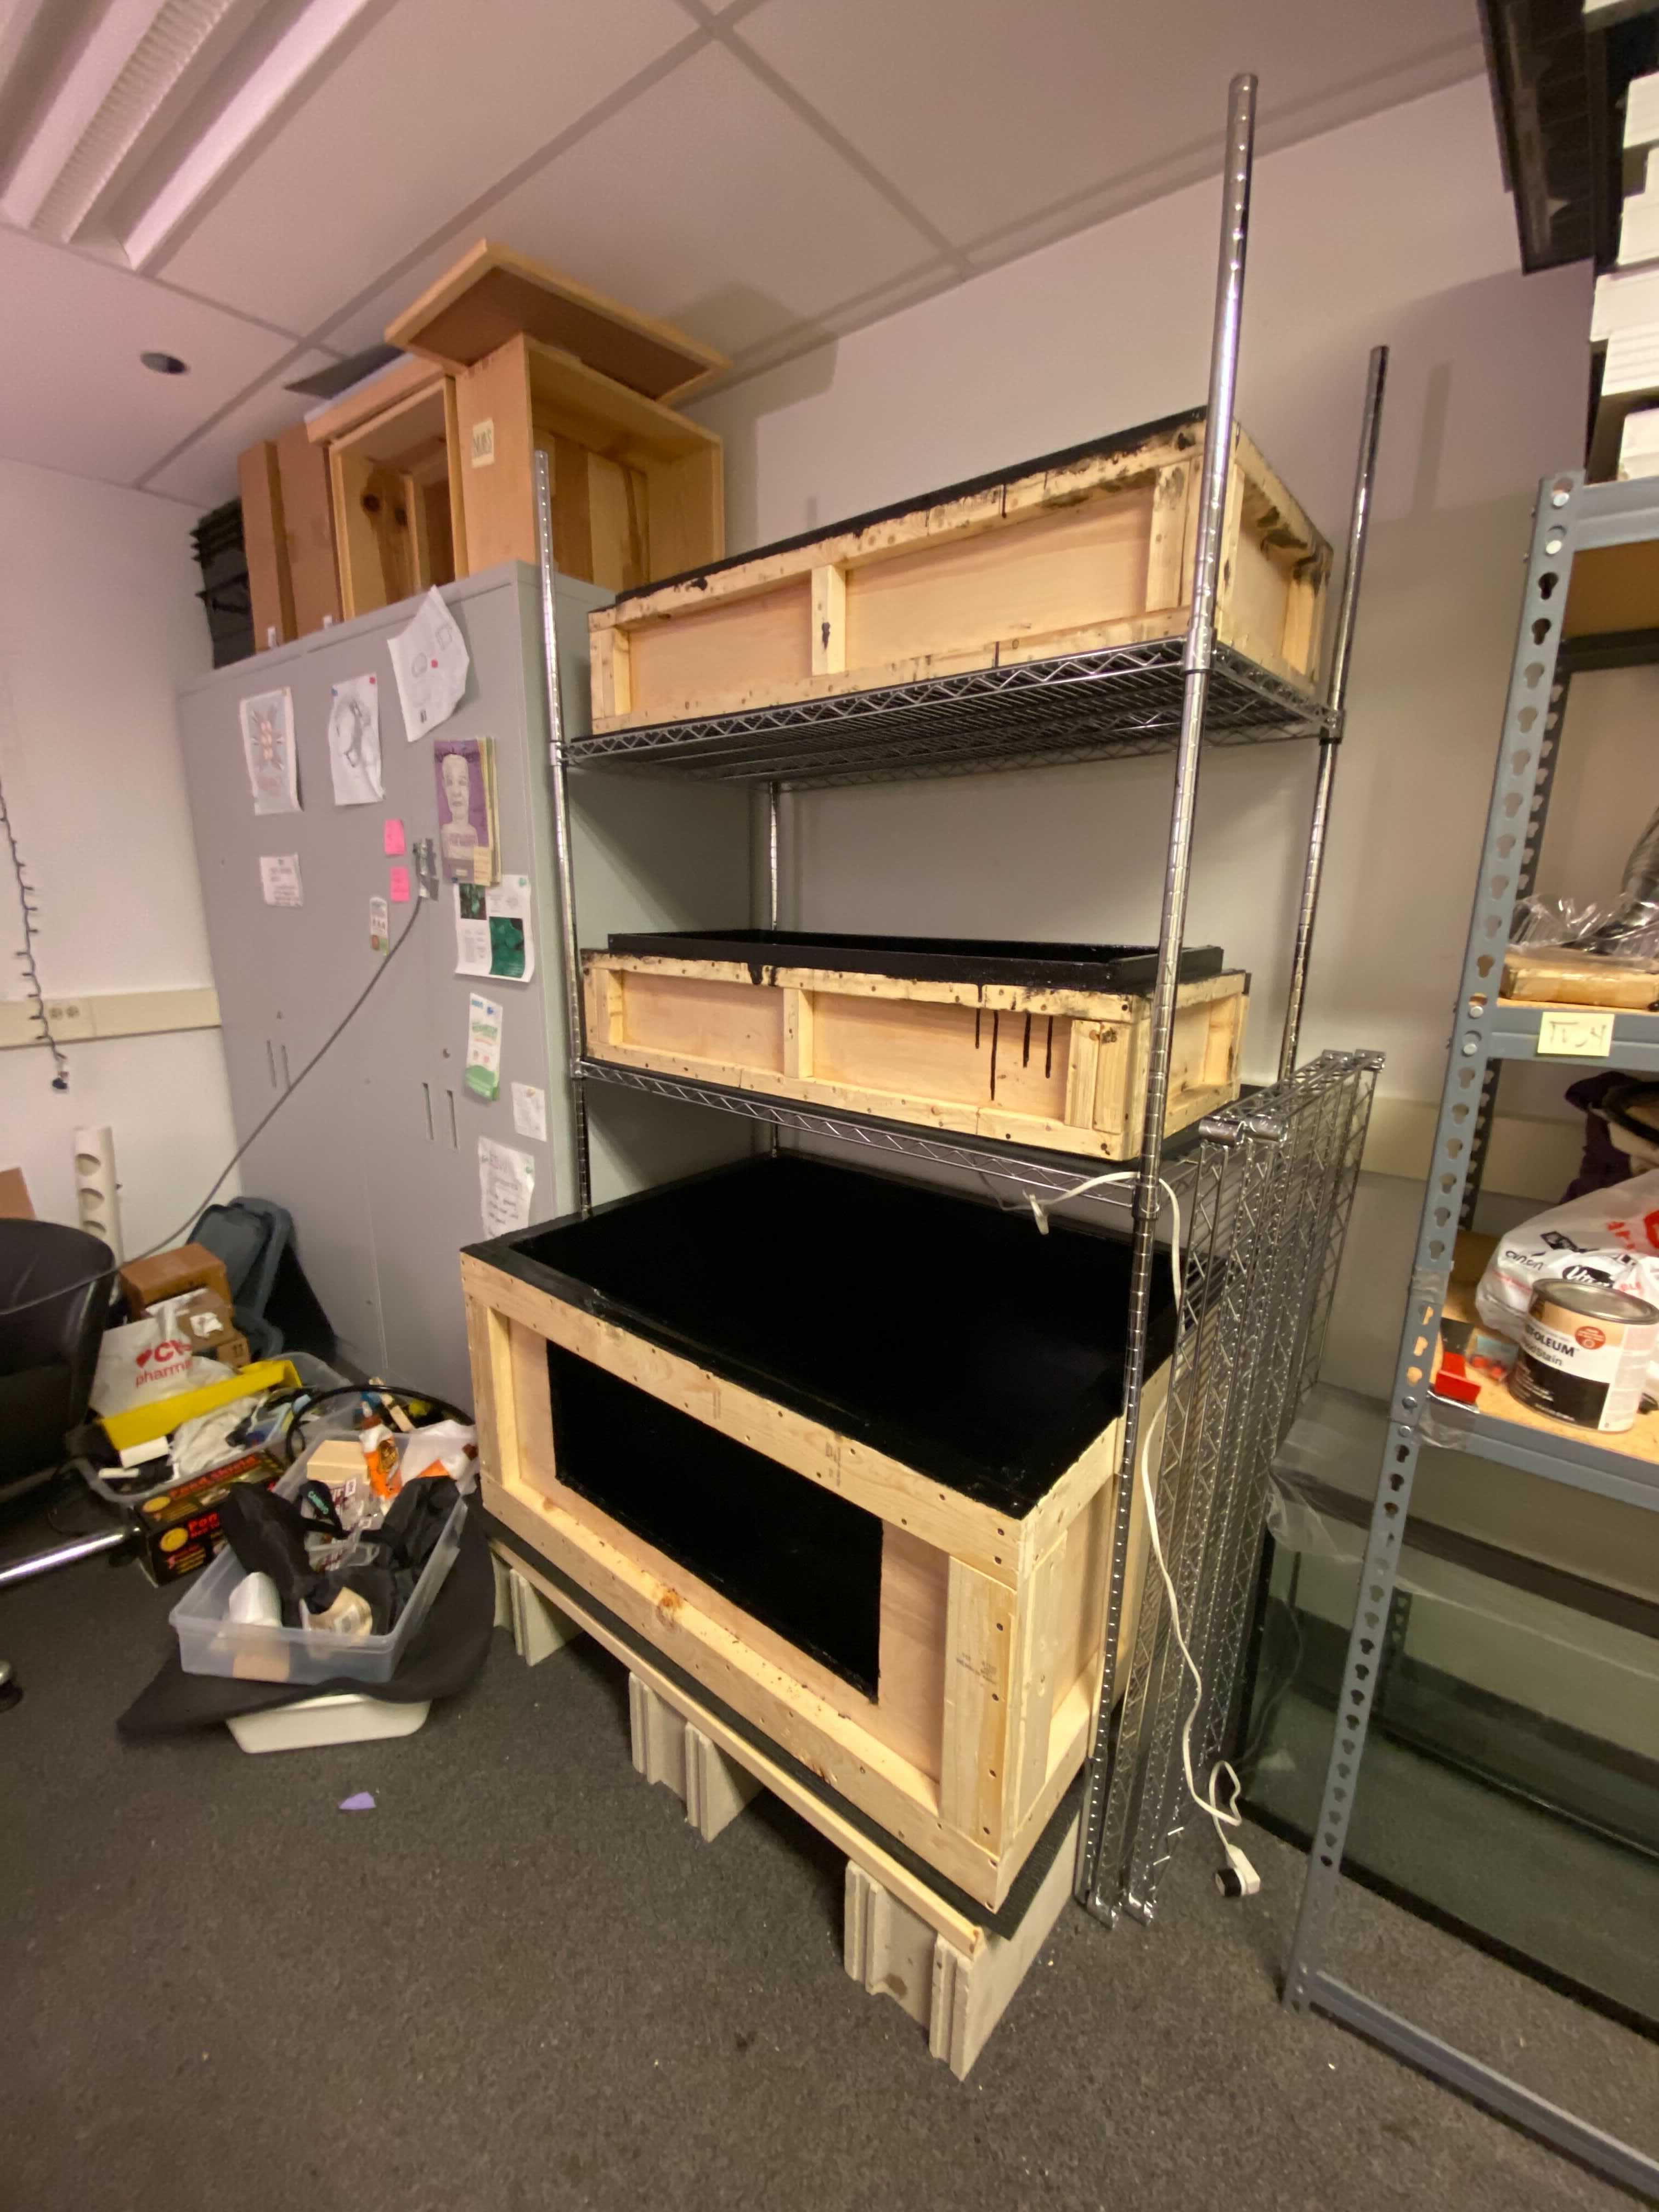
Our semi-completed fish tank (glass removed) stacked on the fish tank stand with our grow beds and sump tank:
A detailed list of our goals for the Summer and Fall can be found in our Project Completion Plan below, which we formulated for the ESW Project Grant committee. Northwestern is projected to return to all in-person mode in September, so we are optimistic that we will be able to get more timeslots in the machine shop and finish building everything we need. We are looking forward to having the first AutoAquaponics prototype up and running by the end of December. As always, we really appreciate your support, and please keep an eye out for more updates from us!
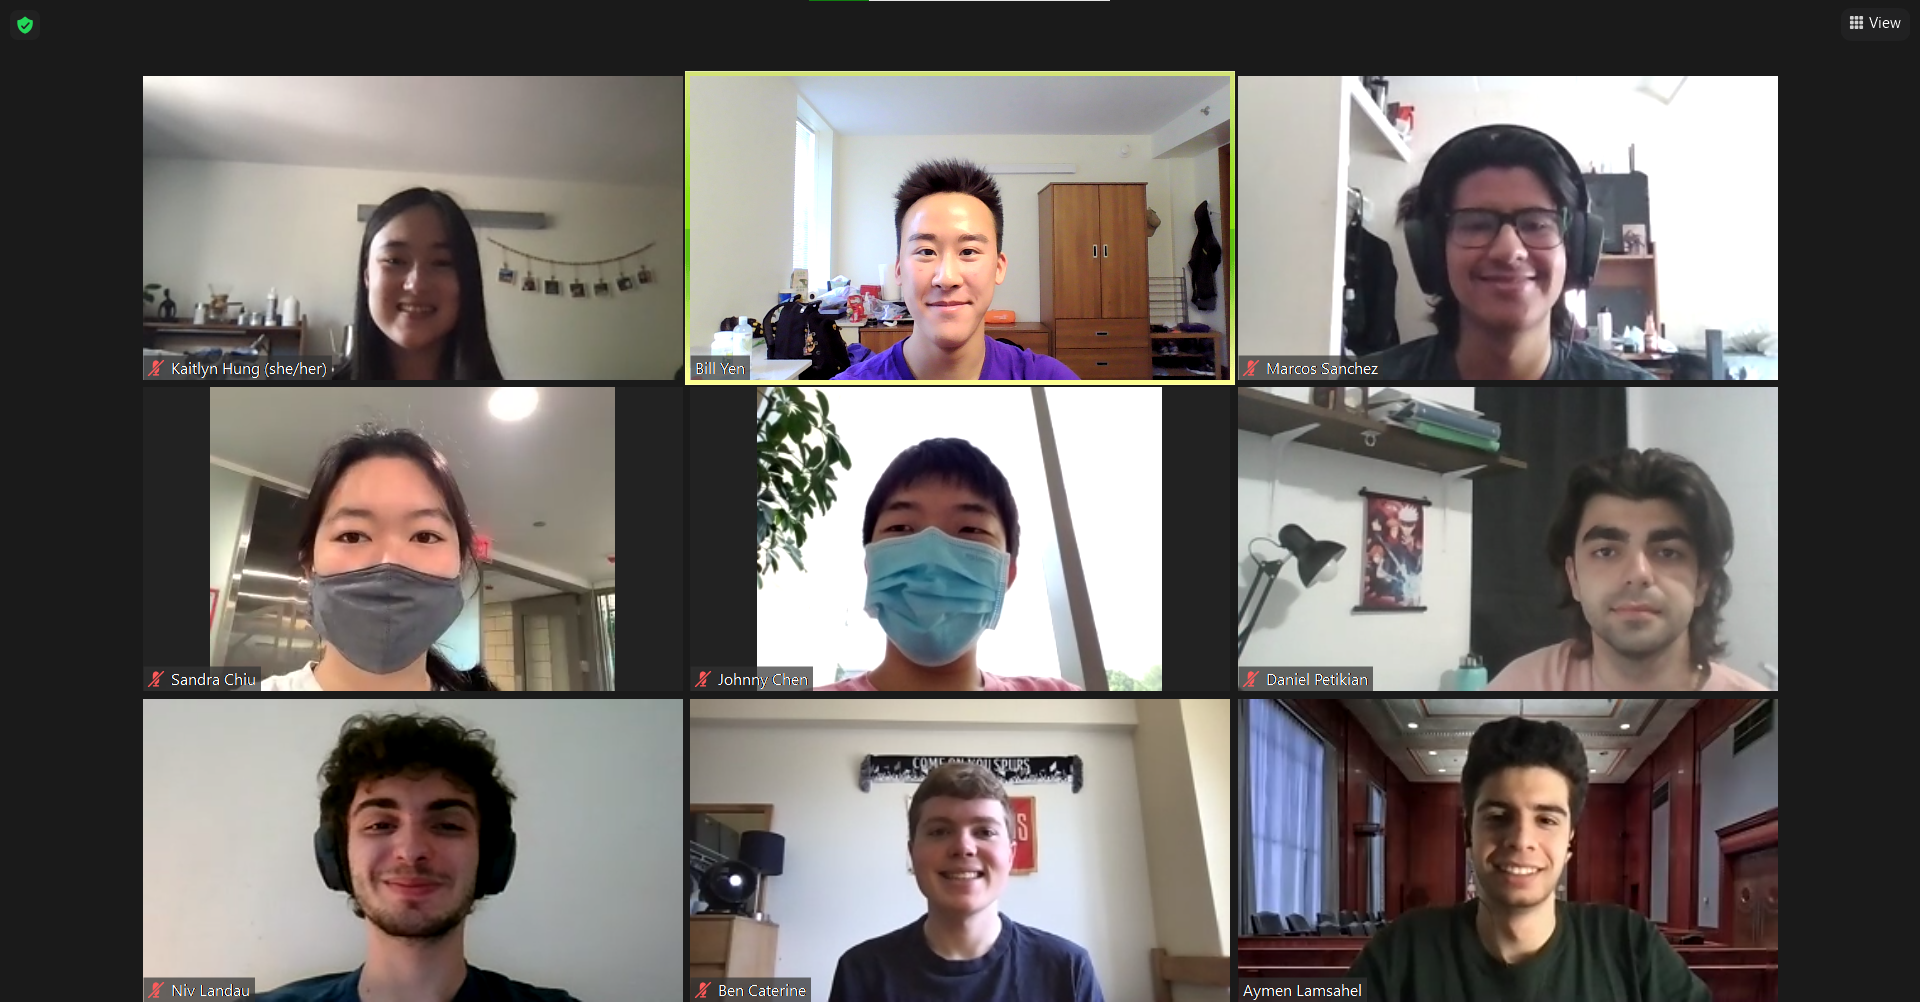
Not pictured: Raymonde Council, Jake Turner, Kayd Bhagat, Anna Lis
Comments