Project

Profile

Help

Blog

PSU Hydroponic Vertical Farm: Progress Report

Added by ESW PSU about 2 years ago

Penn State- Vertical Hydroponic Farm Project Progress Report

Description: The club met every Thursday night for an hour, mostly at Penn State’s Student Farm Greenhouse. The hydroponics project is still in the prototype phase. The prototype has two tiers and can hold 4 plants. We designed the prototype like this because it reduced size and pricing while keeping the main factors that we need to test of the final project in tact. The PVC reservoirs are held in place on the wooden frame by J-hooks. The reservoirs have rubber caps with drilled holes for the solenoids to go into. The solenoids on each end are connected to a hose that uses a 3 way connector to connect the hose back into one stream into the water container, creating a water cycle loop. Our original time line aimed to have the prototype running by February, which did not happen. An aspect that we struggled with was the PVC connections. The solenoids, pump, and reservoir endings were all different sizes, which required us to use many converters. During this time, PVC was hard to come by due to a shortage, but more expensive metal converters were available some of the time. This is one aspect that pushed our timeline back due to the unavailability of essential parts. We also ran into some issues with the electronic aspects. Our group is composed of a wide variety of engineering students, however this does not include an electrical engineering student. We ran into the problem that our pump turns on and off when it is or isn’t plugged in, instead of having an “ON/OFF” switch. Due to this, we needed to create an electrical box to allow the project to function as planned for if the pump did have a switch. This took us a month worth of meetings in order to figure out. Another problem that we ran into is voltage requirements. The solenoids require at the very least 6 volts to open, however, the arduino or raspberry pi were only delivering around 3 volts (we had an arduino donated to us). After trying to work through this problem and reaching out to a few people outside of our group, we attempted to sauder the connection and to use a MOSFET. We found that the metal on the solenoids do not sauder and the MOSFET only barely increased the voltage. This brought us to the end of the school year. With all of these electrical problems, I aim to recruit electrical engineering students to the project during ESW’s general body meeting at the beginning of the fall semester, since this meeting usually brings in a large group. We still plan on donating the structure to a local family or school once it is complete. This will allow more people to be exposed to the practice of vertical hydroponic farming, provide fresh produce, and encourage learning.

Finances: Description Amount Ras Pi $ 49.99 Seeds $ 10.90 Net Pots $ 14.95 Hose Connectors $ 8.15 Hydrogen Peroxide $ 9.16 pH balance $ 15.99 hose adapter $ 8.99 pump $ 54.10 ph meter $ 11.99 Y hose splitter $ 15.99 drilling set $ 9.99 drill $ 34.99 j hooks $ 5.20 pvc pipe $ 14.24 end cap $ 2.60 pvc cement $ 5.94 hose $ 19.98 pvc adapter $ 1.71 rubber cap $ 9.10 adapter $ 4.12 rubber cap $ 5.14 electrical $ 12.66 solenoids $ 39.63 adapters $ 7.01 wires $ 7.49 SD card $ 12.49 relay $ 5.50 hose $ 12.99 wire connectors $ 8.99 adapter $ 7.99 power supply $ 9.99 mosfet $ 8.99 adapter $ 15.98 wire connectors $ 6.79 Pre tax total $ 469.72 Post tax total $ 497.90

Remaining: $503


Comments

NU - SmartTree: Spring 2022 Update

Added by Thomas Hoang about 2 years ago

Transitioning to new leadership has led to SmartTree having a slower start to a quarter. However, both the new PMs, Fay-Ling and Thomas, quickly found their rhythm and excellent progress was made, especially on the construction side. While still trying to finish off the base pieces from last quarter, the team also started focusing on the manufacturing process of benches and top pieces.

Regarding progress toward the base pieces, the team has shifted their focus to making brackets reinforcing and connecting the side pieces. We drilled holes into the 90-degree brackets and metal sheets cut to size last quarter, countersunk them, and bent said metal sheets into 60-degree brackets.

Bending the metal sheets was especially challenging due to an oversight of high-strength galvanized steel used as stock material. It was too thick and tough for the machines available in the Prototyping Workshop at Ford Design Center. After consulting with the shop professionals, we were directed to Salomon Rodriguez, the director of the Research Workshop at Technological Institute, who aided us through the building process and granted us access to a more powerful machine that could get the job done. Here we also realized the problem of not having a clear angle to screw wood screws directly through the brackets into the base pieces, so we quickly came up with a new plan to use machine screws and acorn nuts instead.

The construction team also worked on the top pieces, which are 4 simple triangular-shaped pieces with one of them having a special indent from the side to create a removable lid (see drawing below).

Due to the size and shape of the piece, we had concluded that the best way to manufacture the part was to use a router. None of the members had used it before, so we enlisted the help of formula team member Sarah Yung. Because of our inexperience, we entered the wrong measurements for the drawing fed into the machine, so the piece that was cut had incorrect dimensions. On the day that we tried again, we heard news of the miter going under maintenance for the rest of the quarter. Though unfortunate, we are still looking forward to next year when we will successfully manufacture the top pieces.

Good progress was also made on the benches. We started the quarter off by cutting rectangular wood pieces into long, thin slats using the vertical bandsaw. Then, we enlisted the help of the campus’s Concrete Canoe team with creating concrete slabs acting as support for the benches according to the mold bought. A concrete mixture was created and poured into the mold at the last meeting of the quarter. The mixture is now being cured over the summer and we are expecting to return to fully cured, sturdy concrete supports ready for decorations next fall.

In terms of electrical, progress has been slow due to the waiting for ordered parts to arrive. Furthermore, due to inexperience, there was hesitation to wire anything together with a power source for safety concerns. However, we have connected the solar panels together in parallel and tested the DC/DC converter and its capability to charge phones. The electrical team members have been tasked with doing more research on solar power over the summer and are hopeful to have major development upon return.

Overall, Fay-Ling and Thomas are both extremely satisfied with the results achieved throughout this quarter as first-time project managers. Both are excited to continue leading the team and to advance the project further throughout the next year.

Hope everyone has had a great school year and we will touch base soon!

NU - AutoAquaponics: Spring 2022 Update

AutoAquaponics Progress From Spring of 2022
Added by Bill Yen about 2 years ago

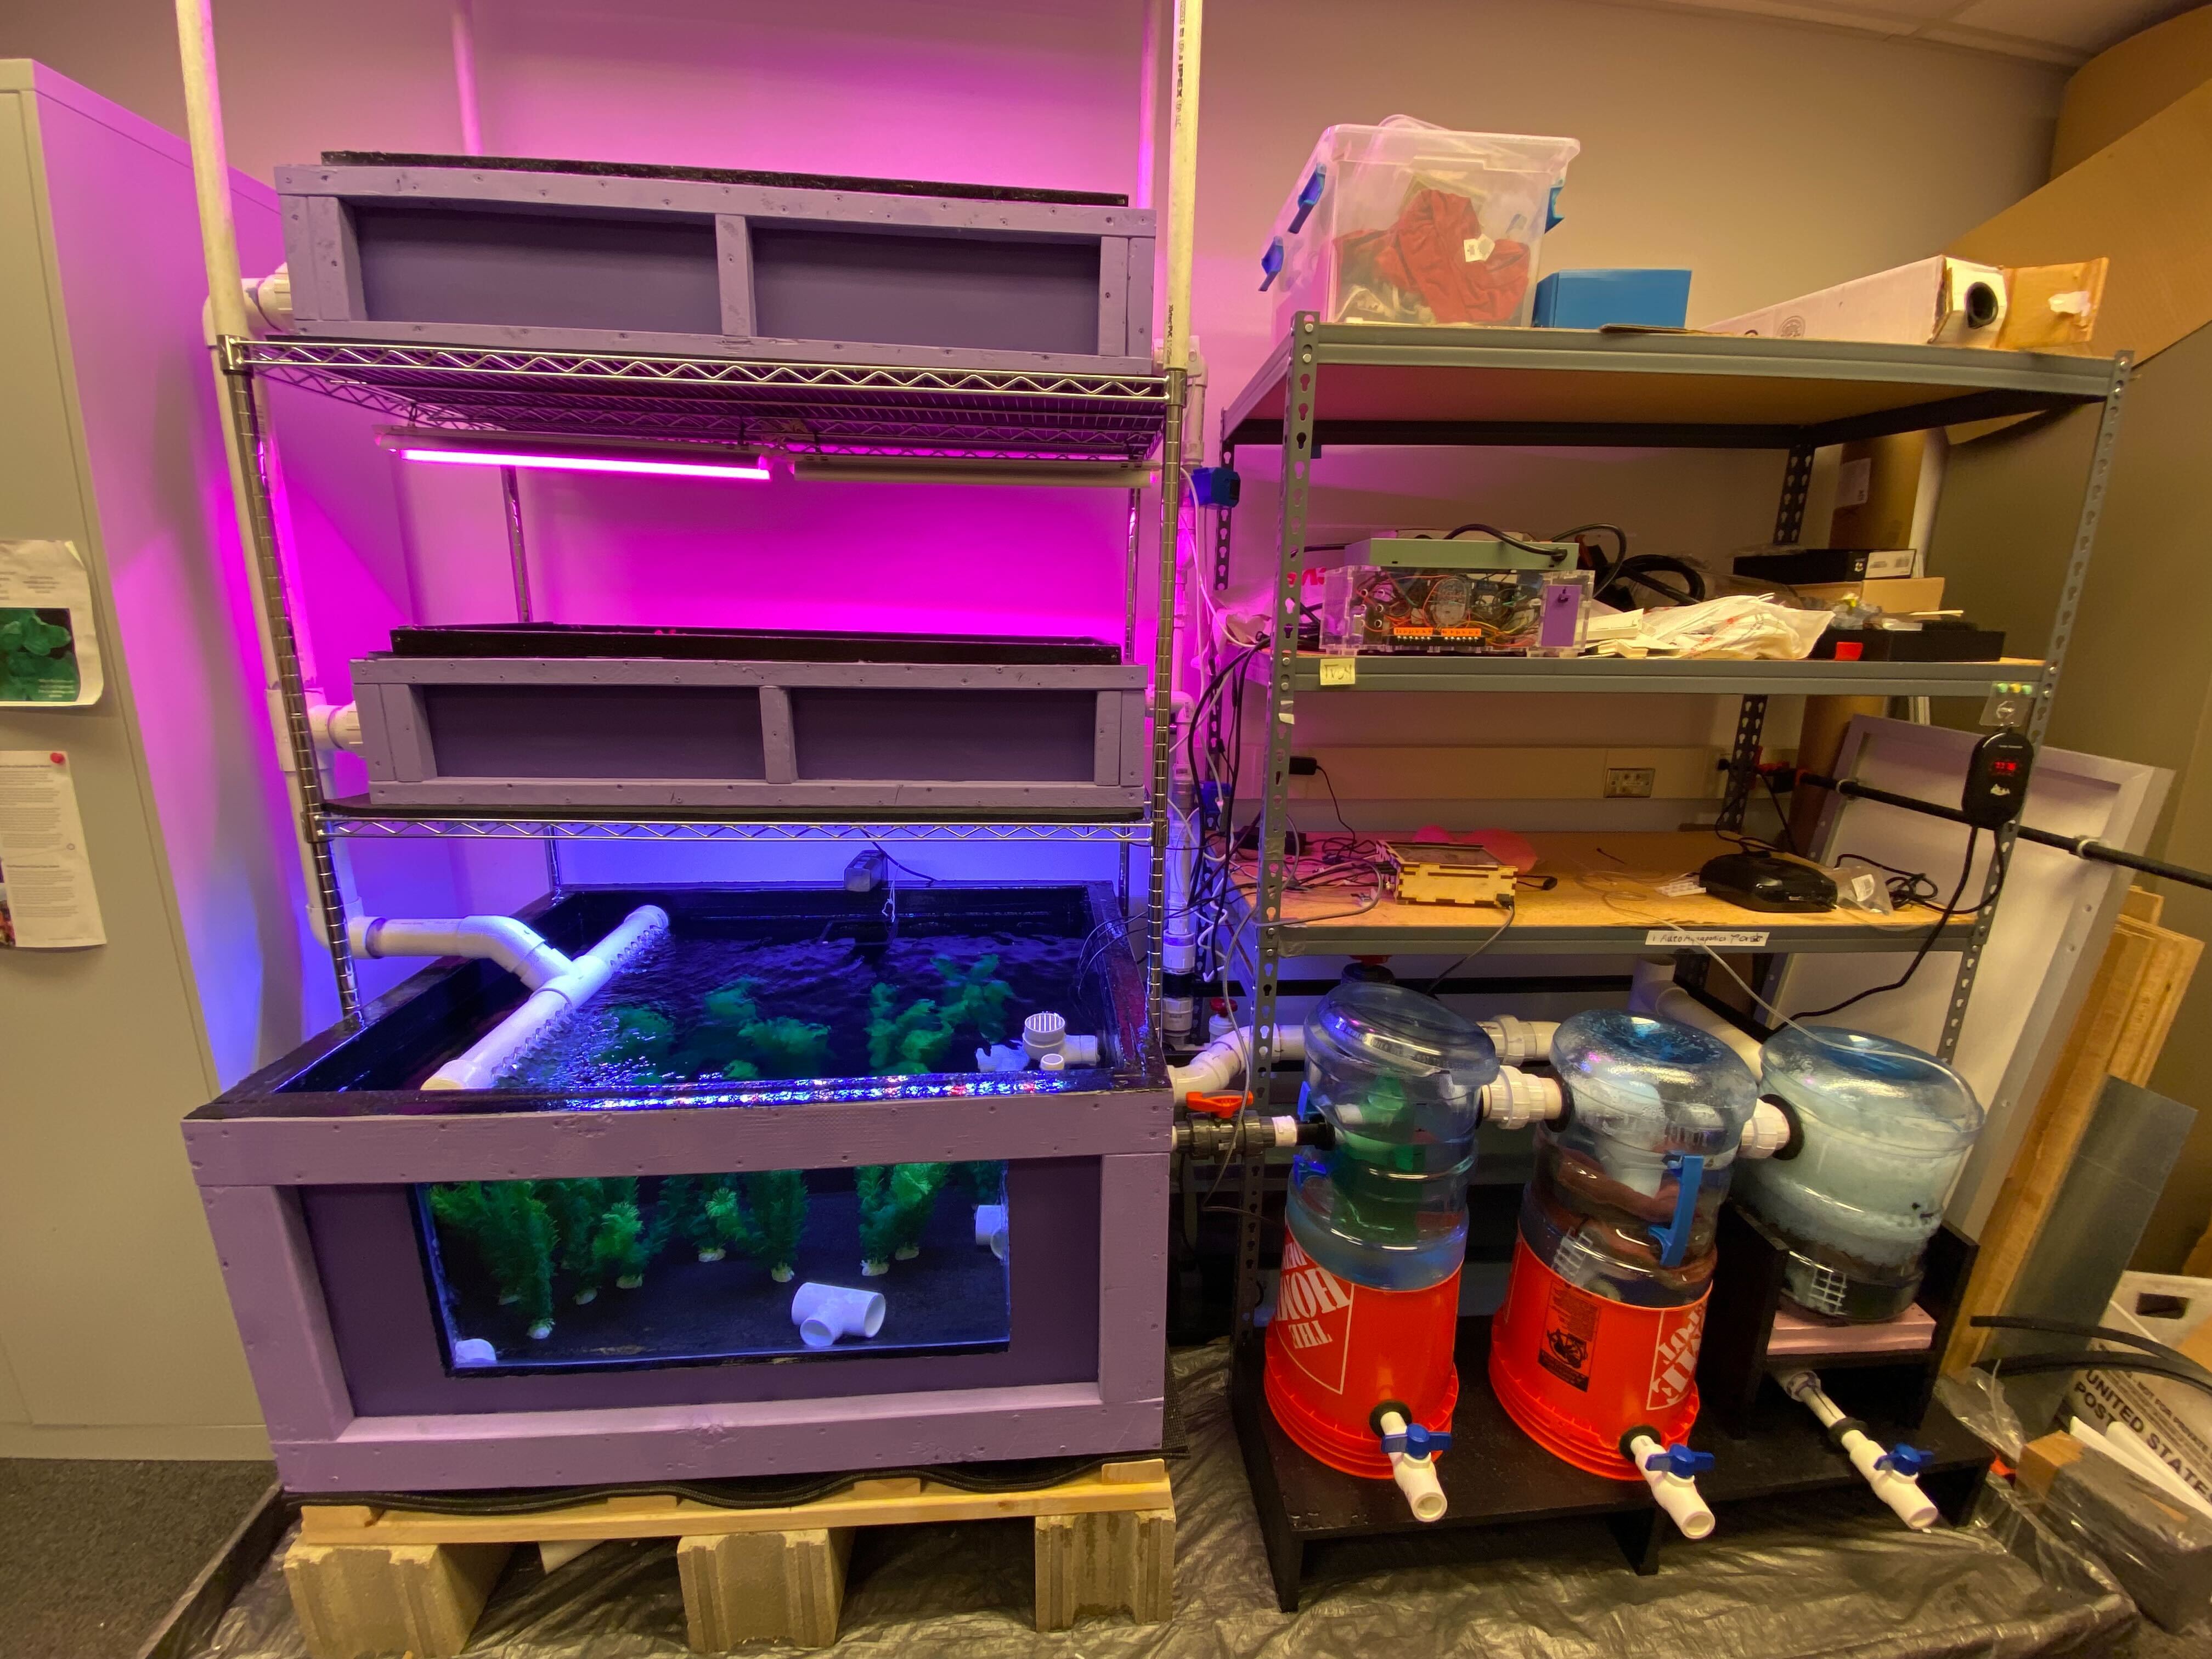
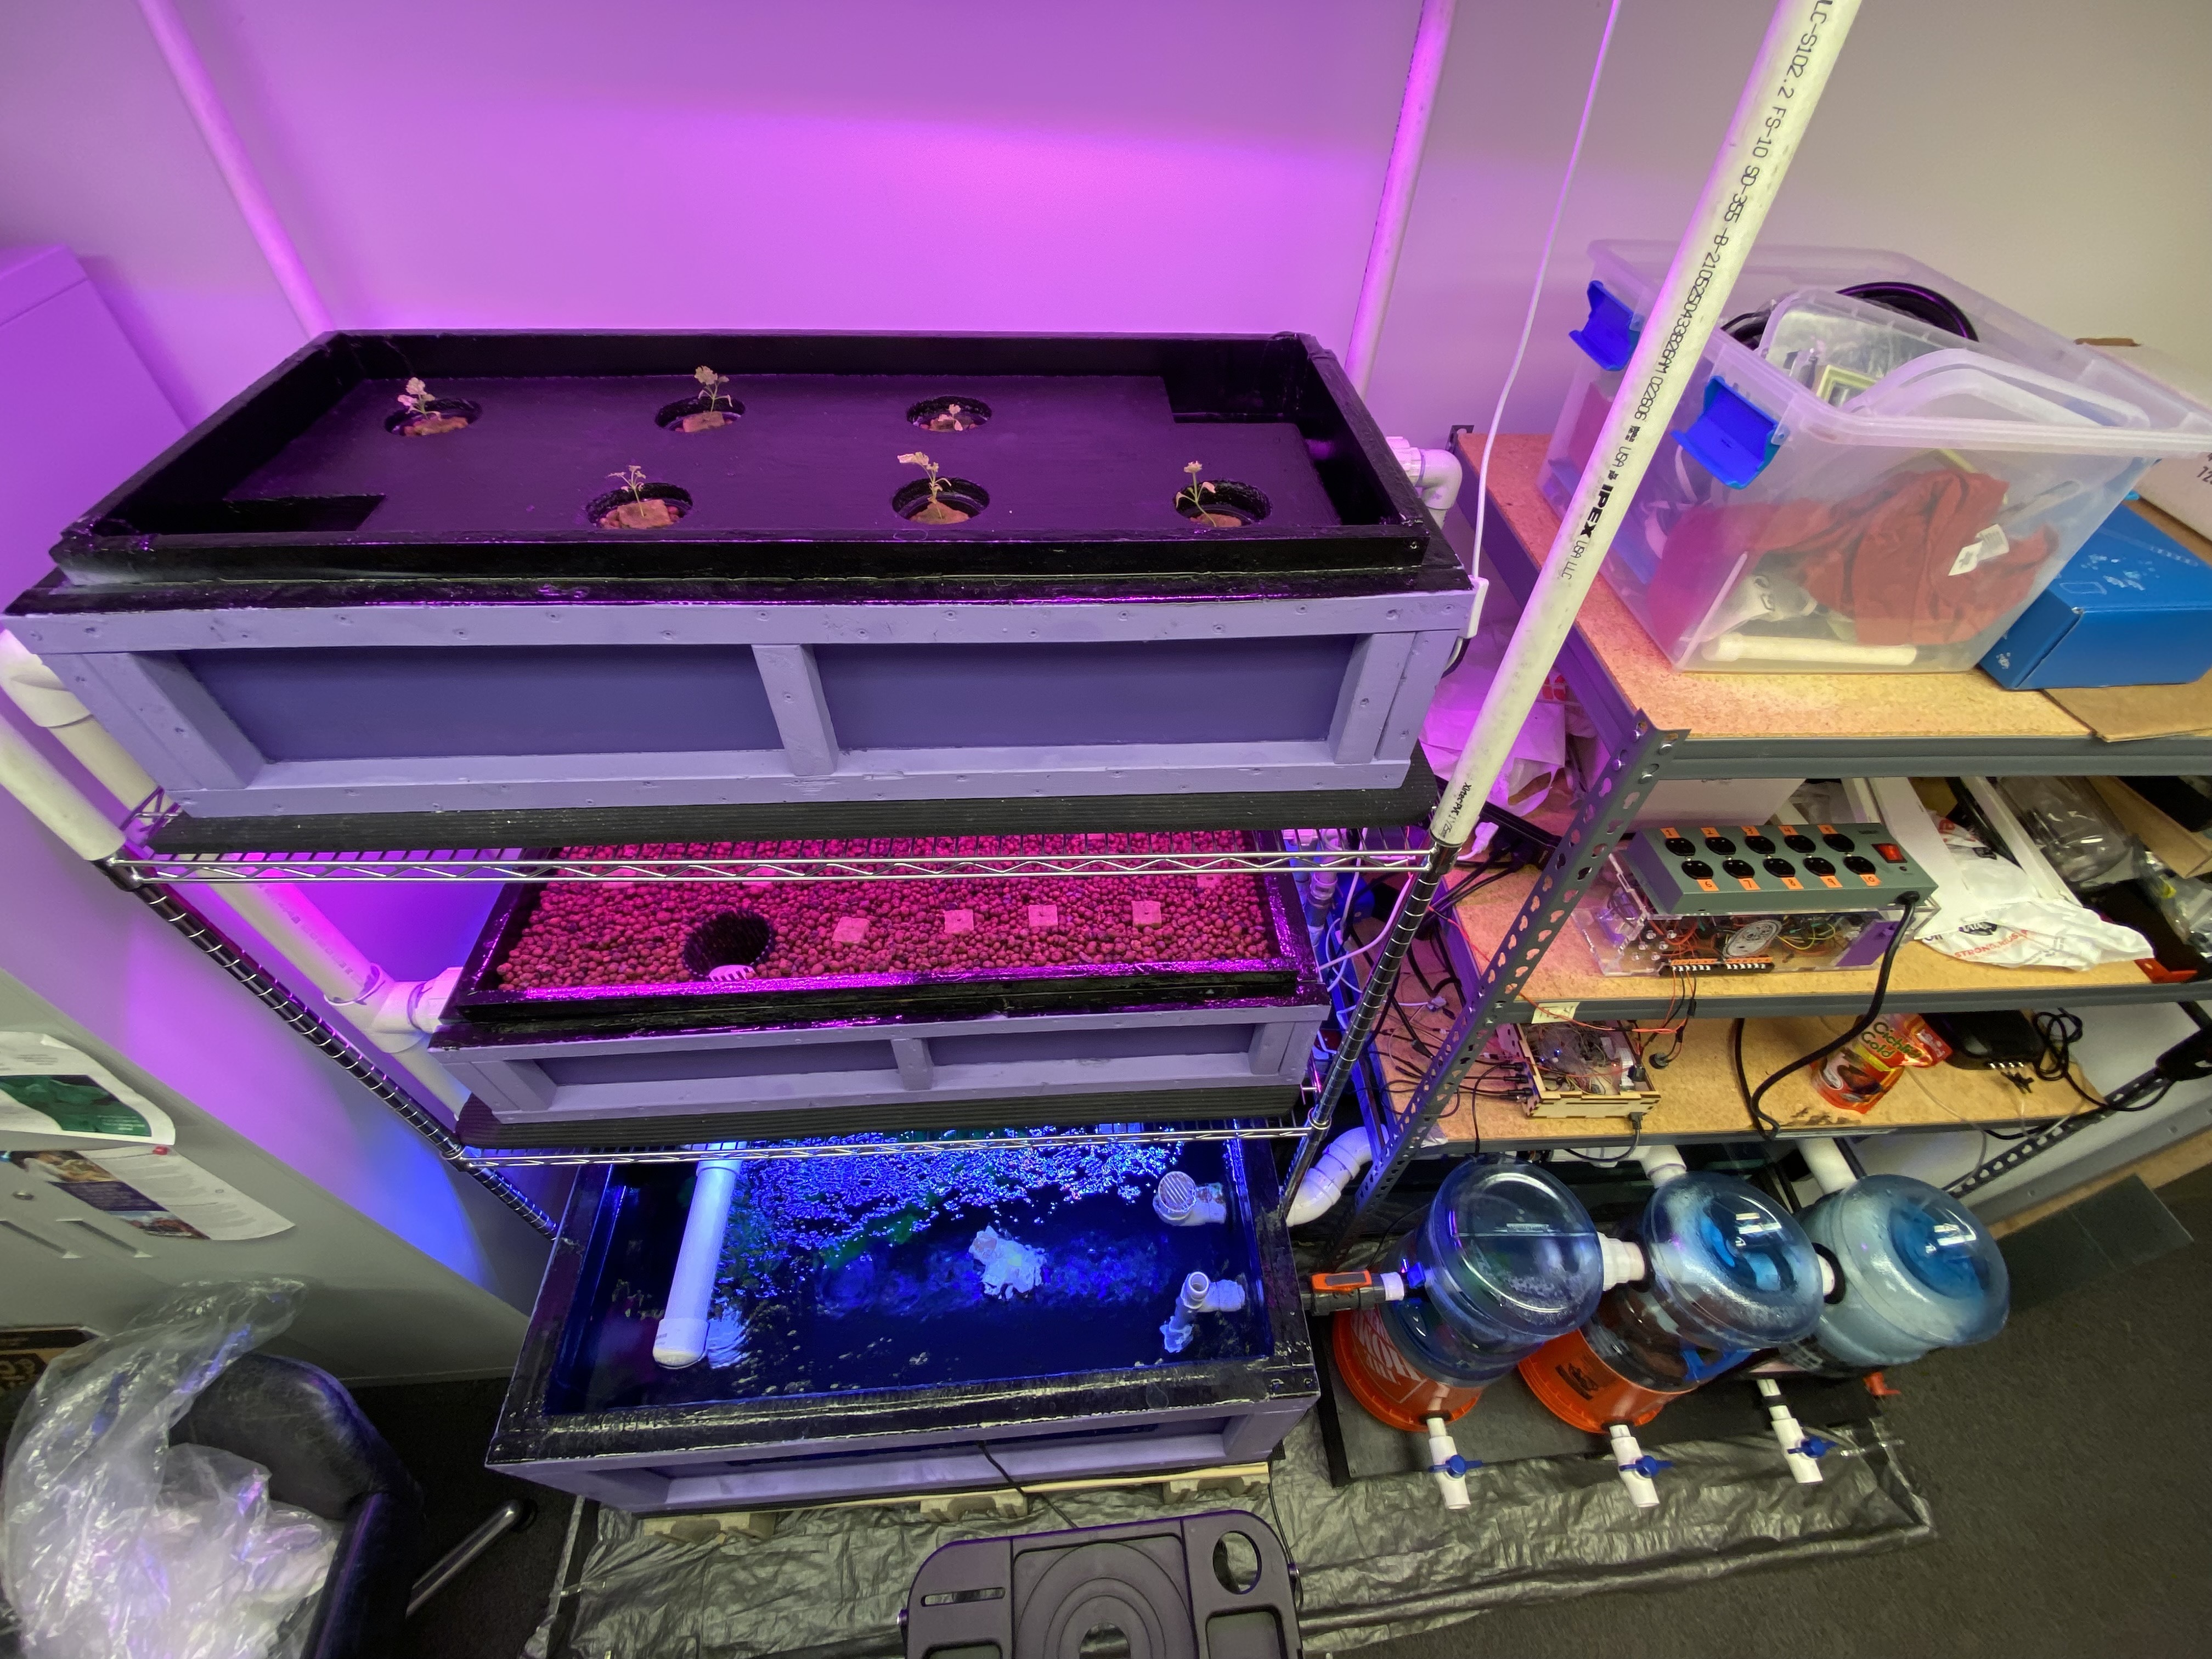
After 2 years of hard work, we are happy to announce that AutoAquaponics is officially growing fish and plants! At the same time, we welcome Alejandra Almonte, a third-year mechanical engineer, to our electronics sub-team. We are also honored to be featured in Northwestern's Earth Day special this quarter as a student group that works to build innovative technologies to improve sustainability on campus. Here's a picture of our (now operational) system as well as our fish friends:

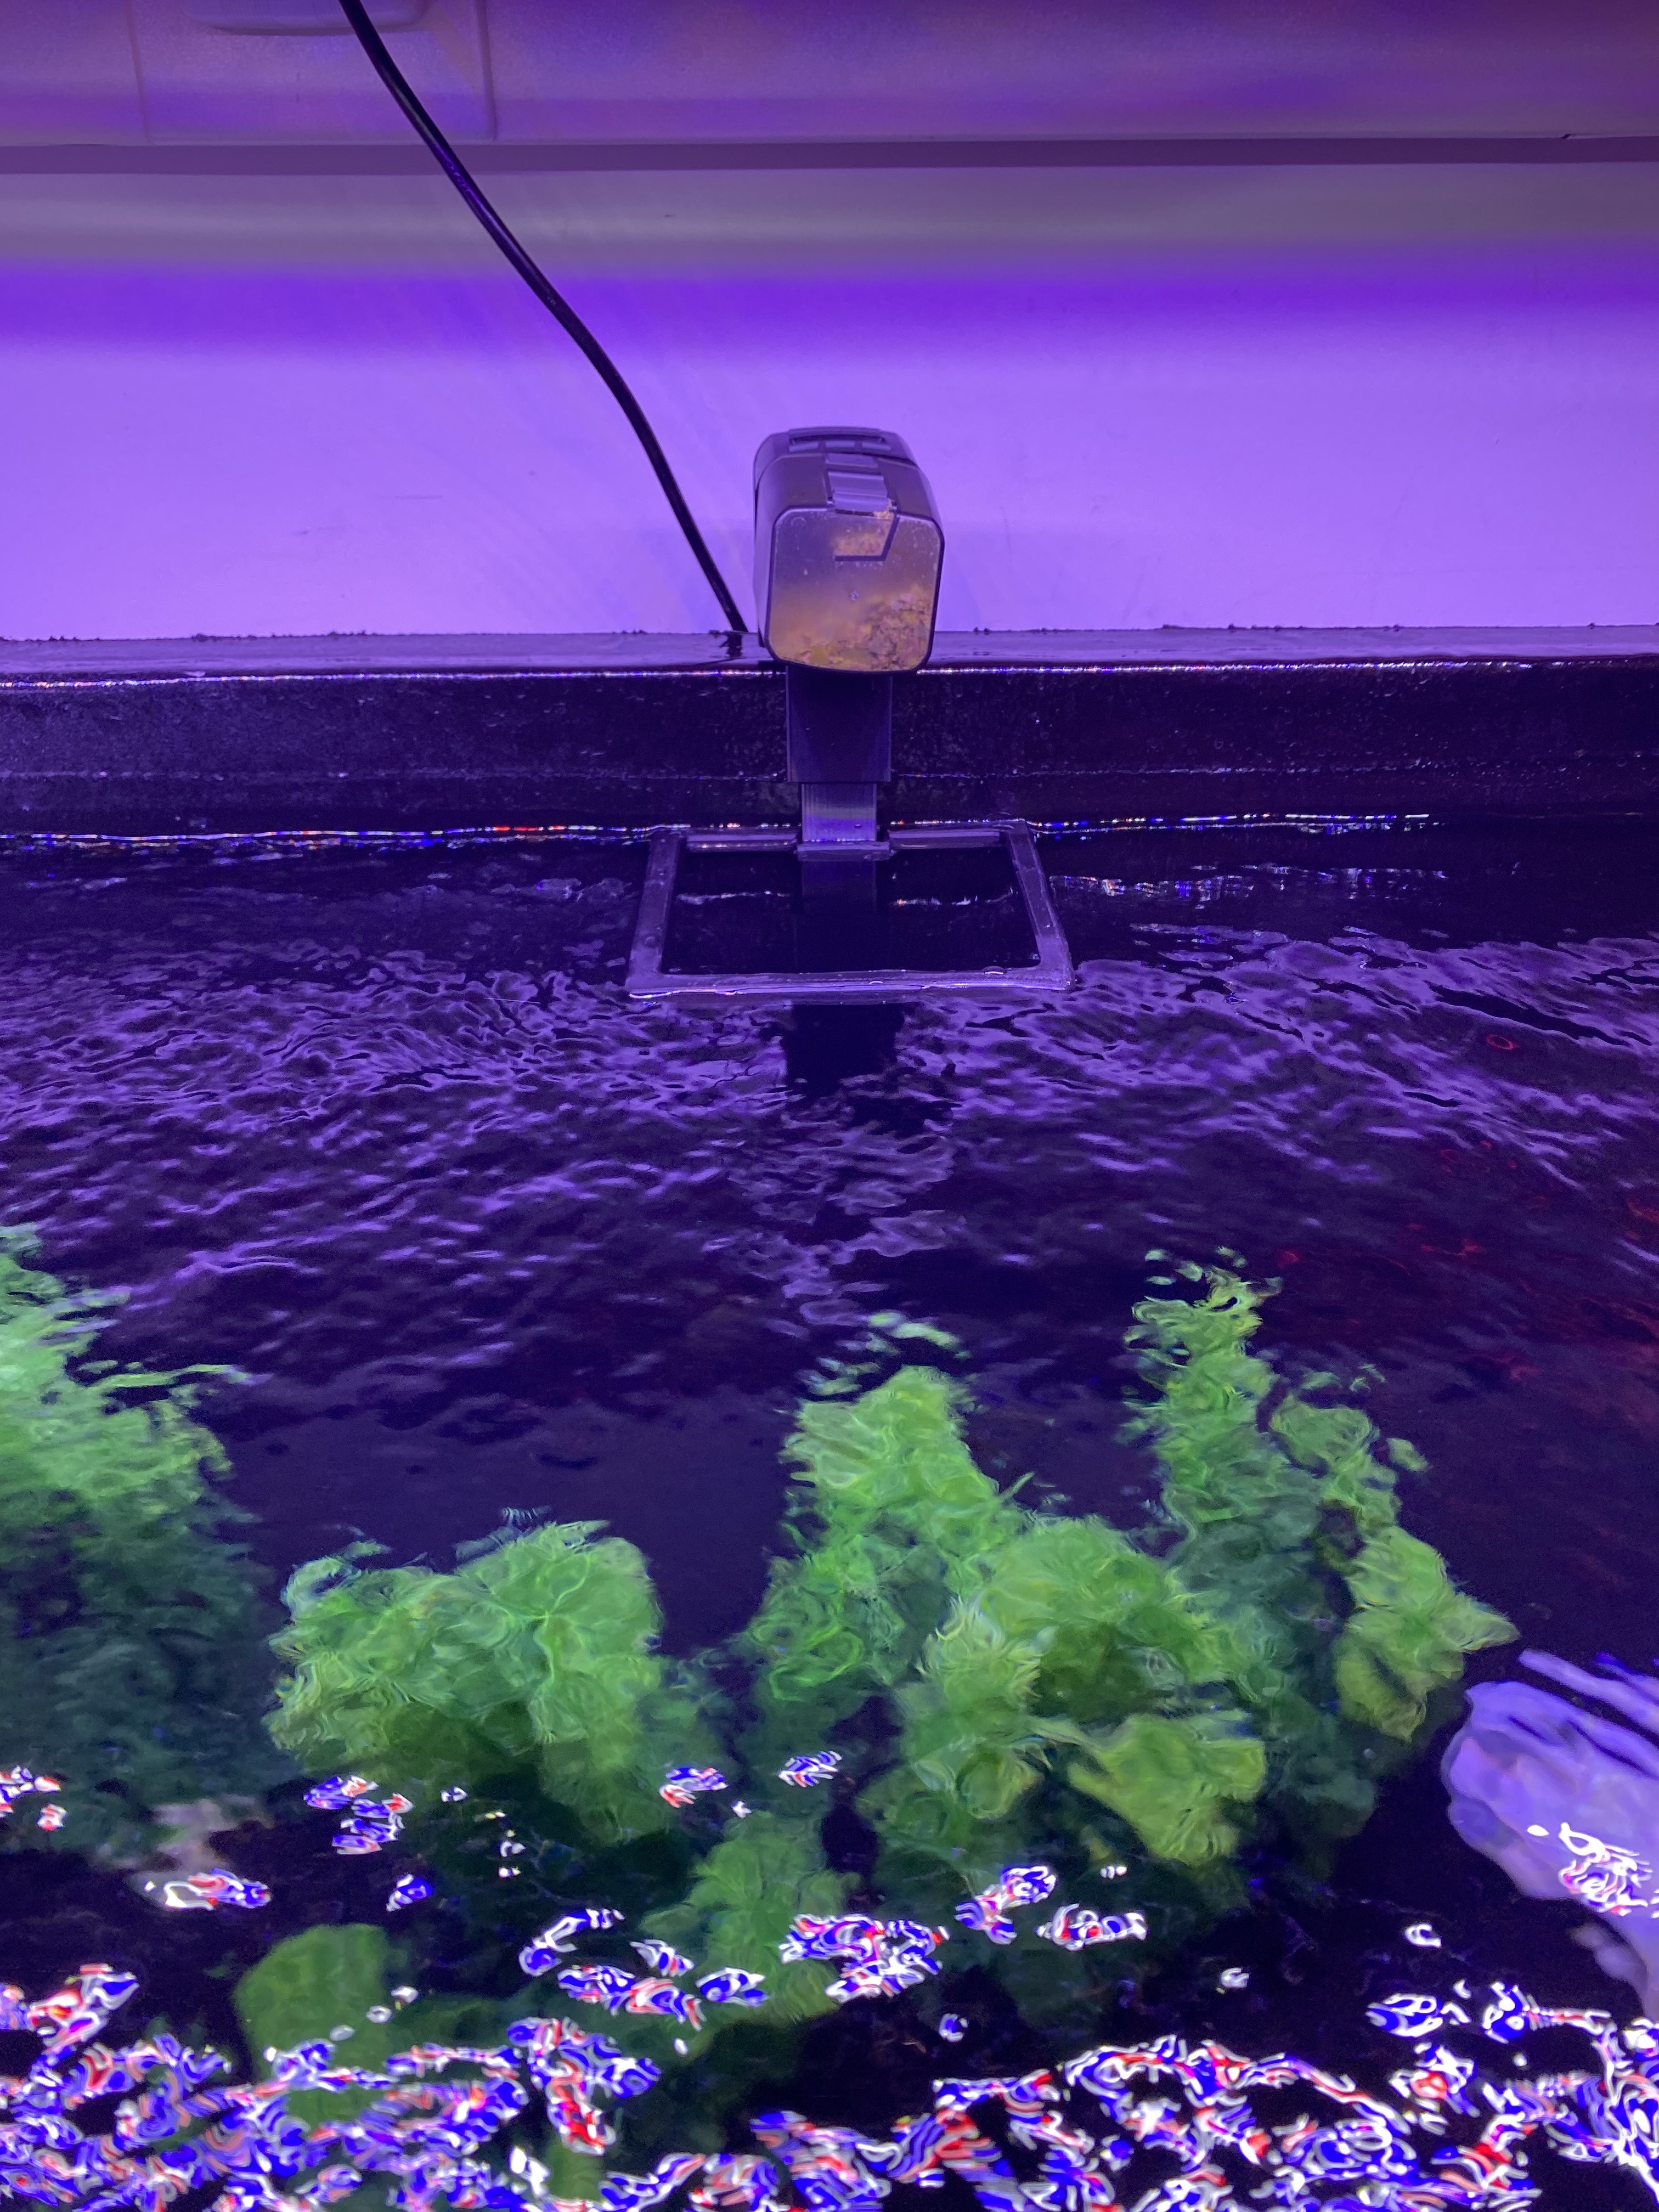
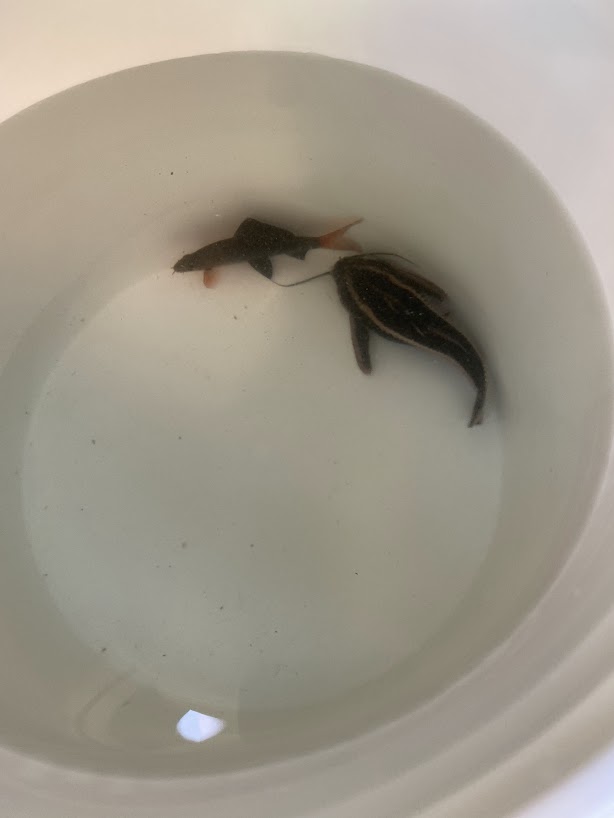
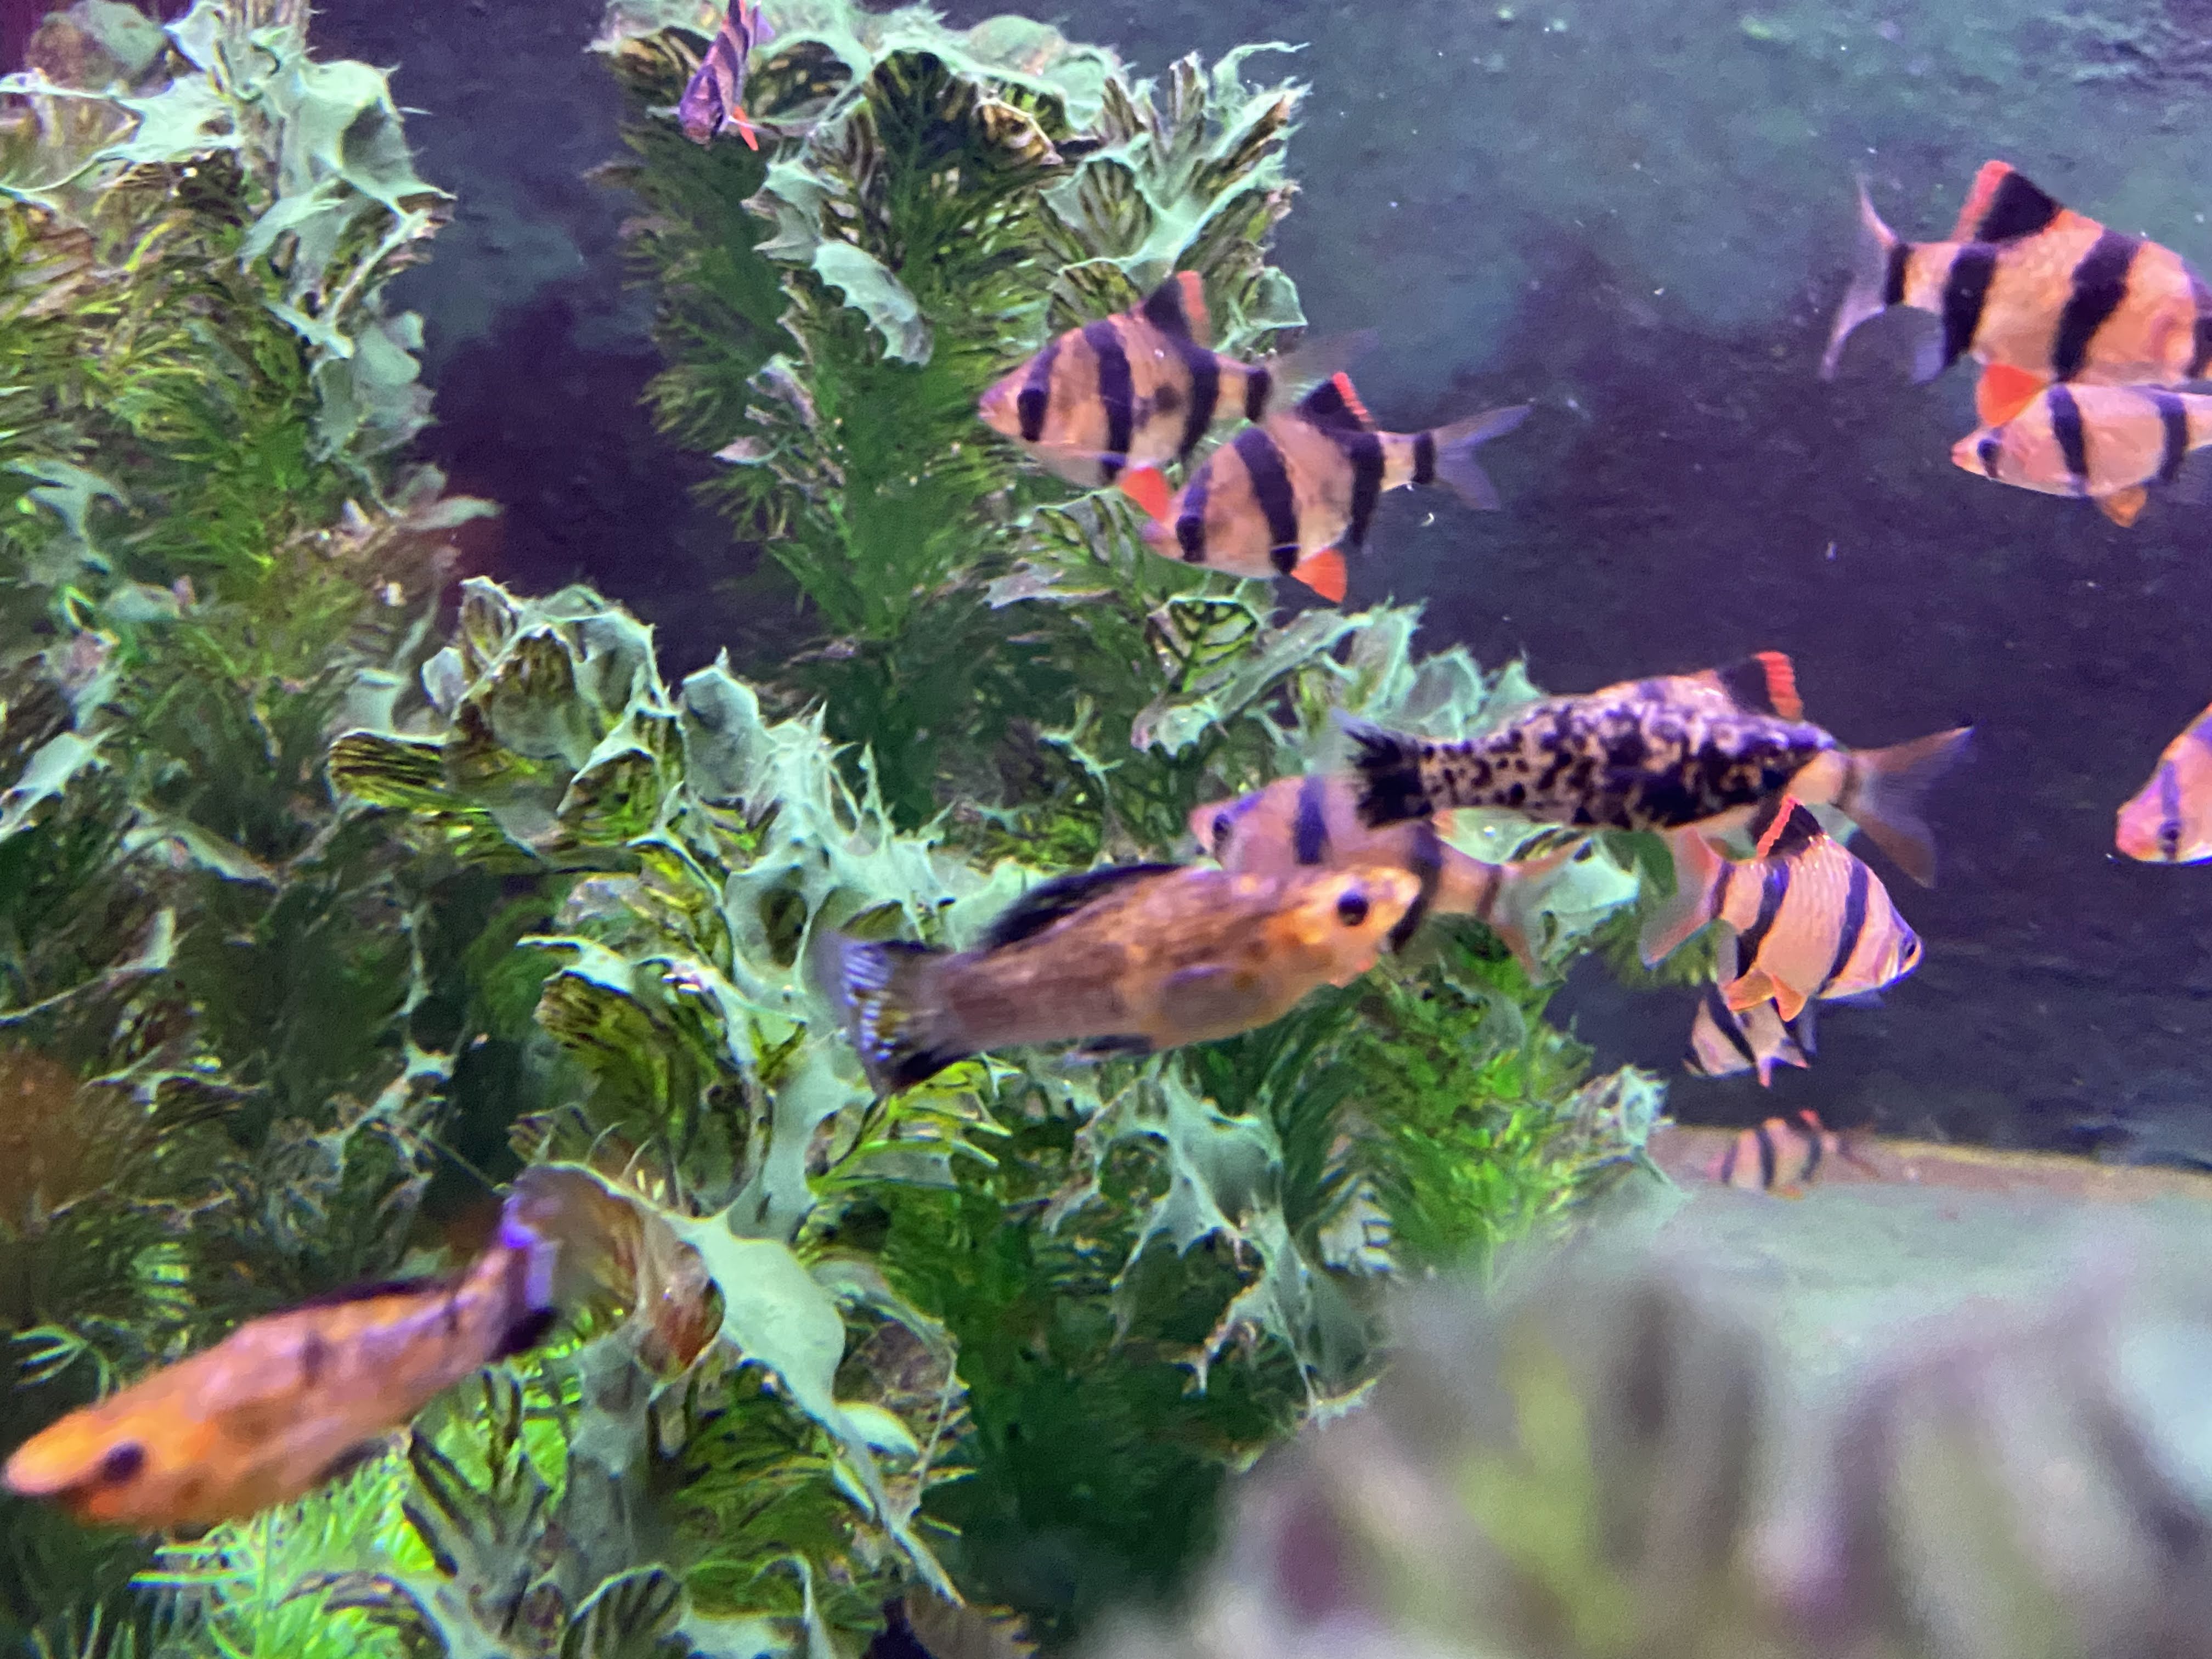
We introduced 35 tiger barbs to our system and will likely add more to up our nitrate production:

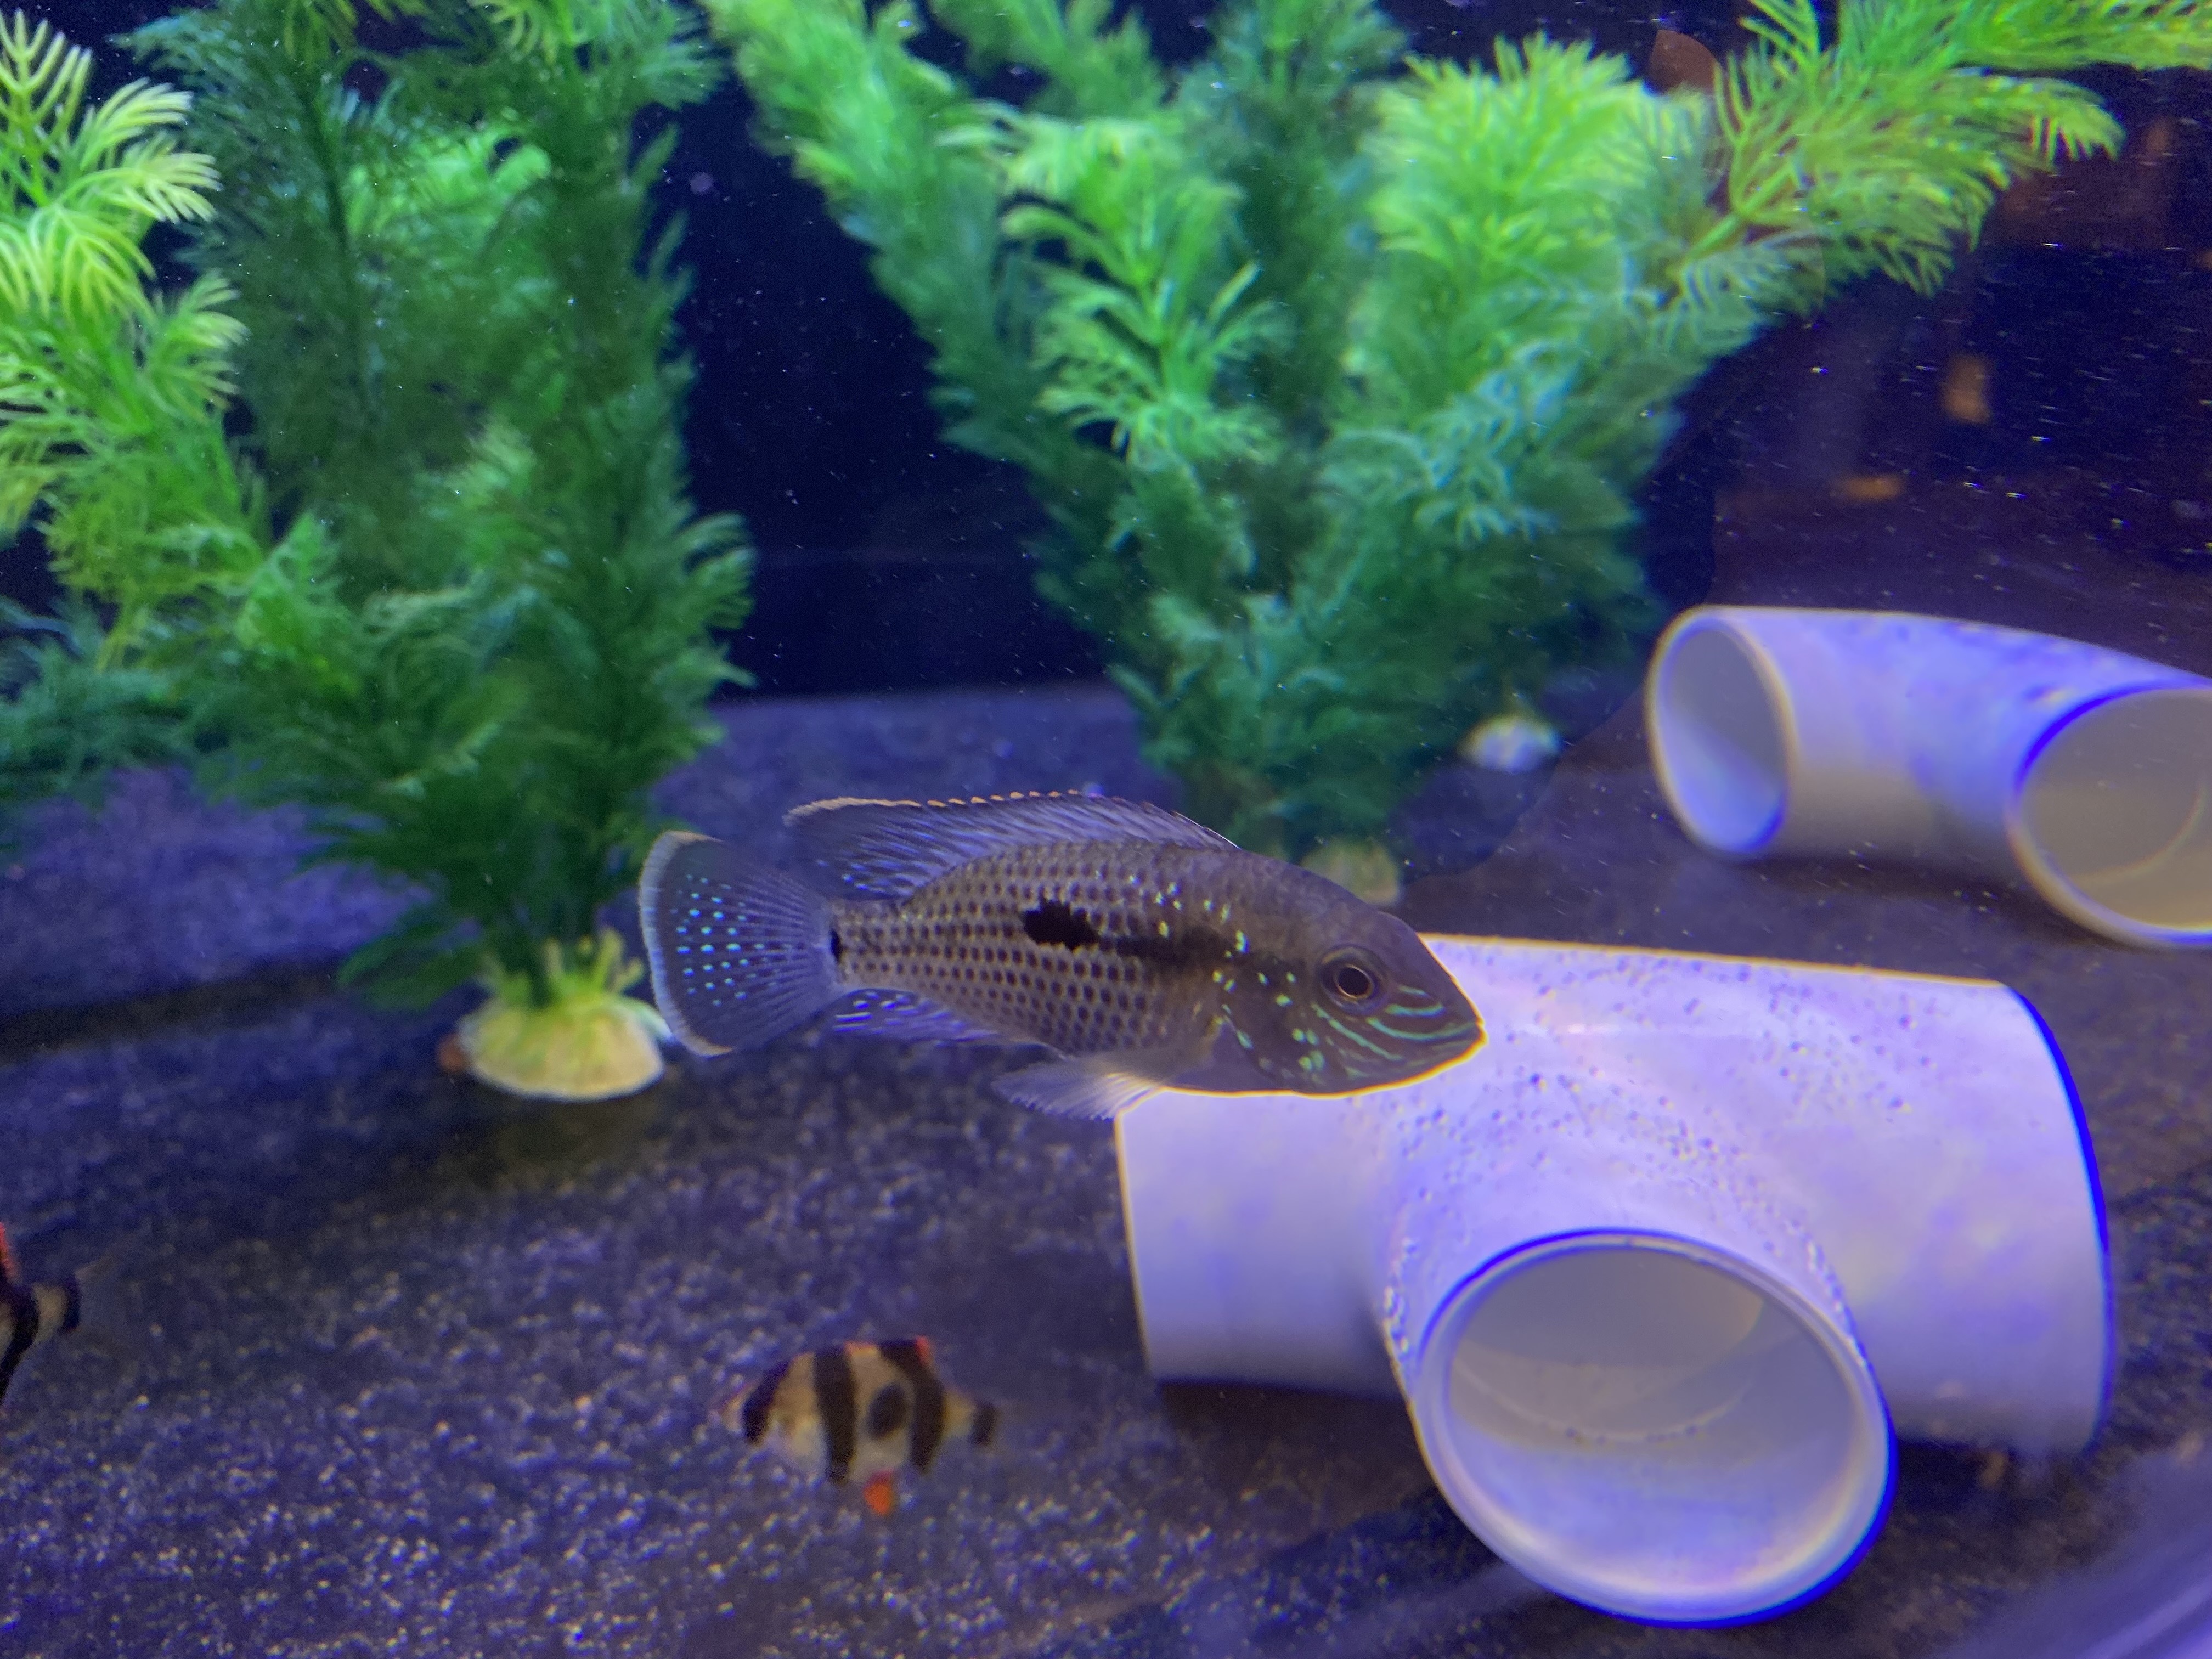
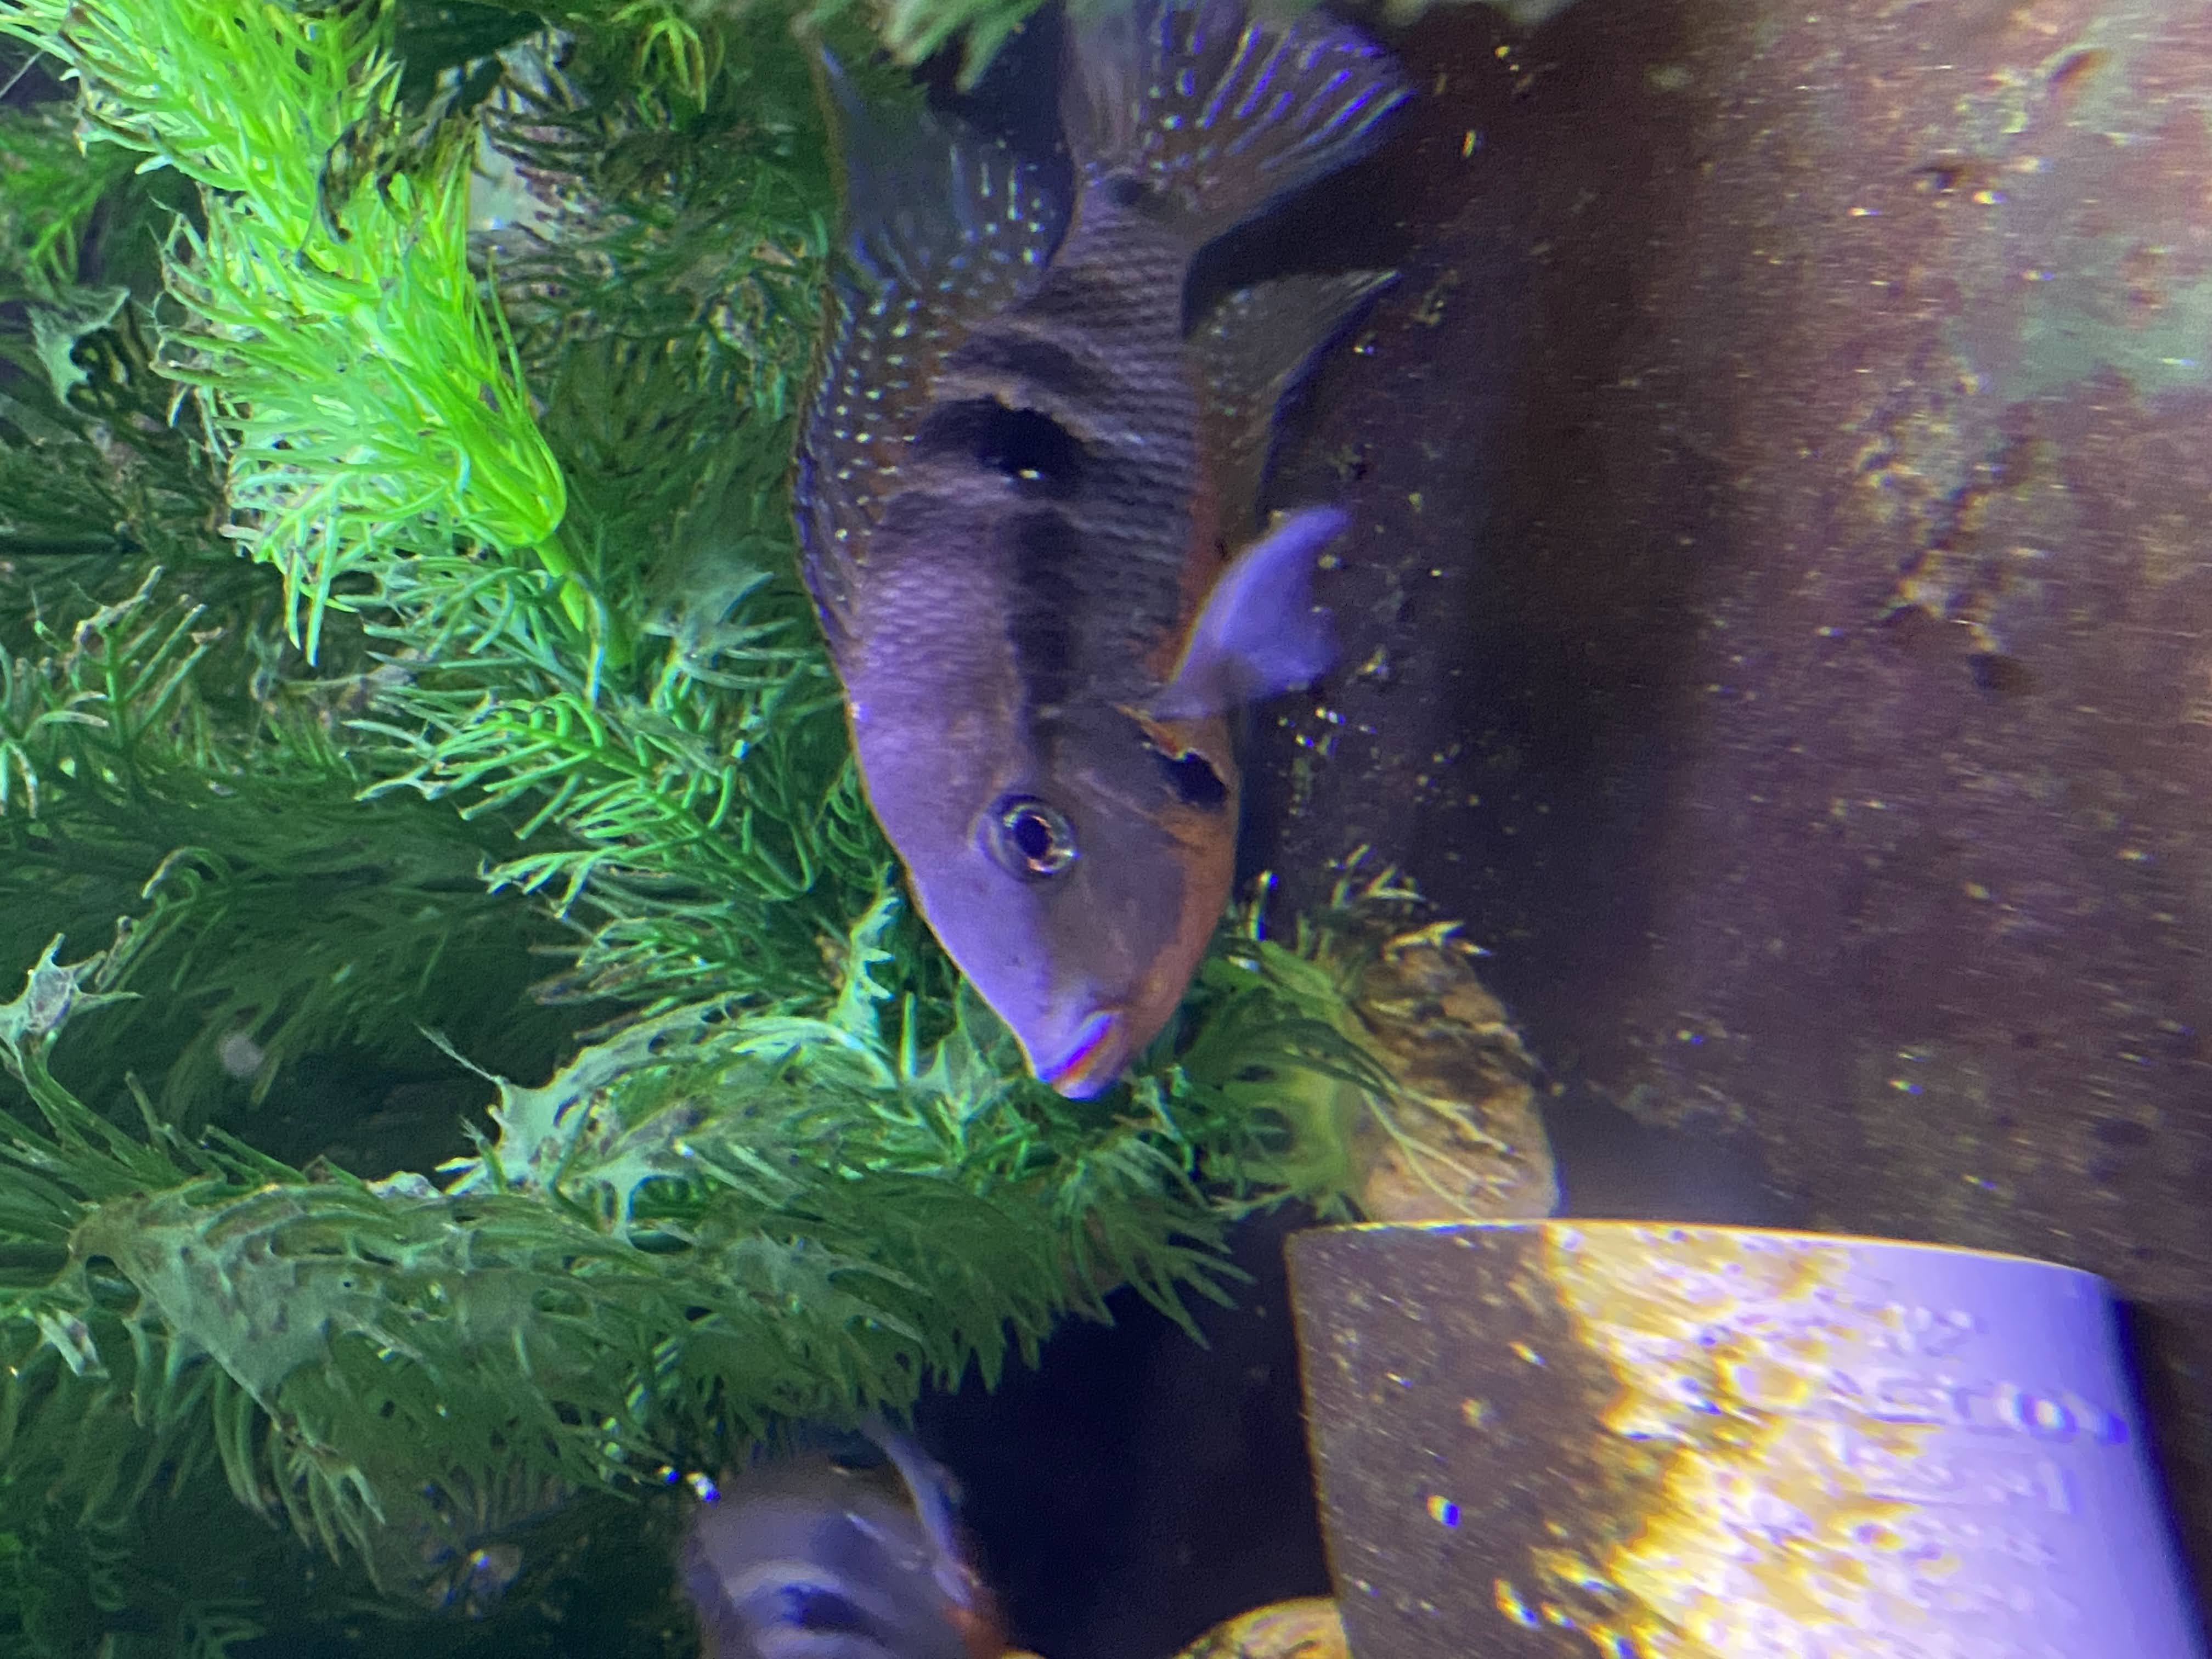
Centerpiece fish - a South American cichlid known as the green terror cichlid! Our fish is a juvenile and will grow to around 10".

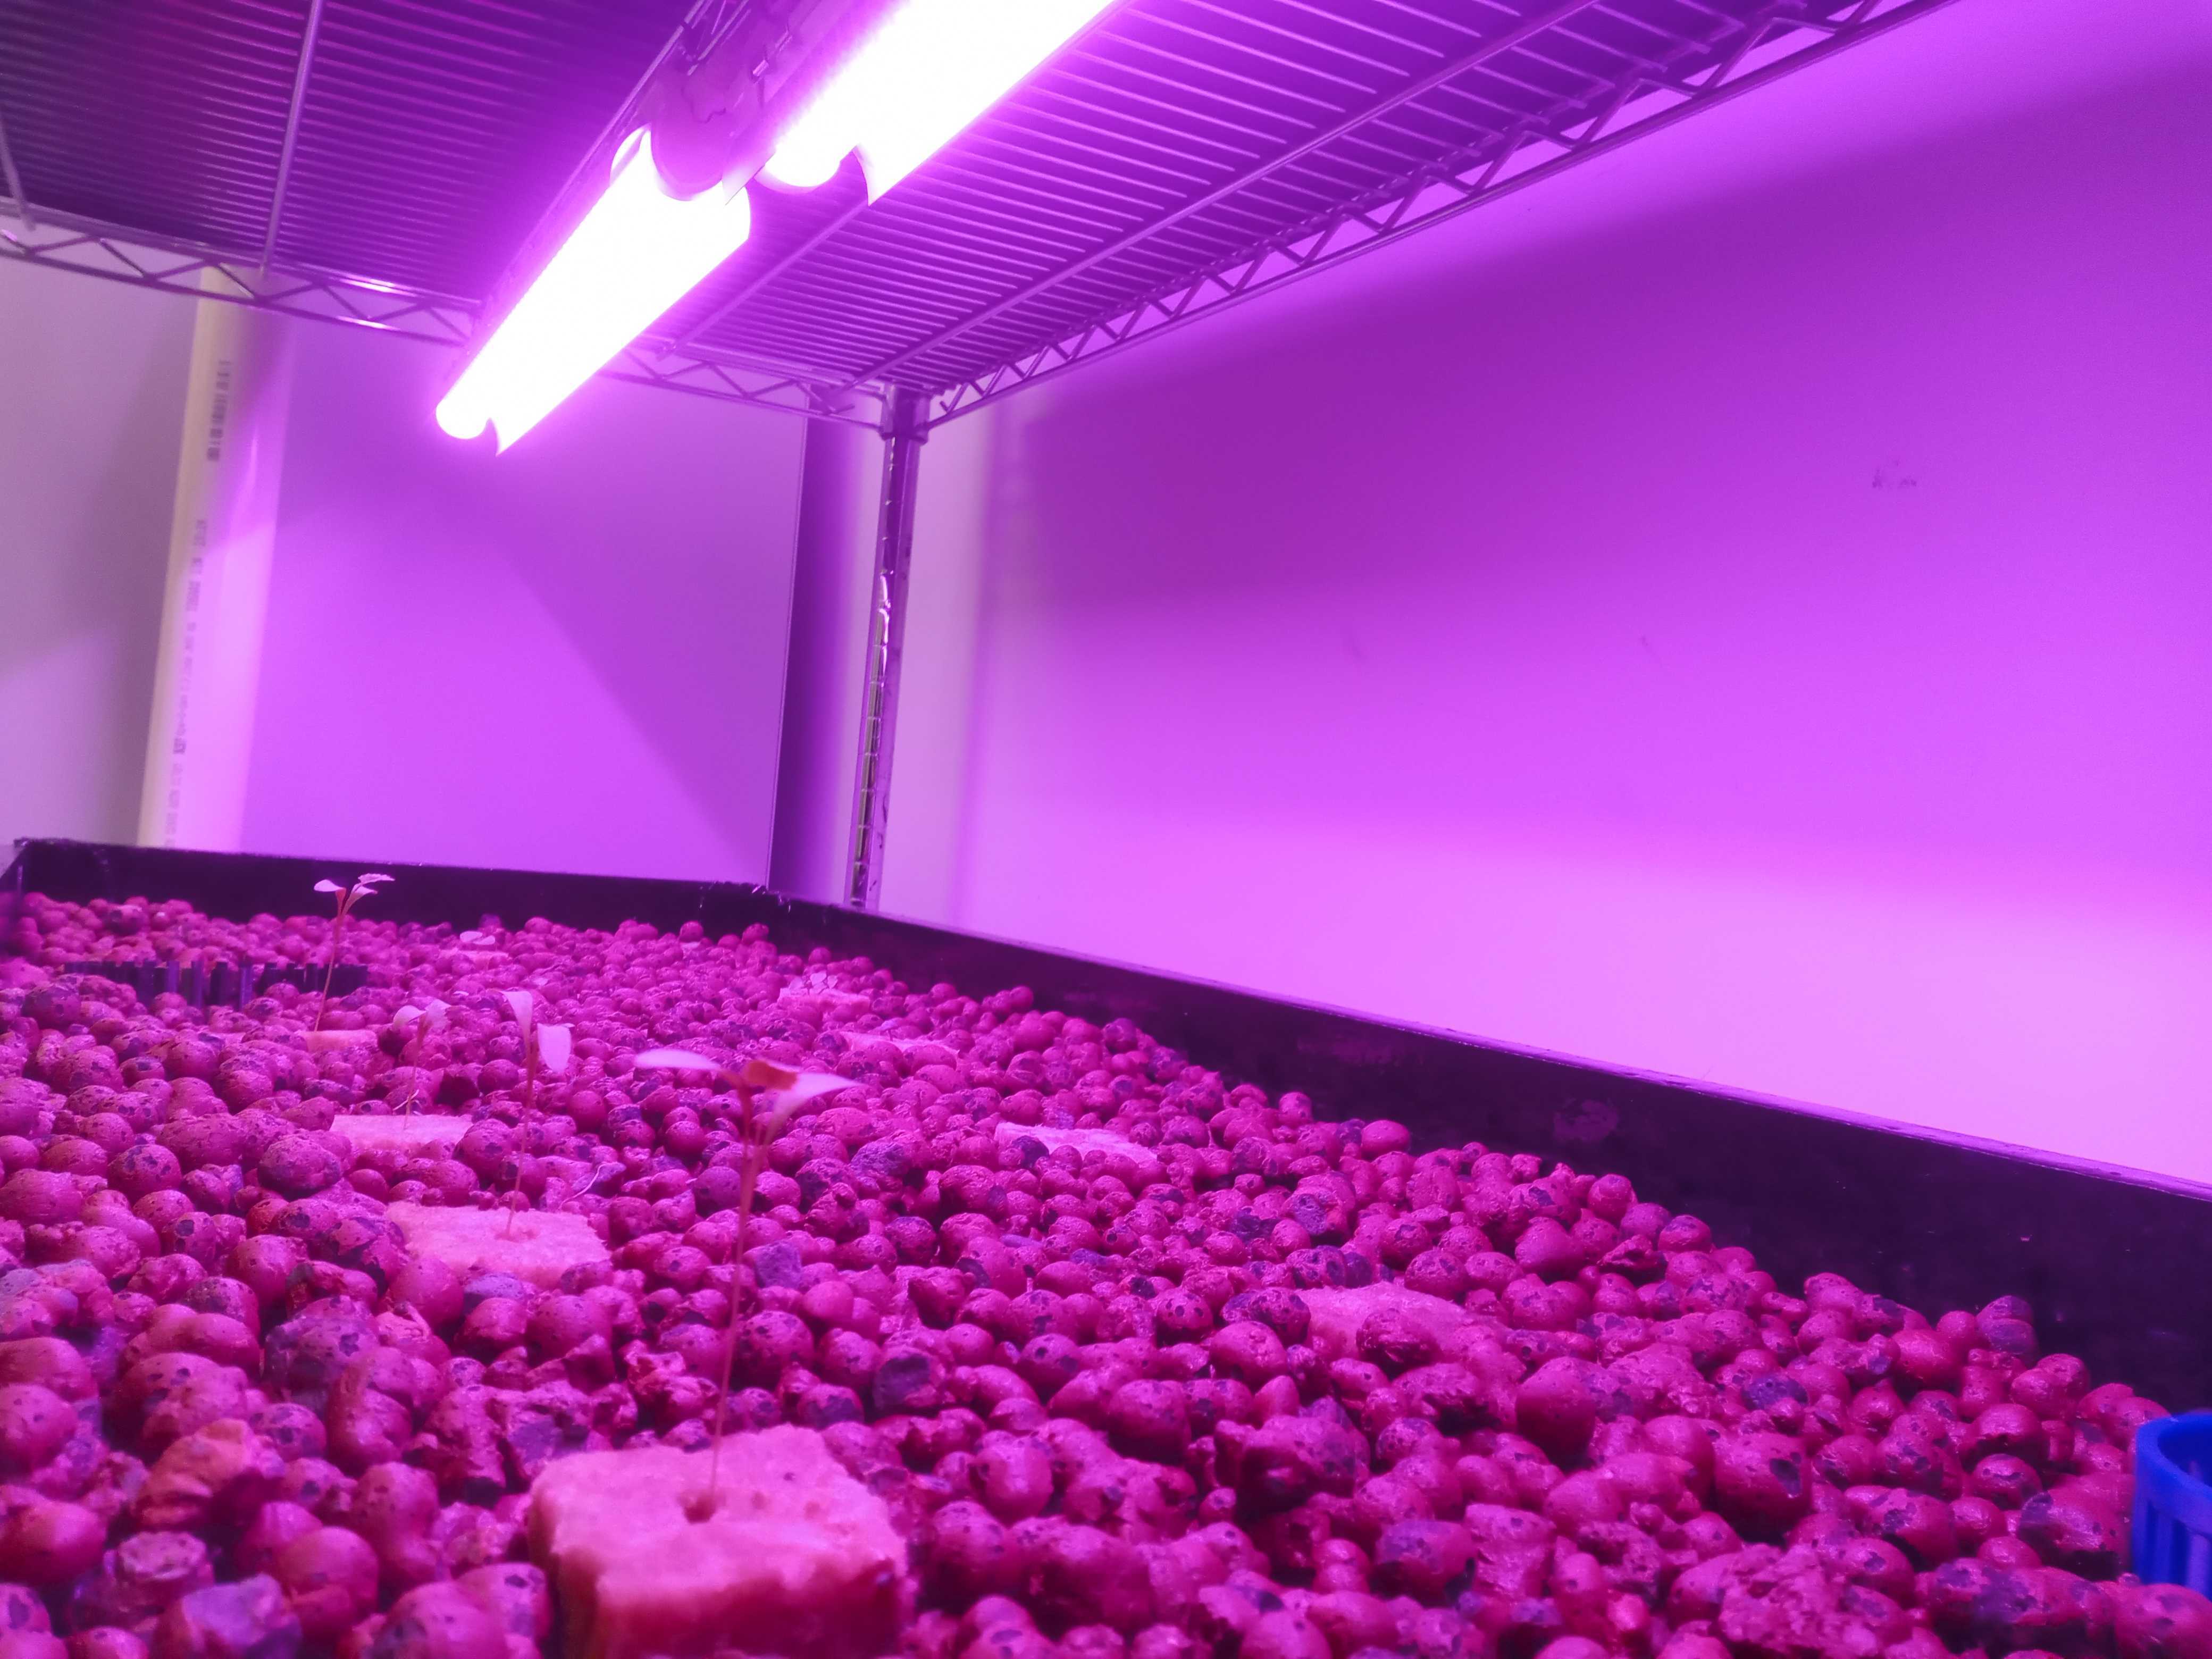
On the produce side, we planted kale on the top grow bed and basil + cilantro on the bottom:

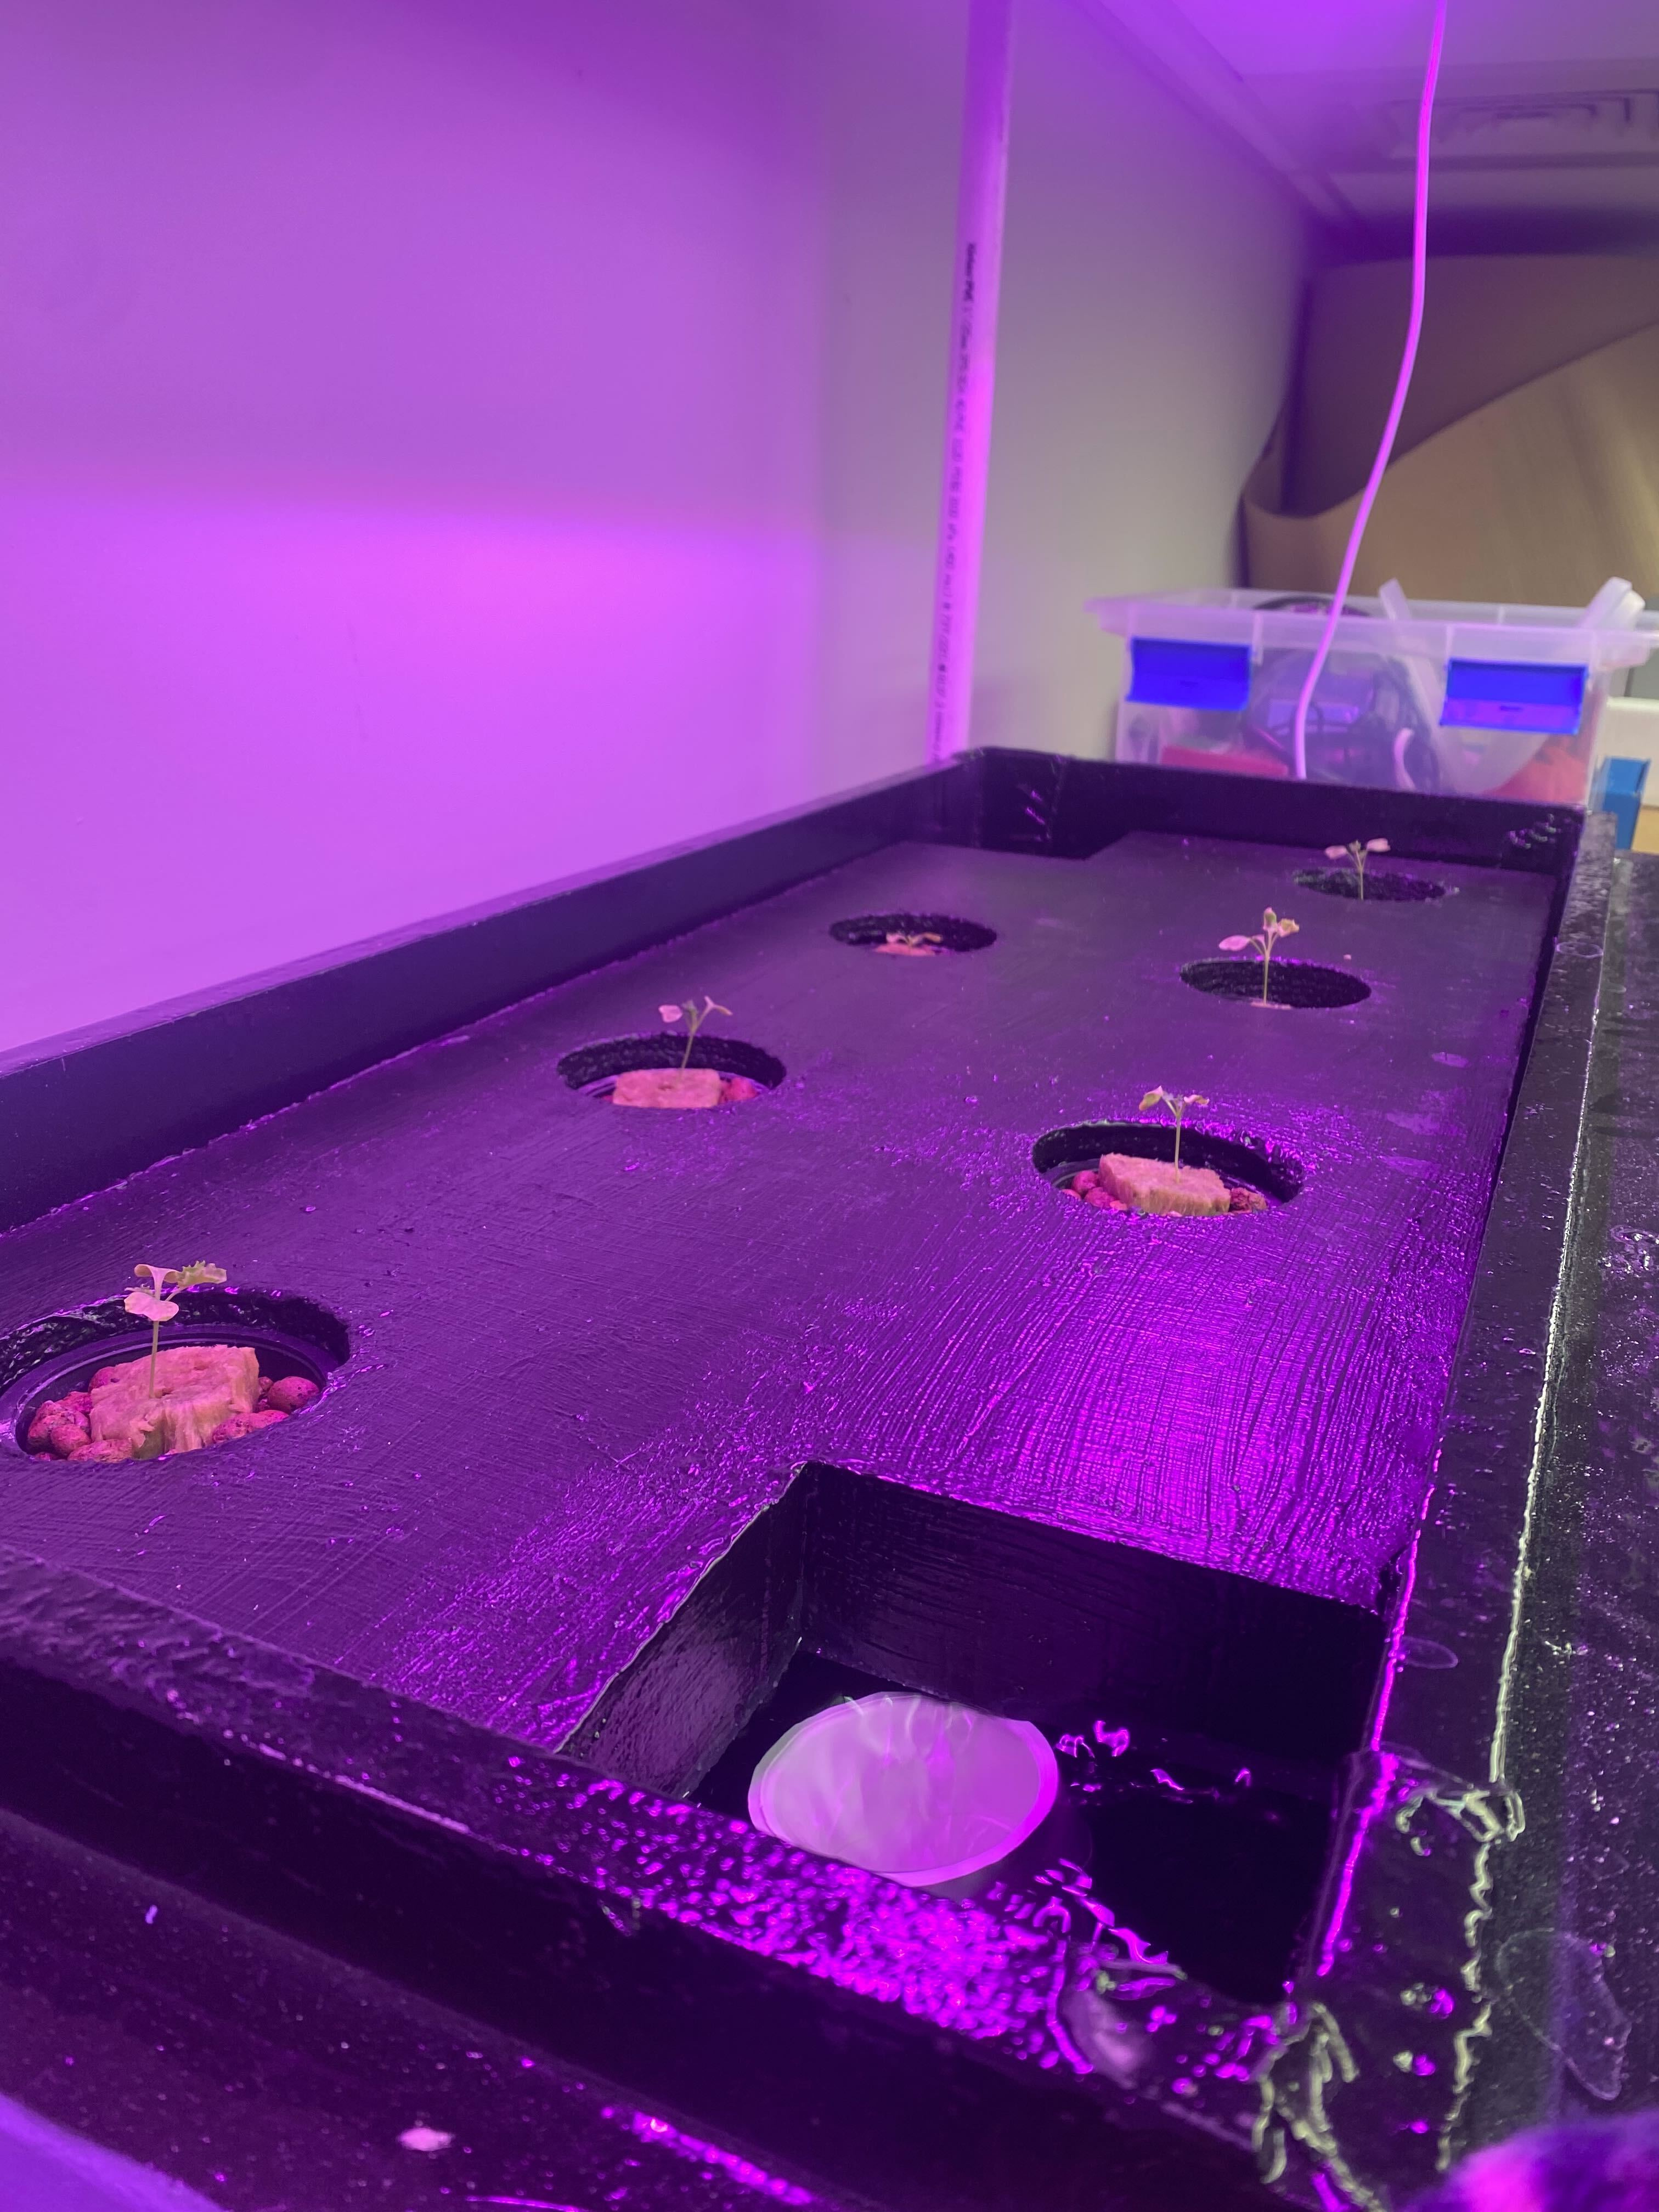
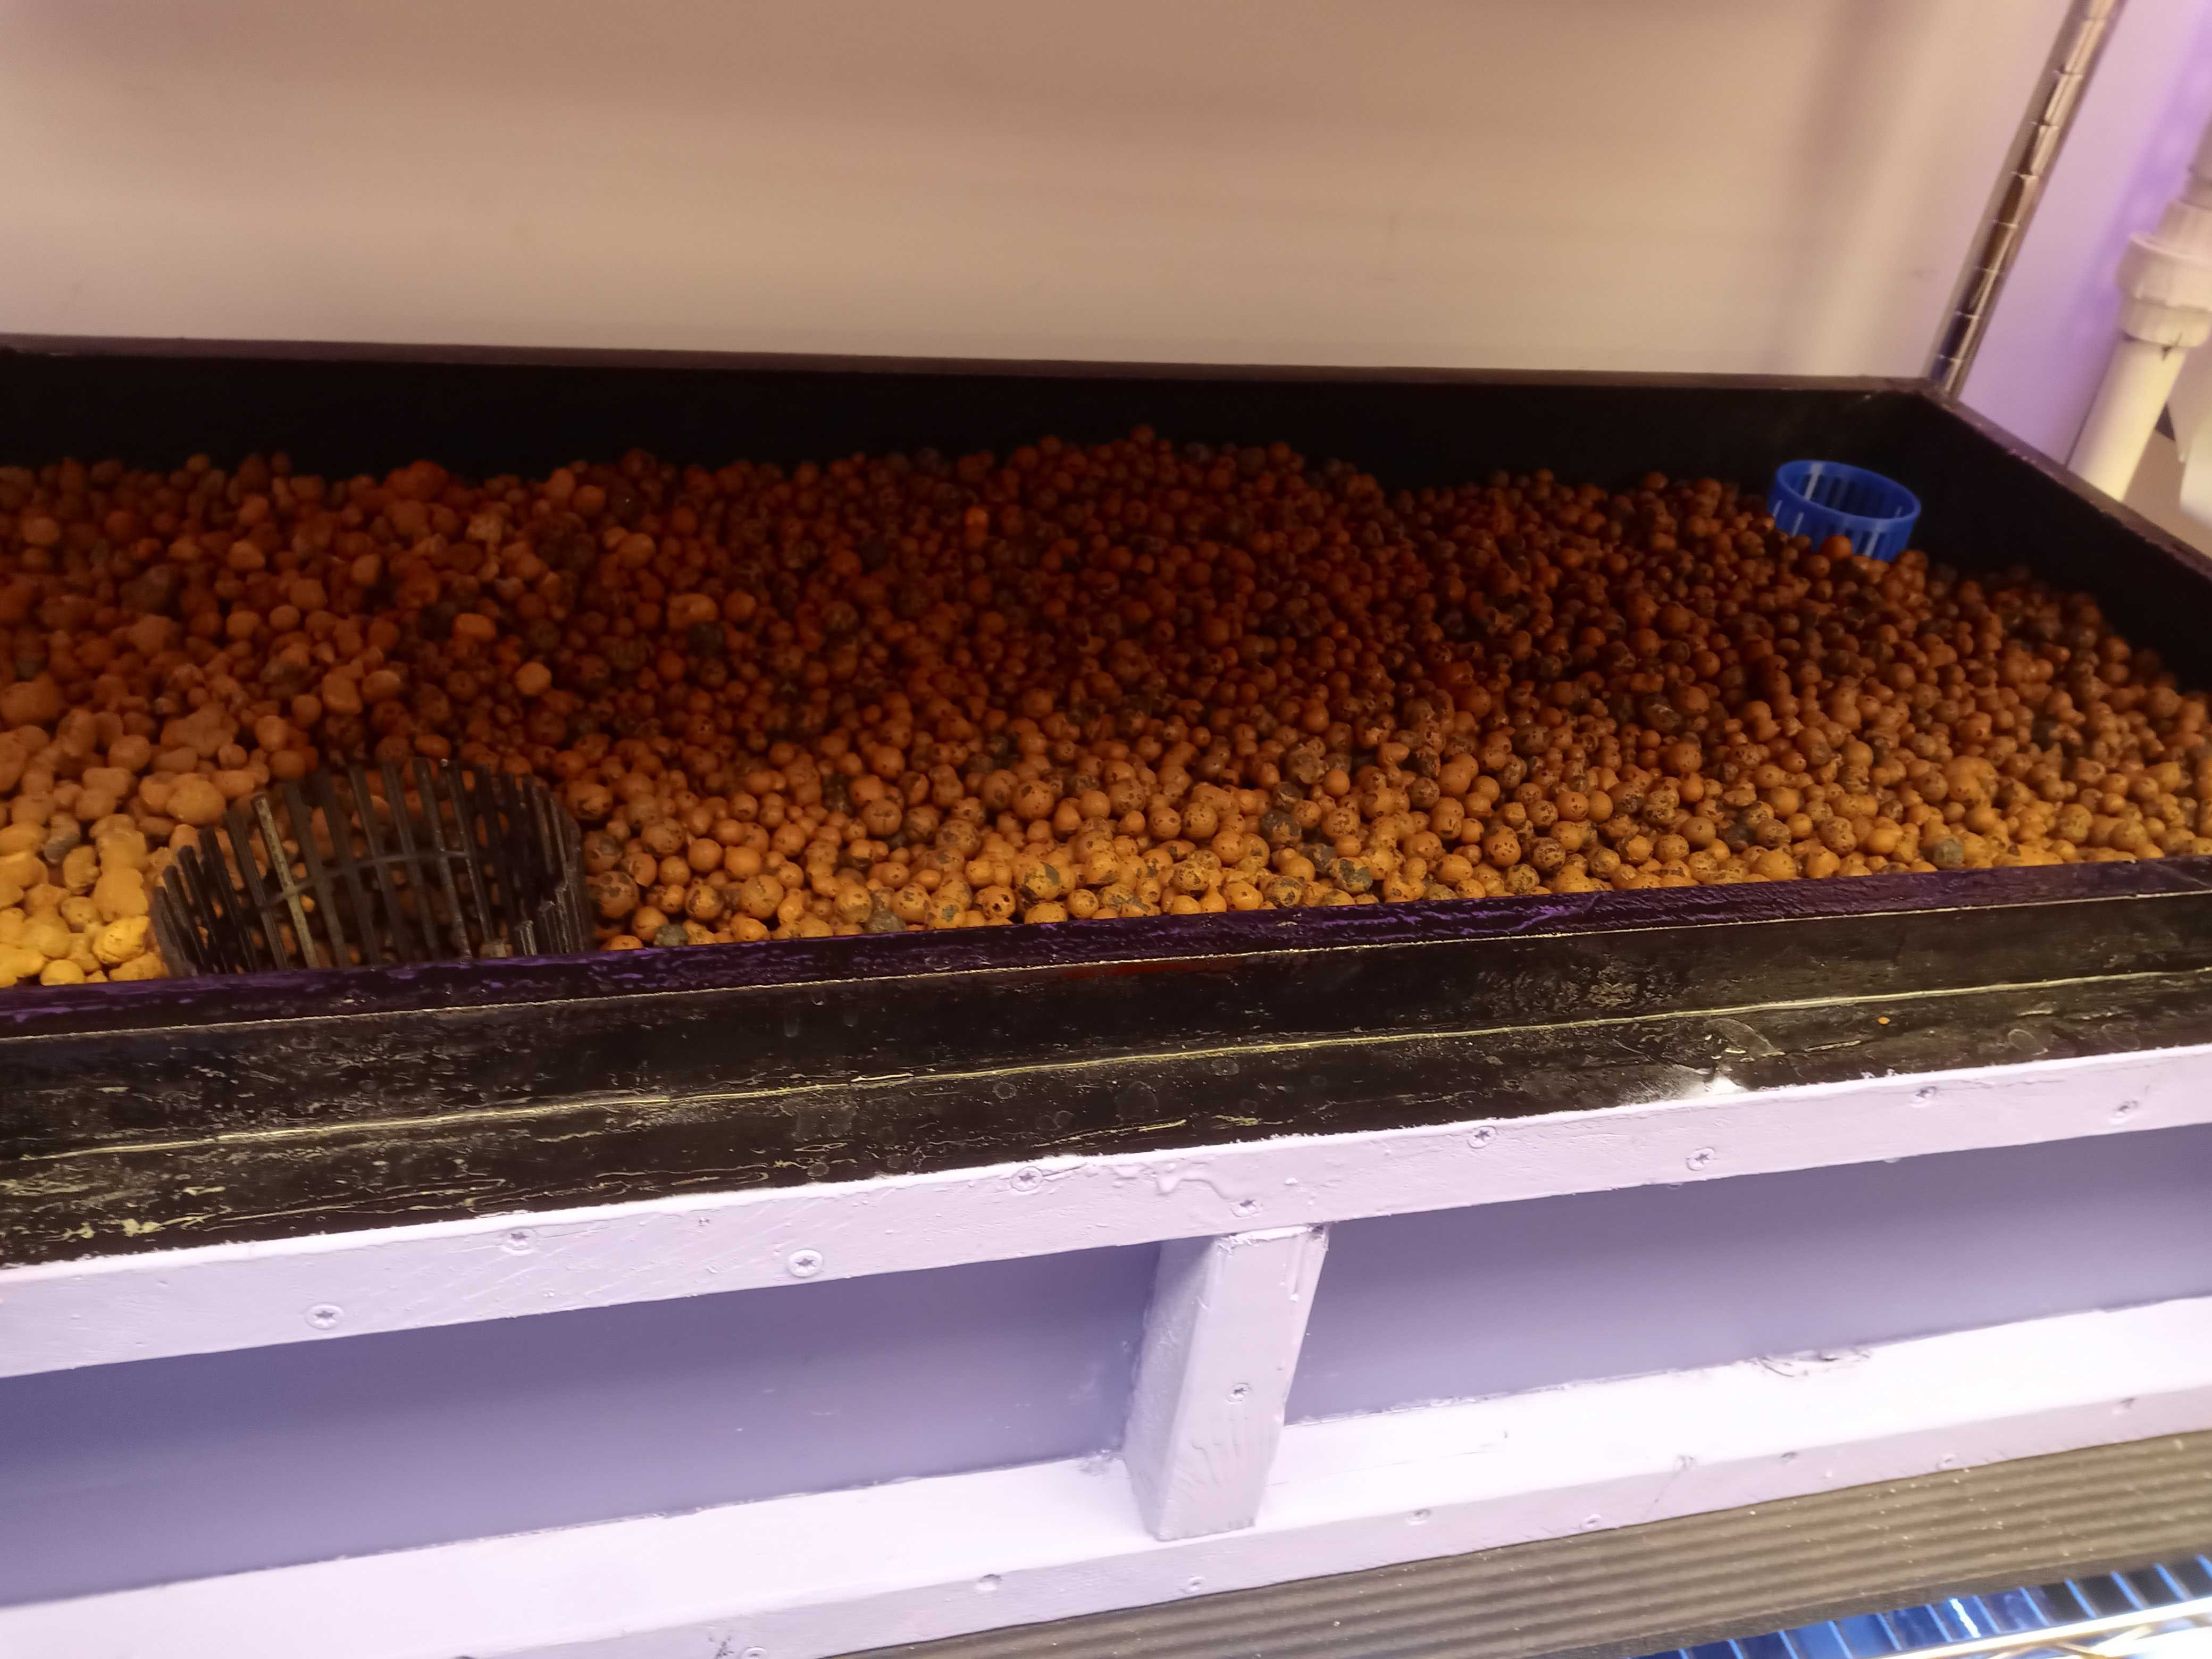
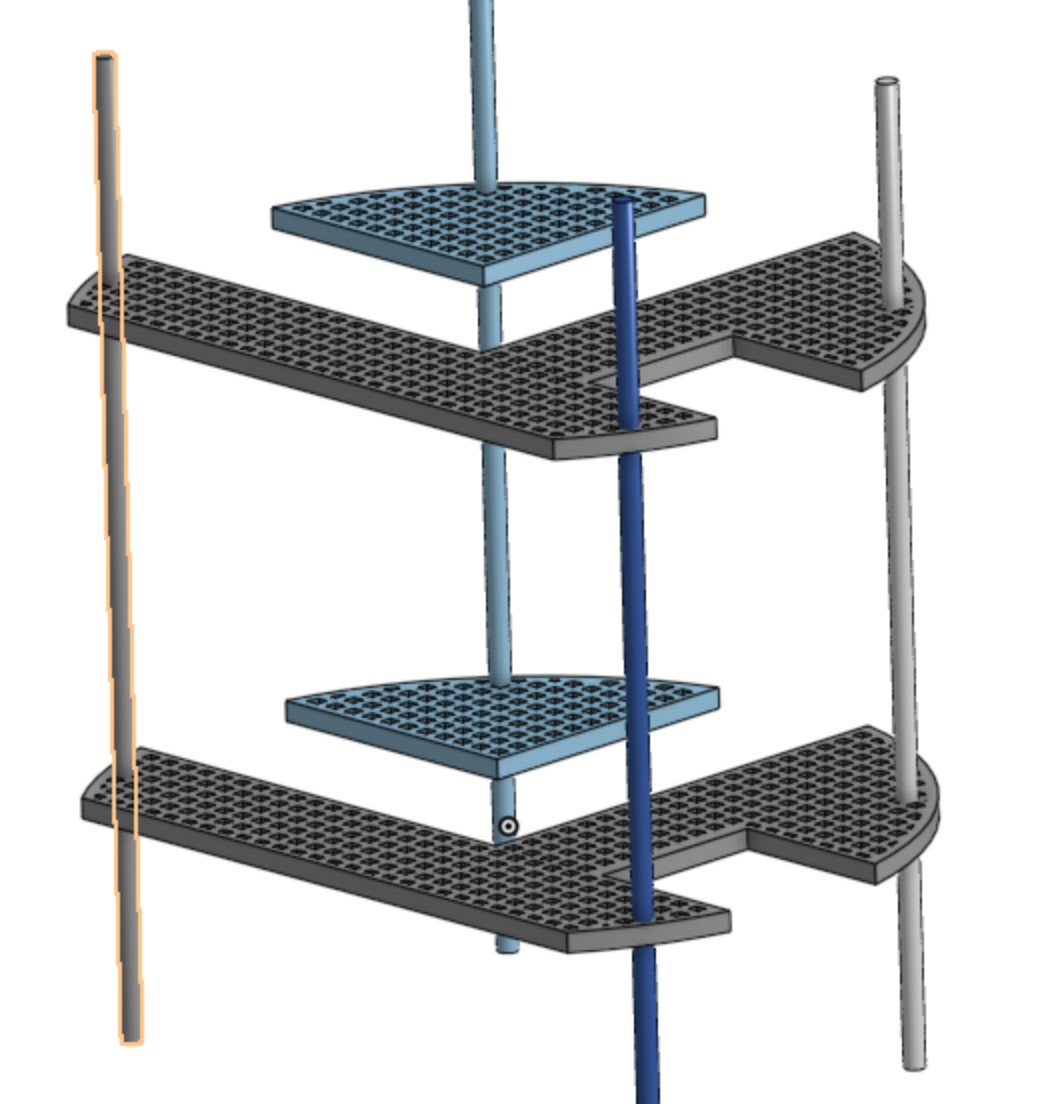
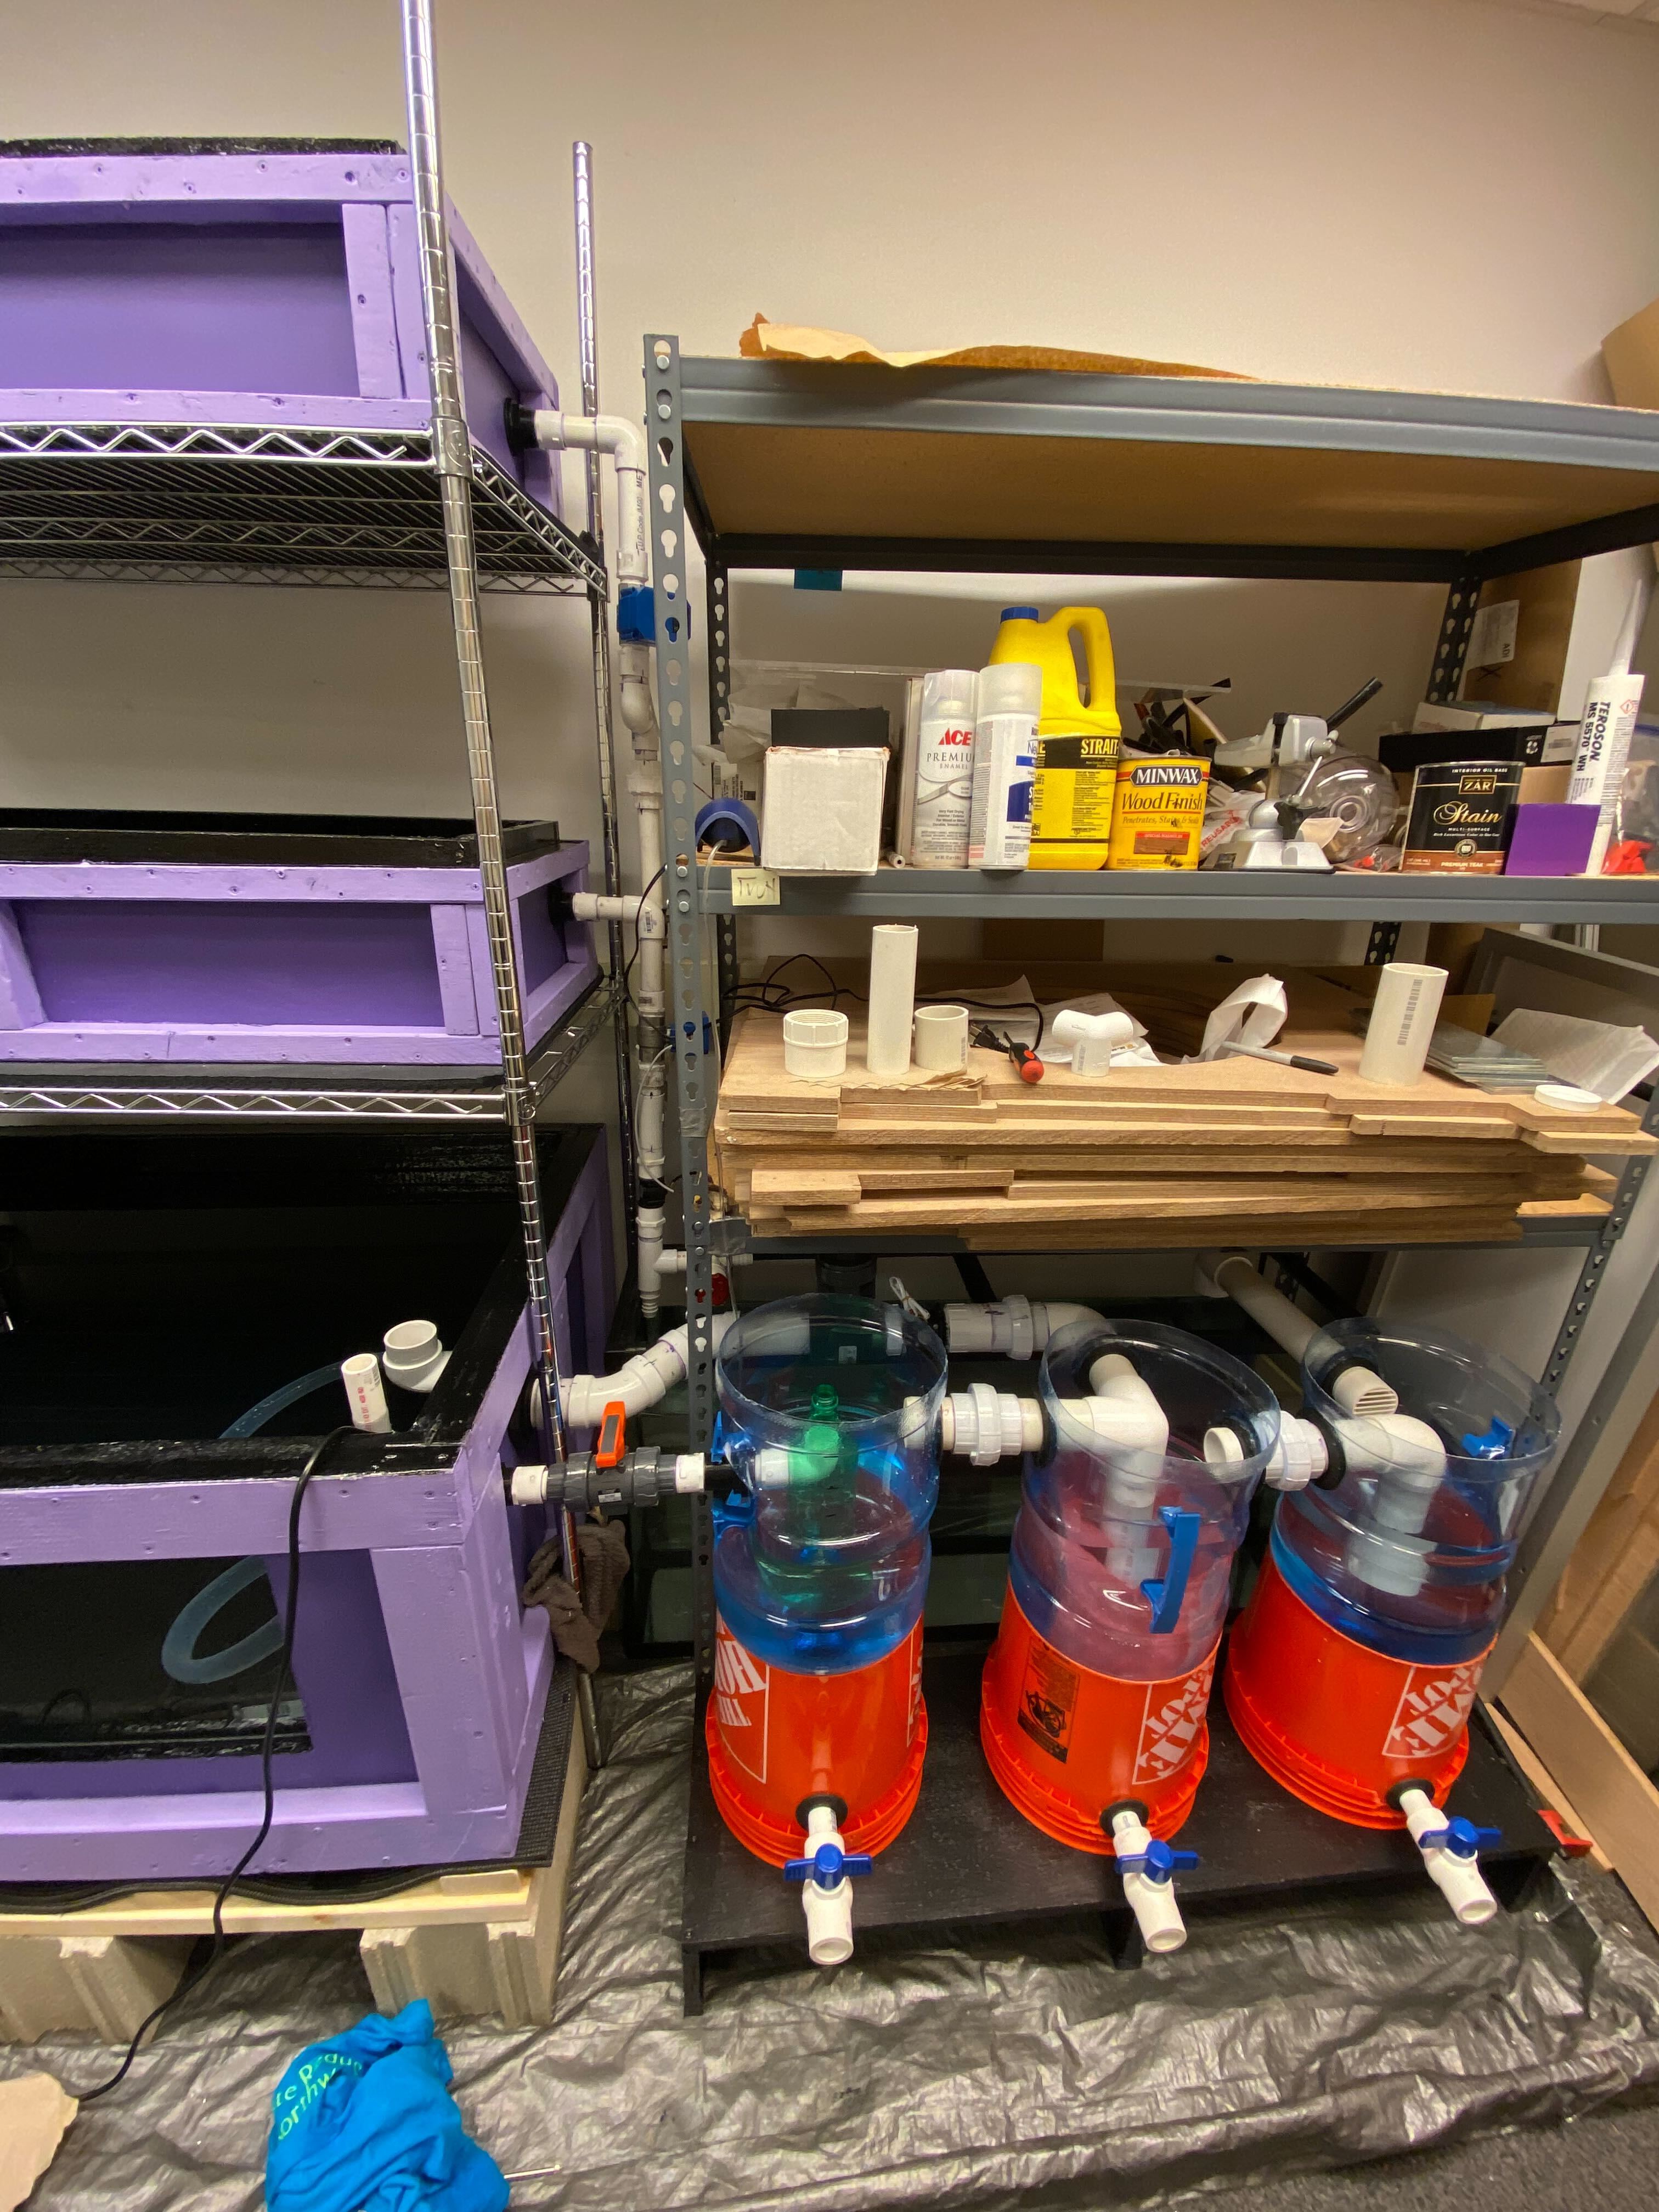
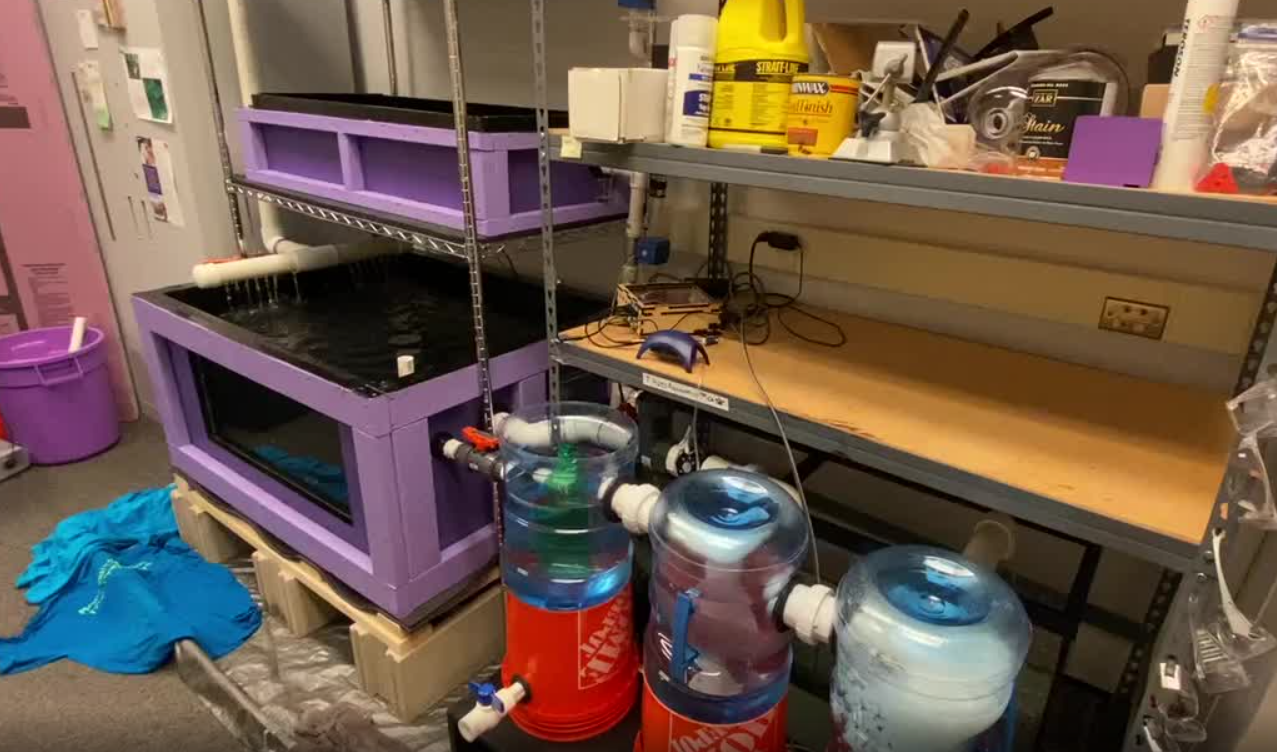
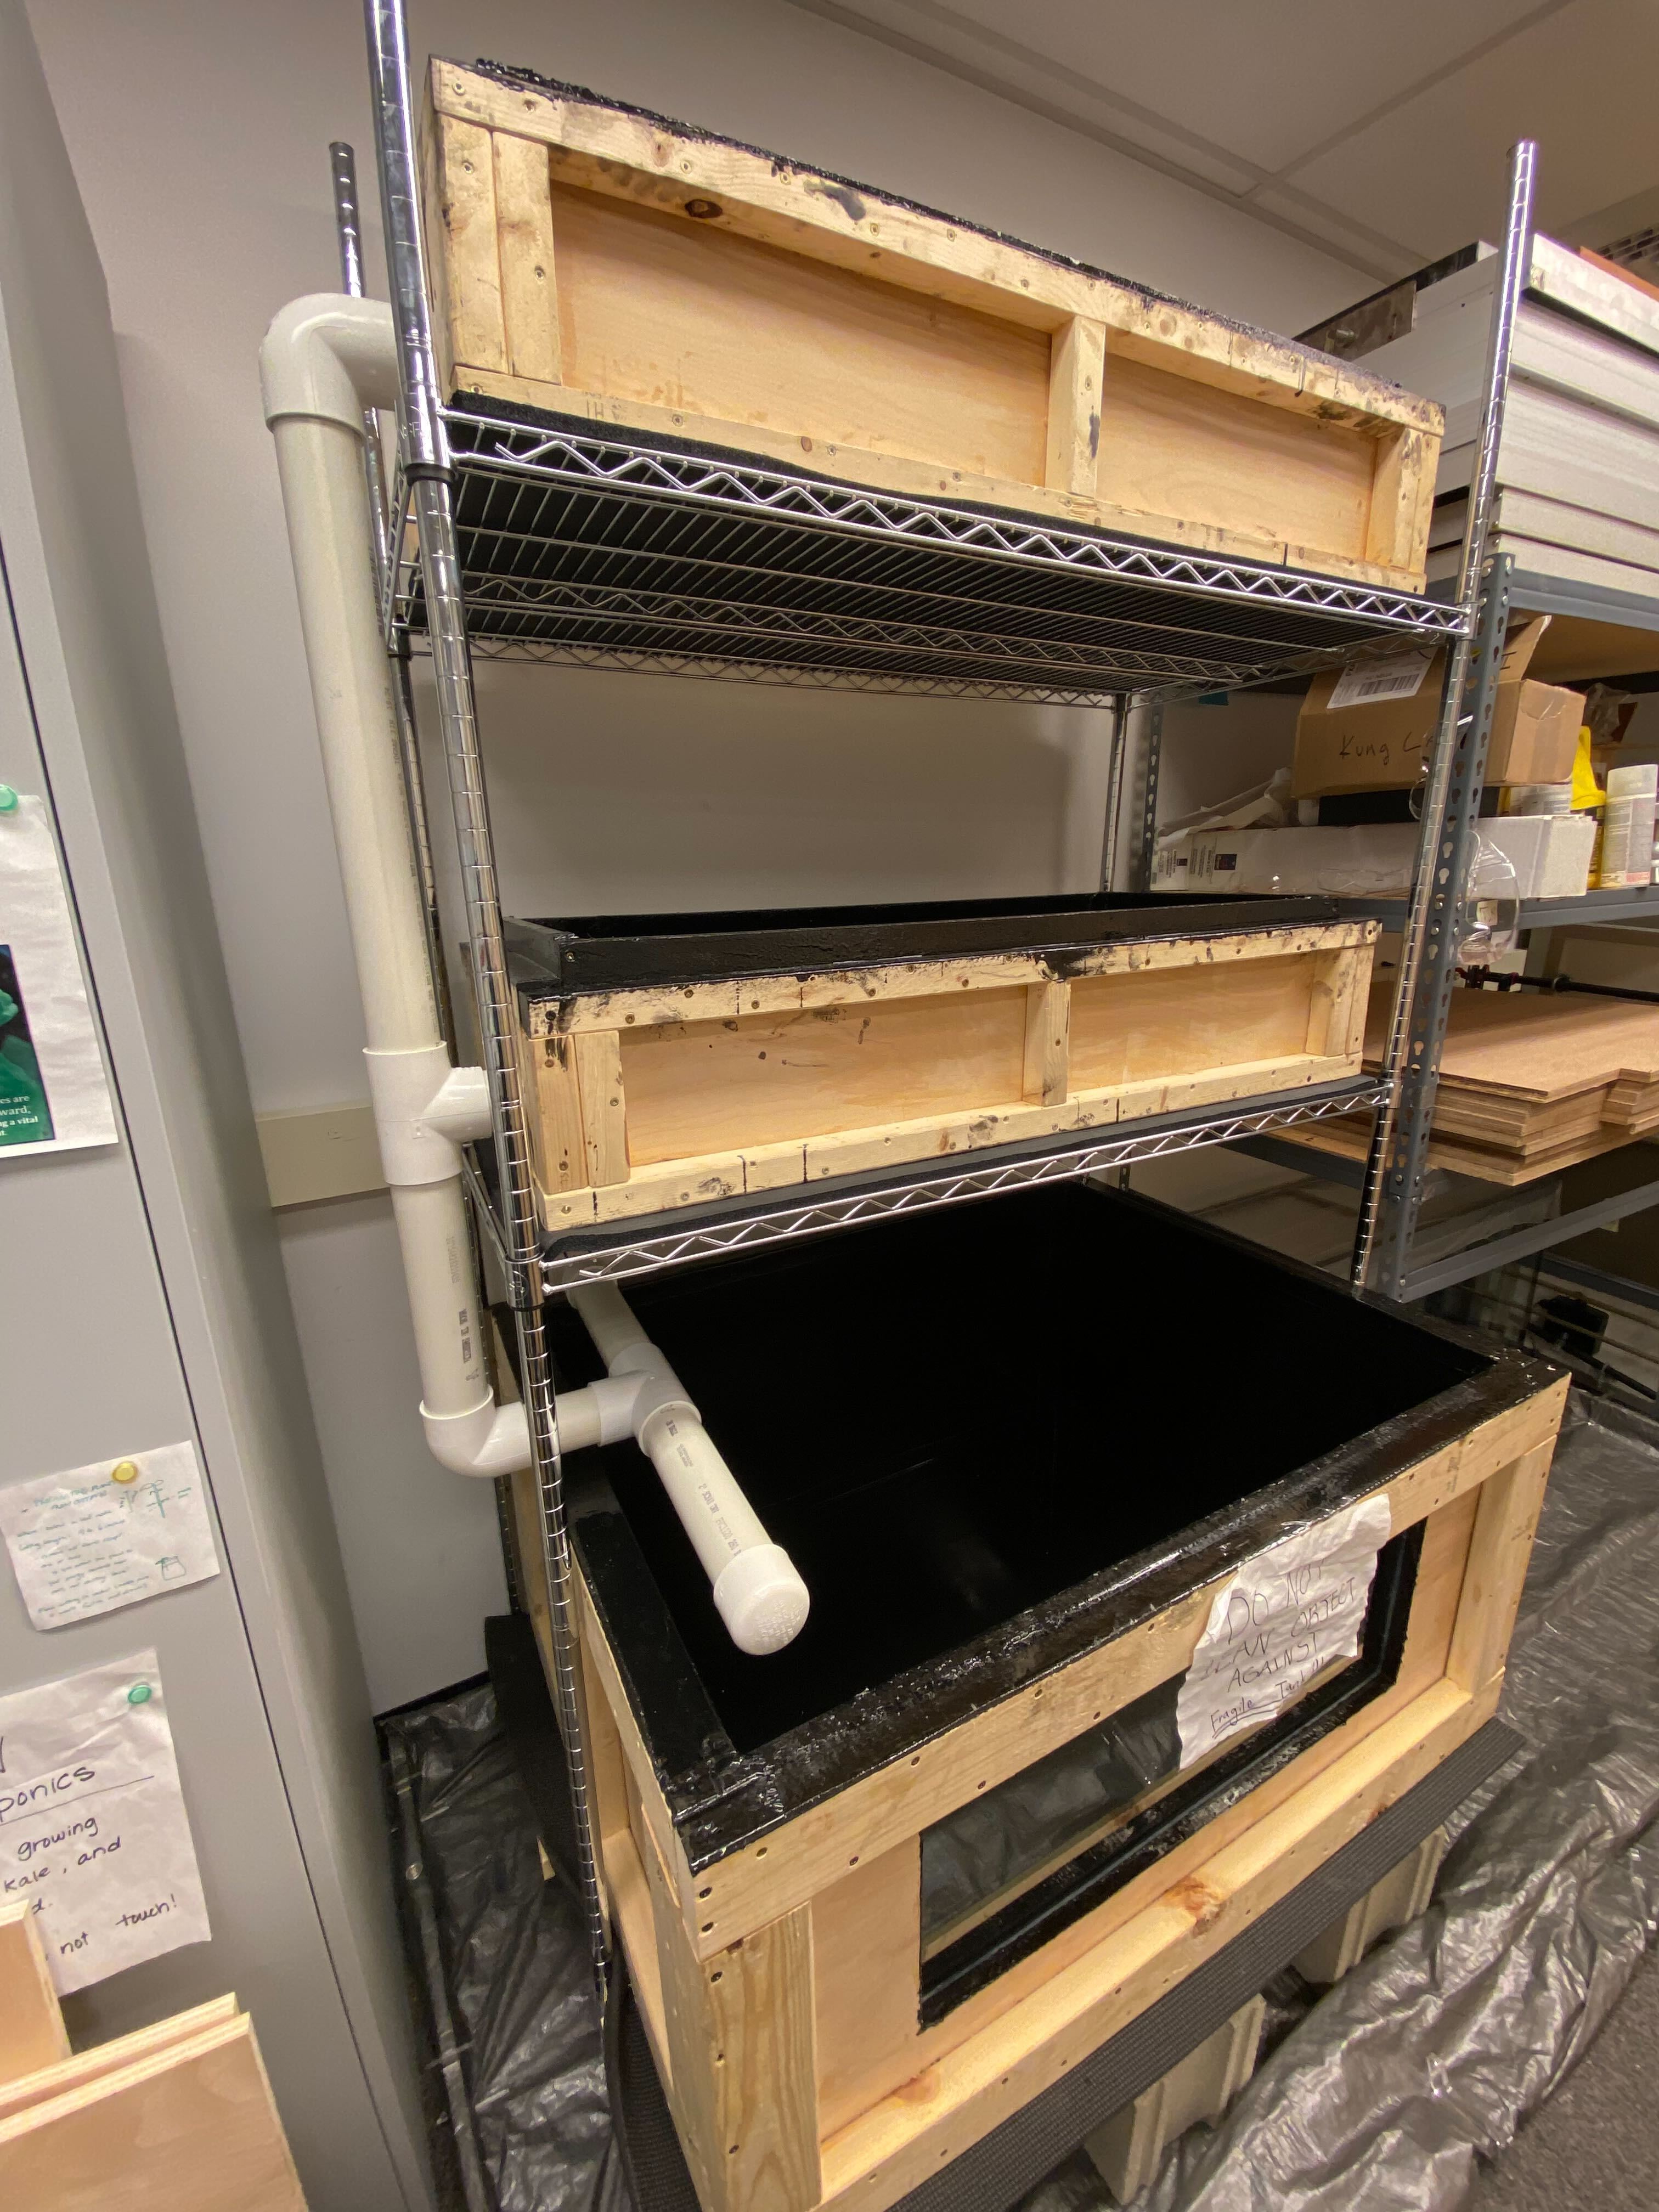
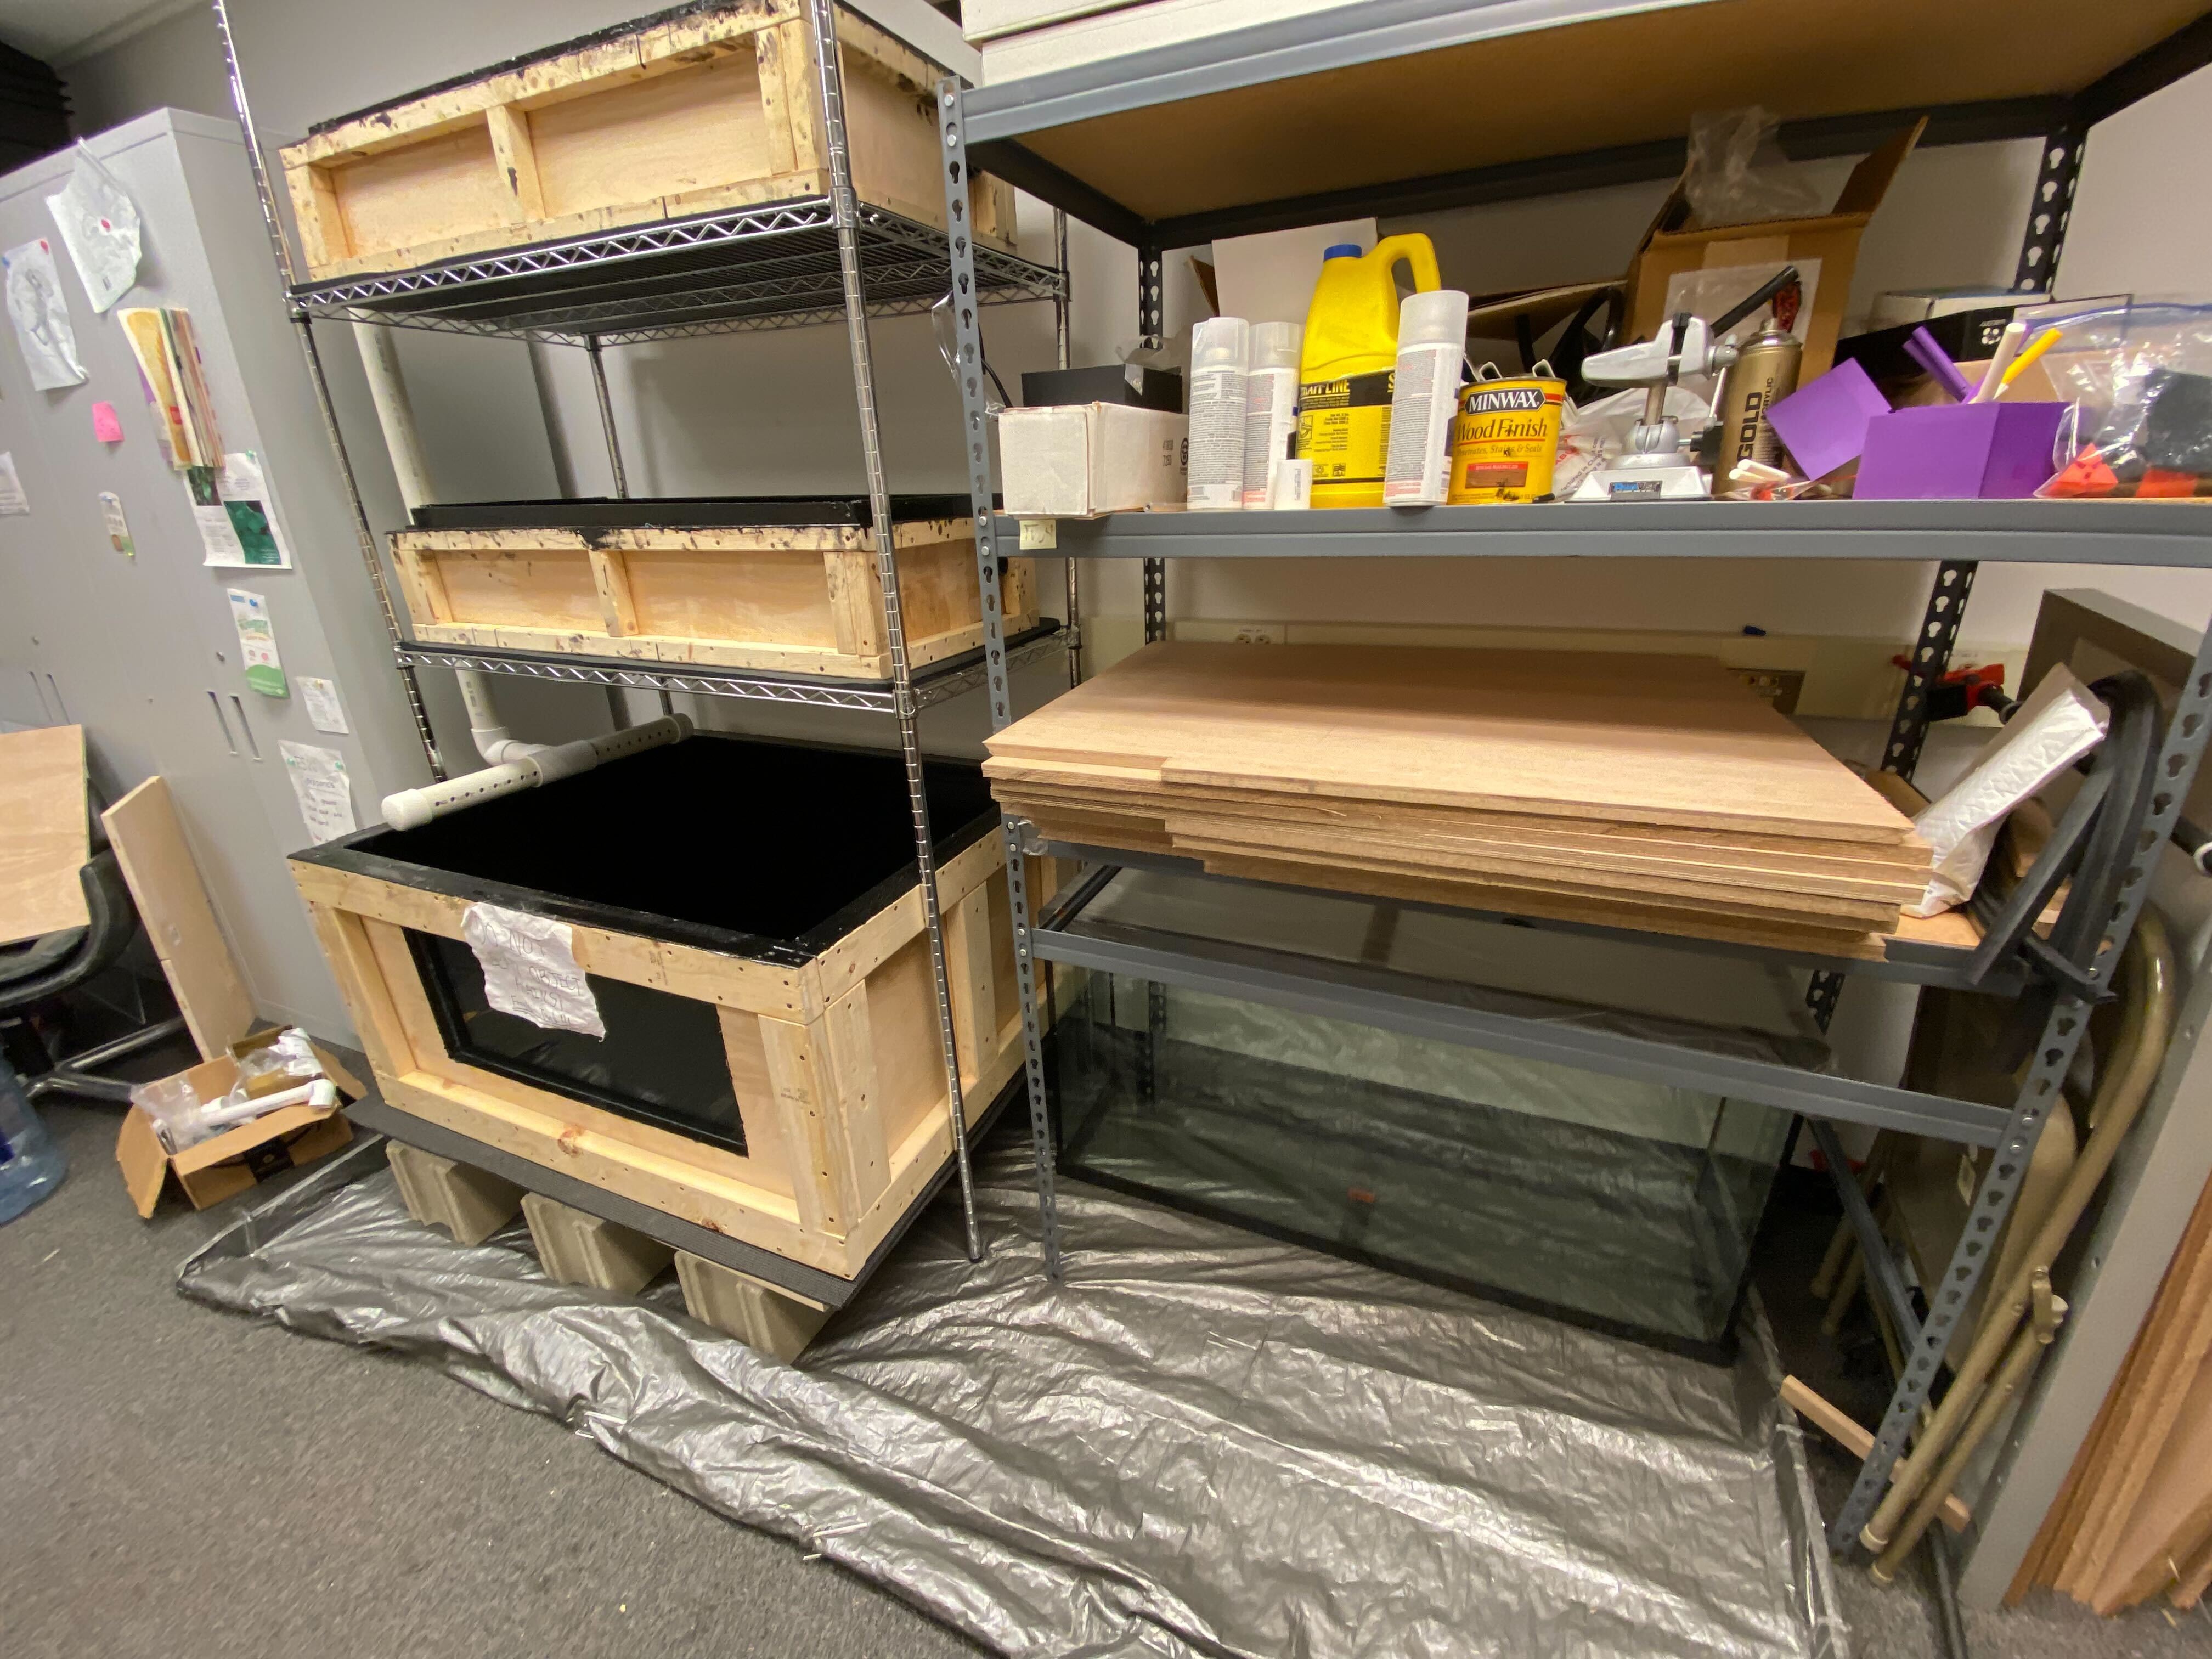
This quarter, we completed building the floating raft necessary for our deep water culture grow bed and 3D printed various components to keep our hydrocorn growth media from entering our PVC pipes for our bottom media grow bed. Below is a top view of the system showing both our grow beds, and a closeup of what the bottom grow bed looks like before planting with our two 3D printed screens keeping our inlet and outlet pipes clear of the media.

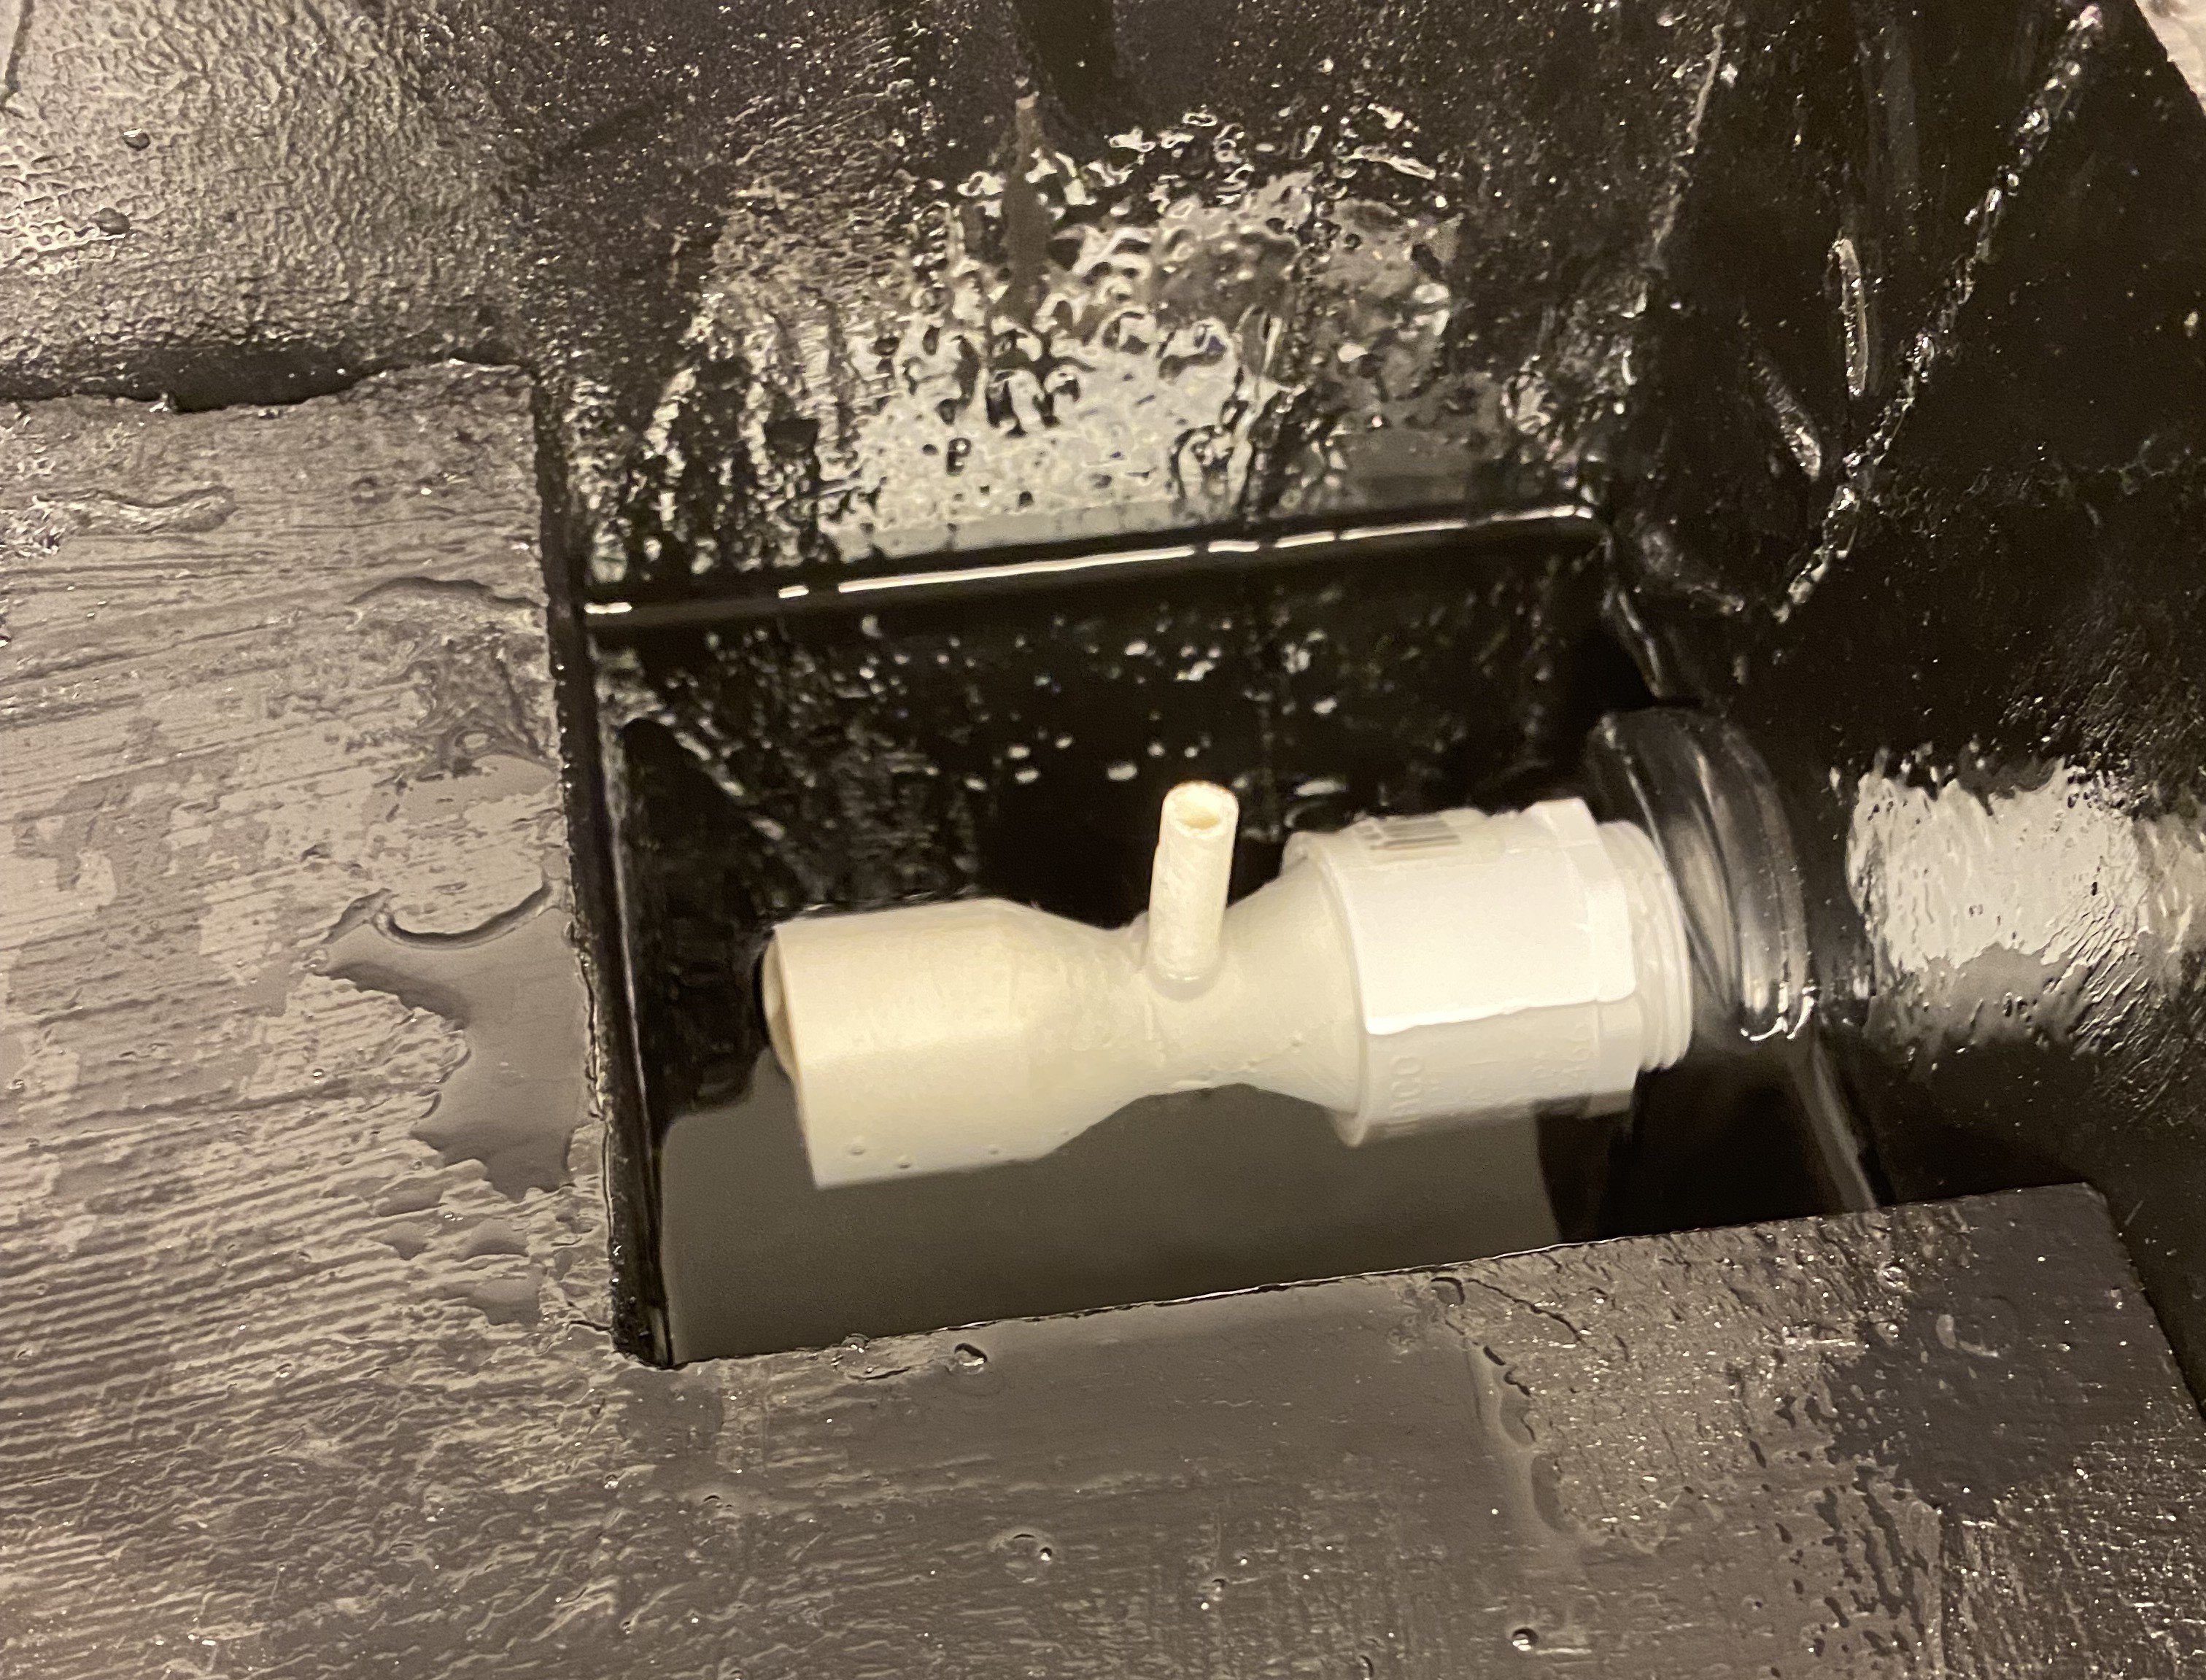
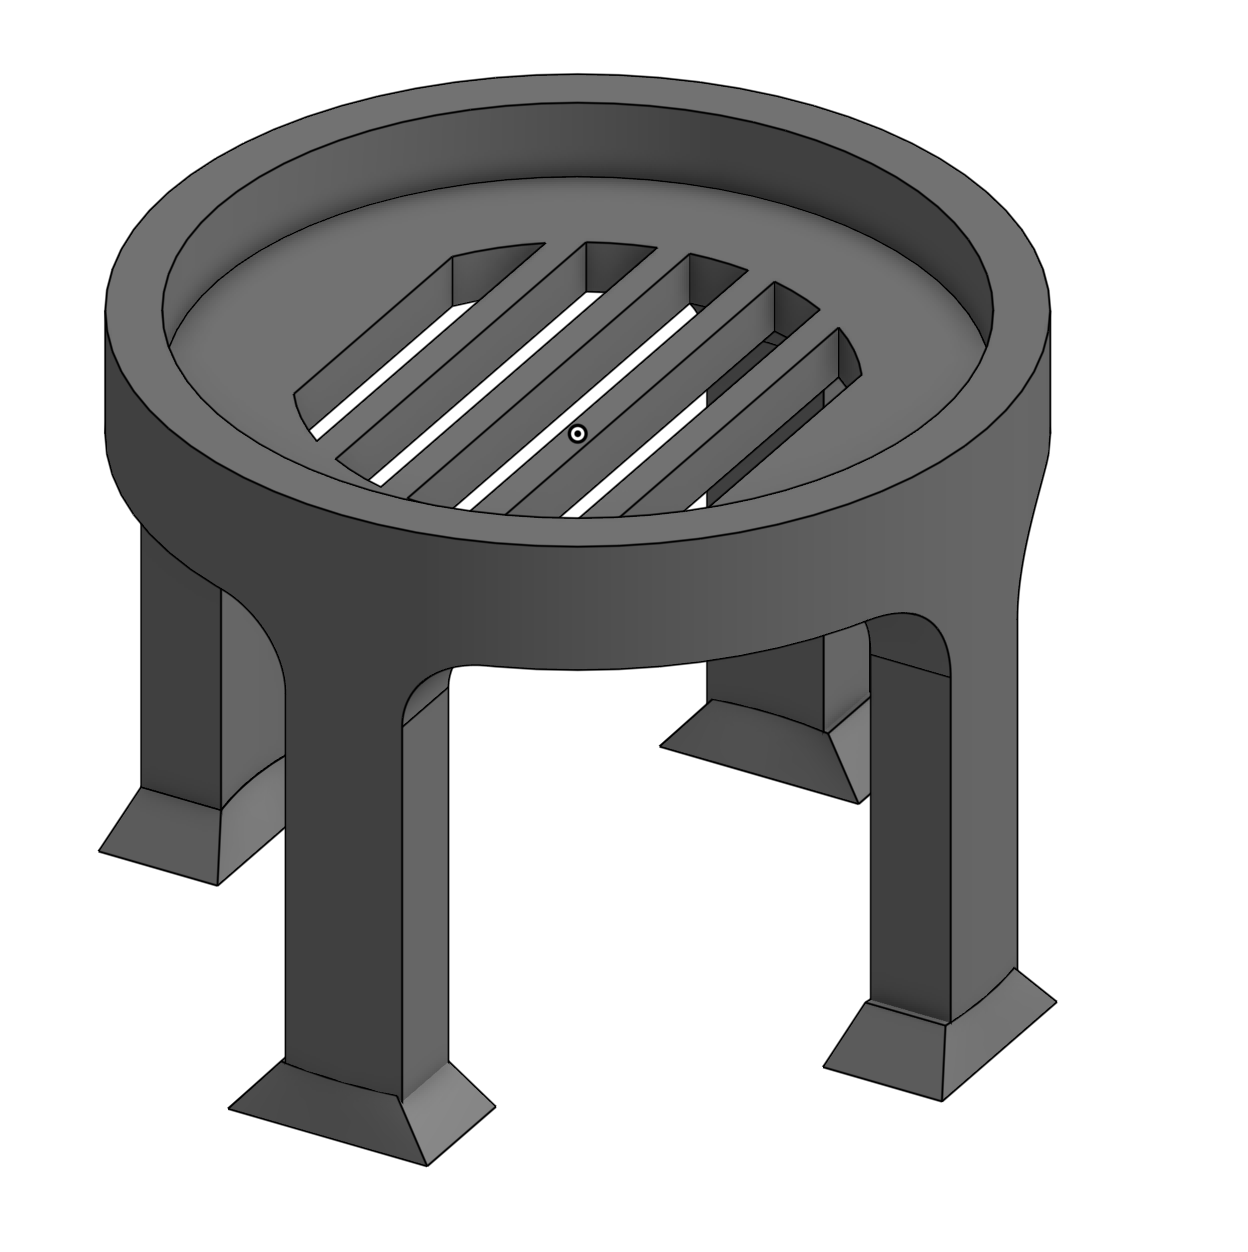
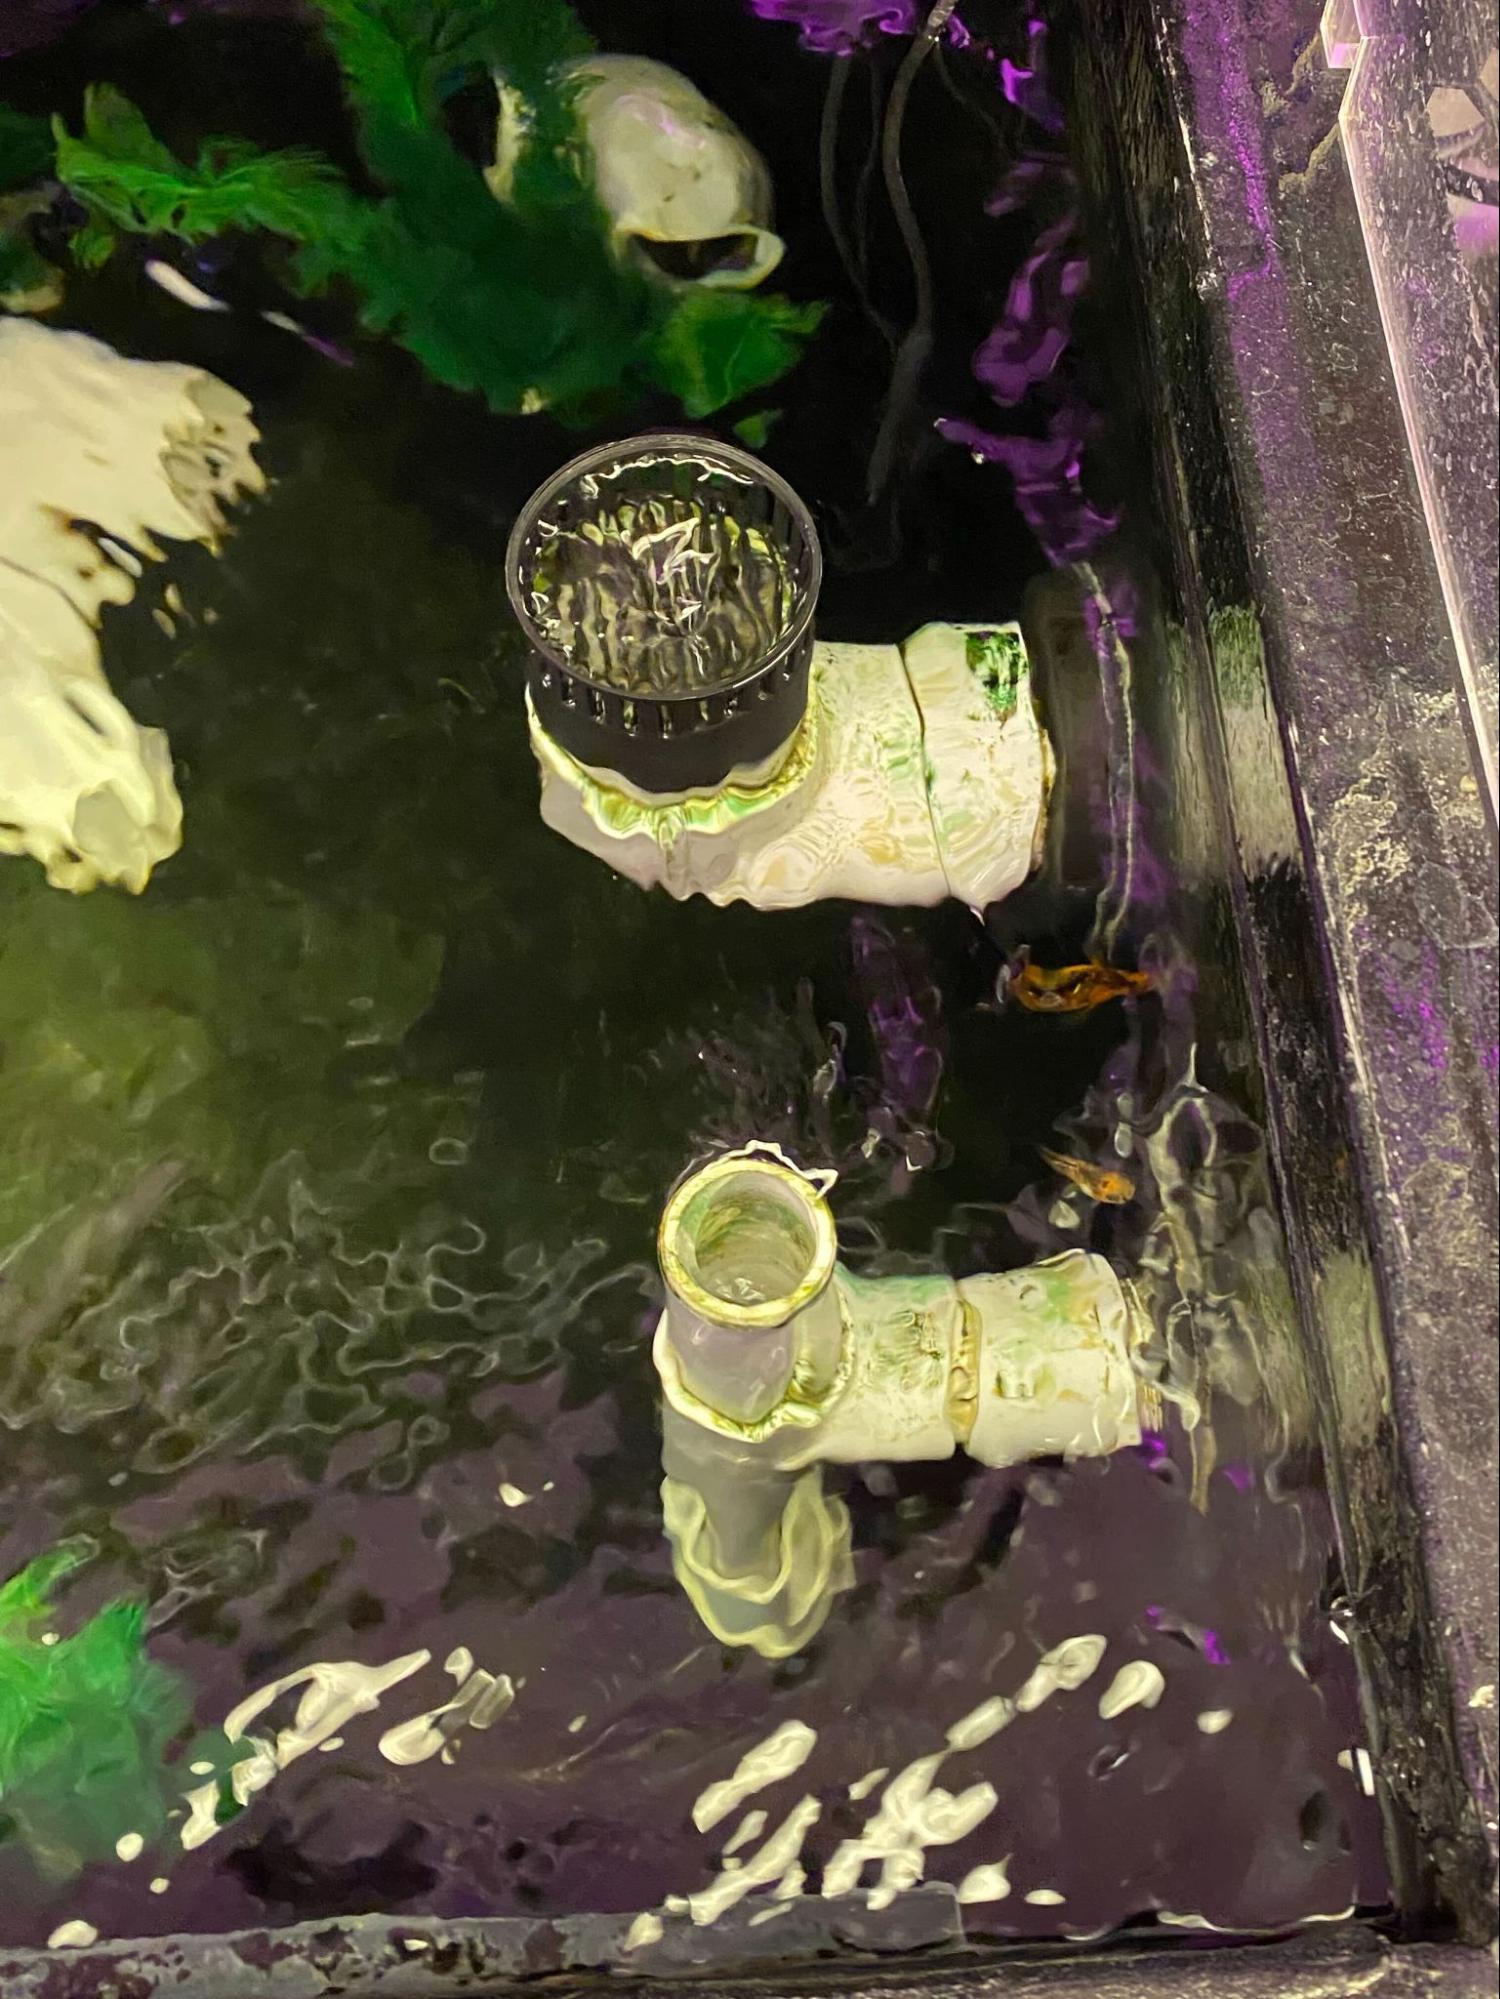
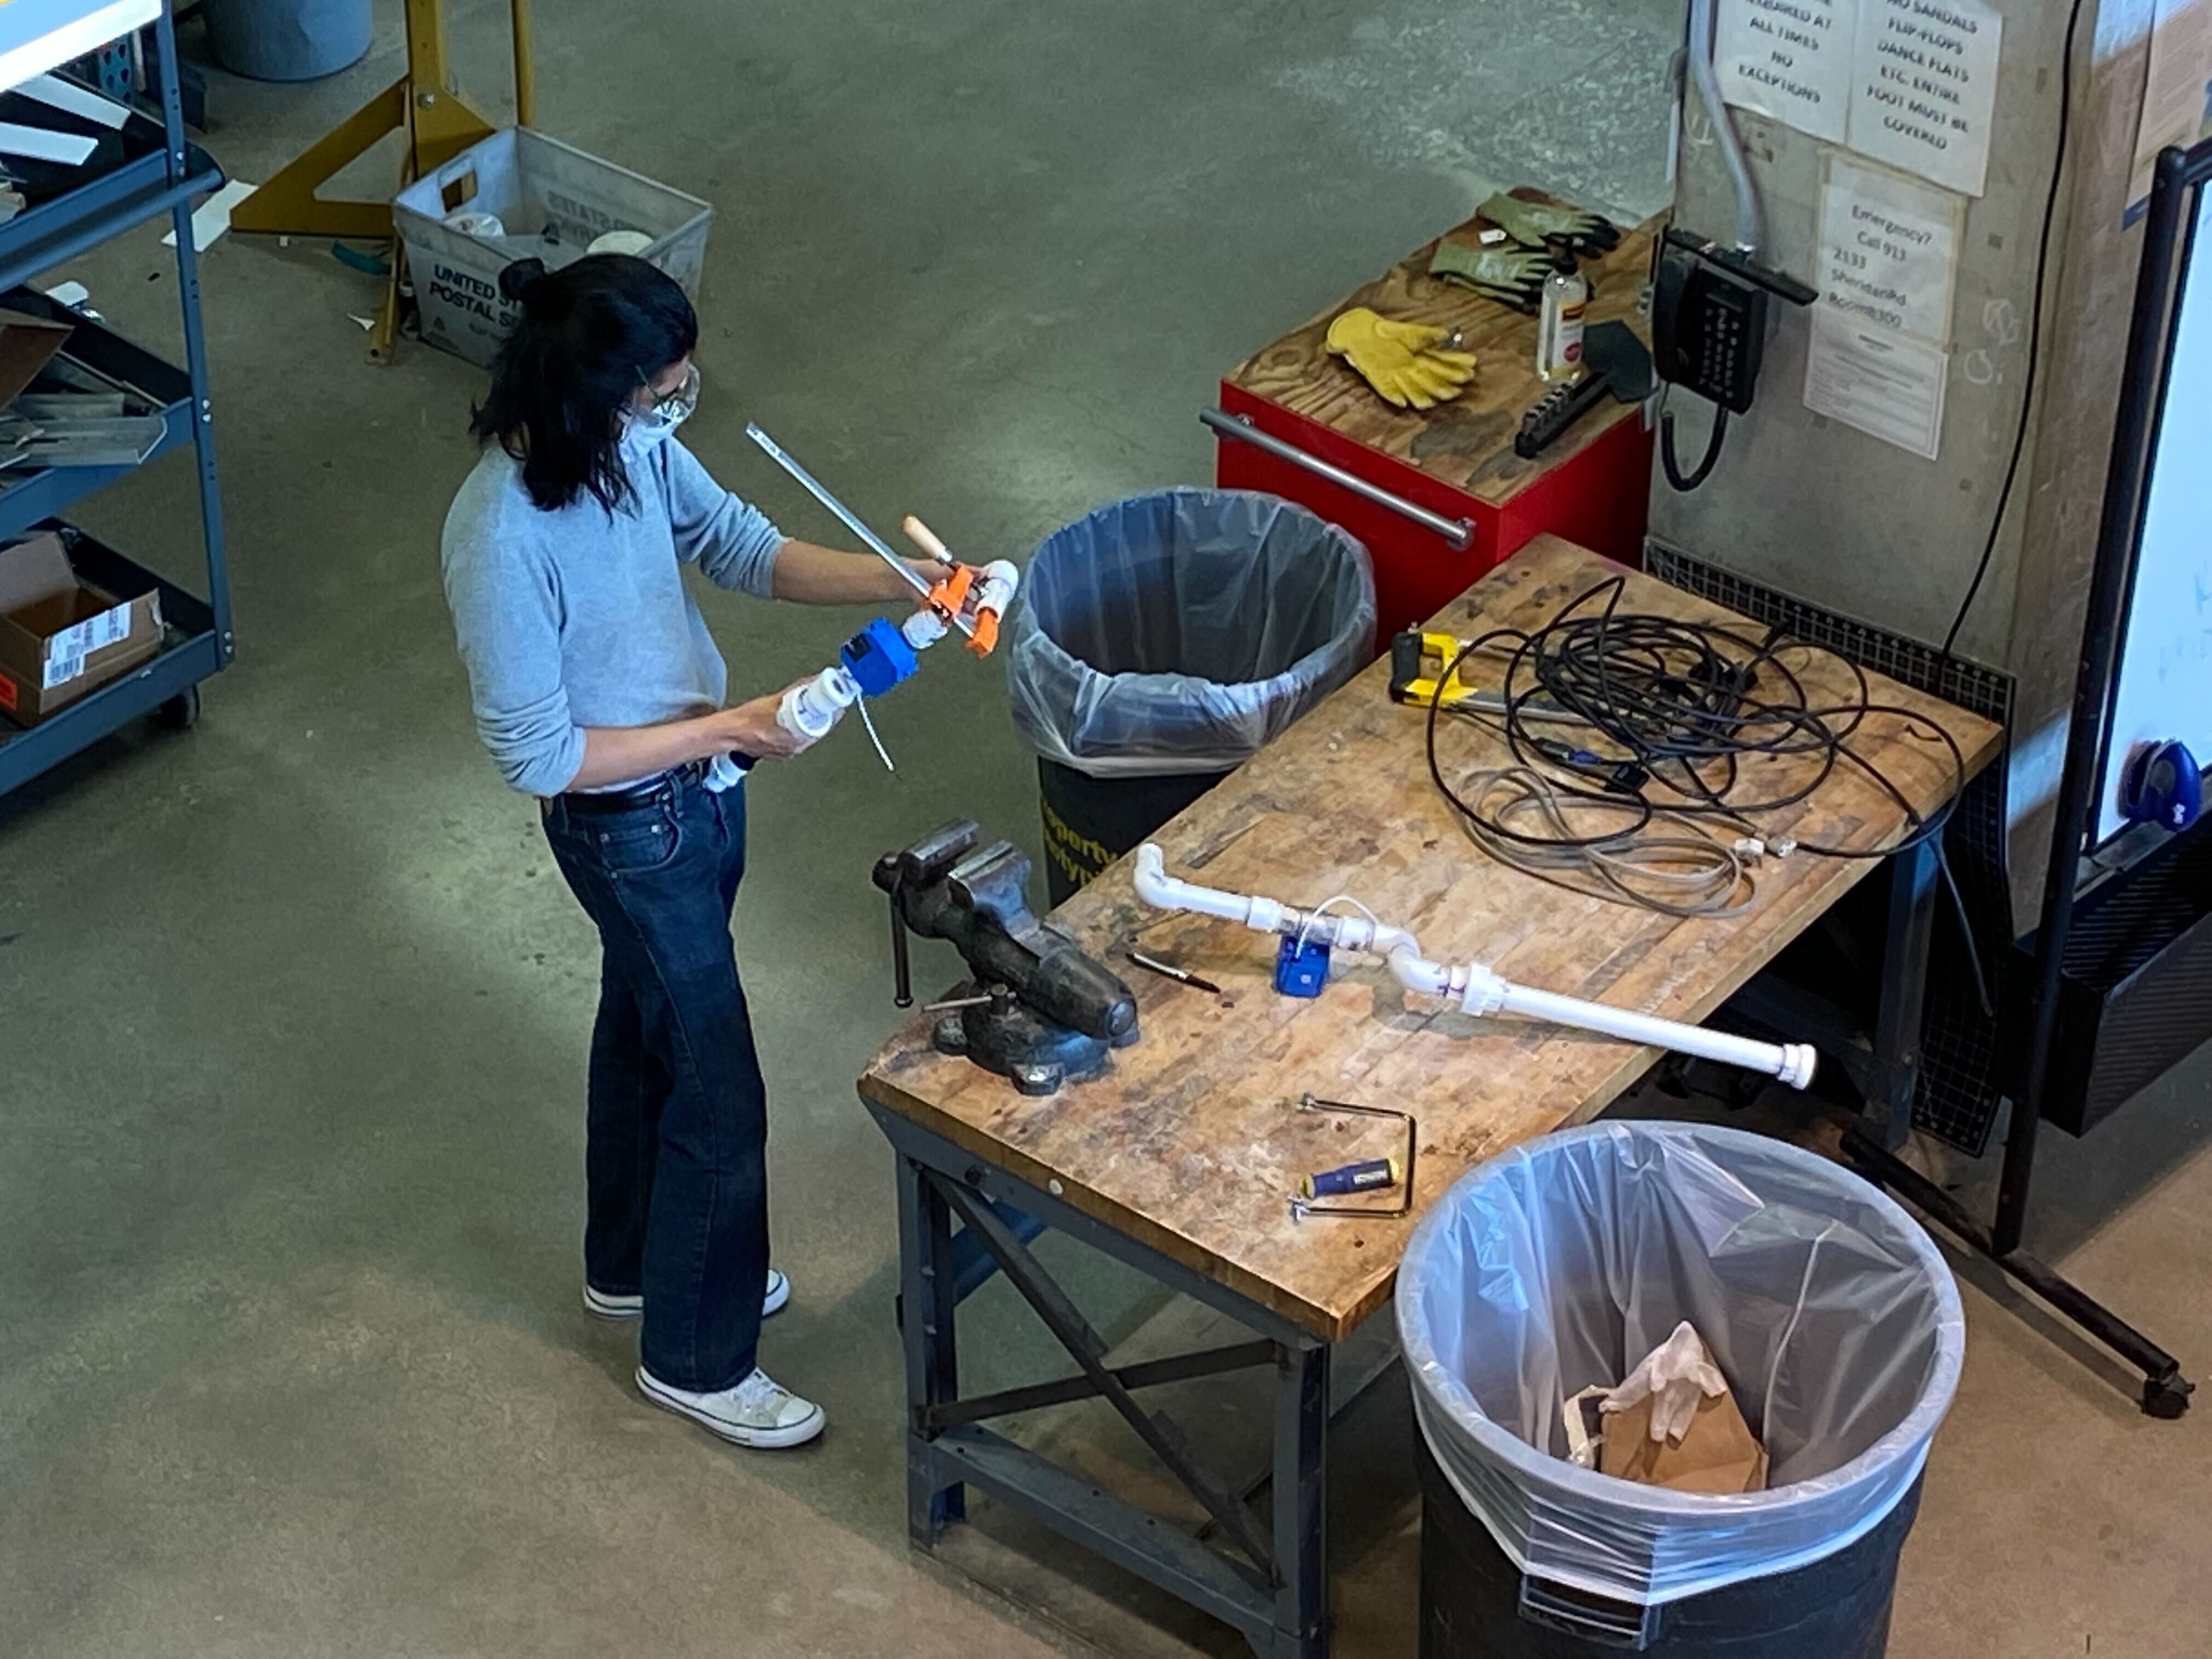
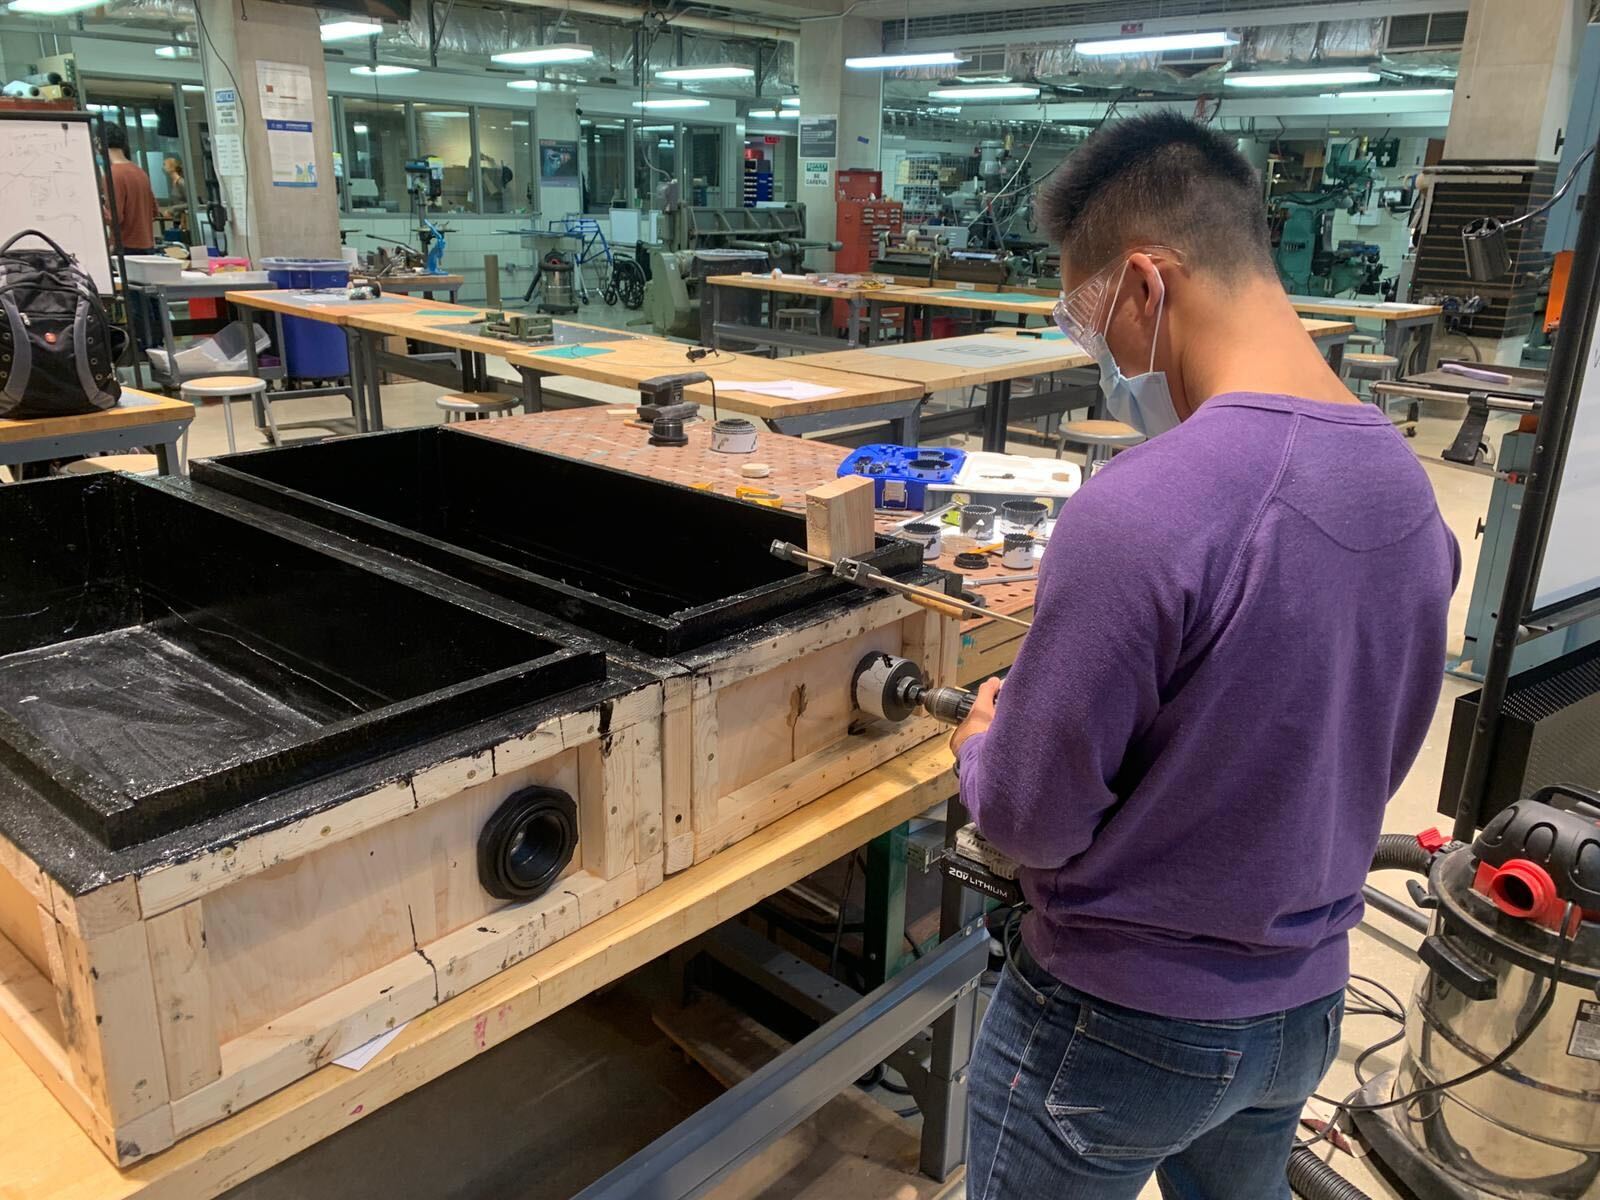
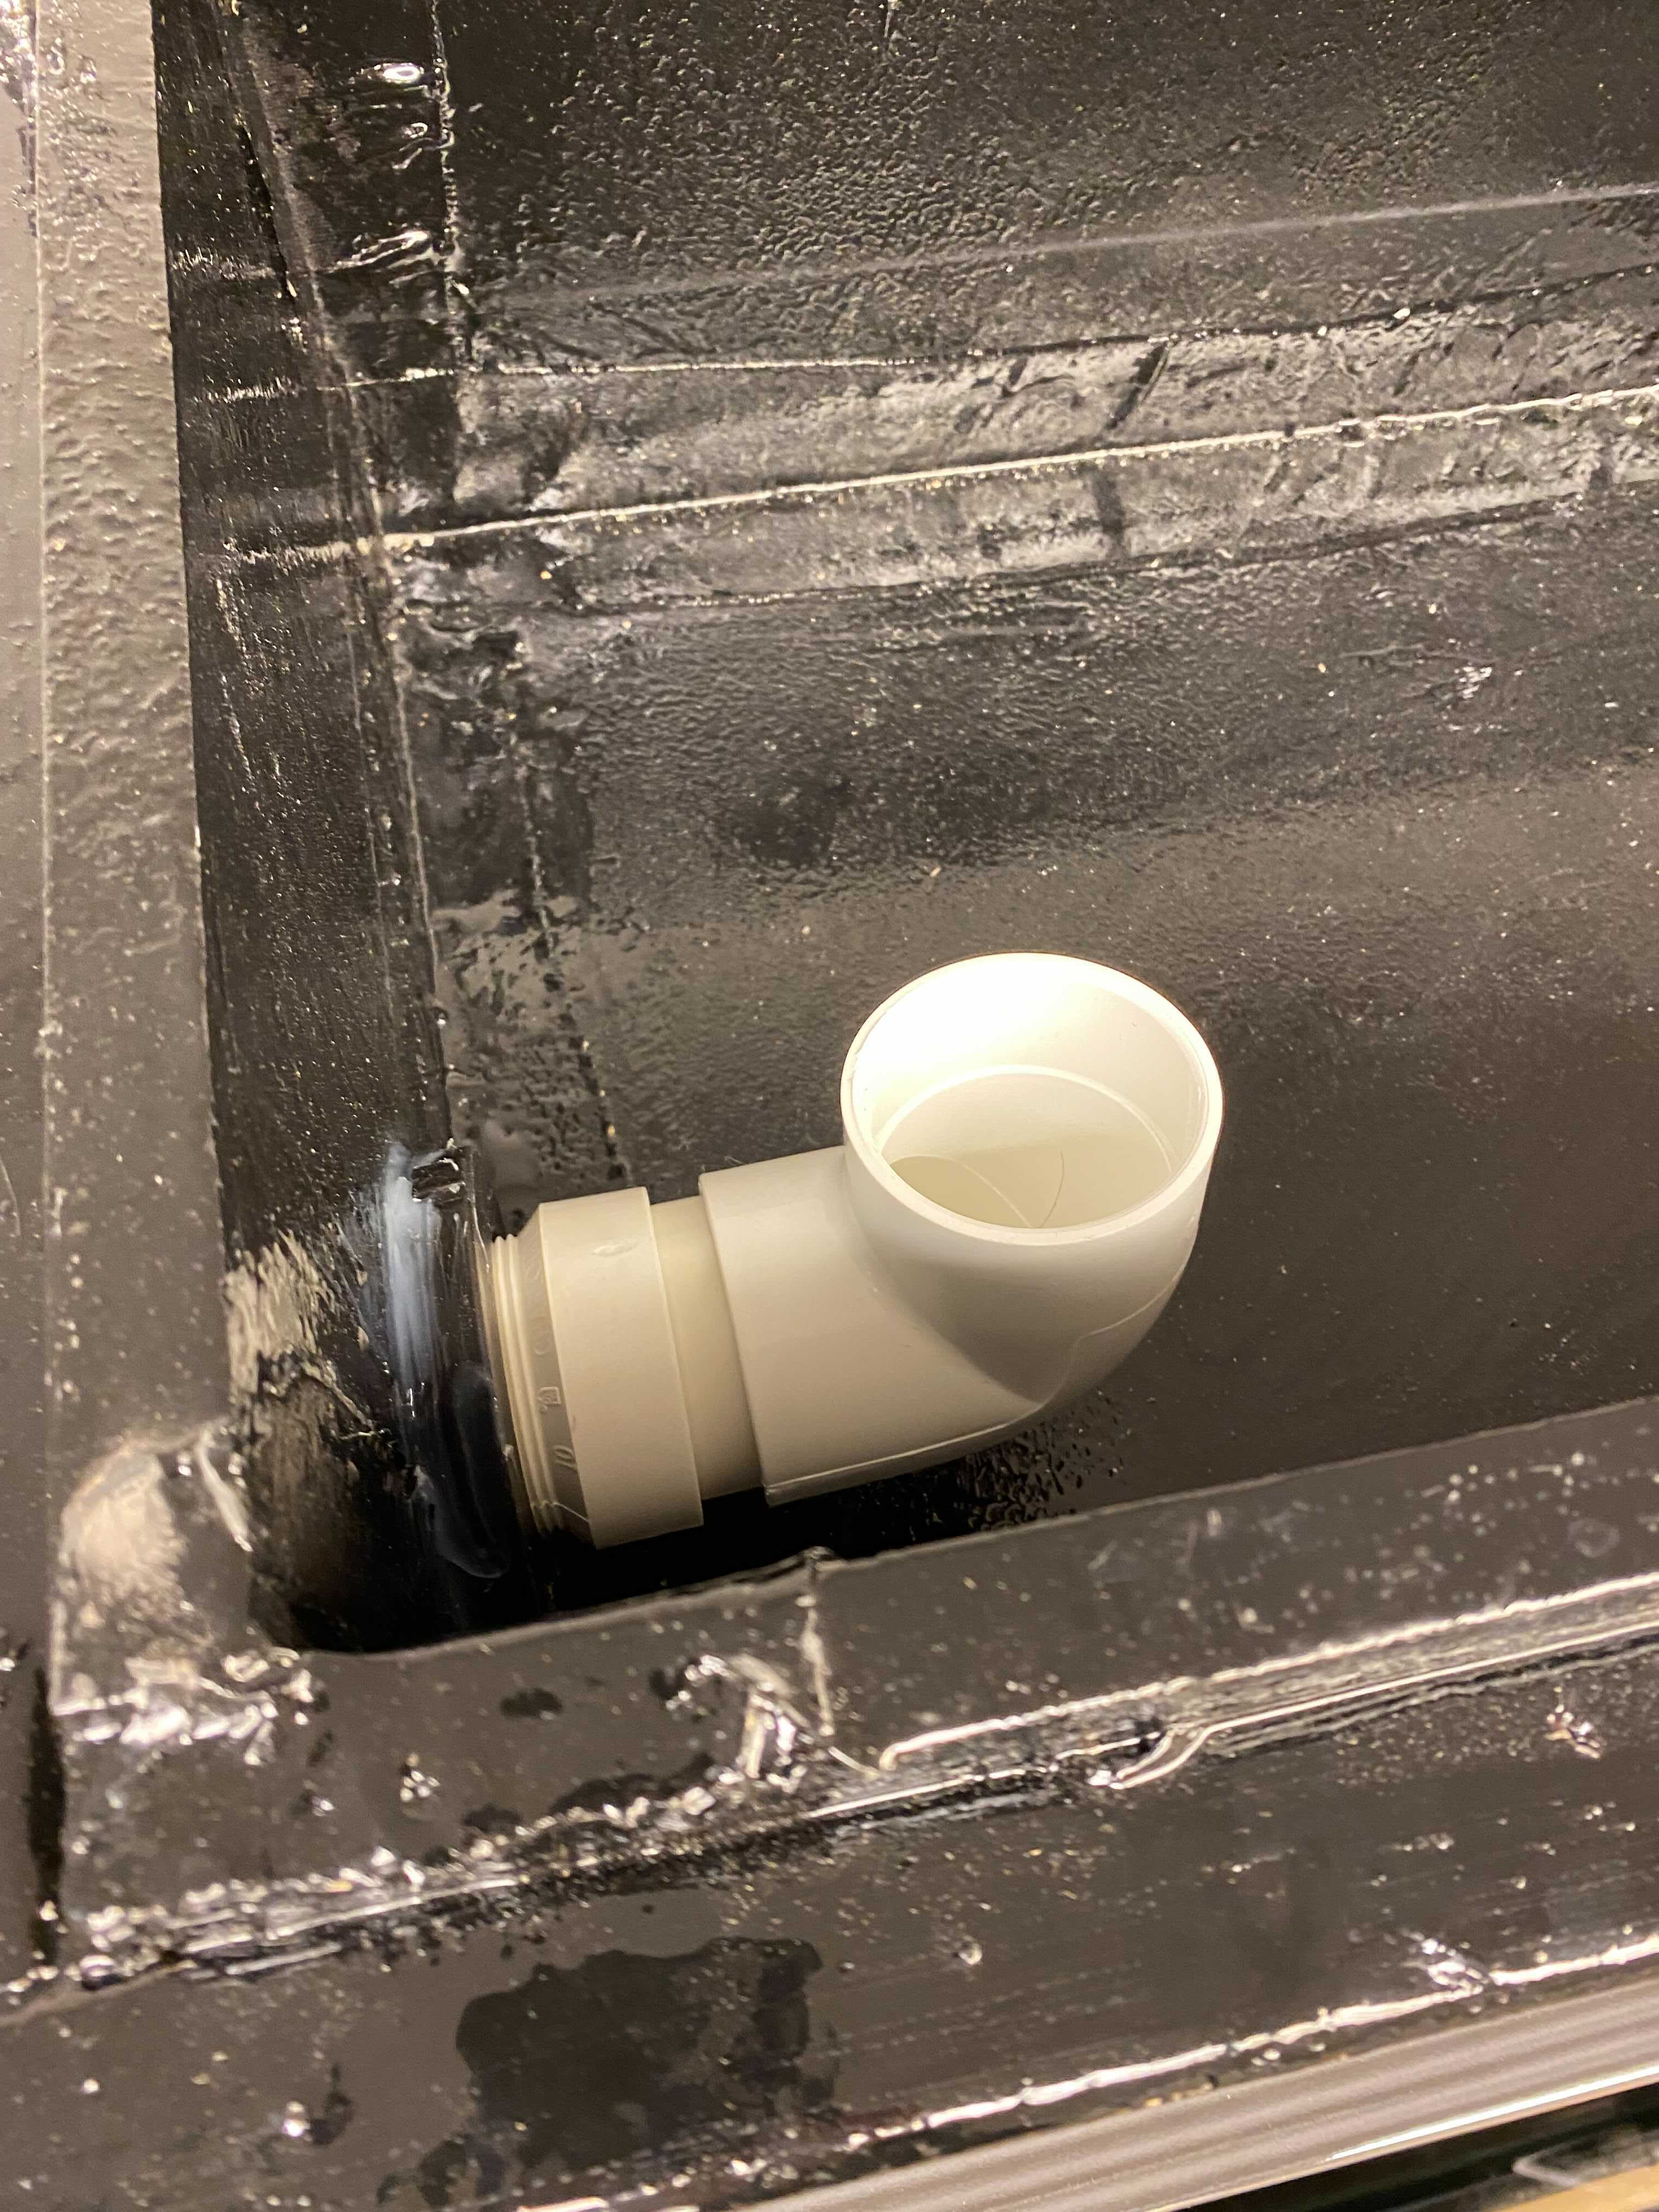
Speaking of 3D printing, our plumbing team also created a number of custom parts for our fish tank that does everything from improving our solids management to keeping fish and fish food where they are supposed to be! They made a fitting for our 1" solids lifting overflow that lets us suck water from the very bottom of the tank where fish waste sinks to. The team also designed a feeding ring that we placed under where our automatic fish feeder dispenses food so that the floating flakes wouldn't get sucked into the overflow skimmer in the tank. On top of that, a carefully designed screen on the overflow prevents our fish from making their way into the filter bottles without throttling our flow too much (can be seen in top view above). Lastly, by taking advantage of our fluid mechanics knowledge, we designed a venturi aerator for our top grow bed that can keep the deep water culture plant roots oxygenated without adding any moving components/electrical parts to the system.

Feeding ring:

Venturi aerator that injects small bubbles into the water whenever the pump forces water through it:

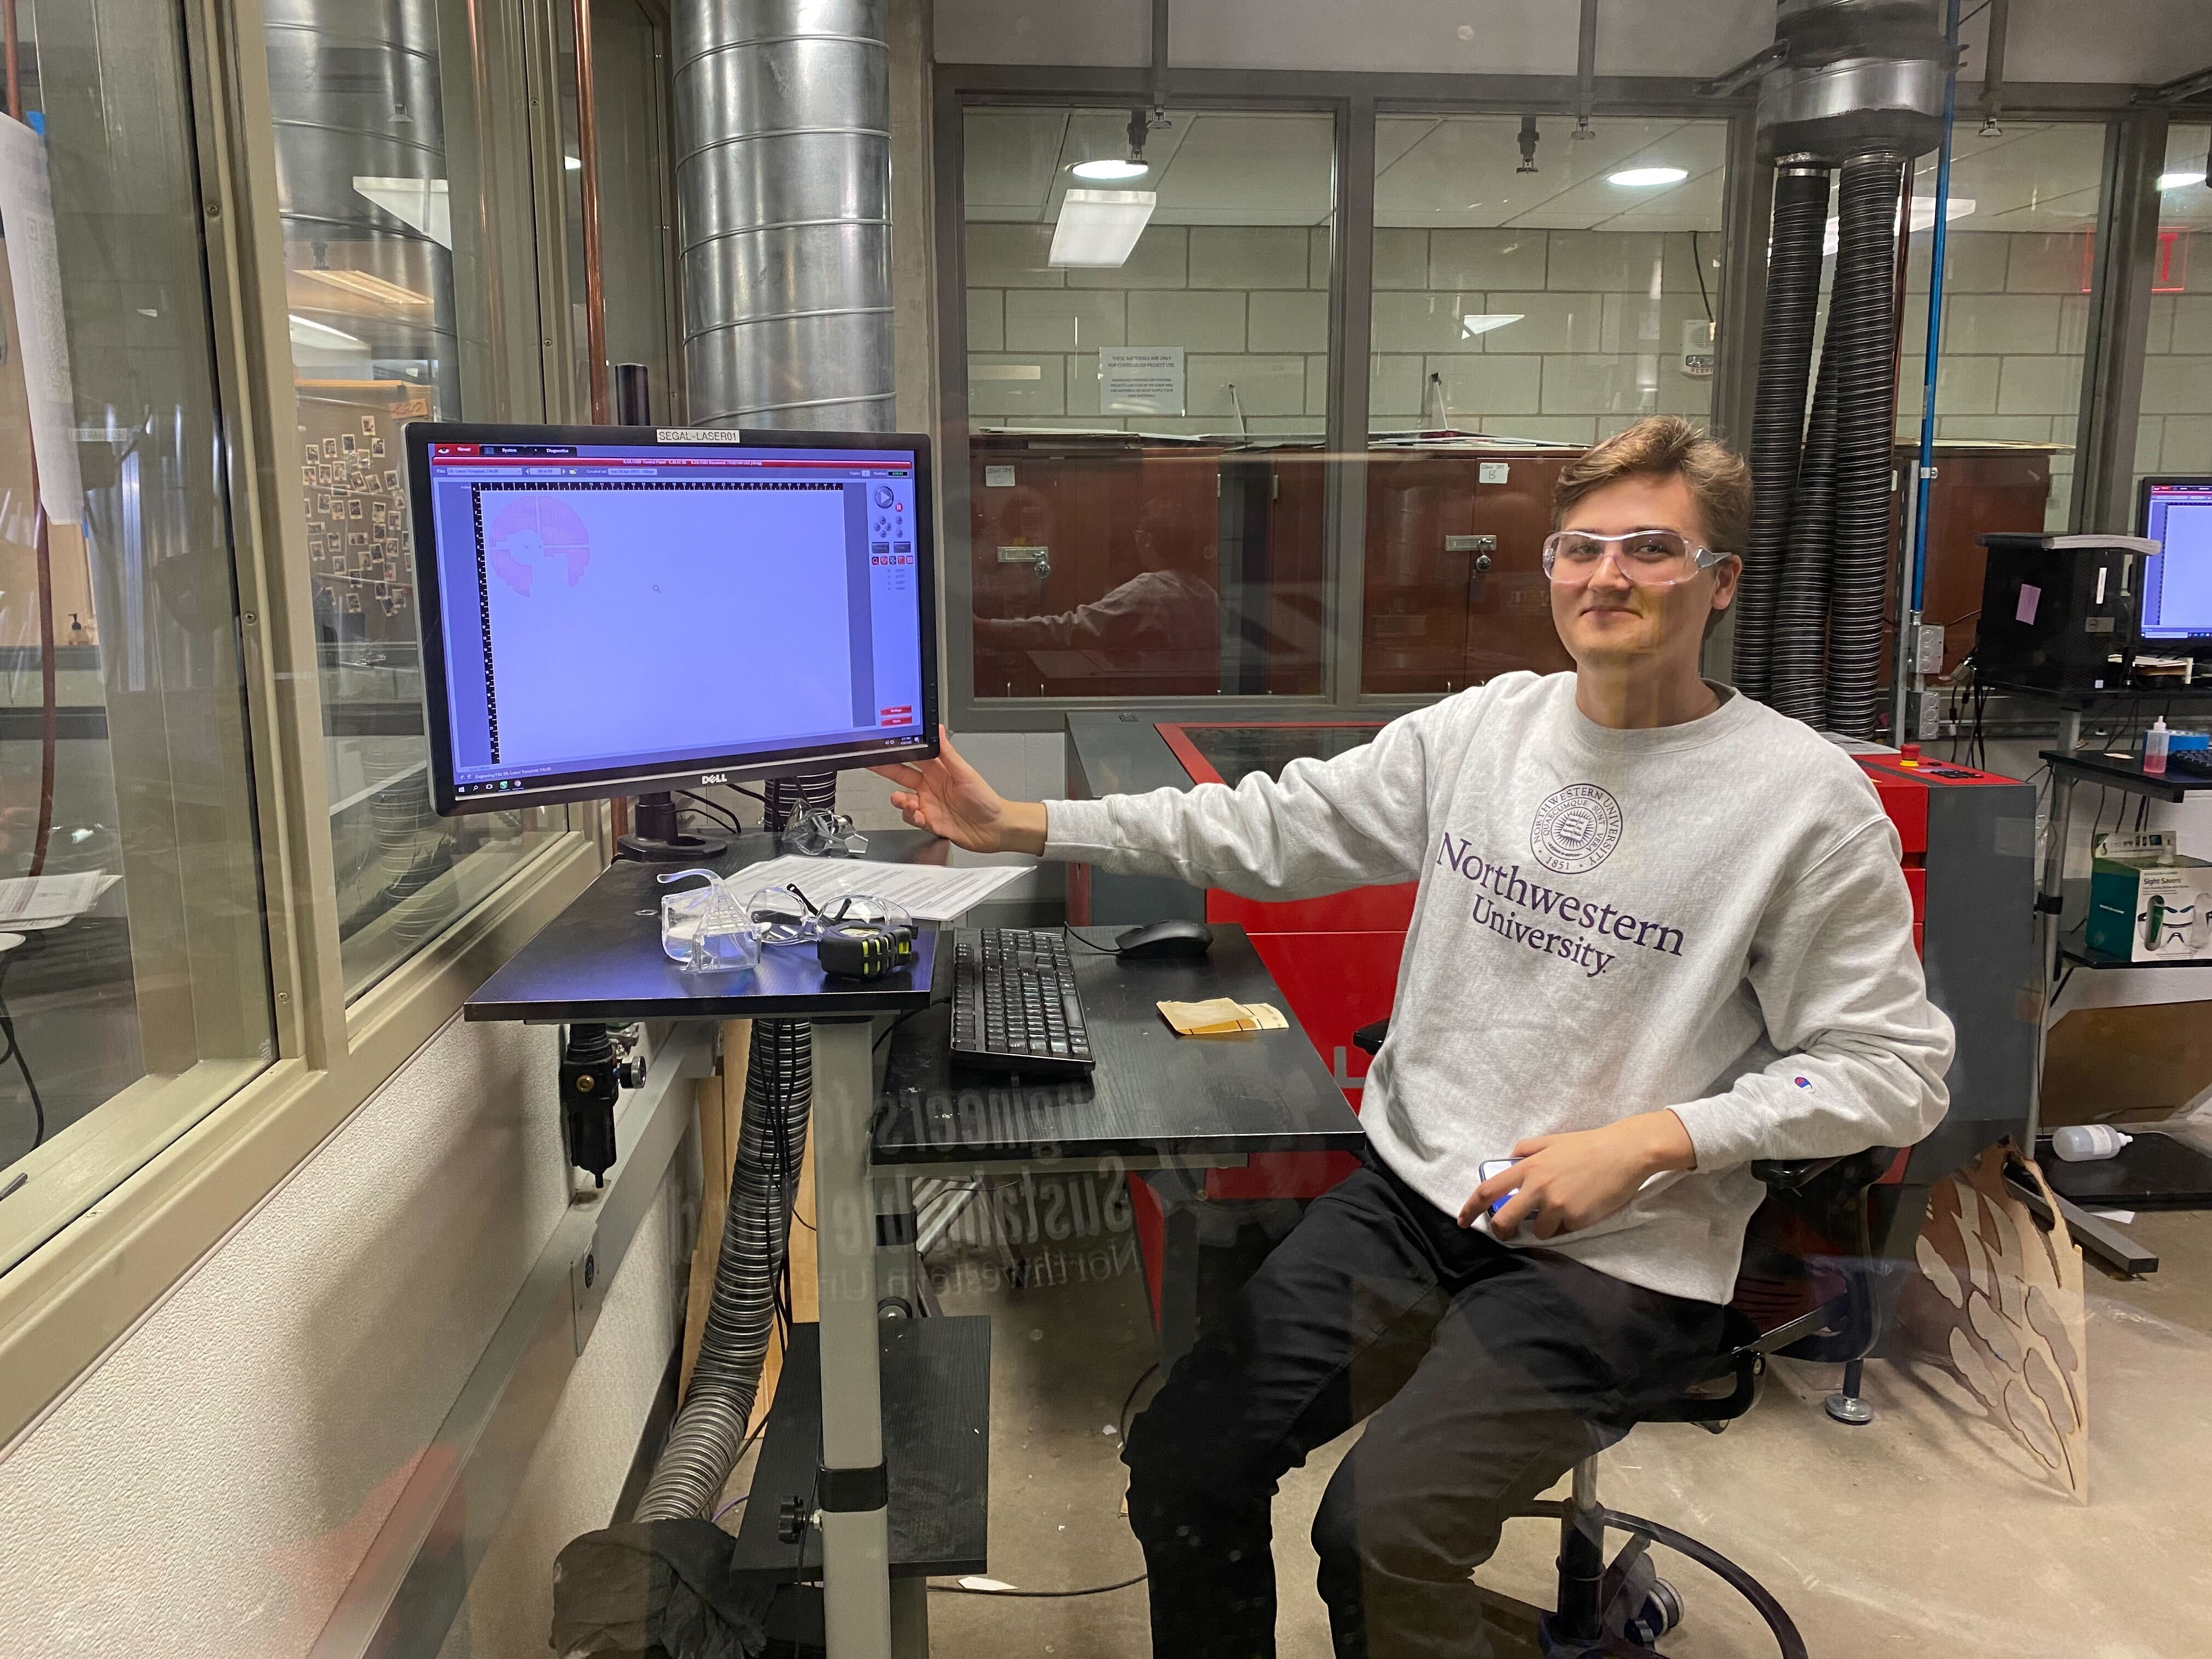
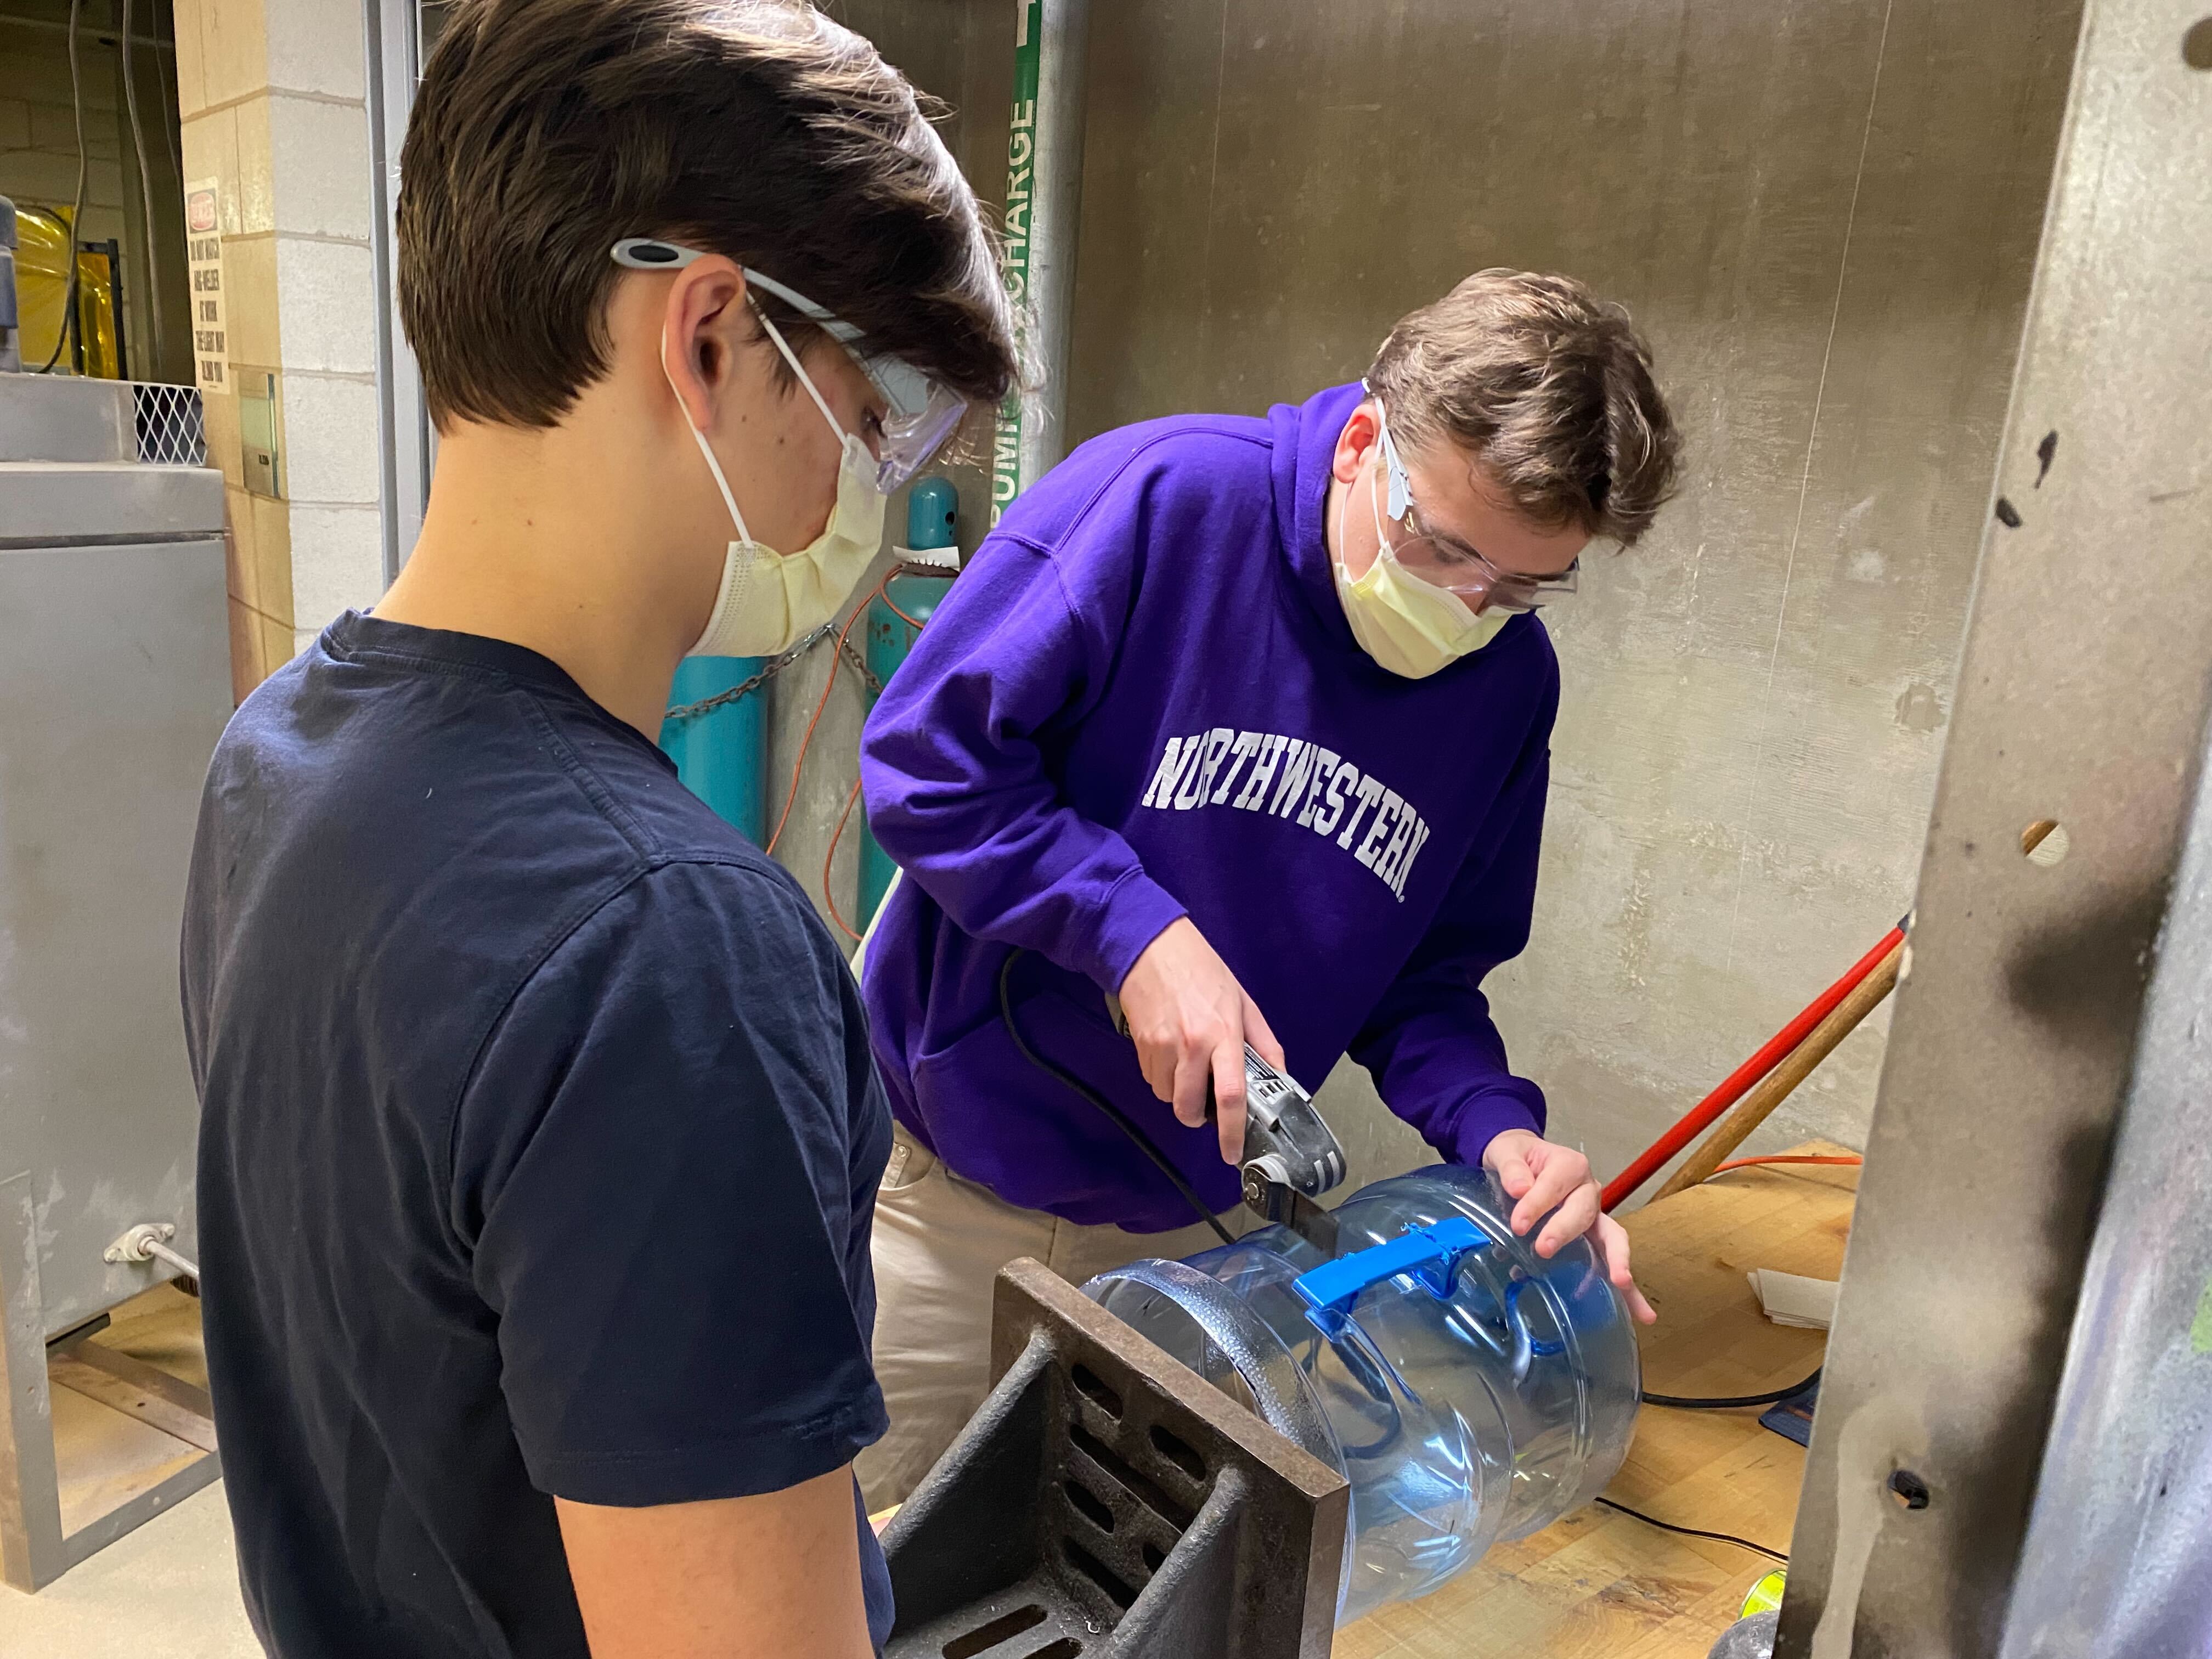
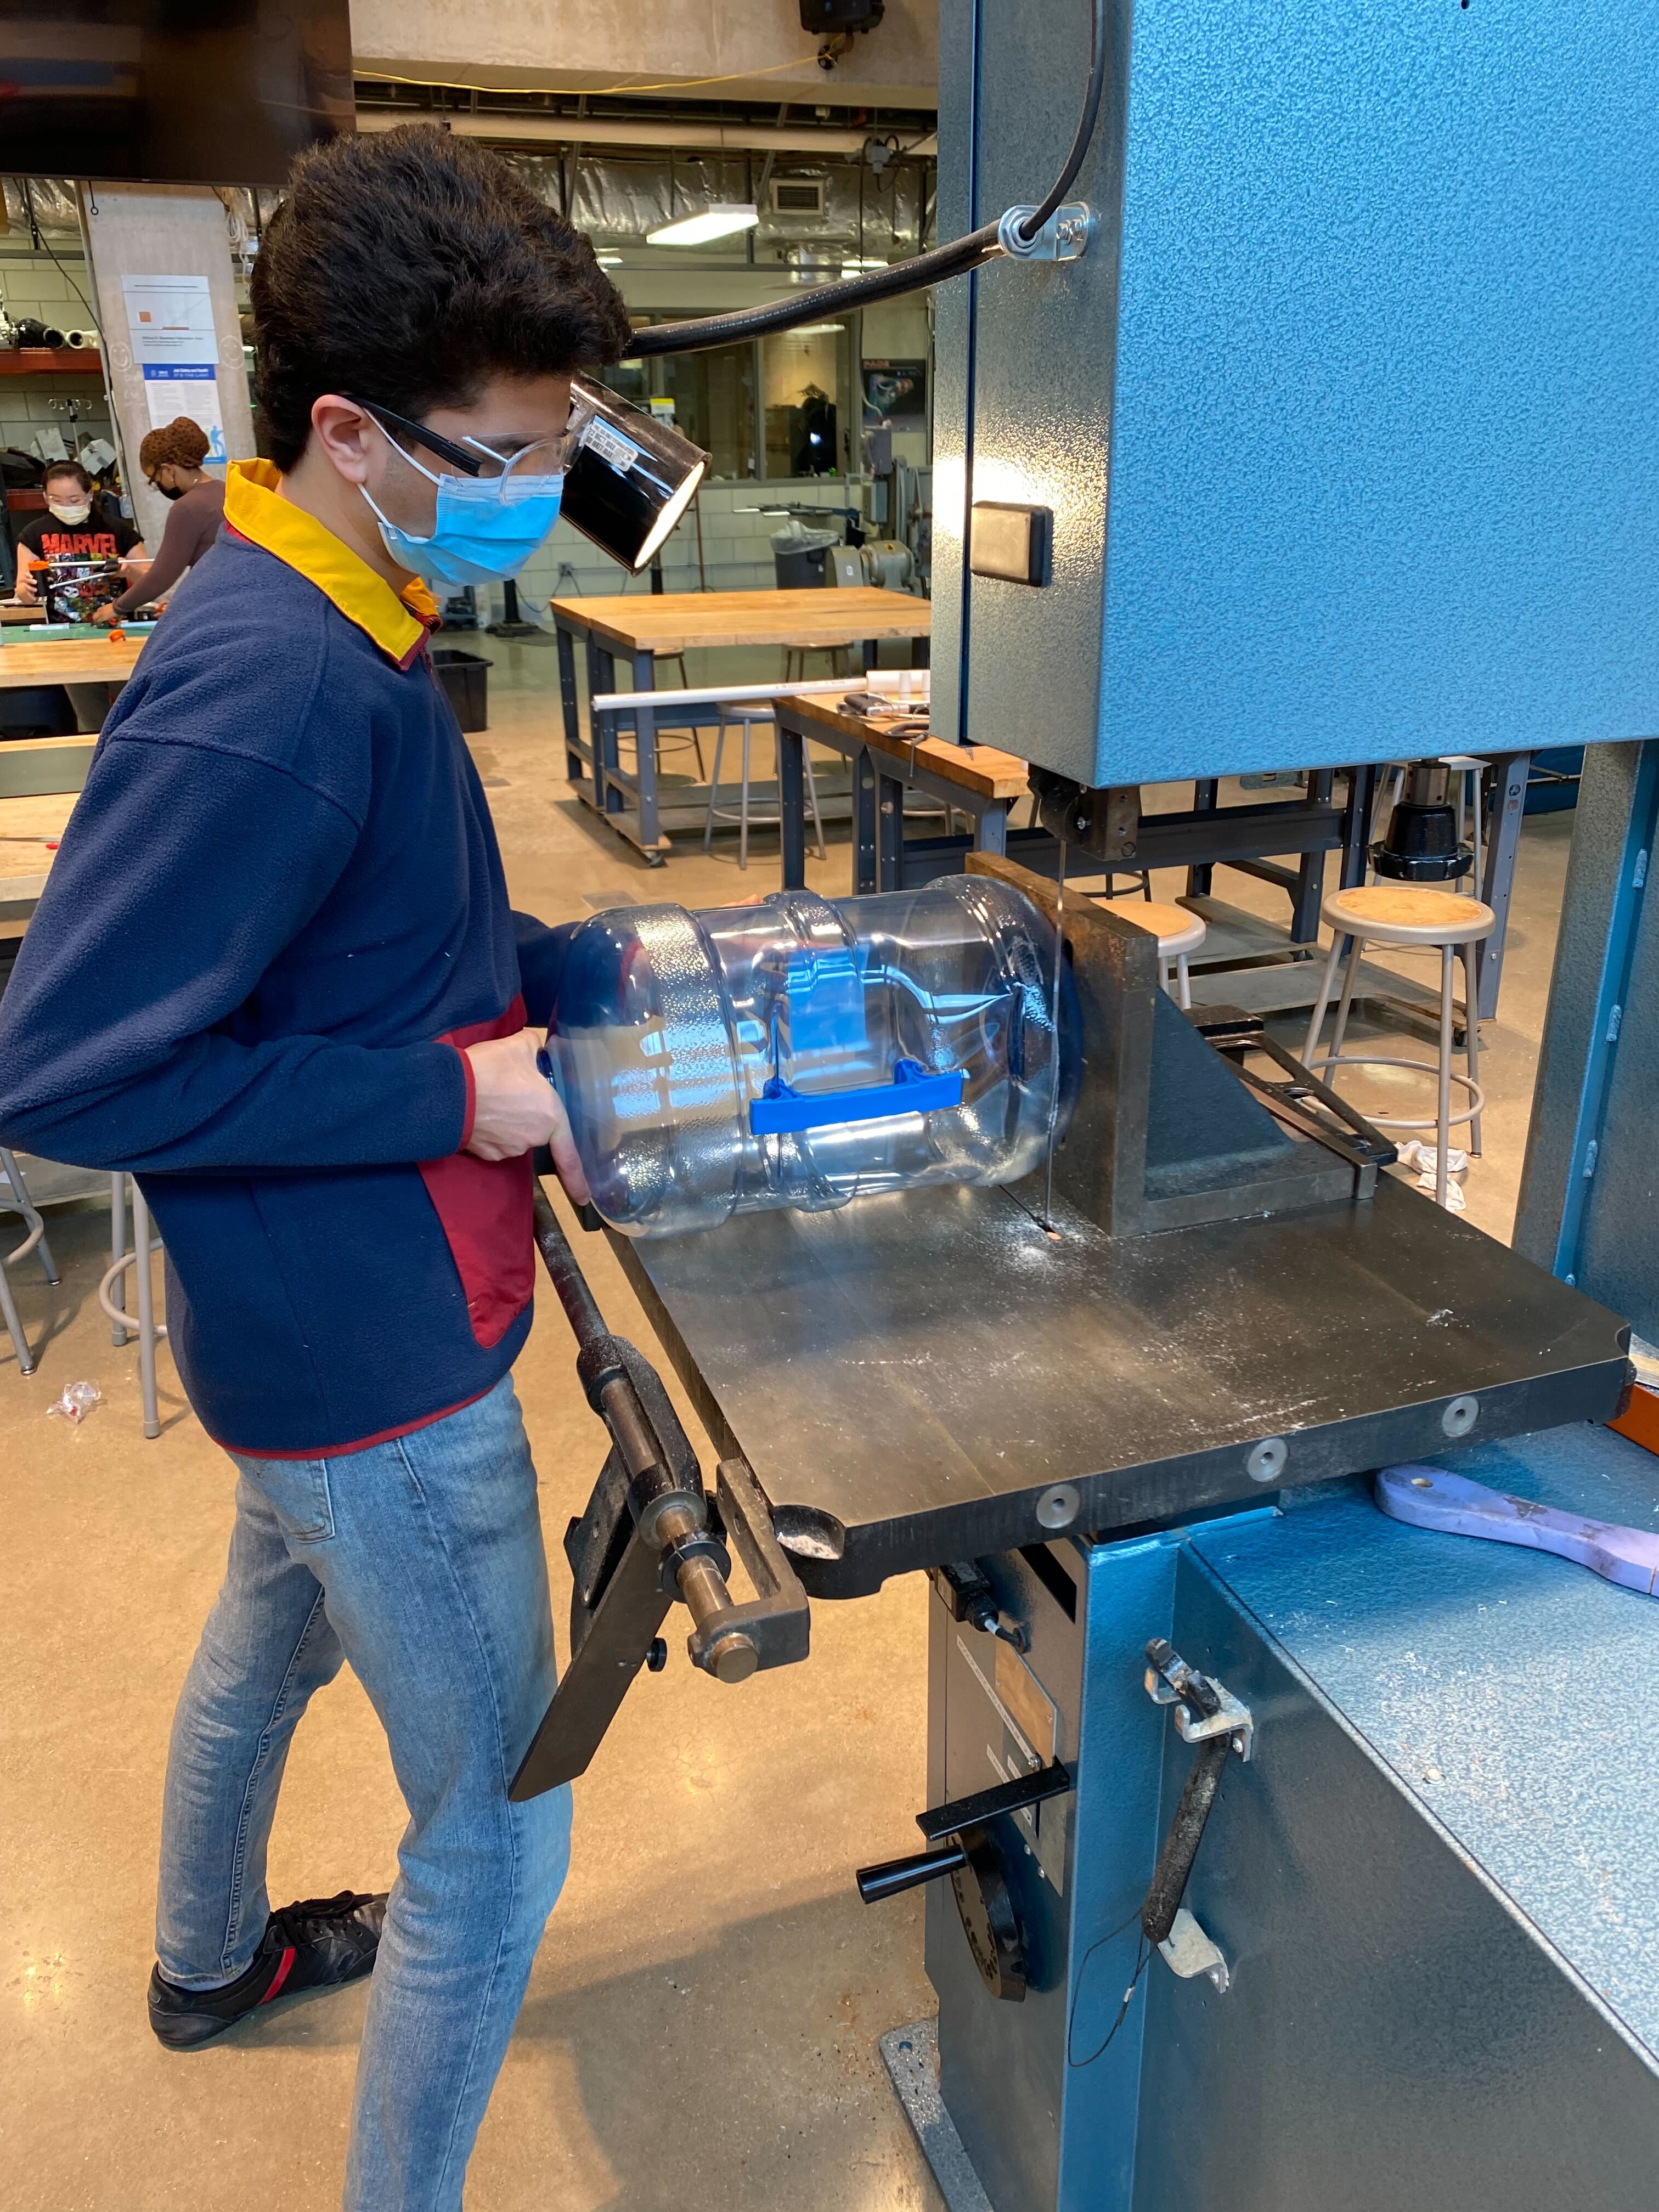
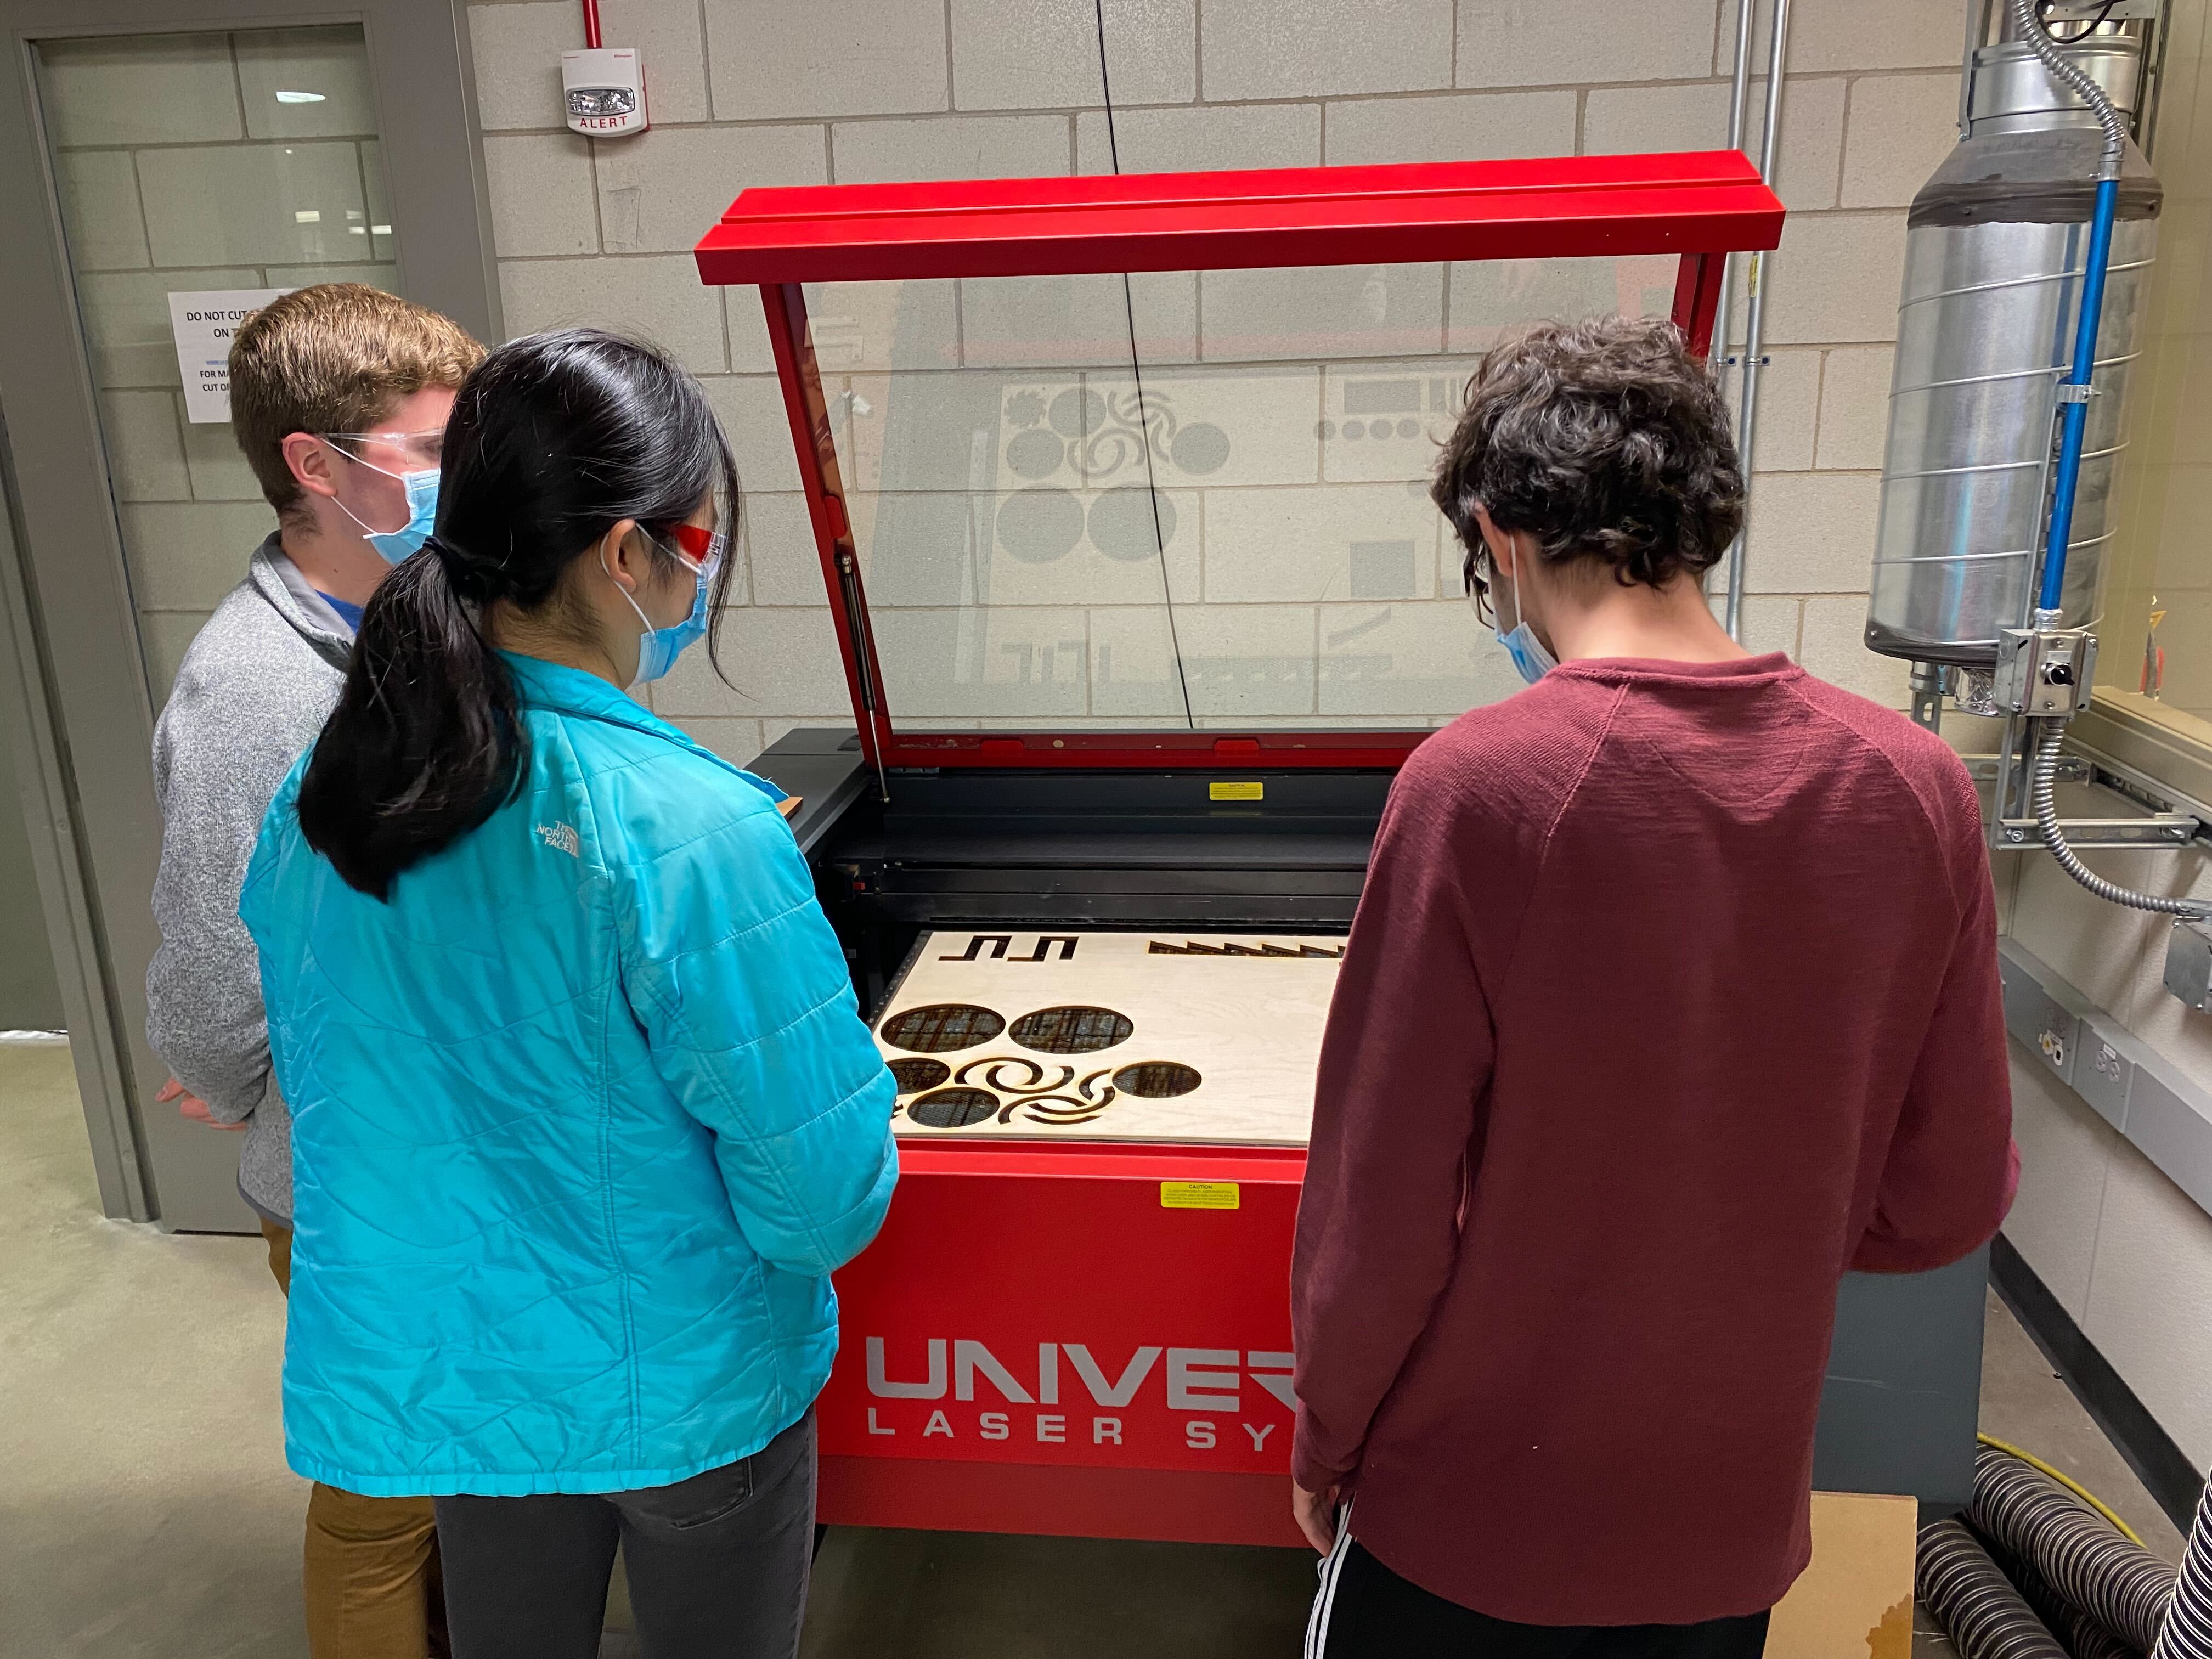
In addition to 3D printing, the plumbing team leveraged other rapid prototyping techniques like laser cutting to build larger screens for our biofilm reactor bottle. Earlier in the quarter, we ran into issues with our moving K1 media clogging up the reactor's drainage pipe screen as we increased flow, so we decided to cut a large screen to segregate the media to the top 2/3rd of the bottle. Since the surface area of the new screen is so big, the relative hydraulic resistance caused by the media pushing up against it became much smaller, allowing us to nearly double our flow rate without causing the tank to overflow.

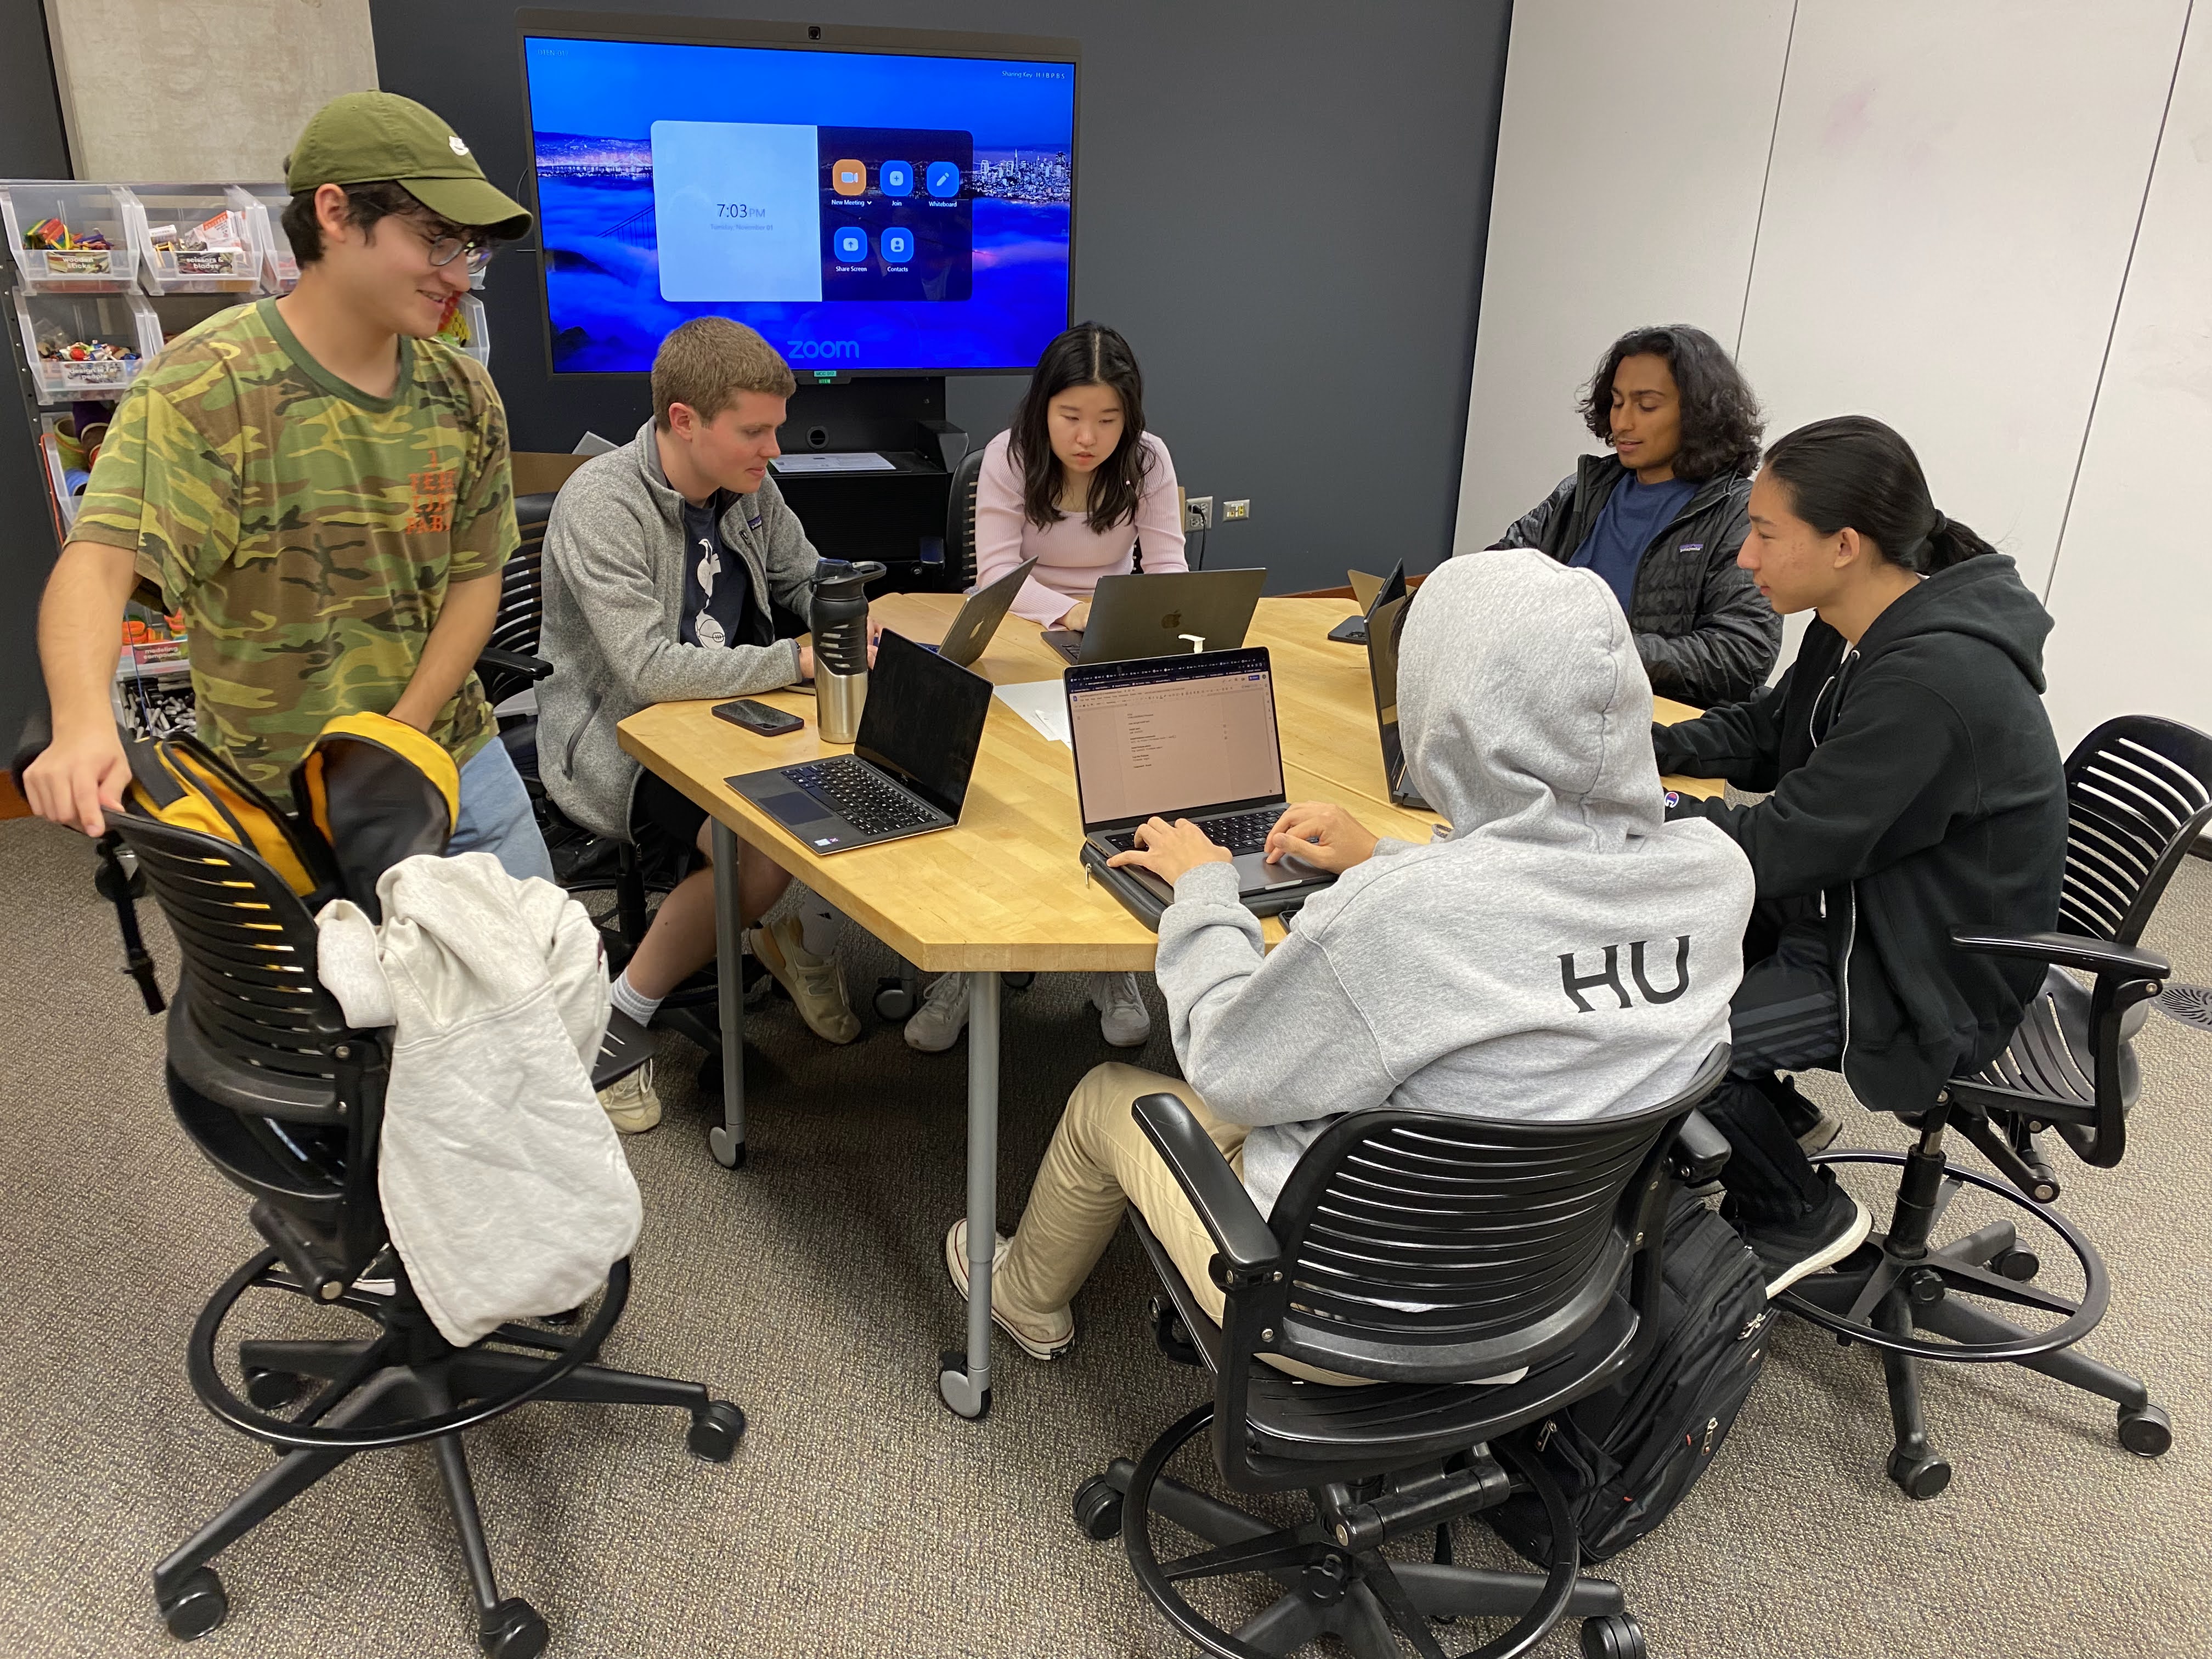
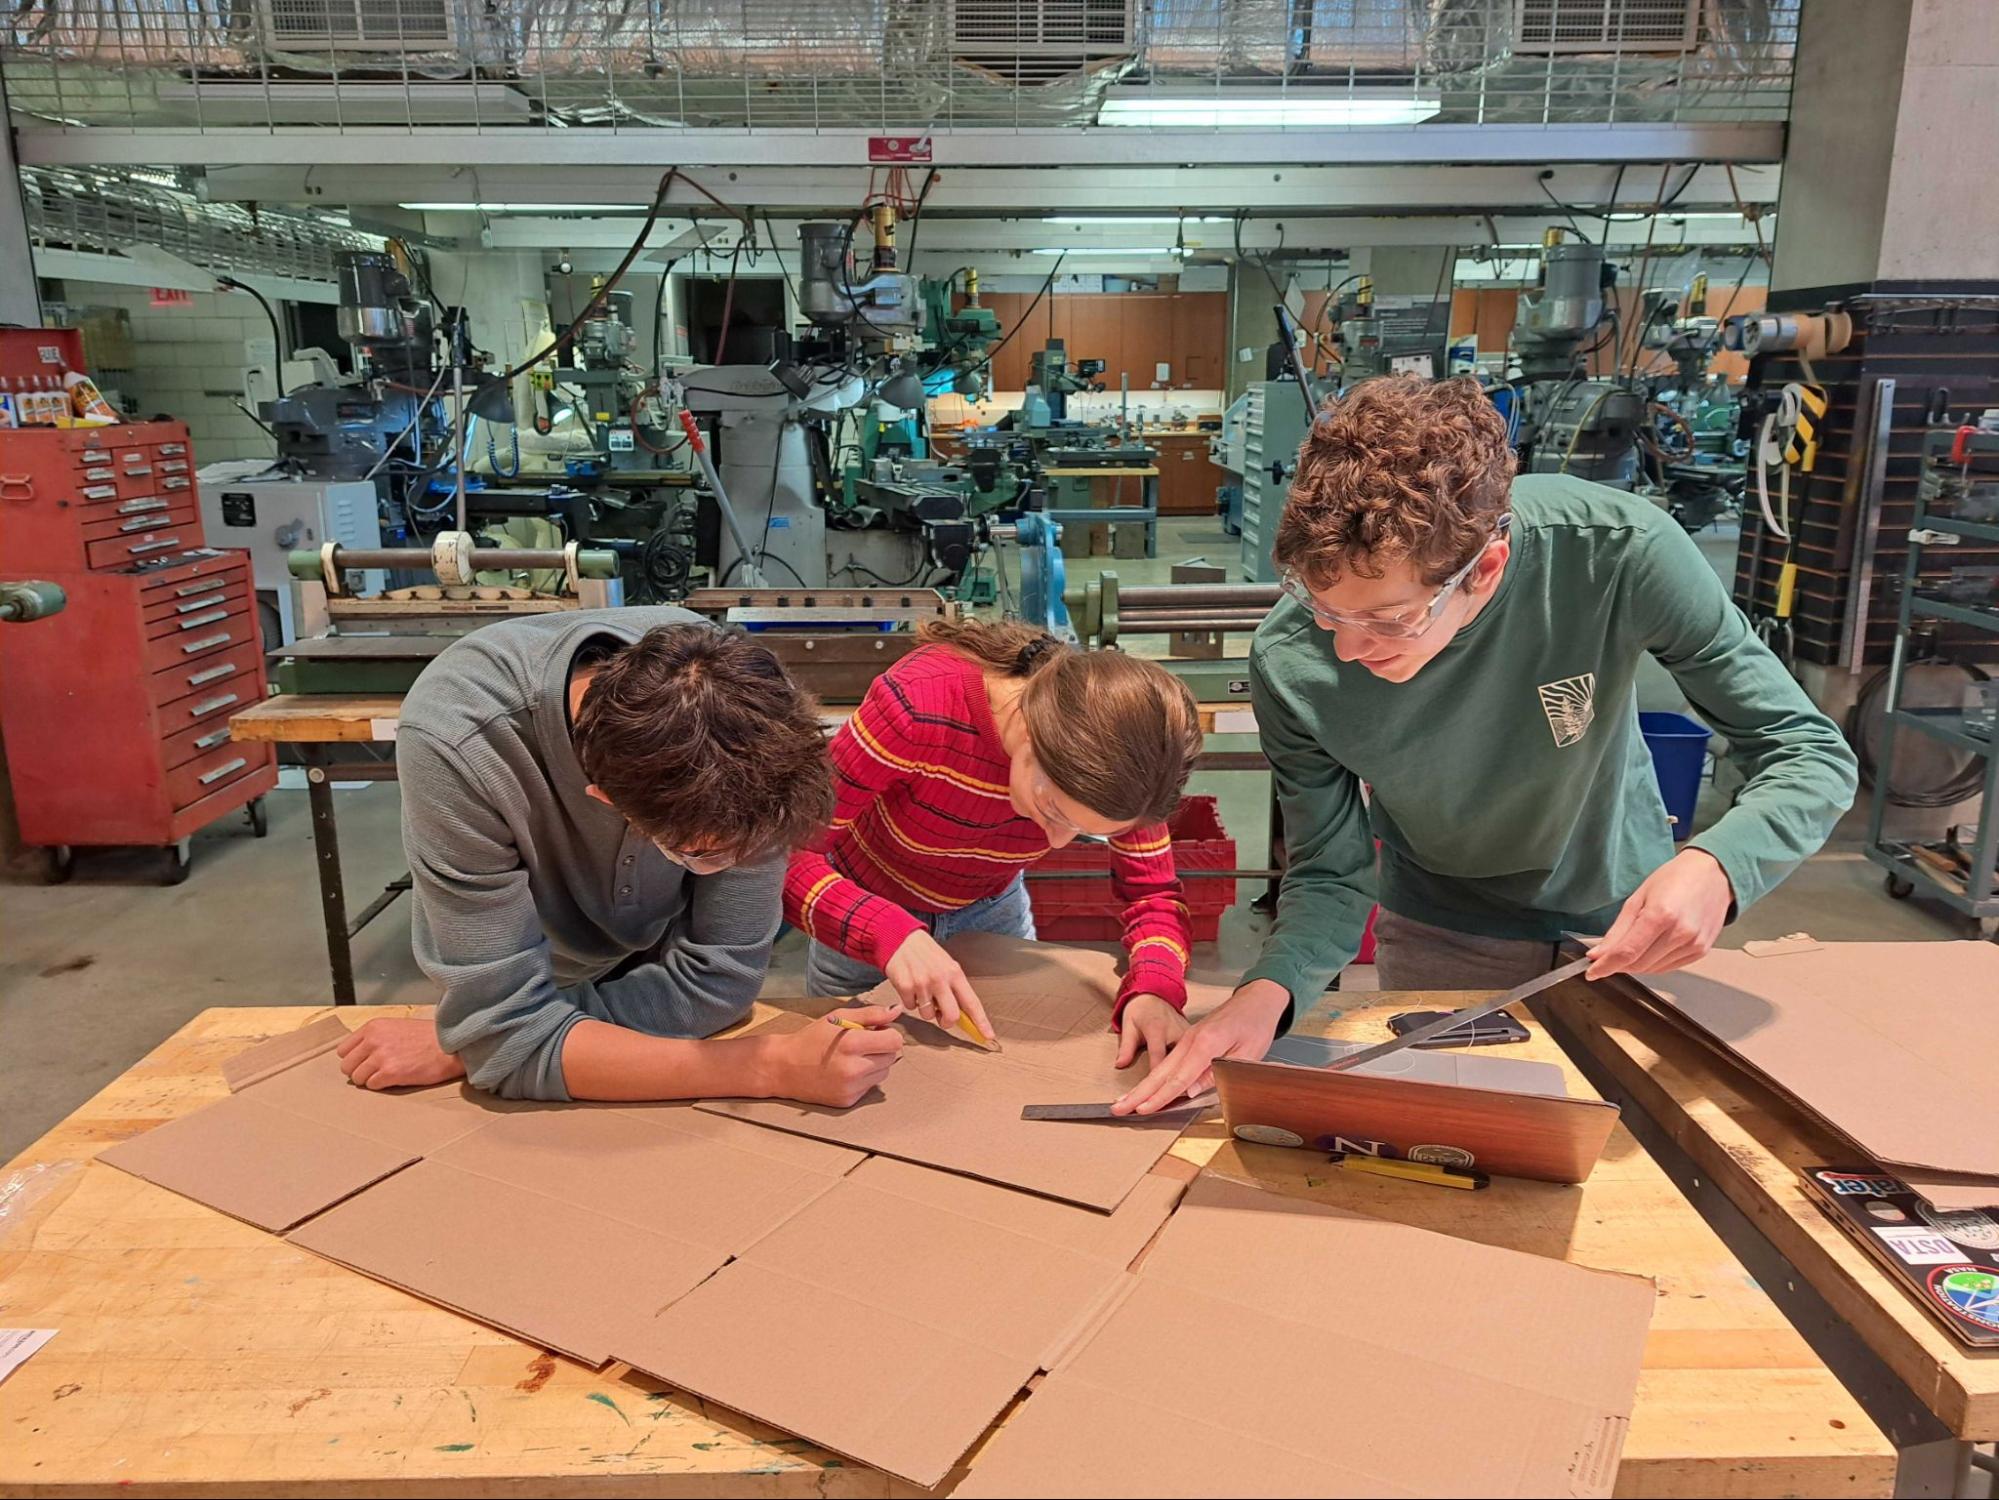
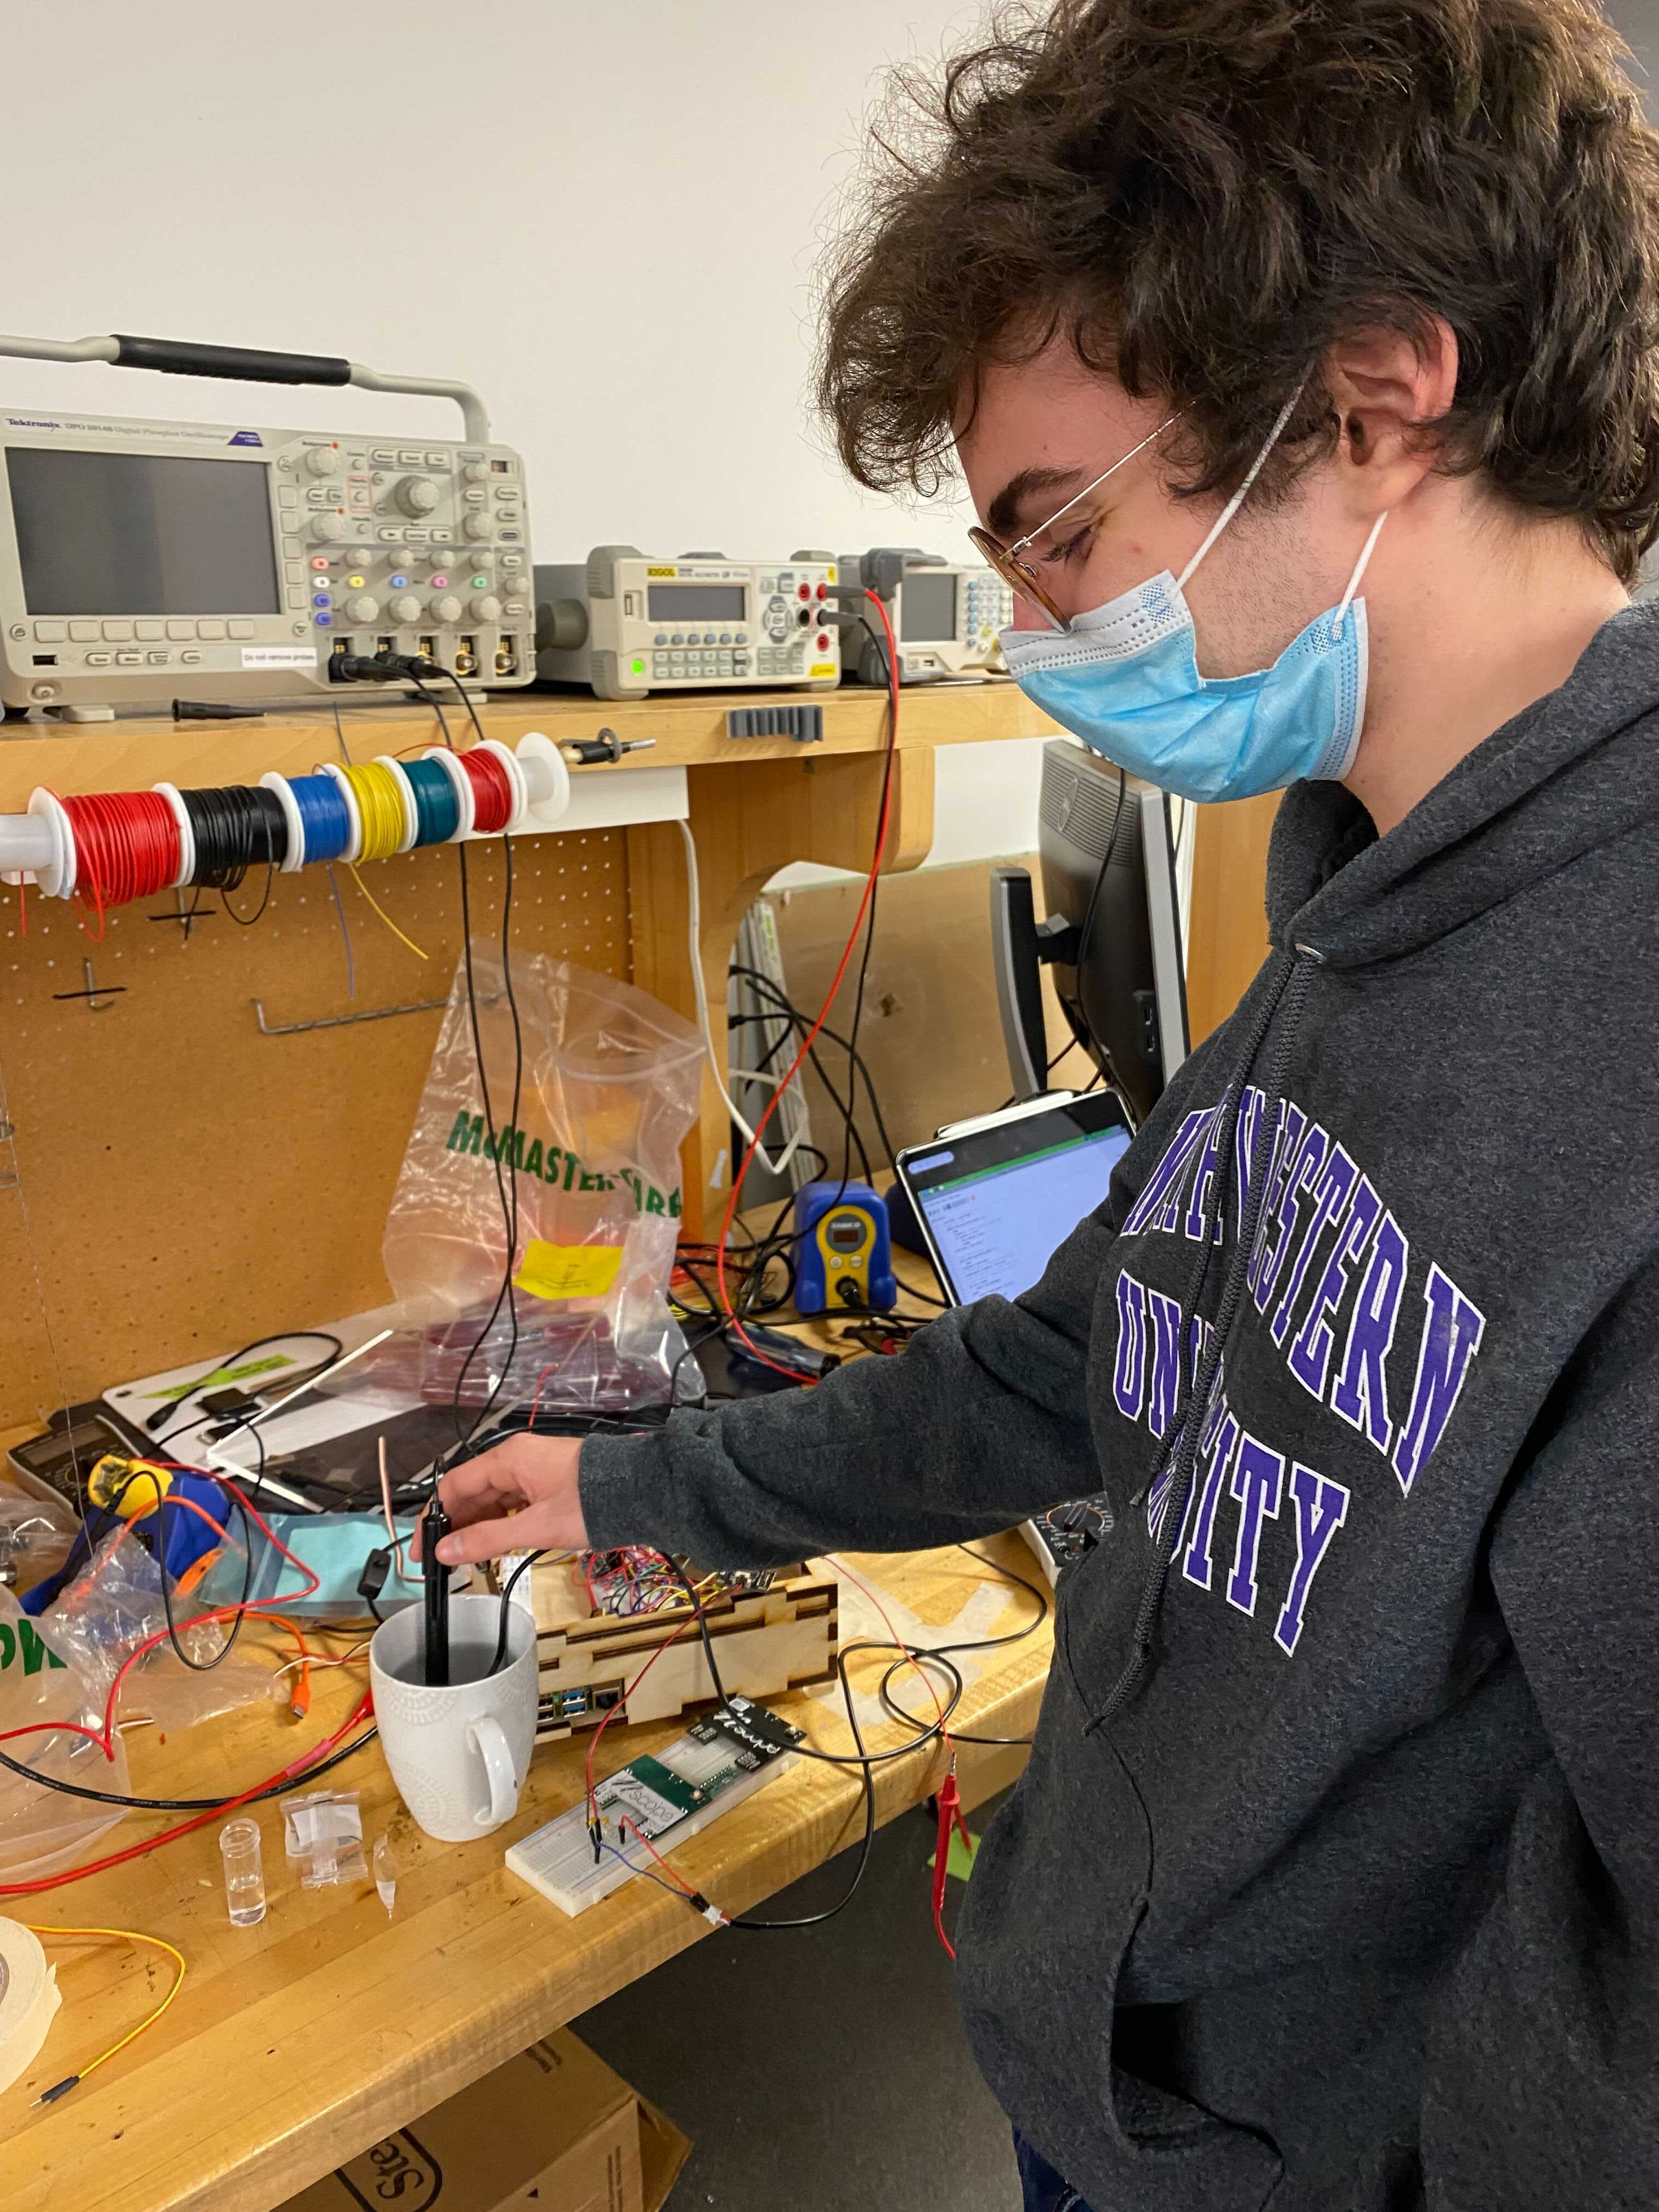
Team member operating the laser cutter to cut a large sheet of acrylic into the exact shape we need:
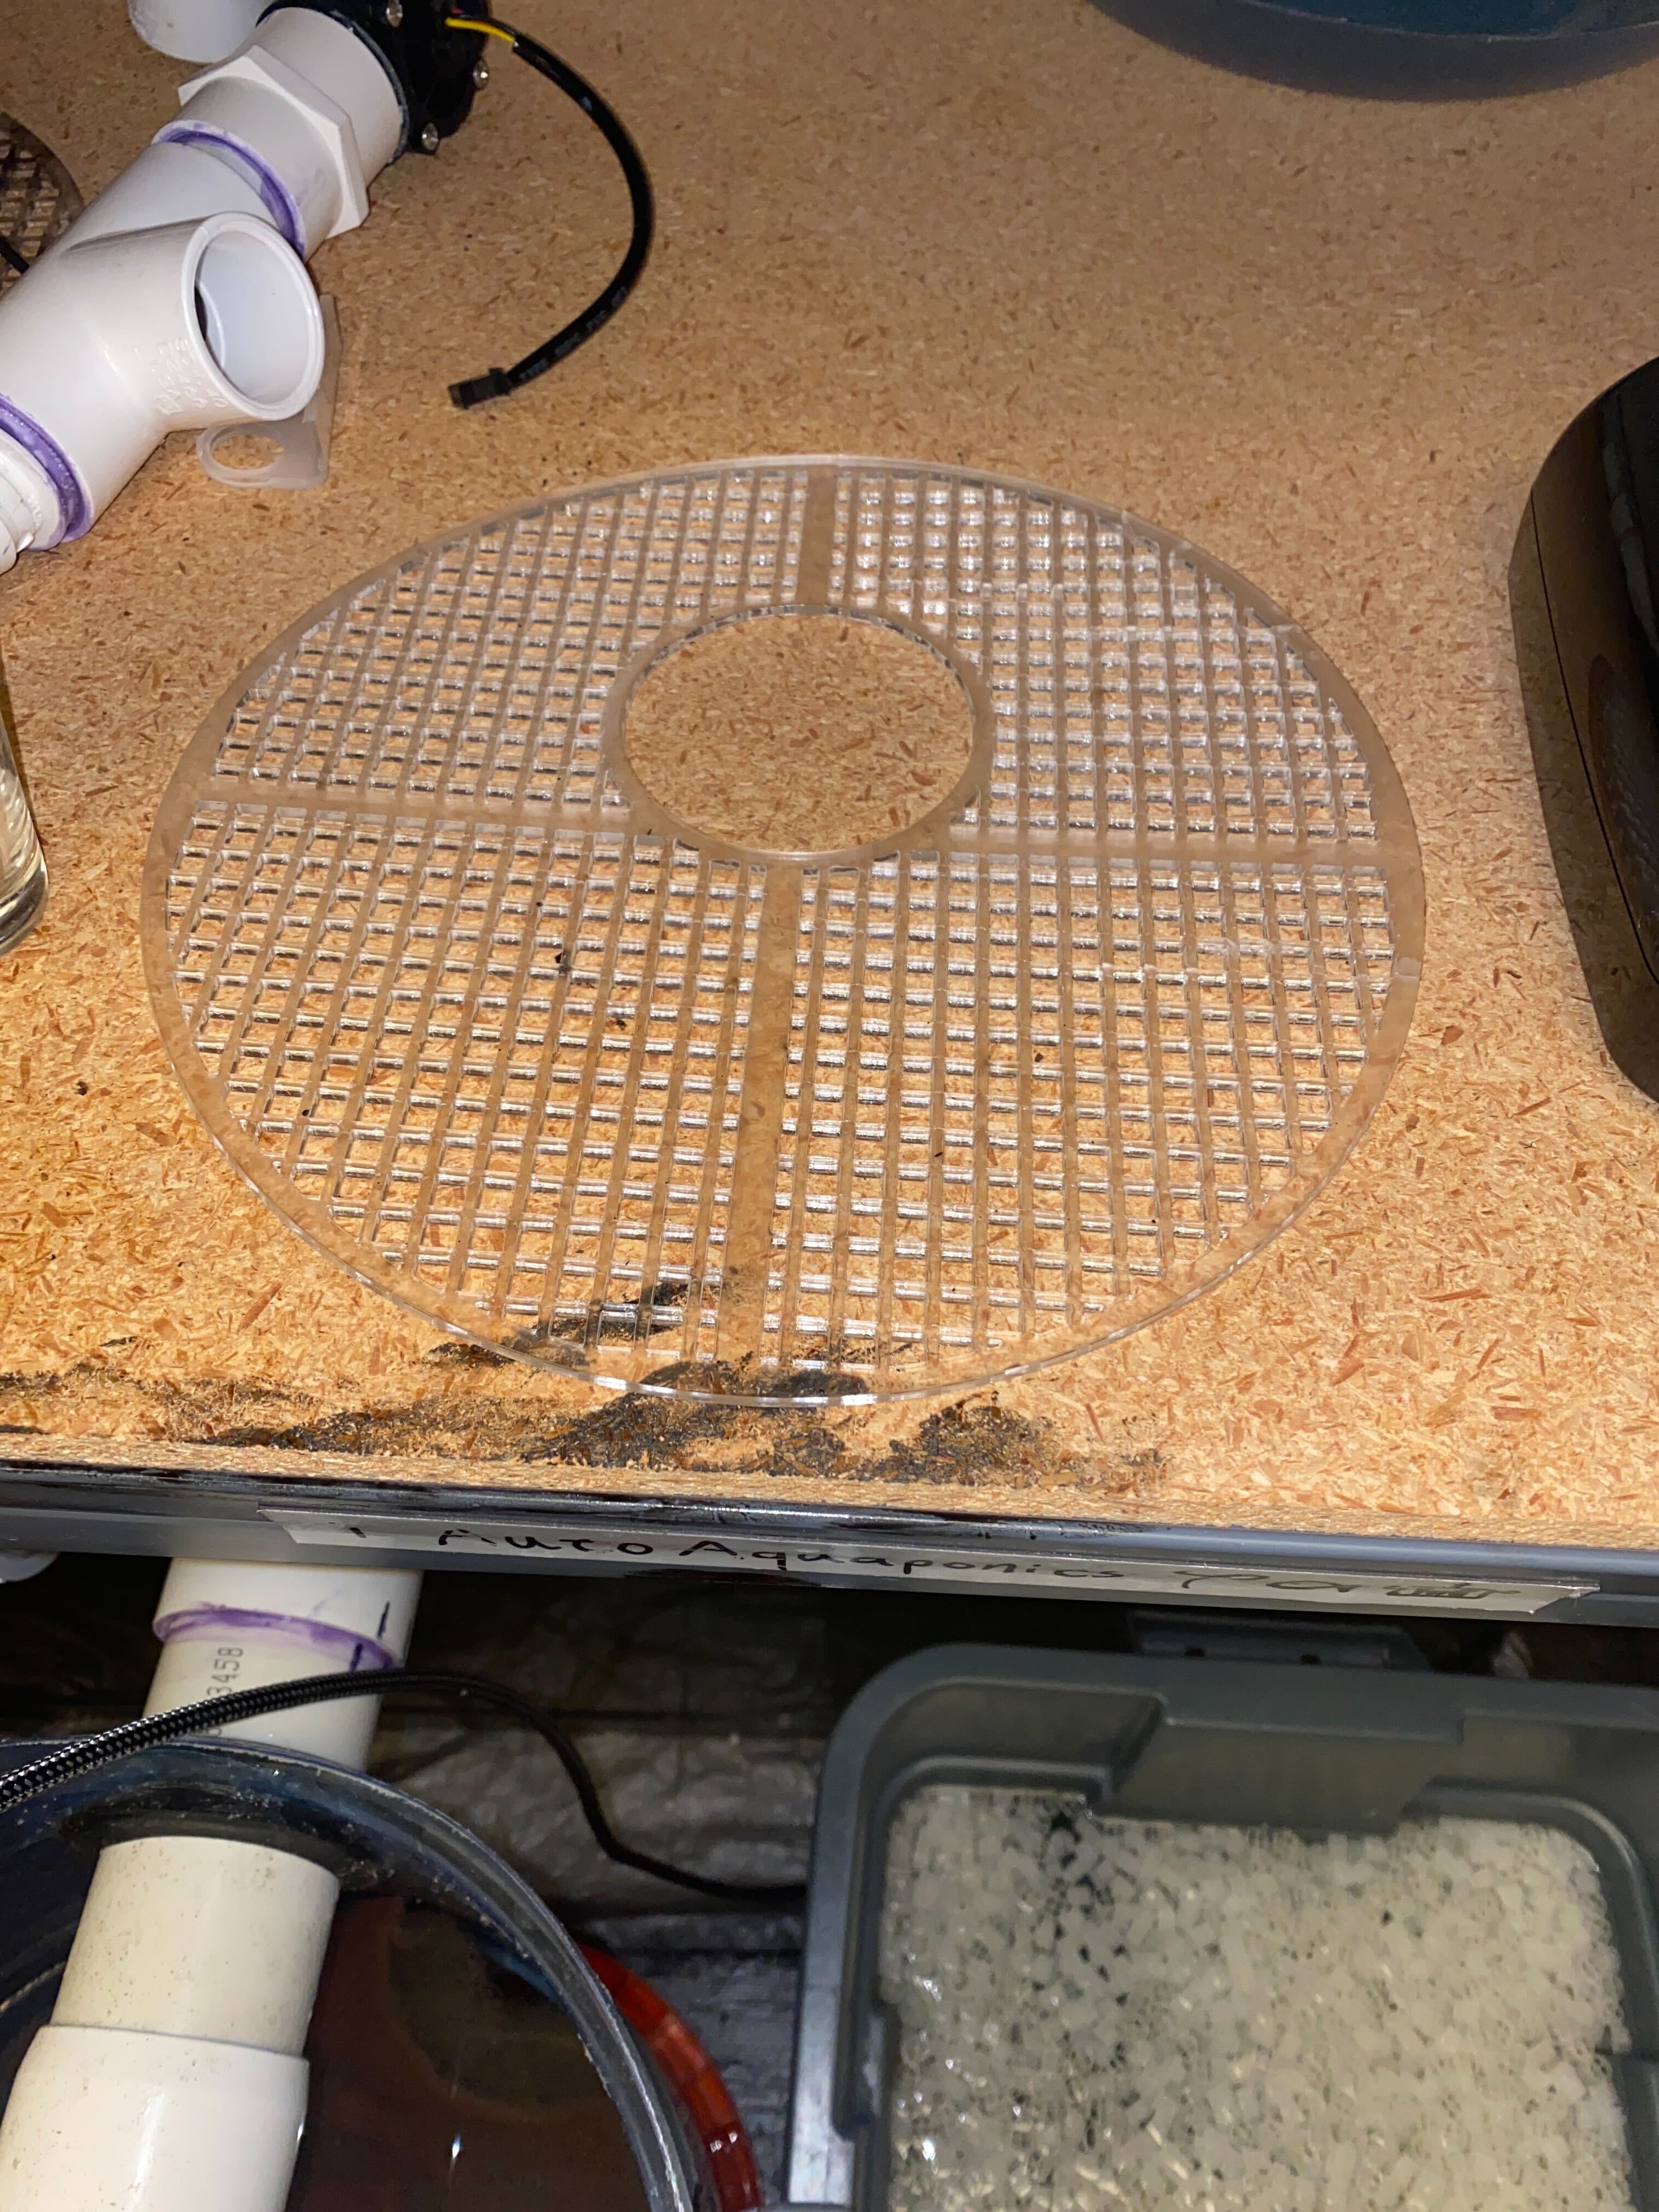
Finished product:

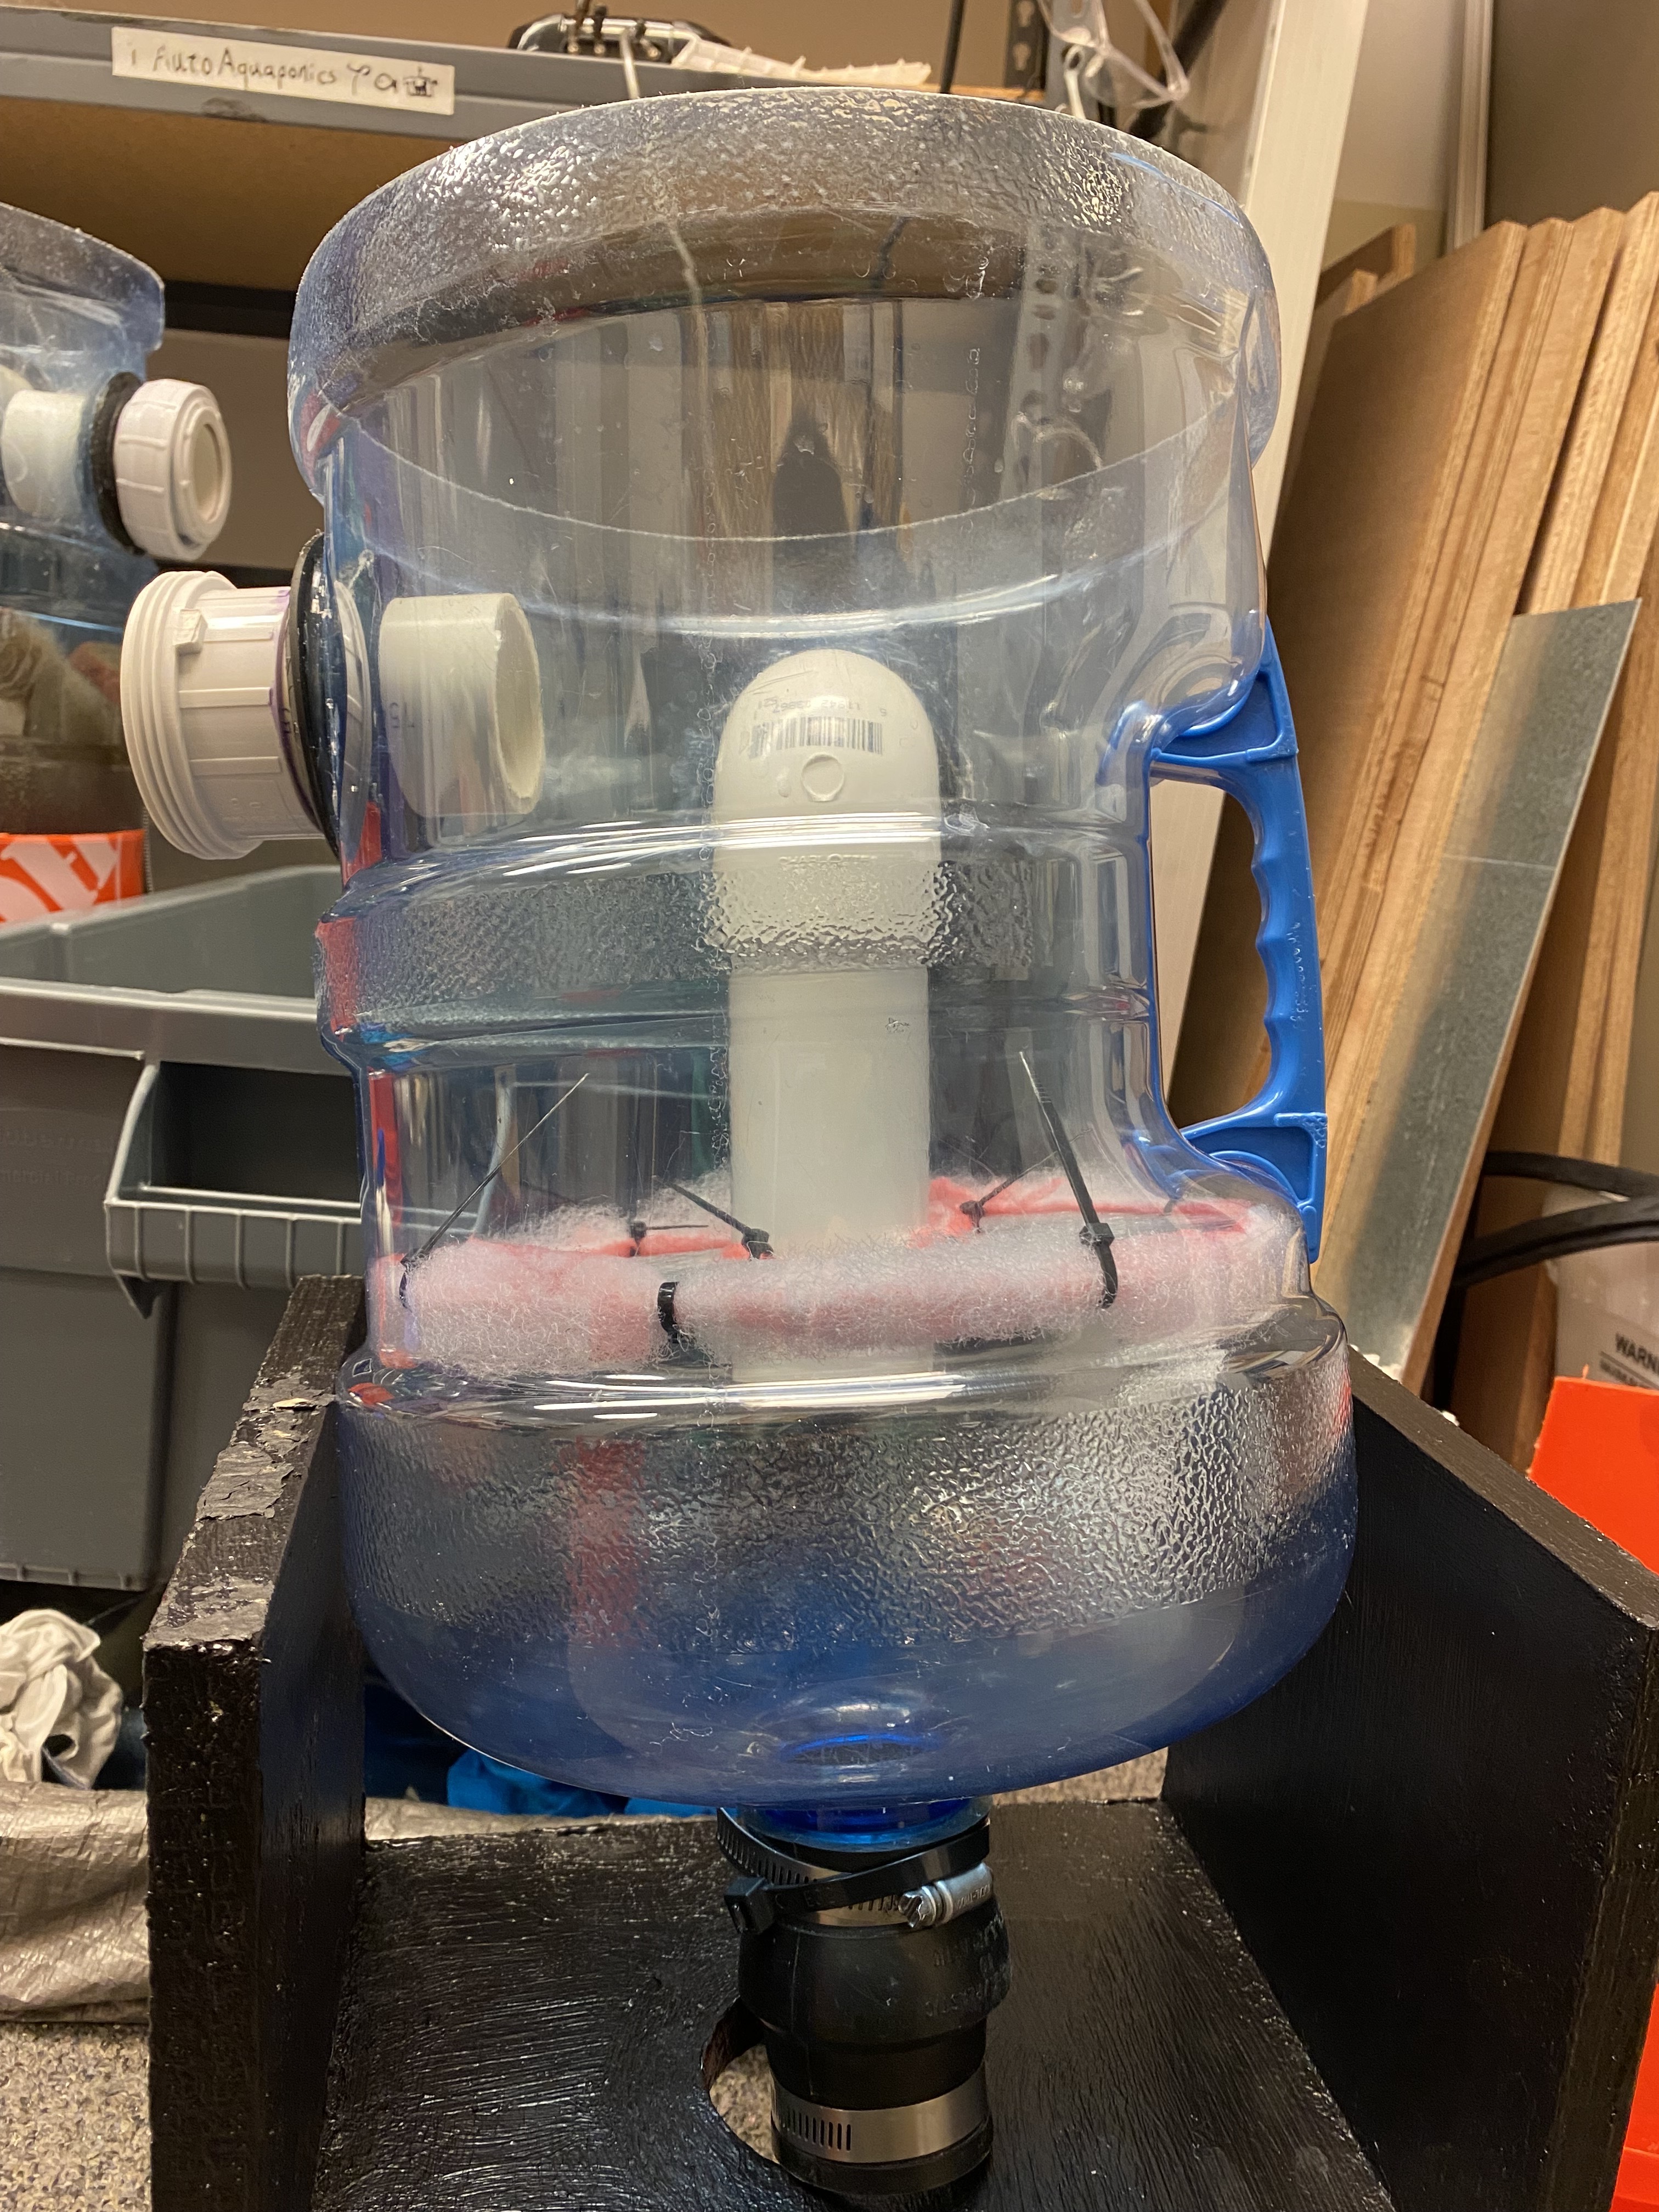
Screen installed with some spare filter pad to fill the gap and zip tie to put everything together:

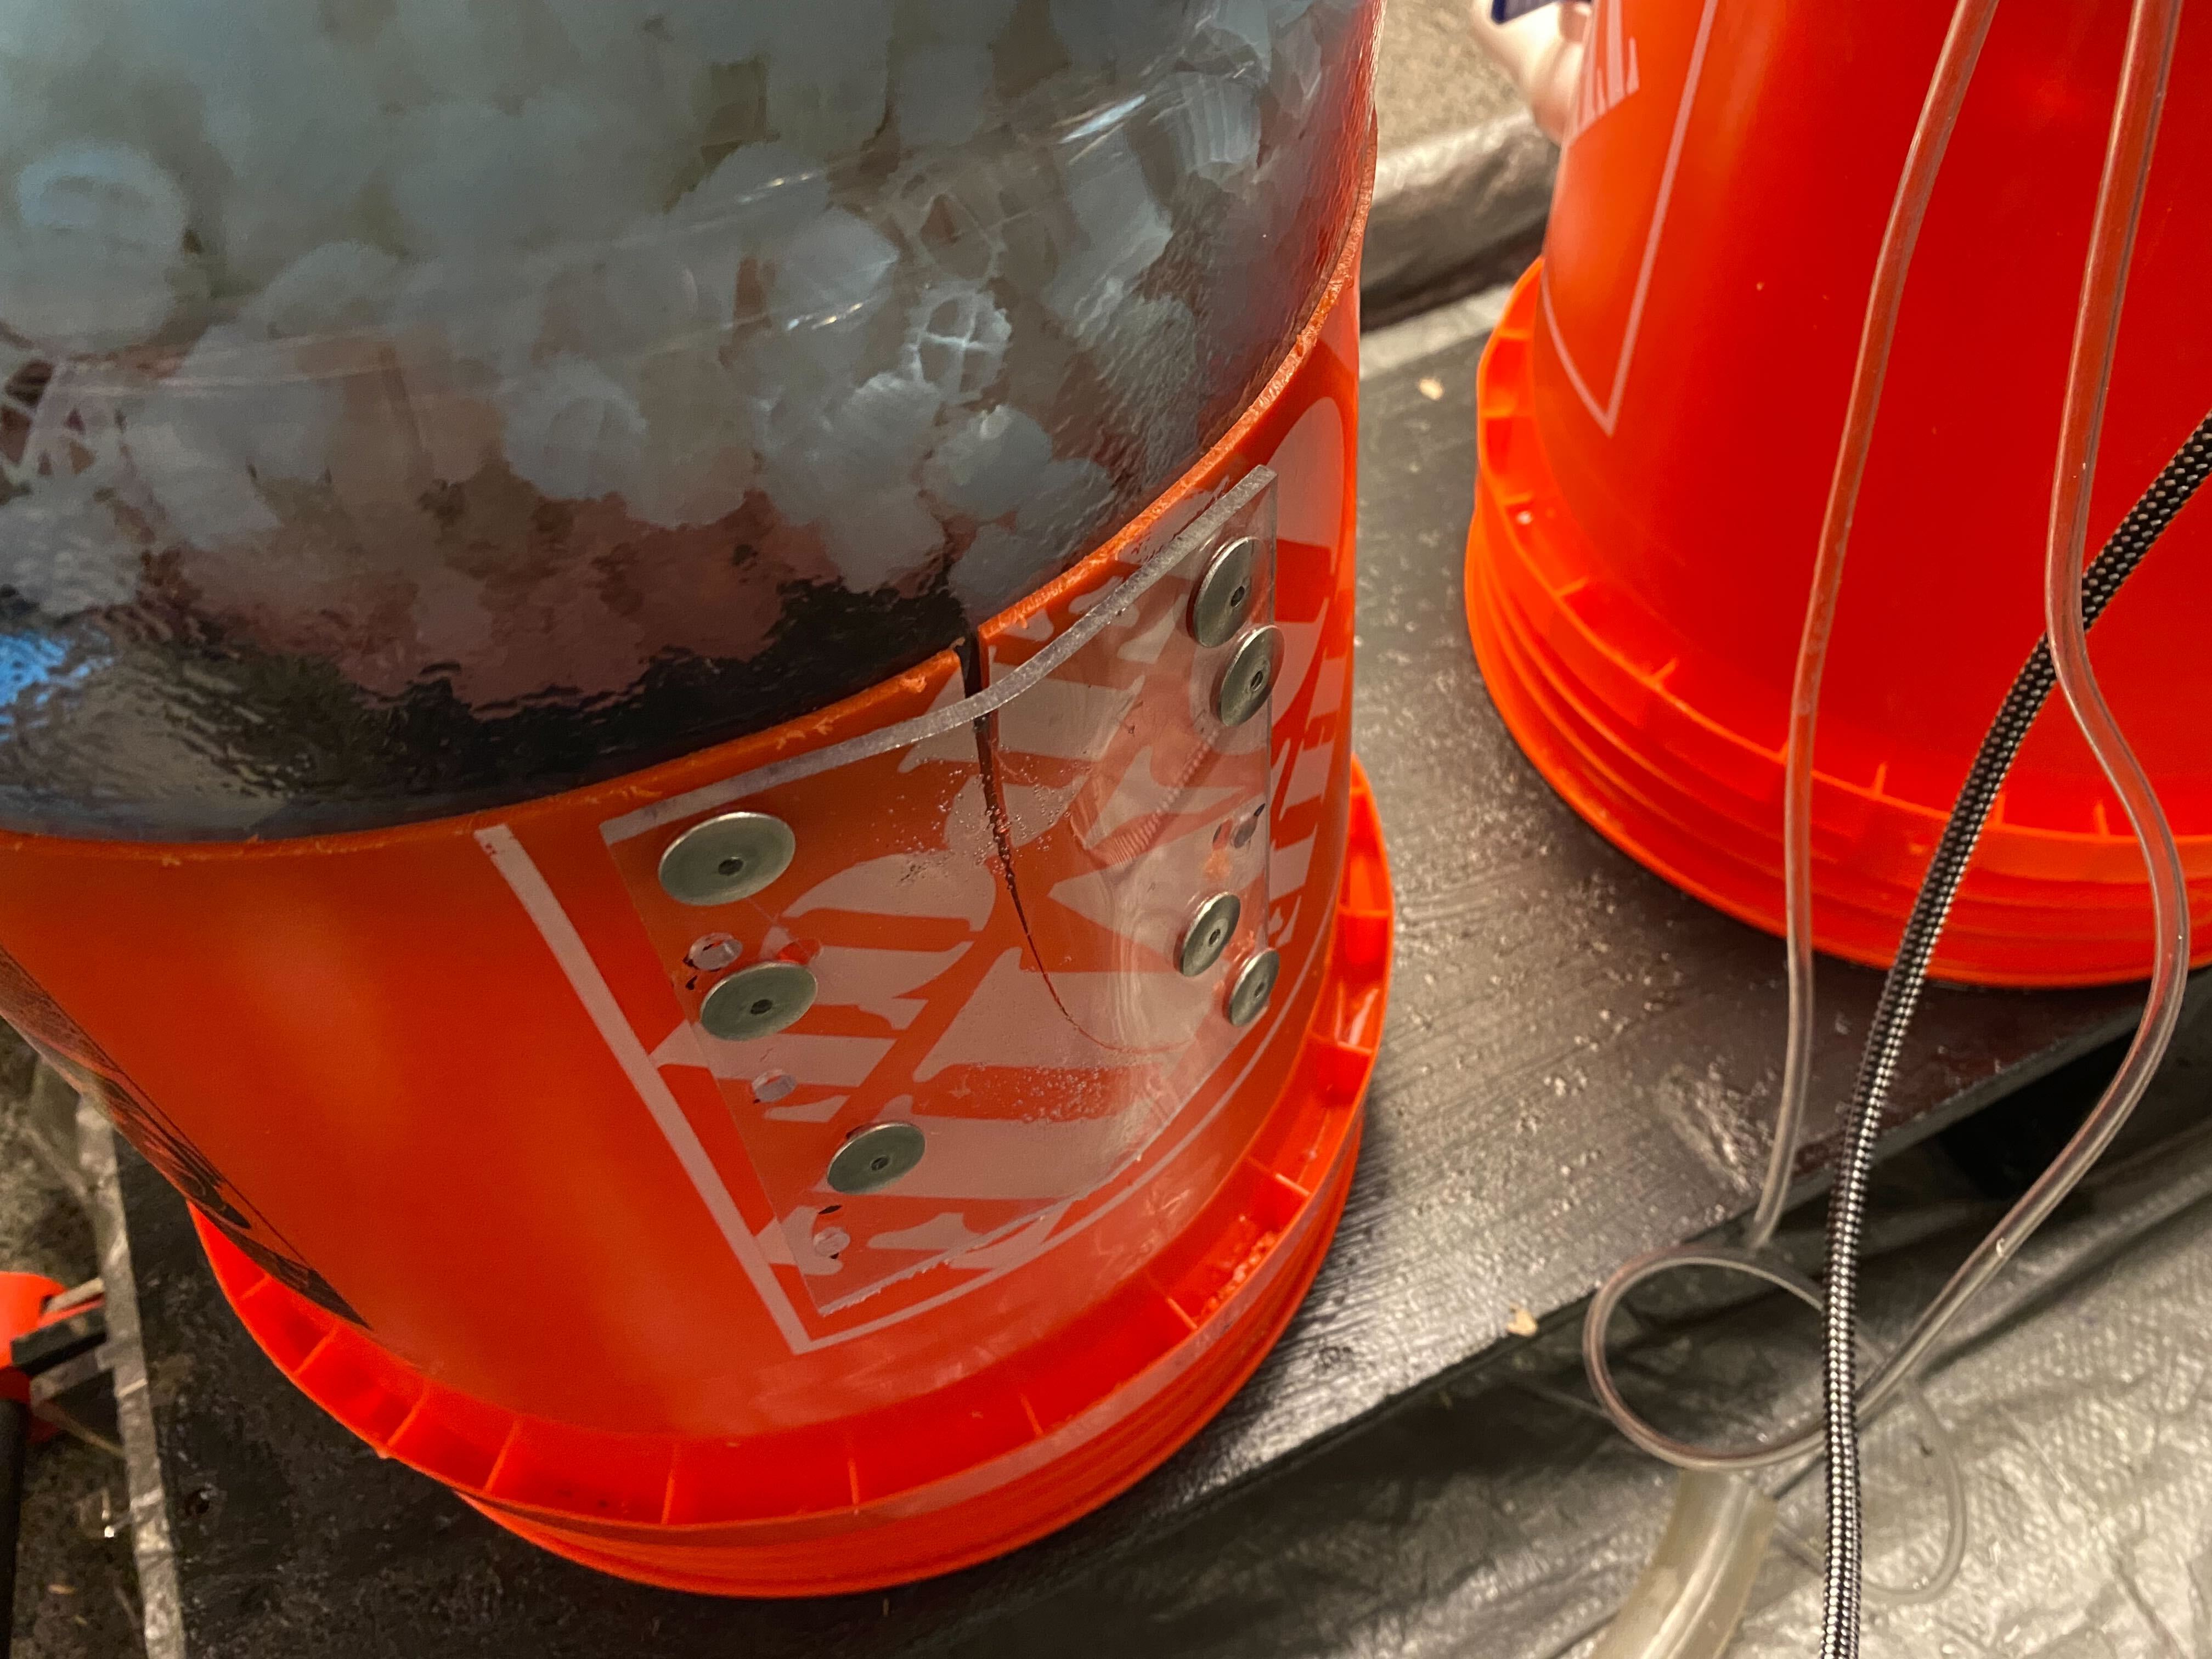
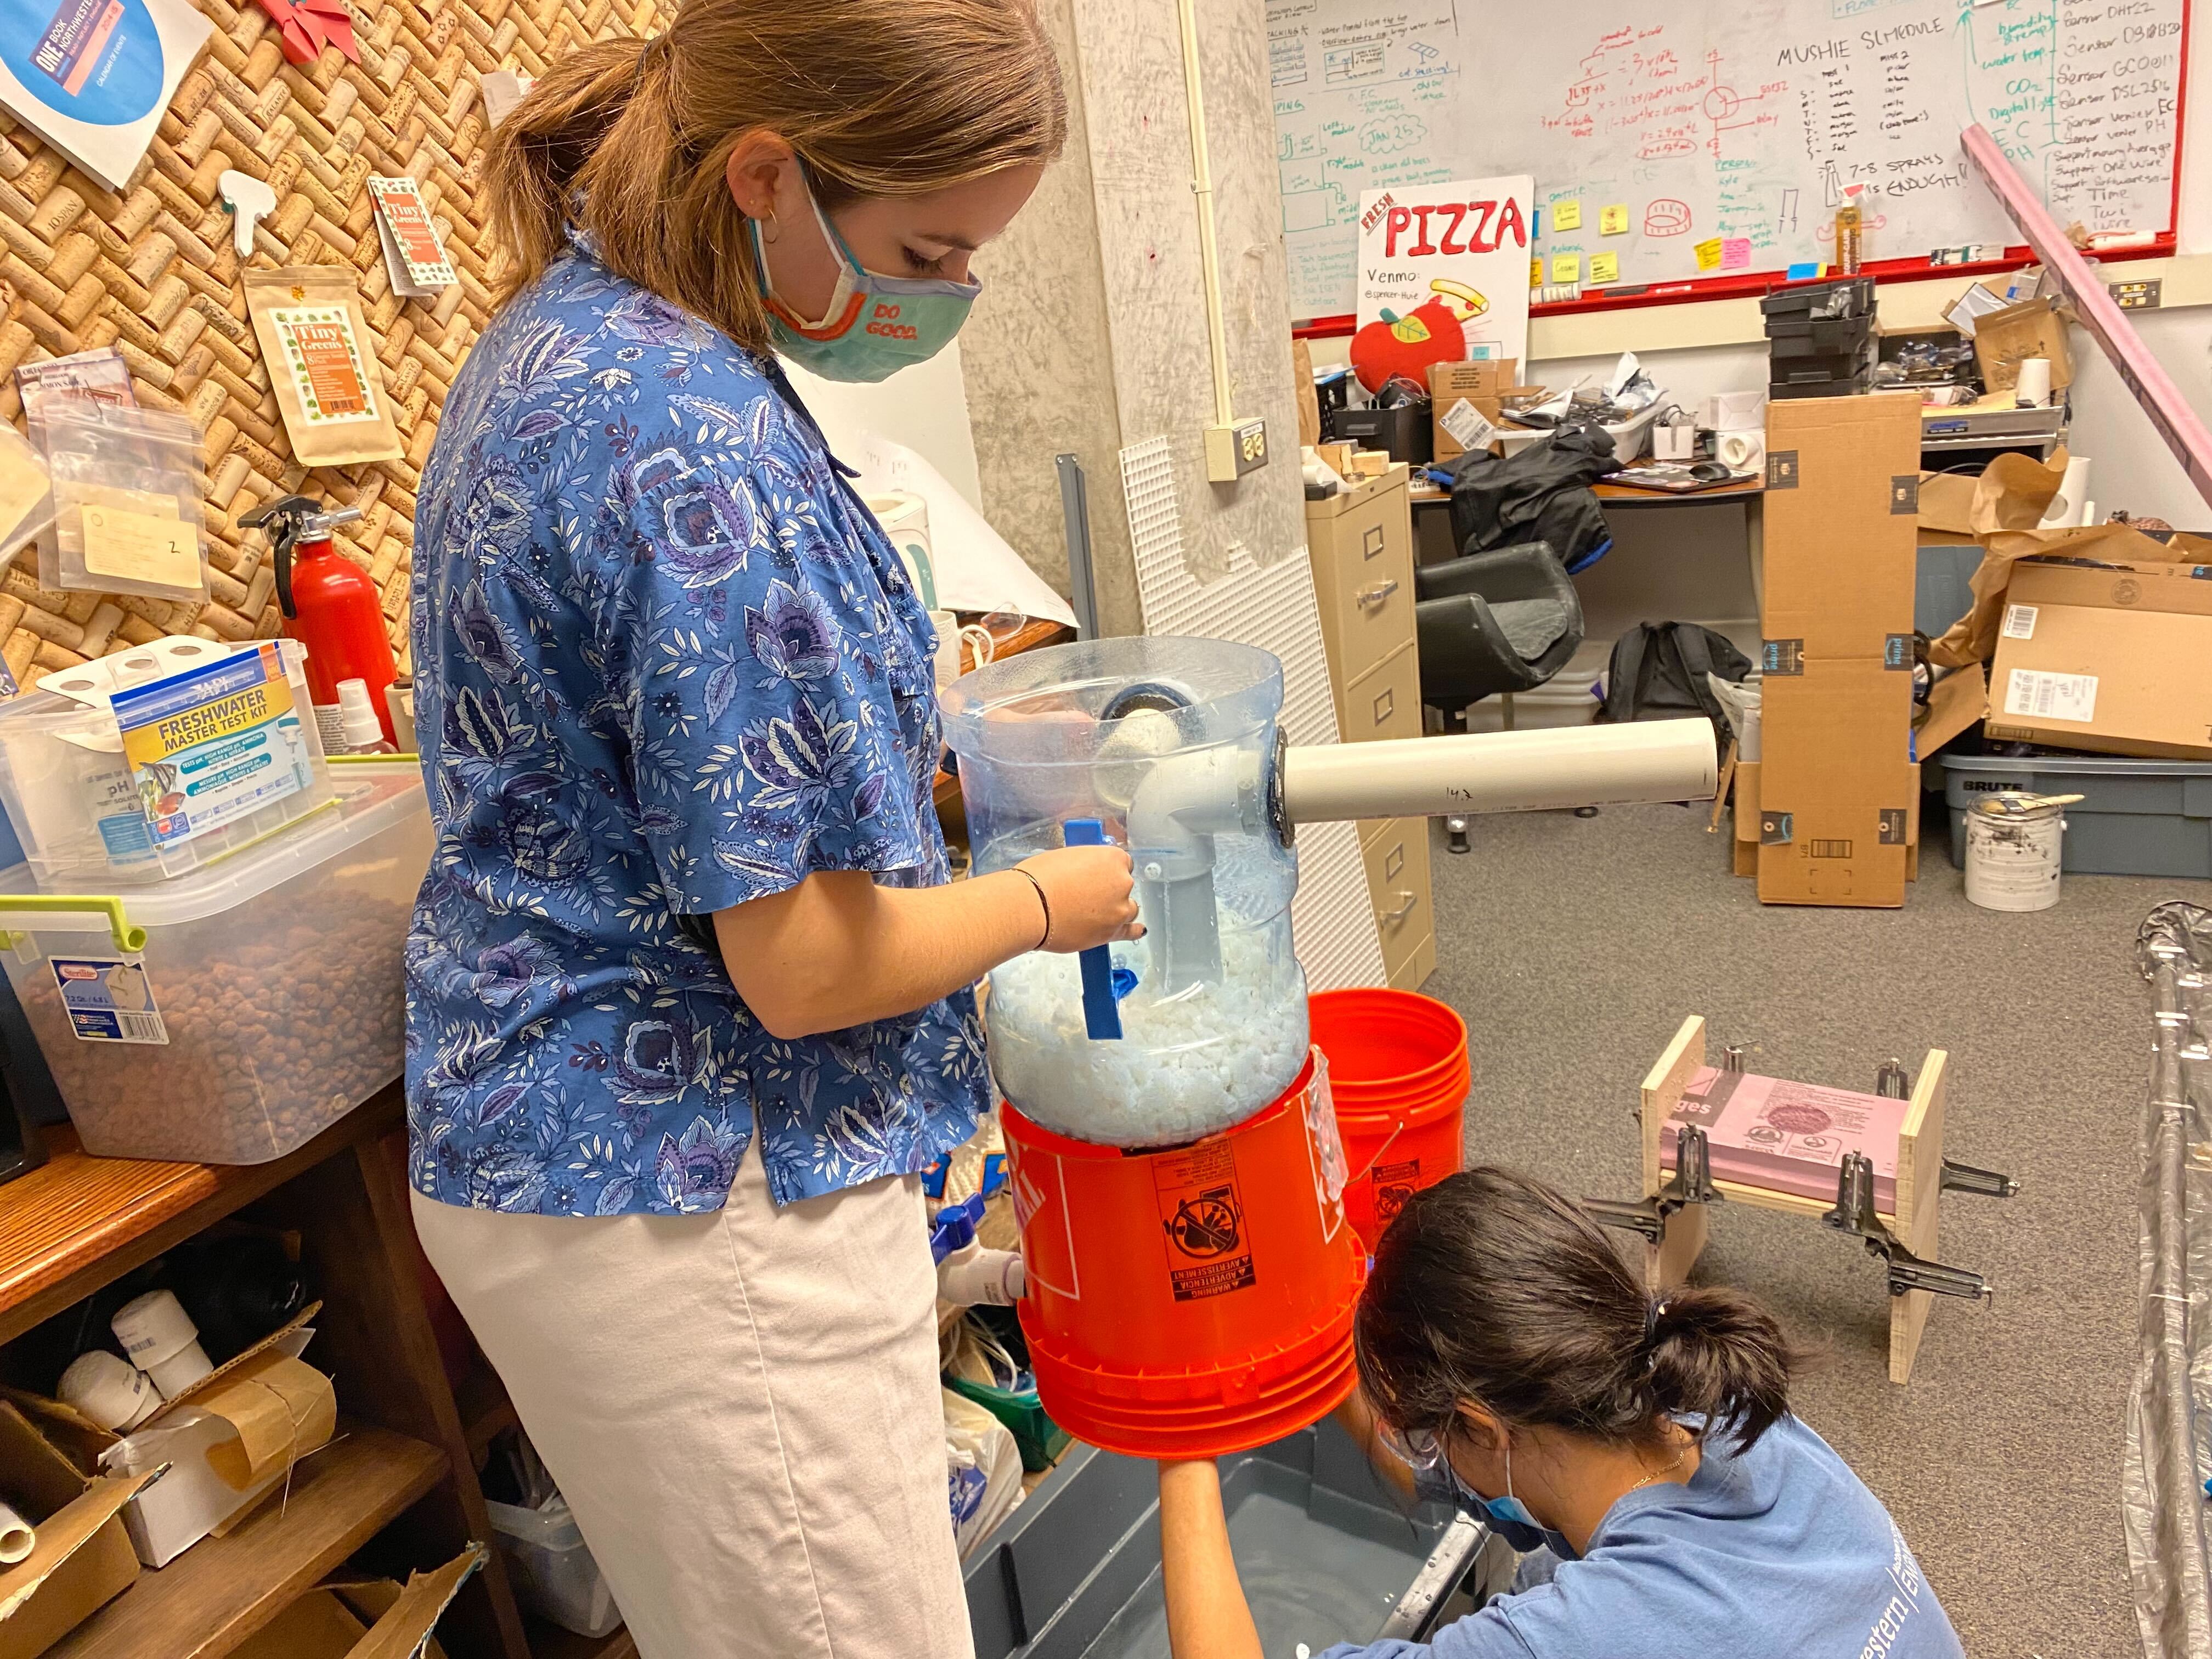
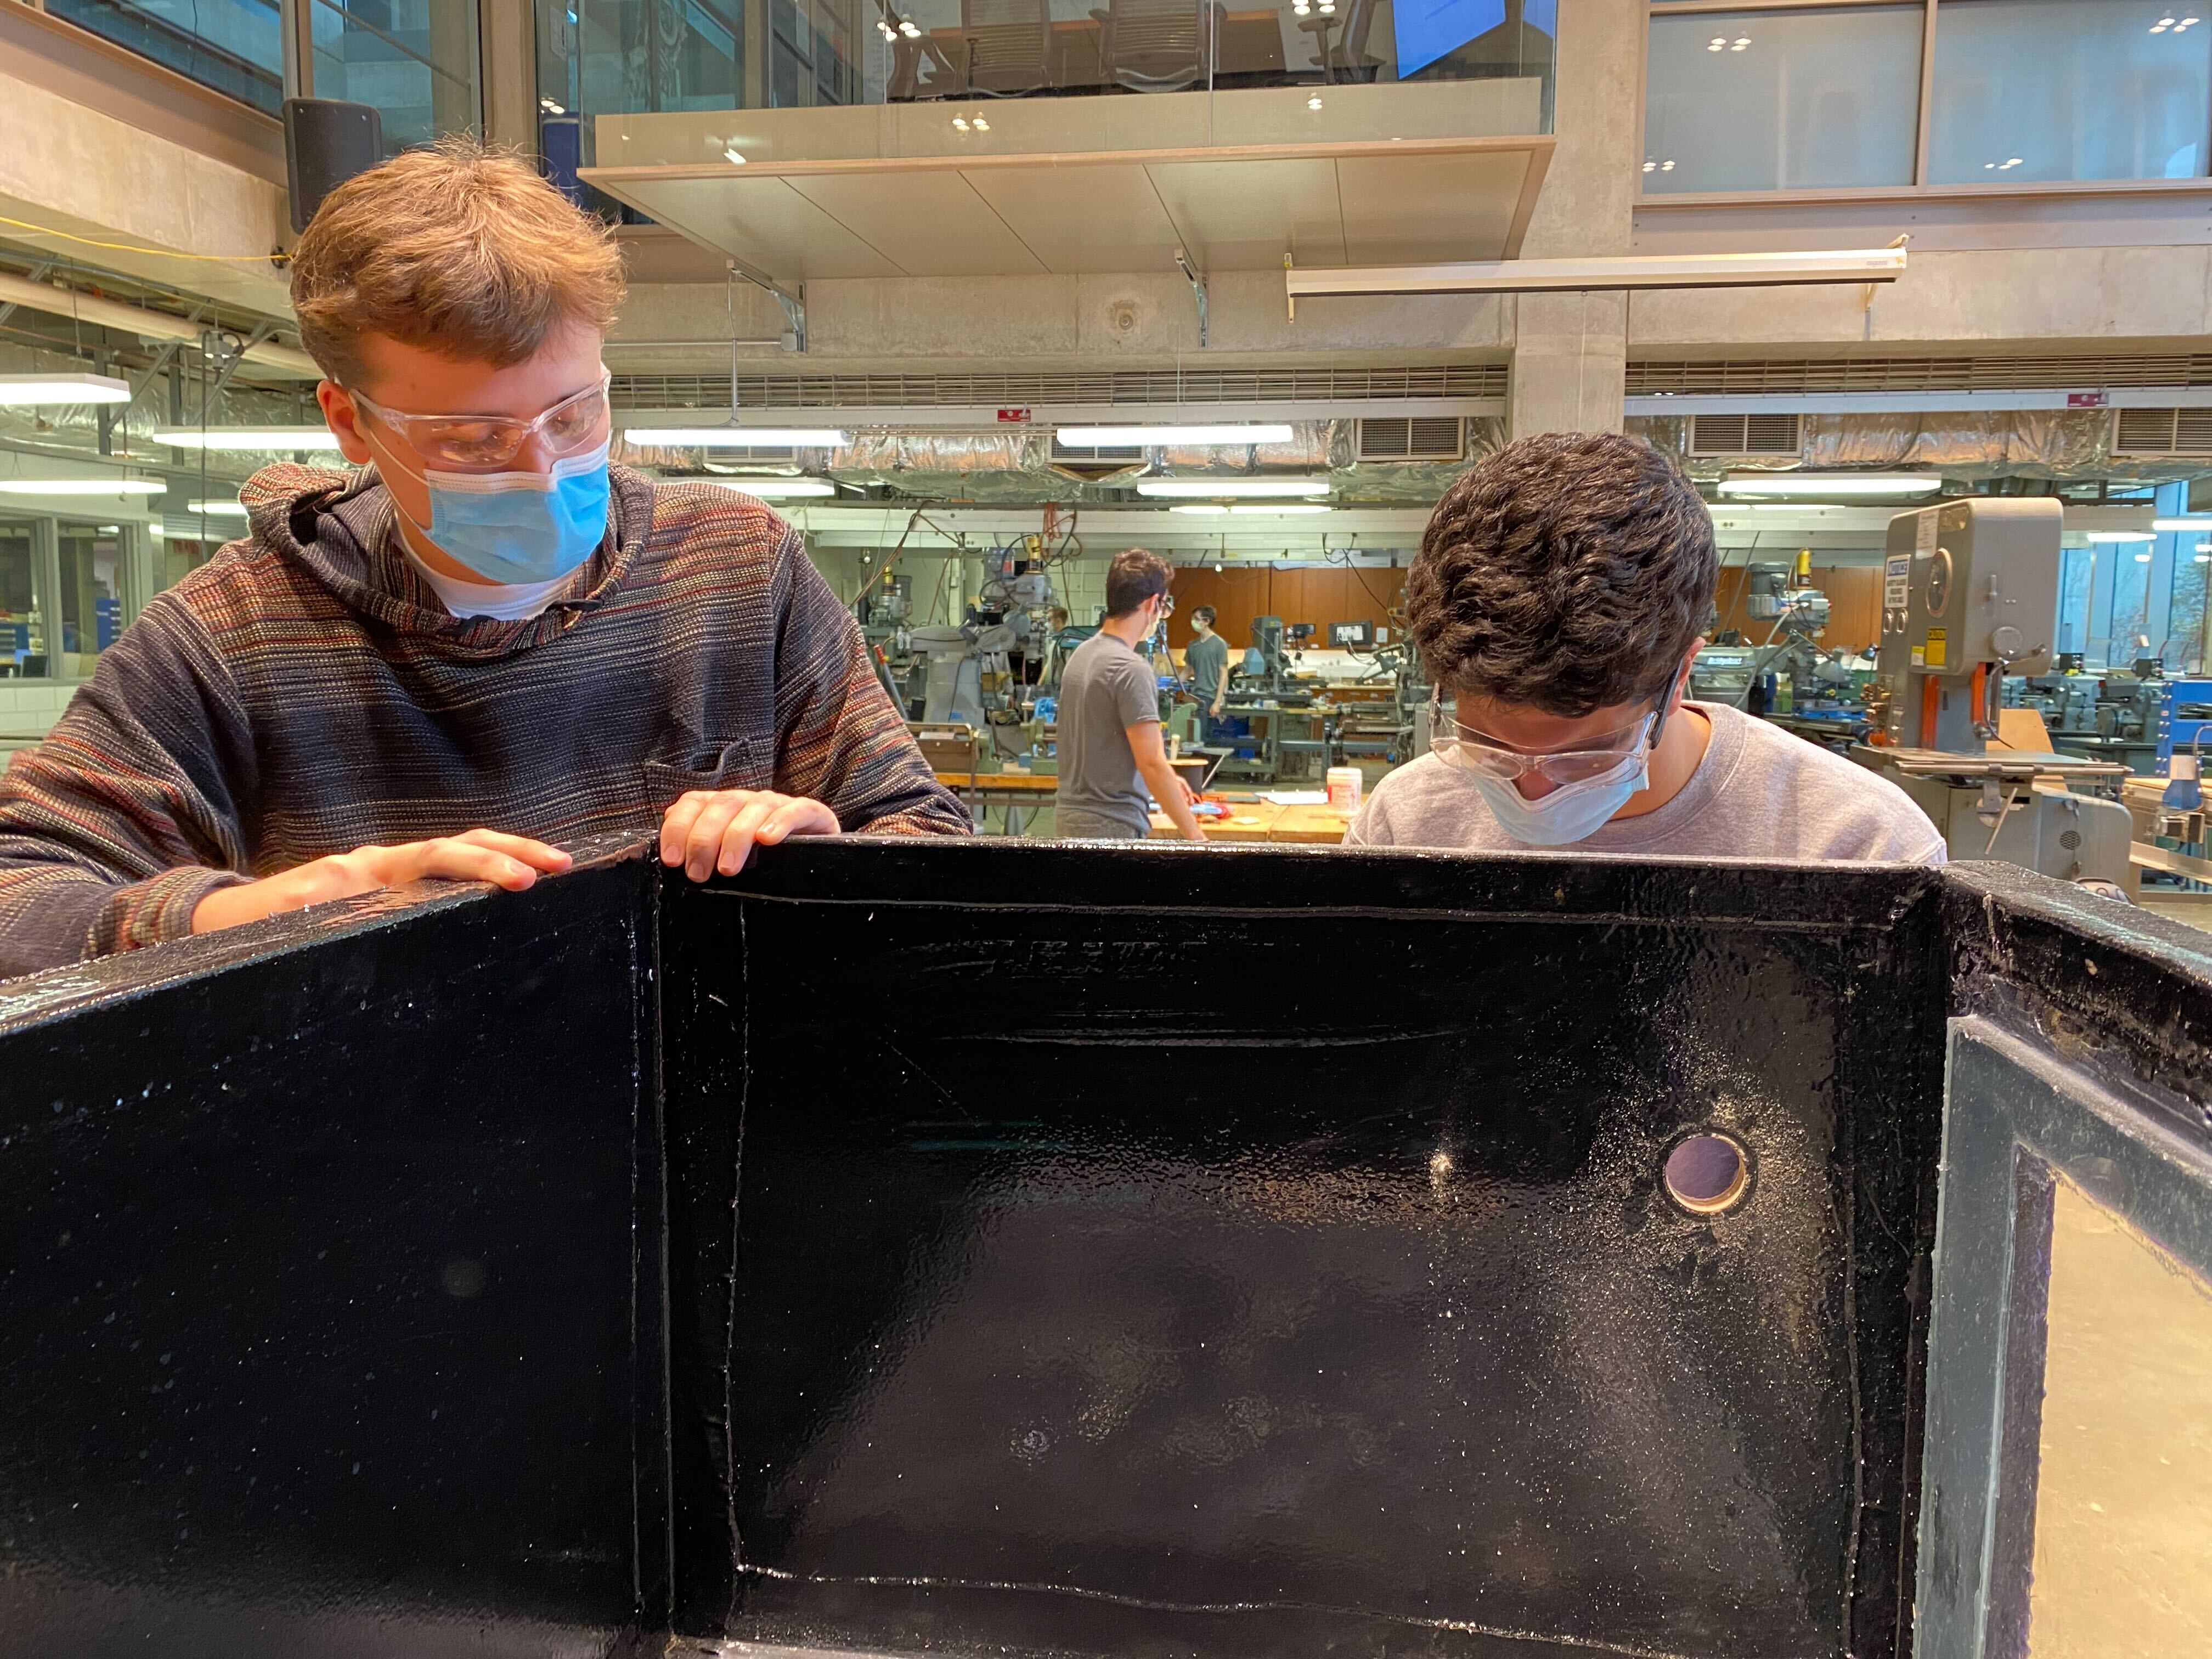
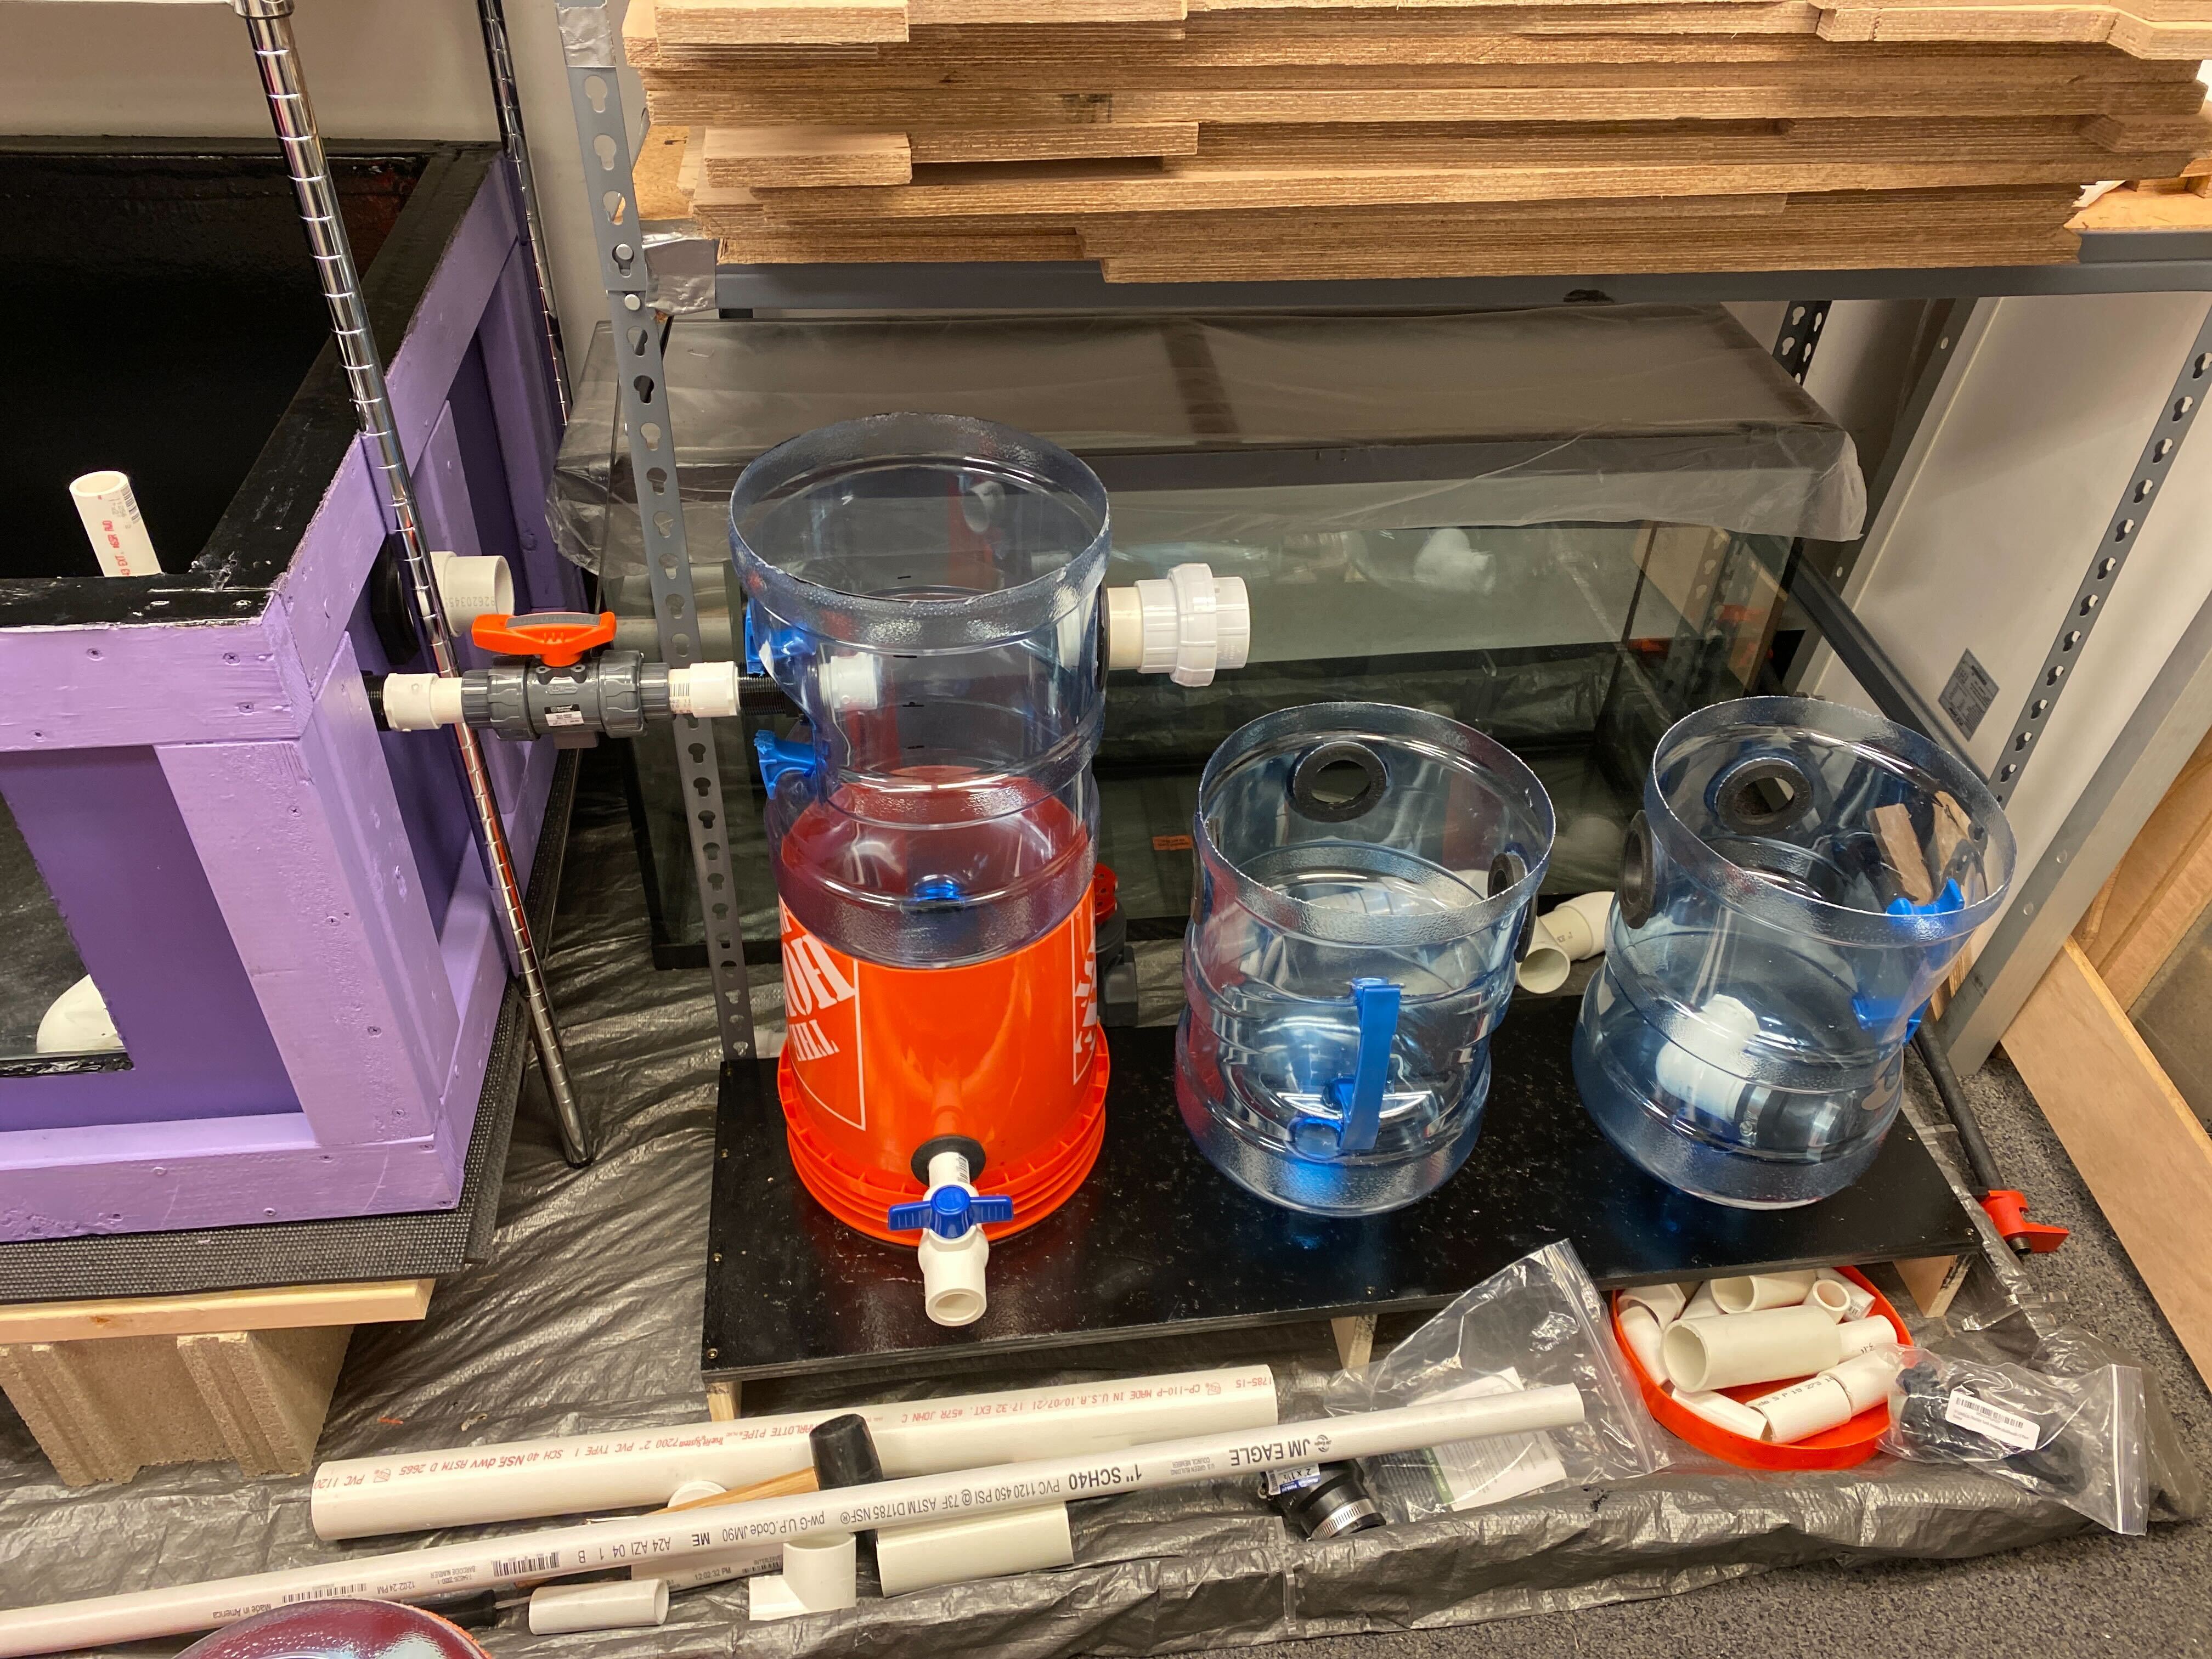
A couple weeks into the quarter, the plumbing team also realized that the Home Depot bucket we used as the stand for the biofilm reactor tank began to crack. Despite trying to salvage it by riveting acrylic supports to it, the cracks kept on growing:

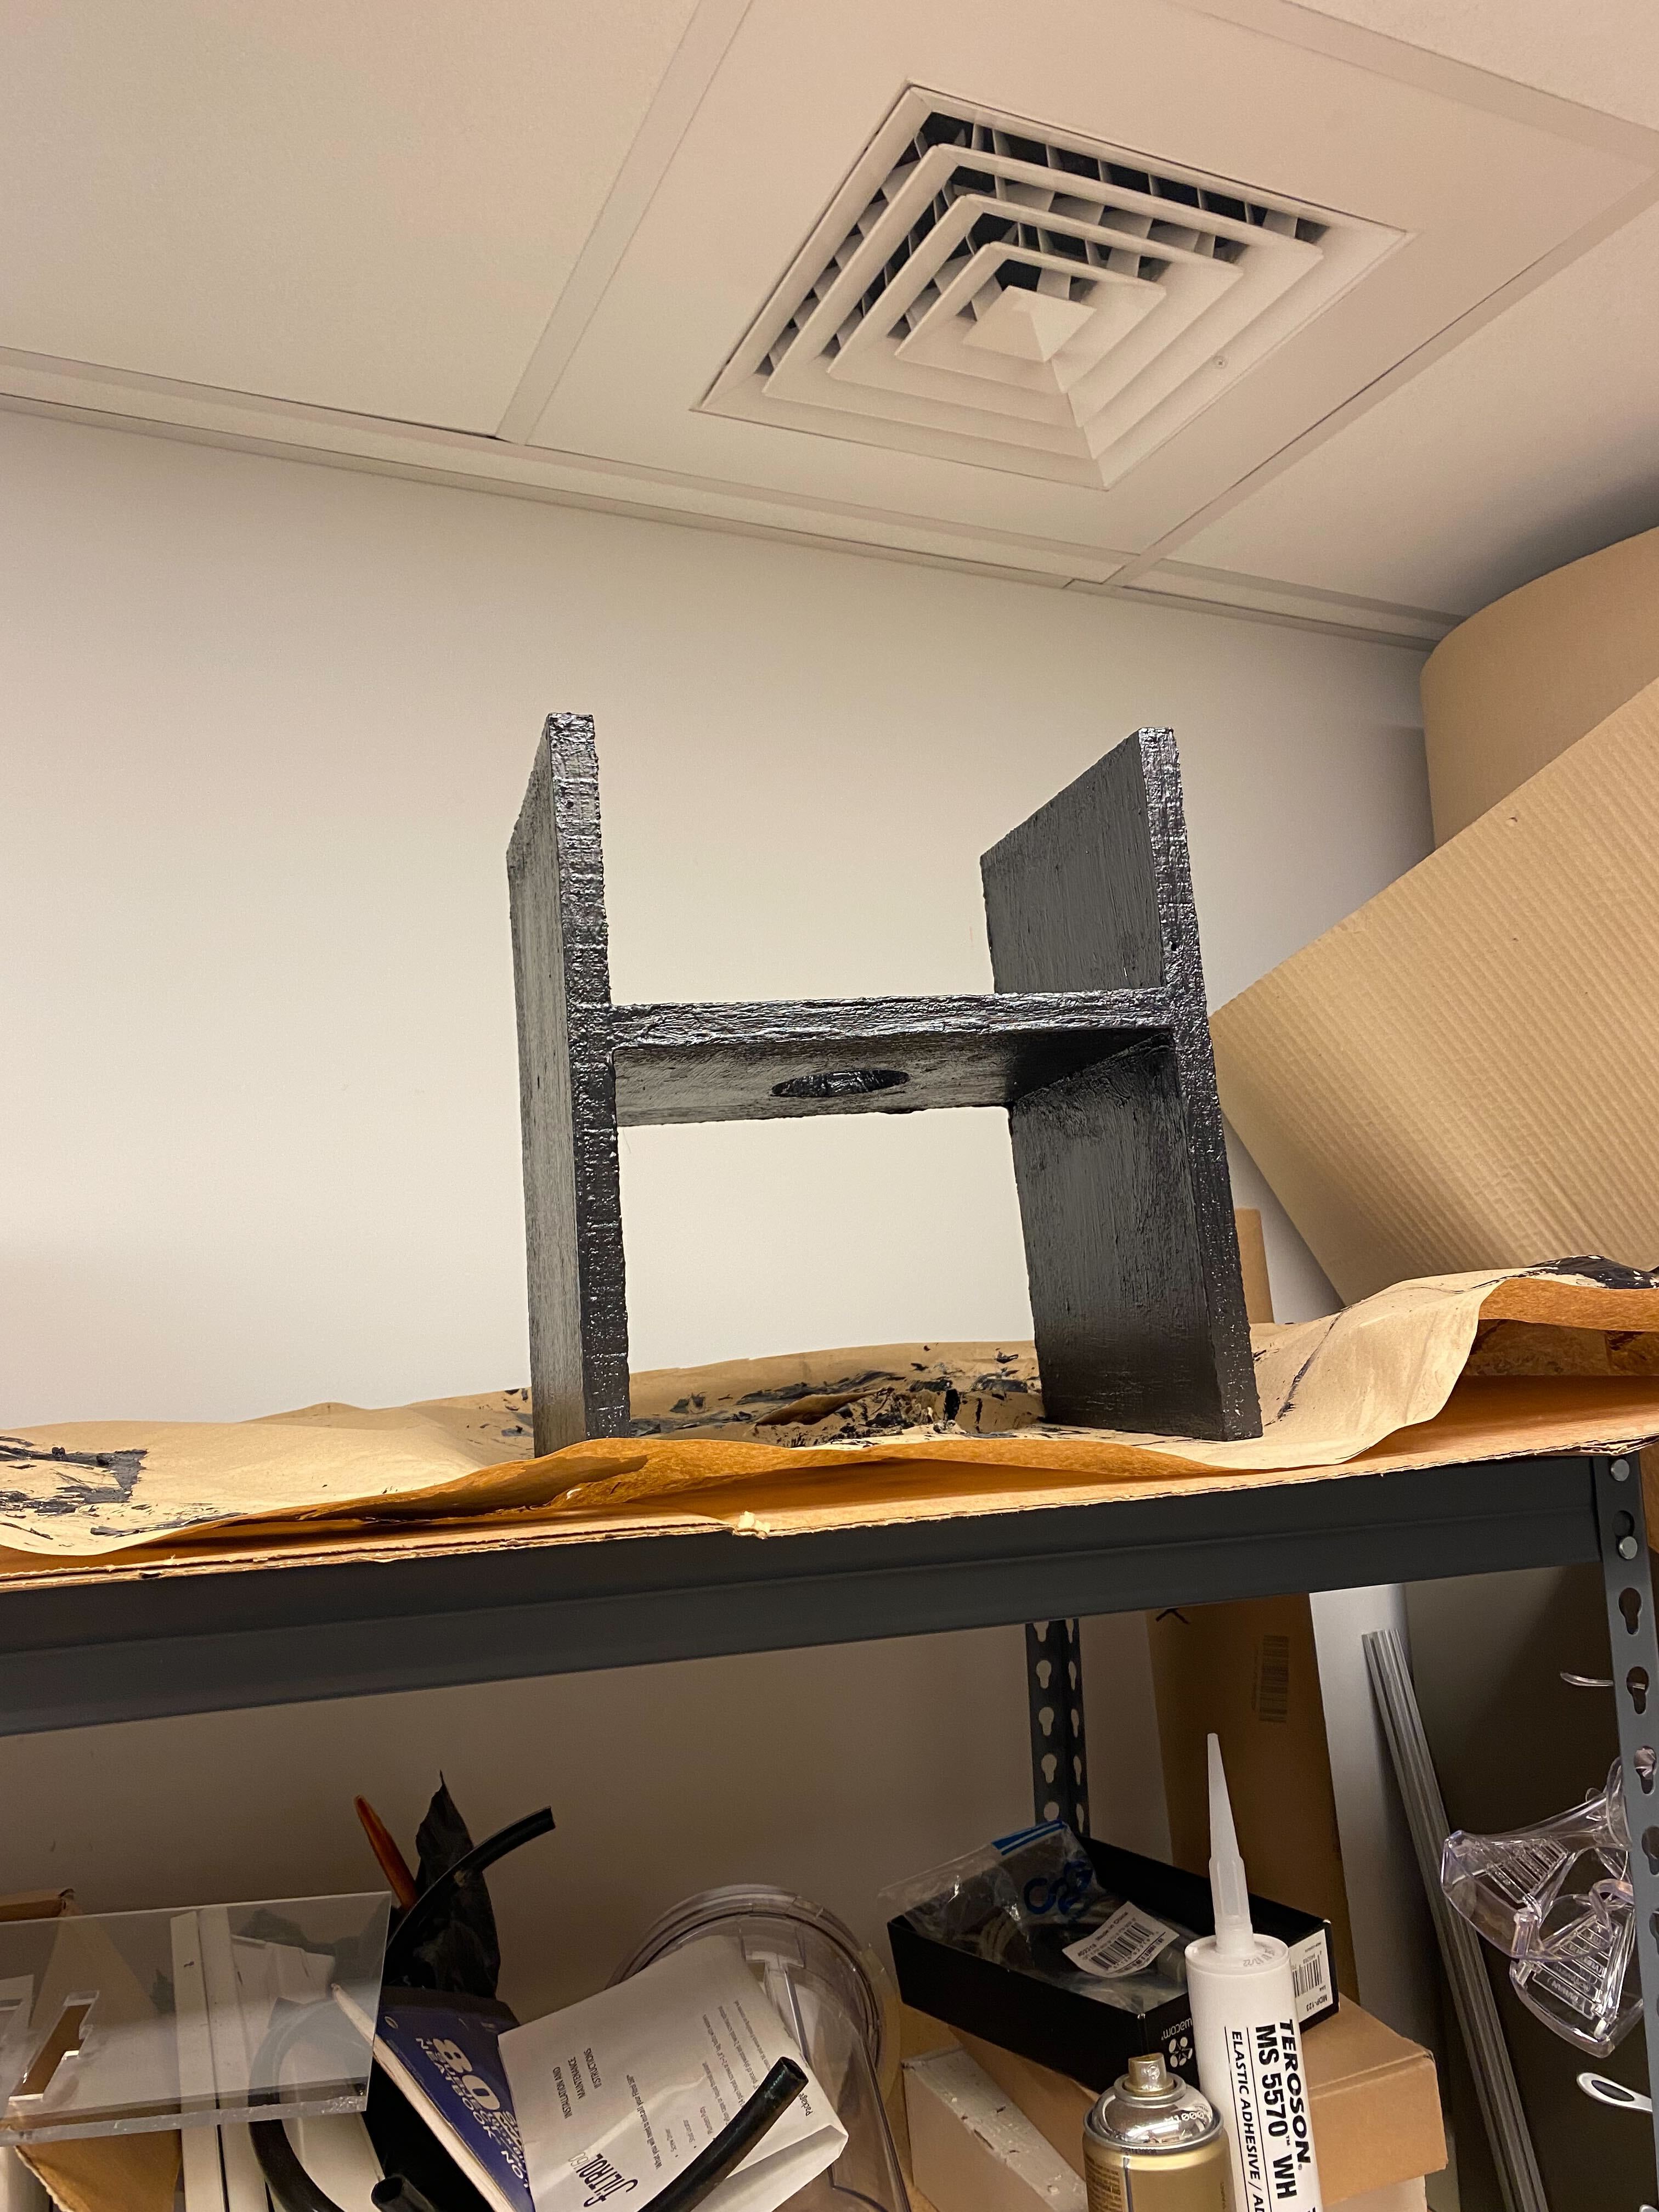
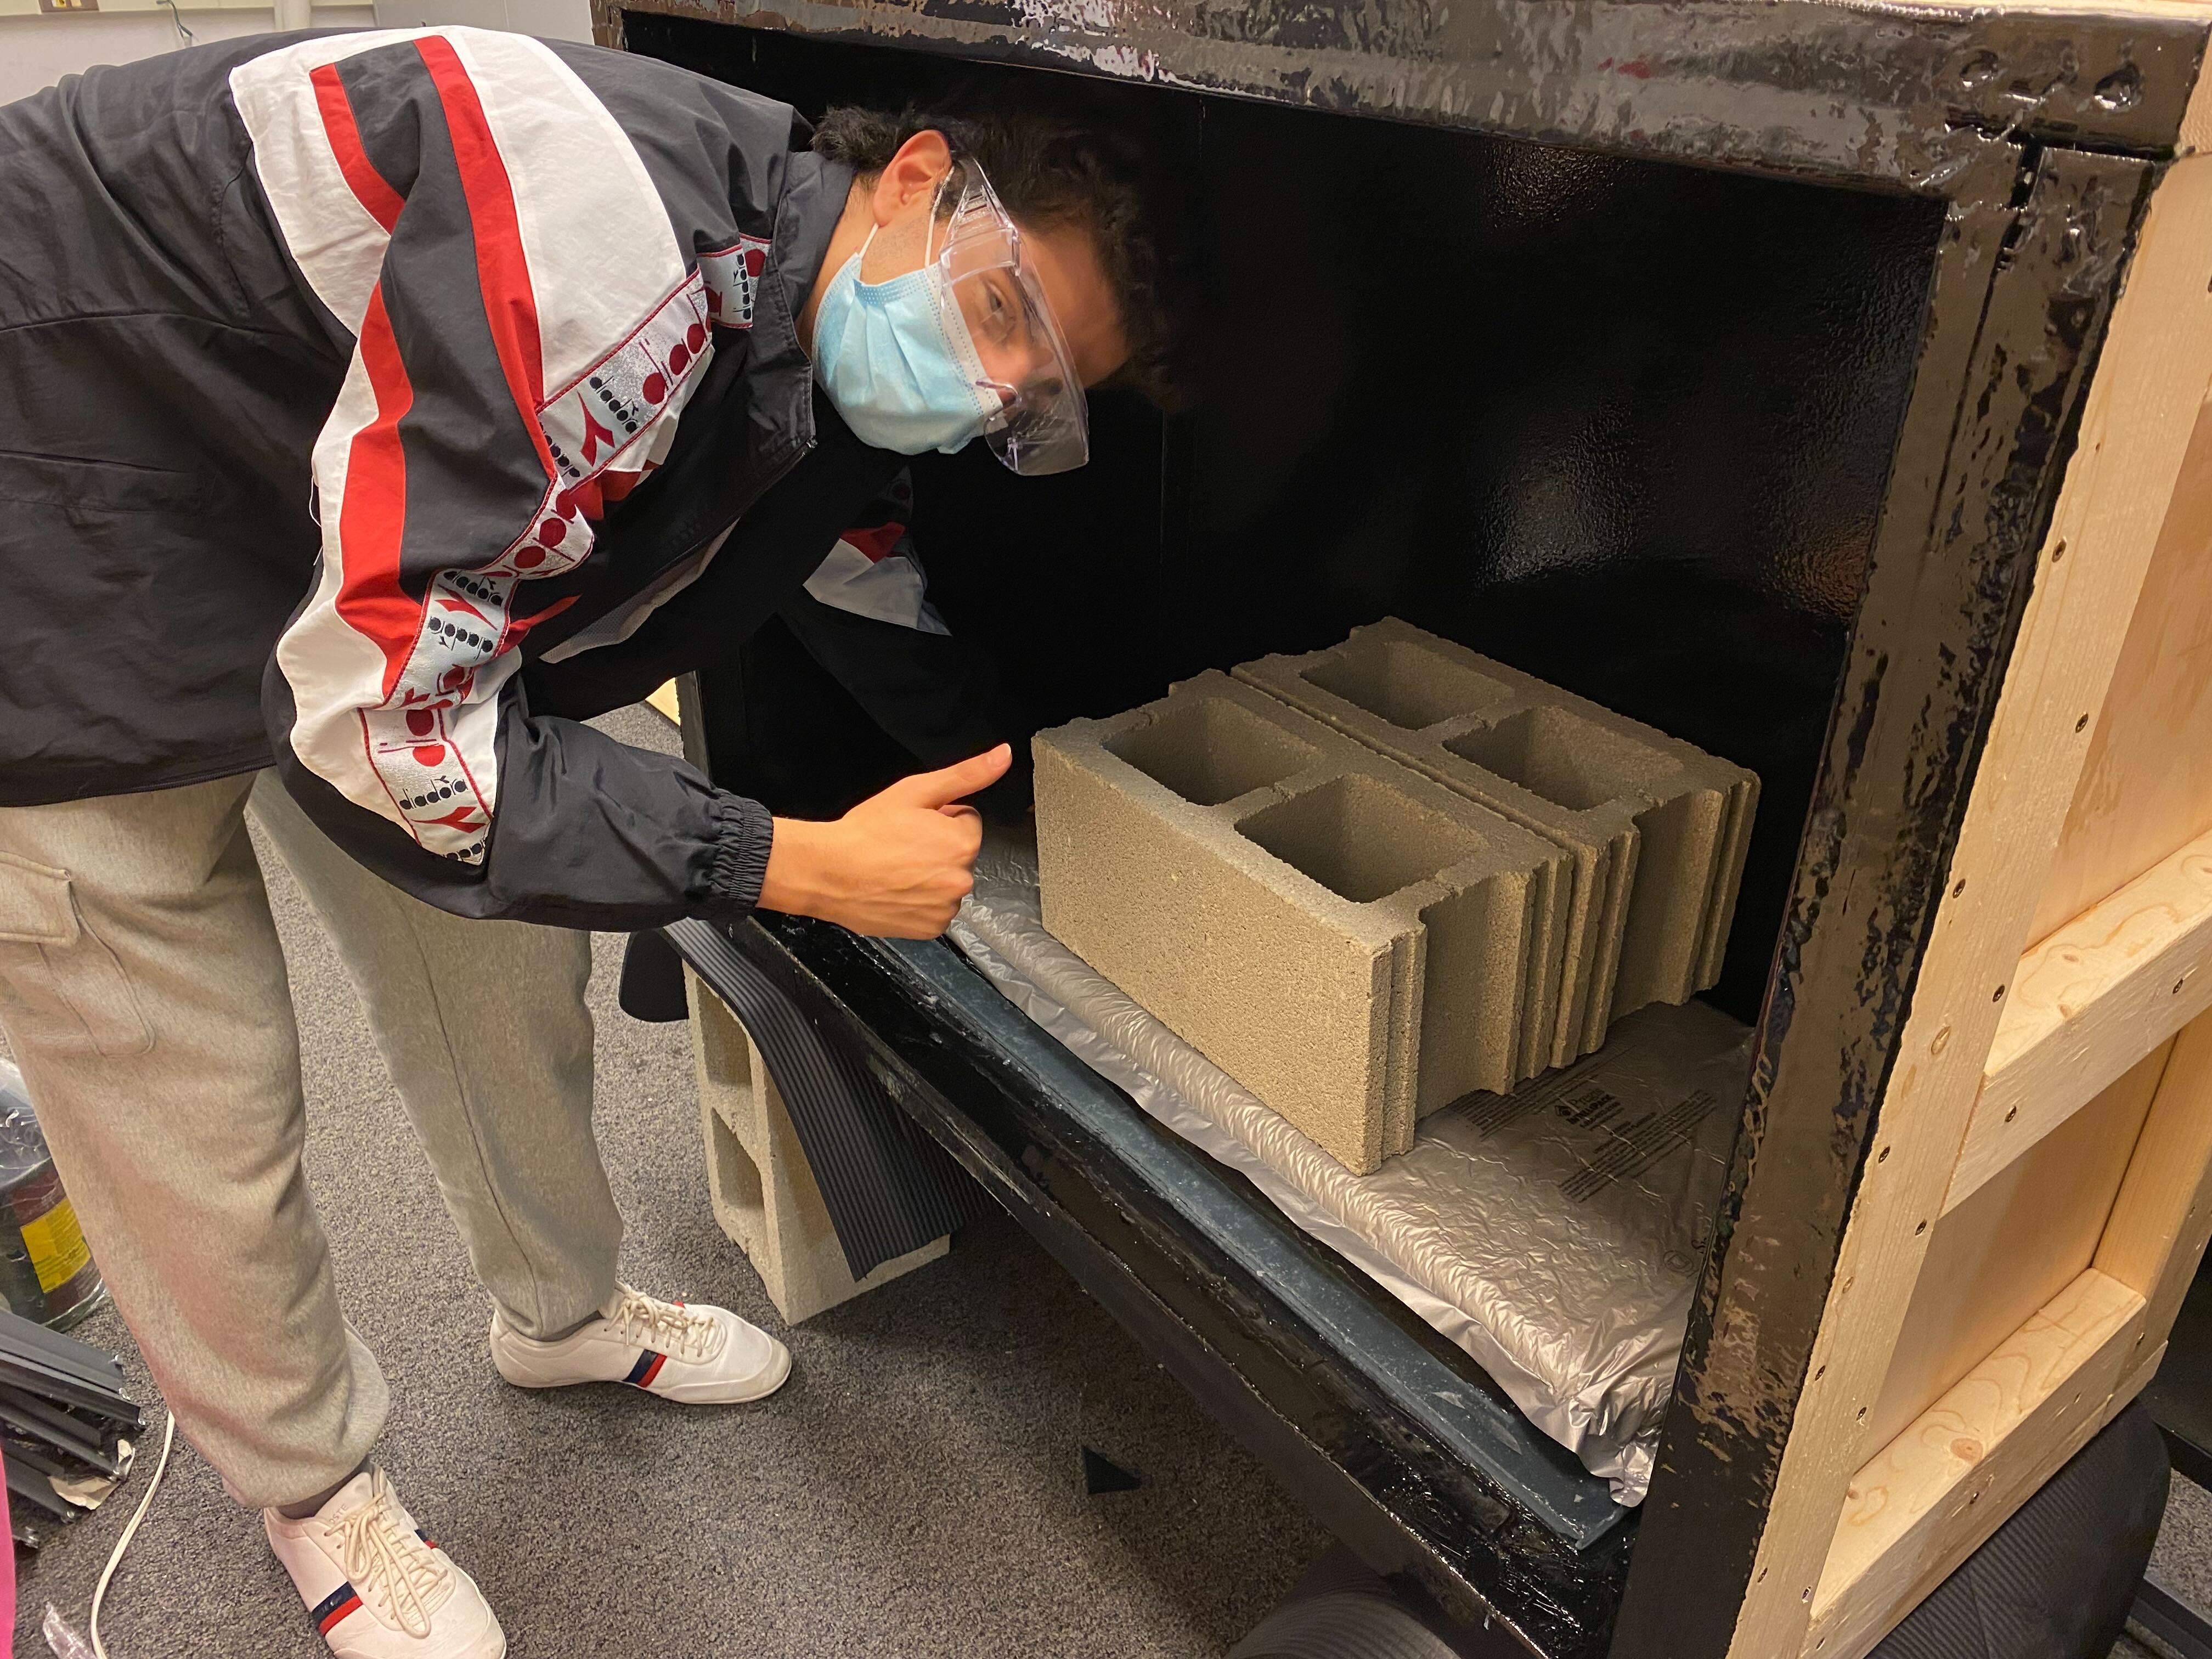
After careful assessments, we decided to scrap the bucket and build a custom stand out of wood instead. If anyone is interested in using 5 gallon water jugs as filters for aquaponics/aquaculture, this is what we recommend since the Home Depot buckets we tried earlier are much more flimsy (though they do look cooler and are less time-intensive to build).

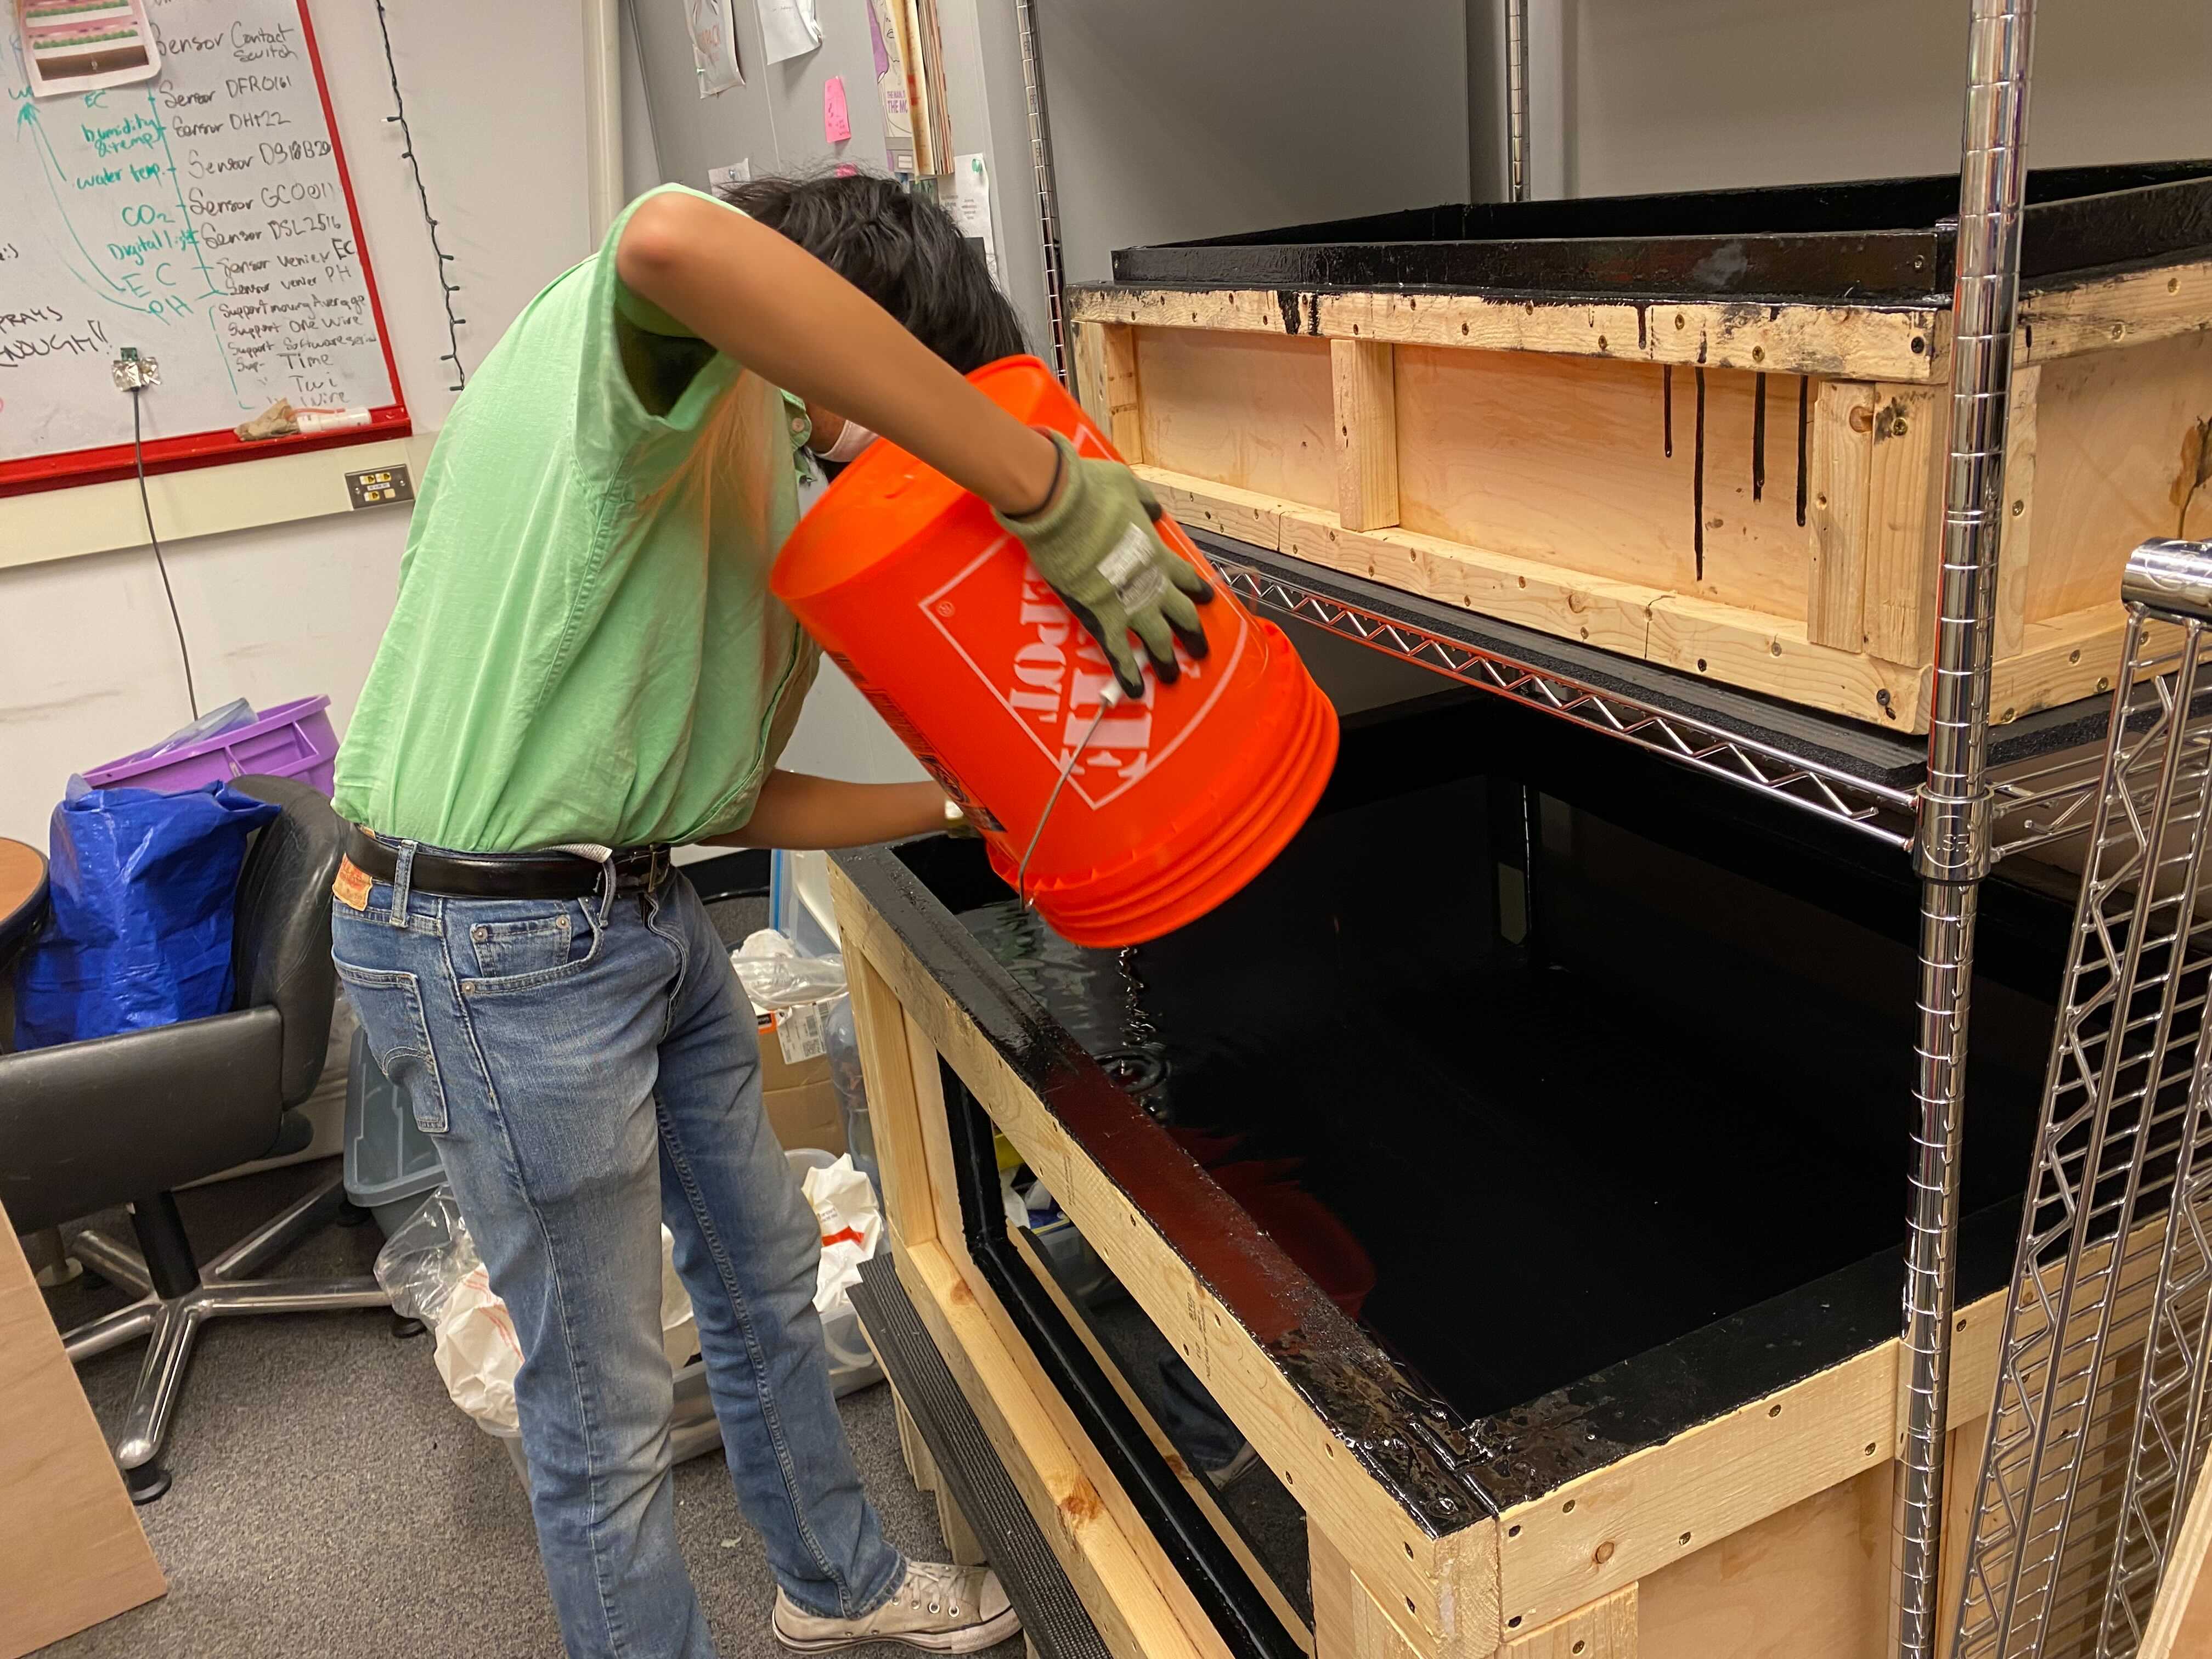
Members draining the biofilm reactor to remove the bucket stand:

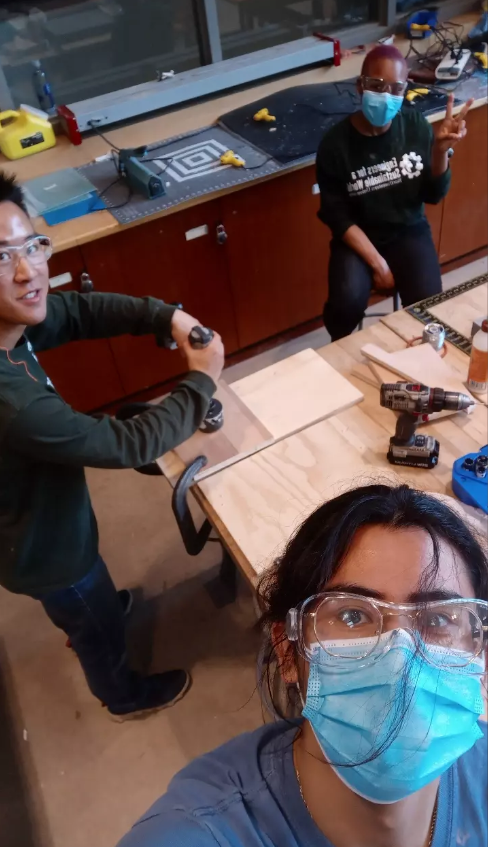
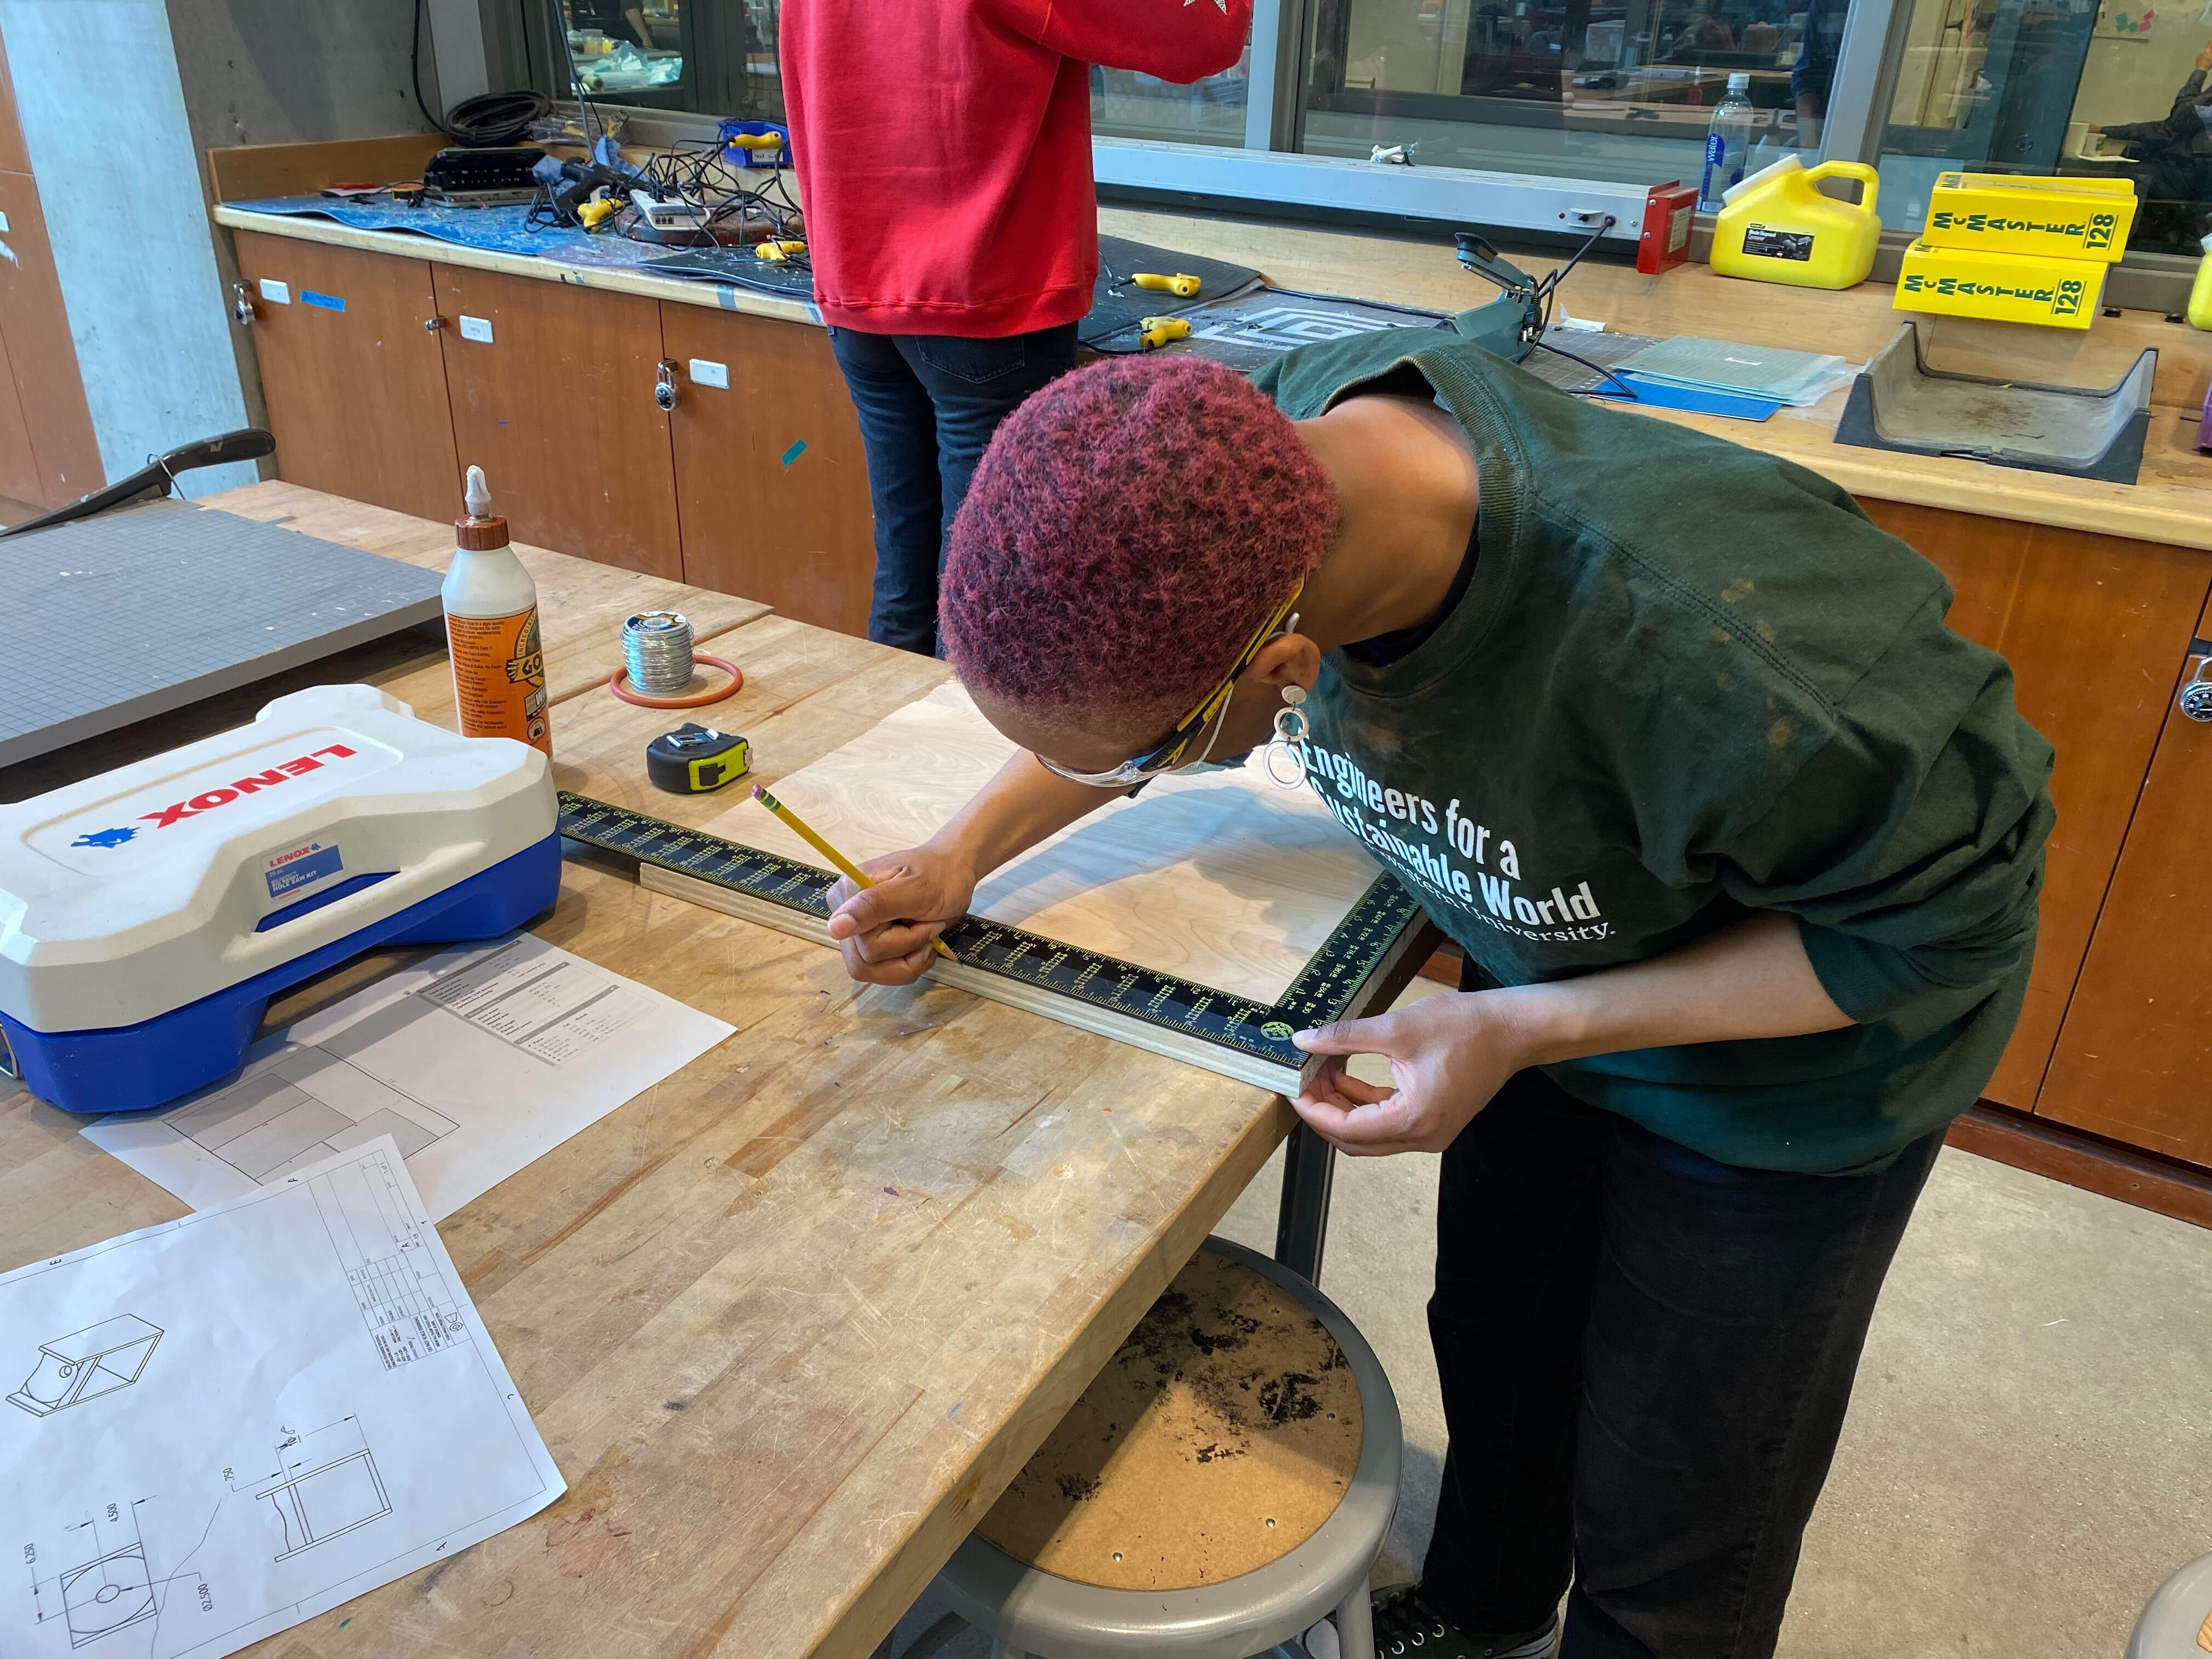
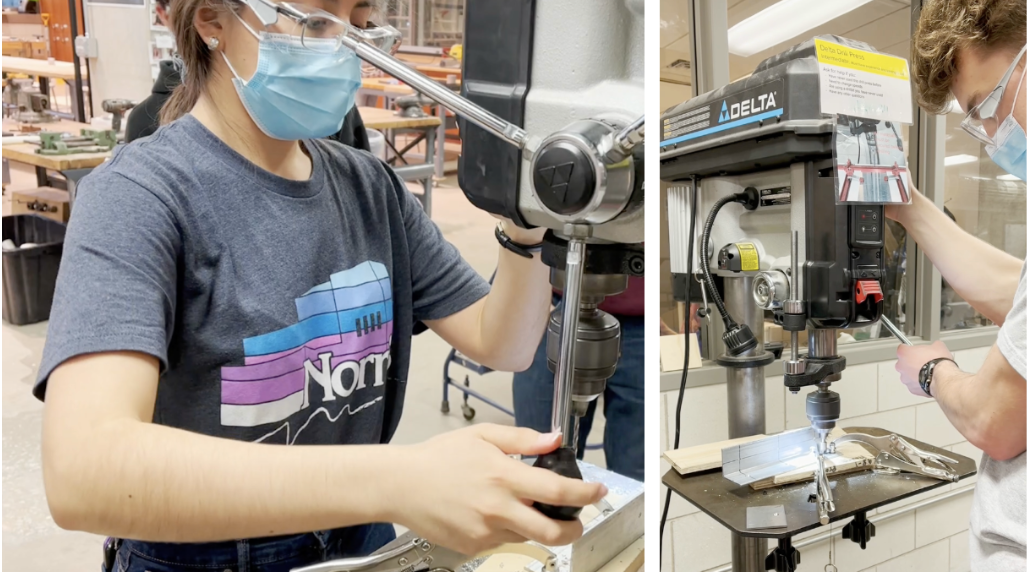
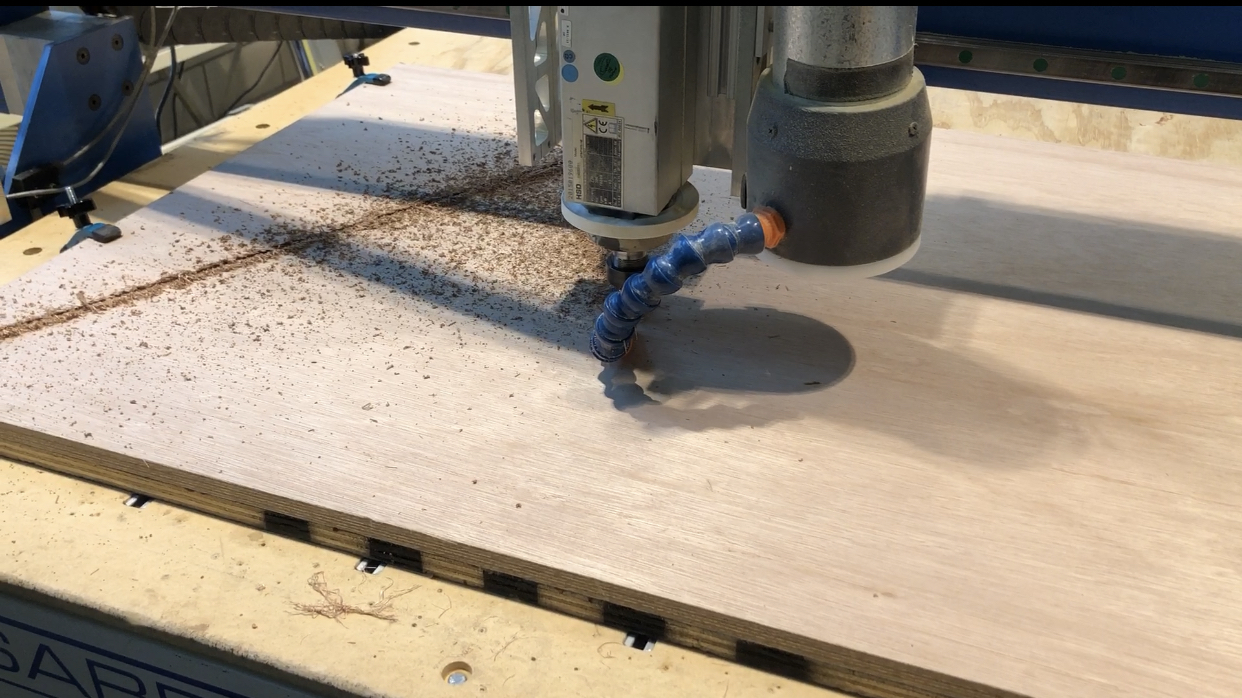
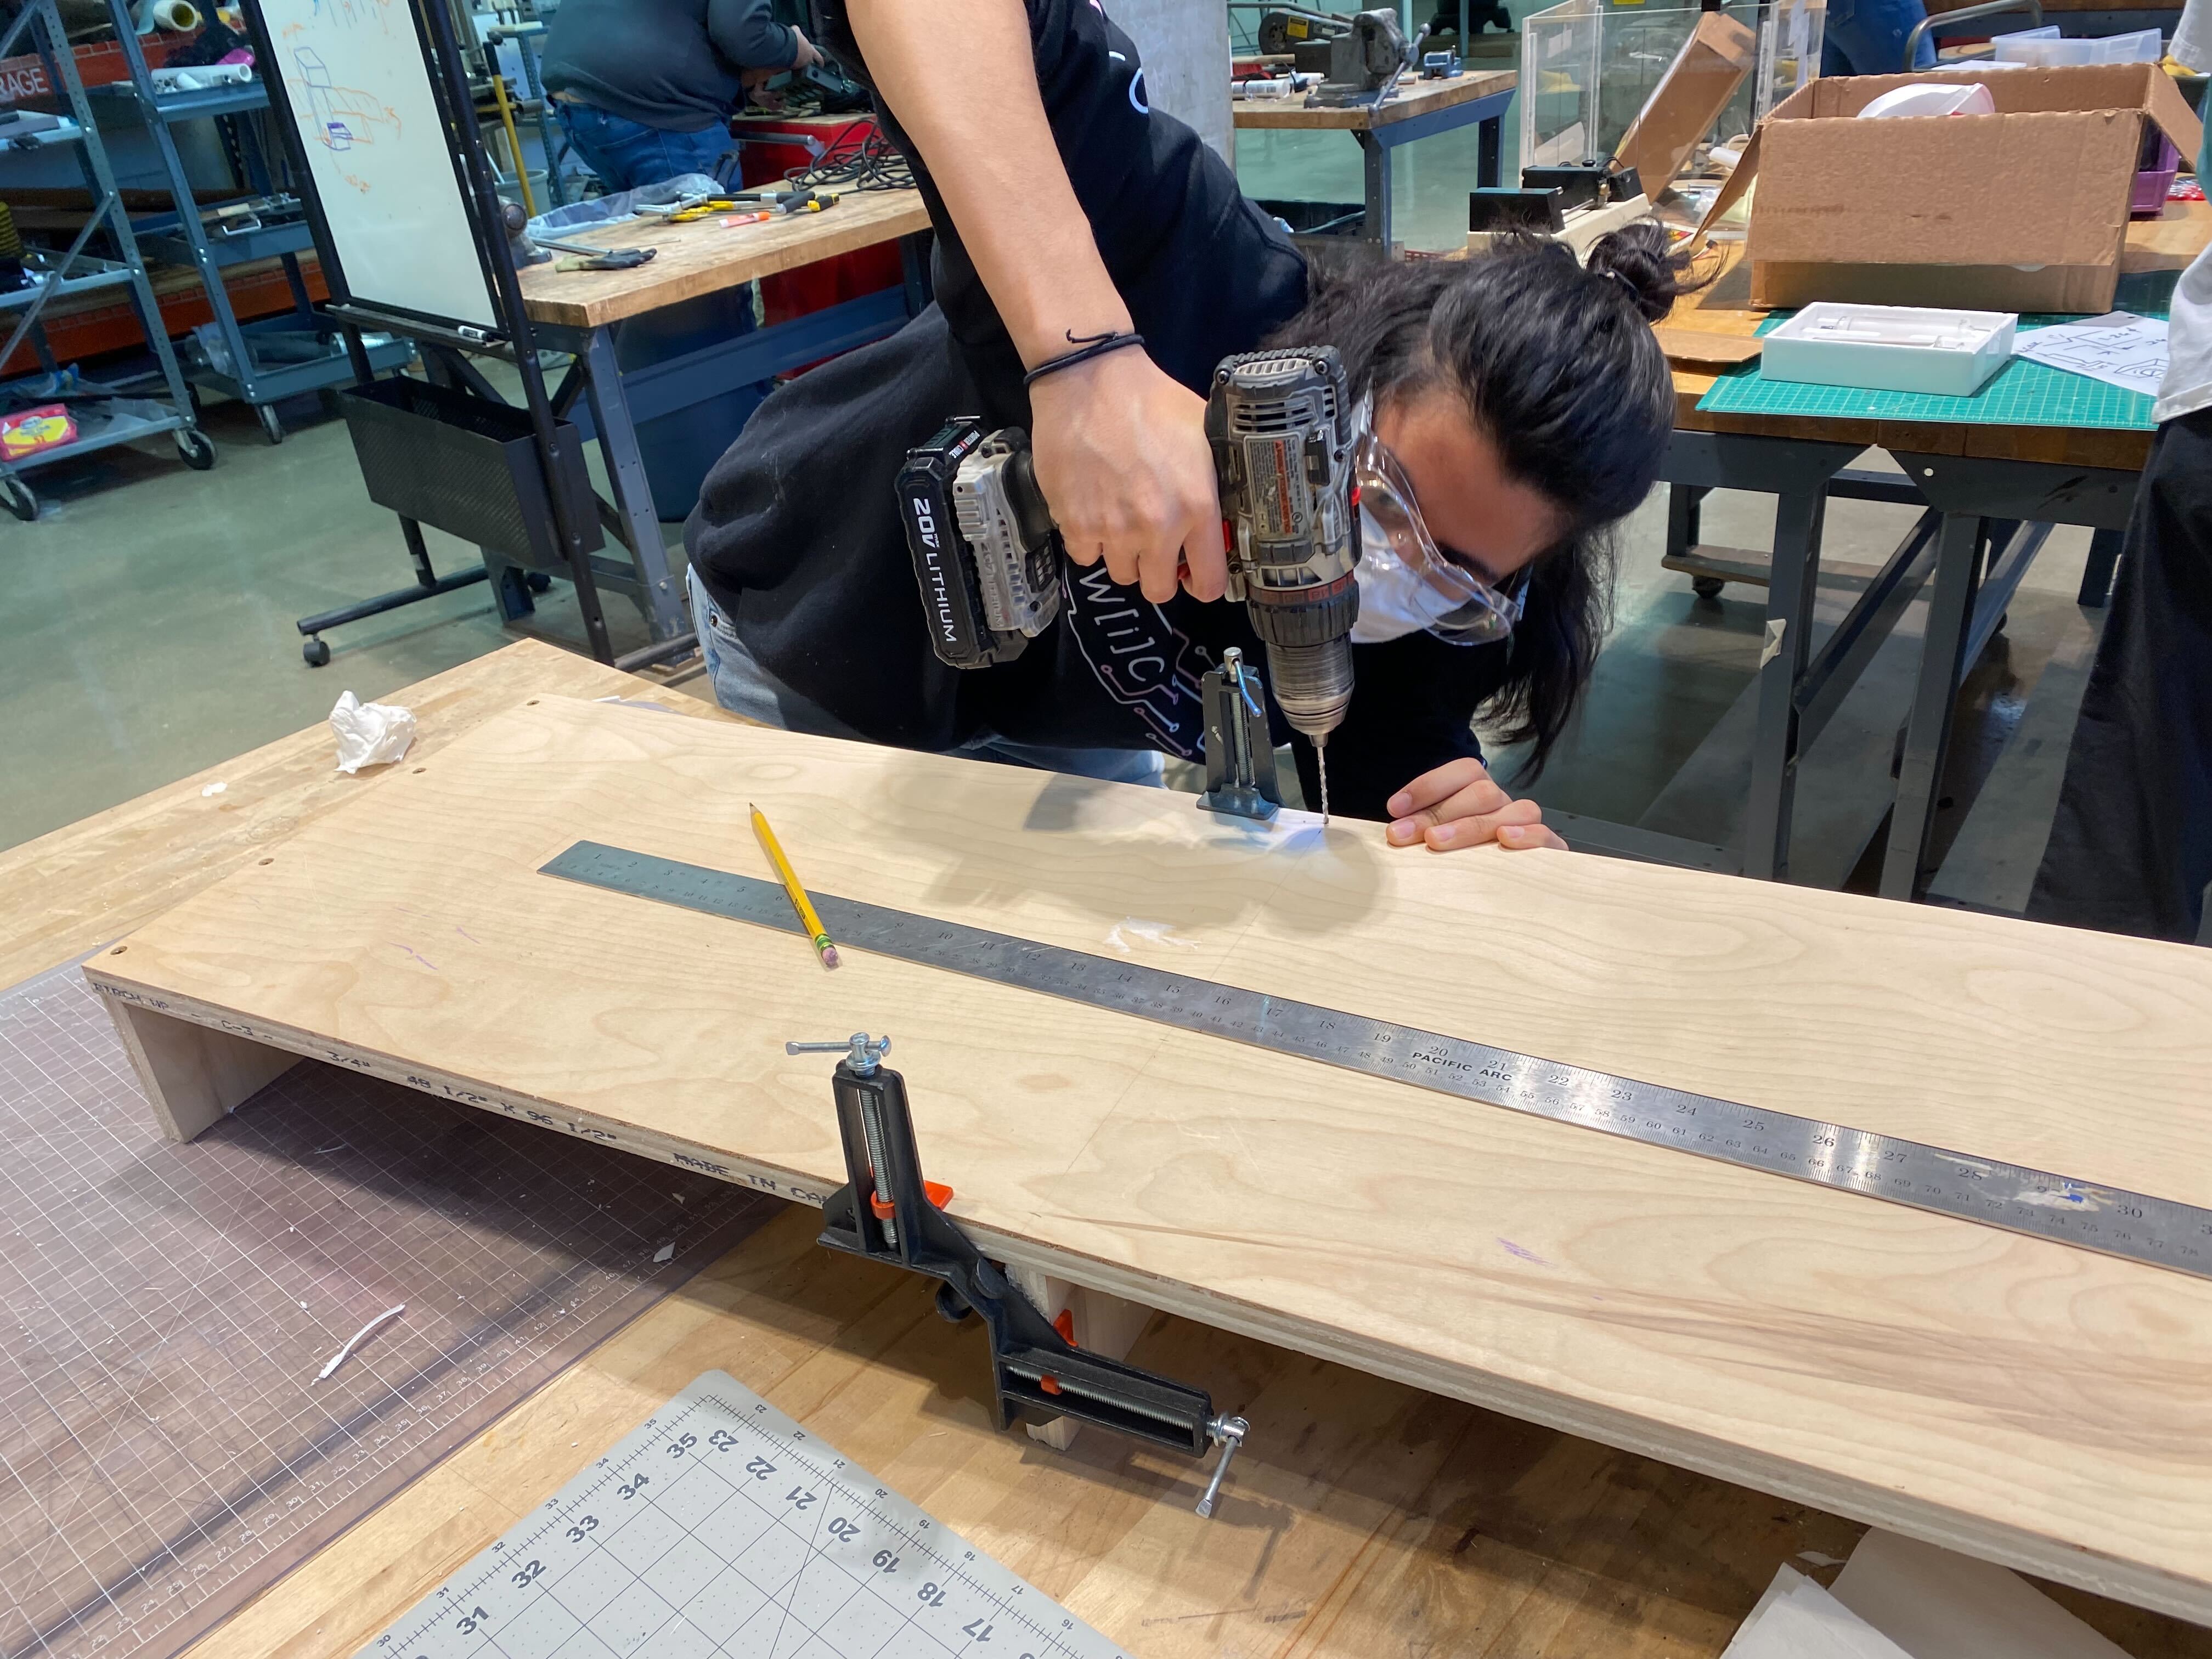
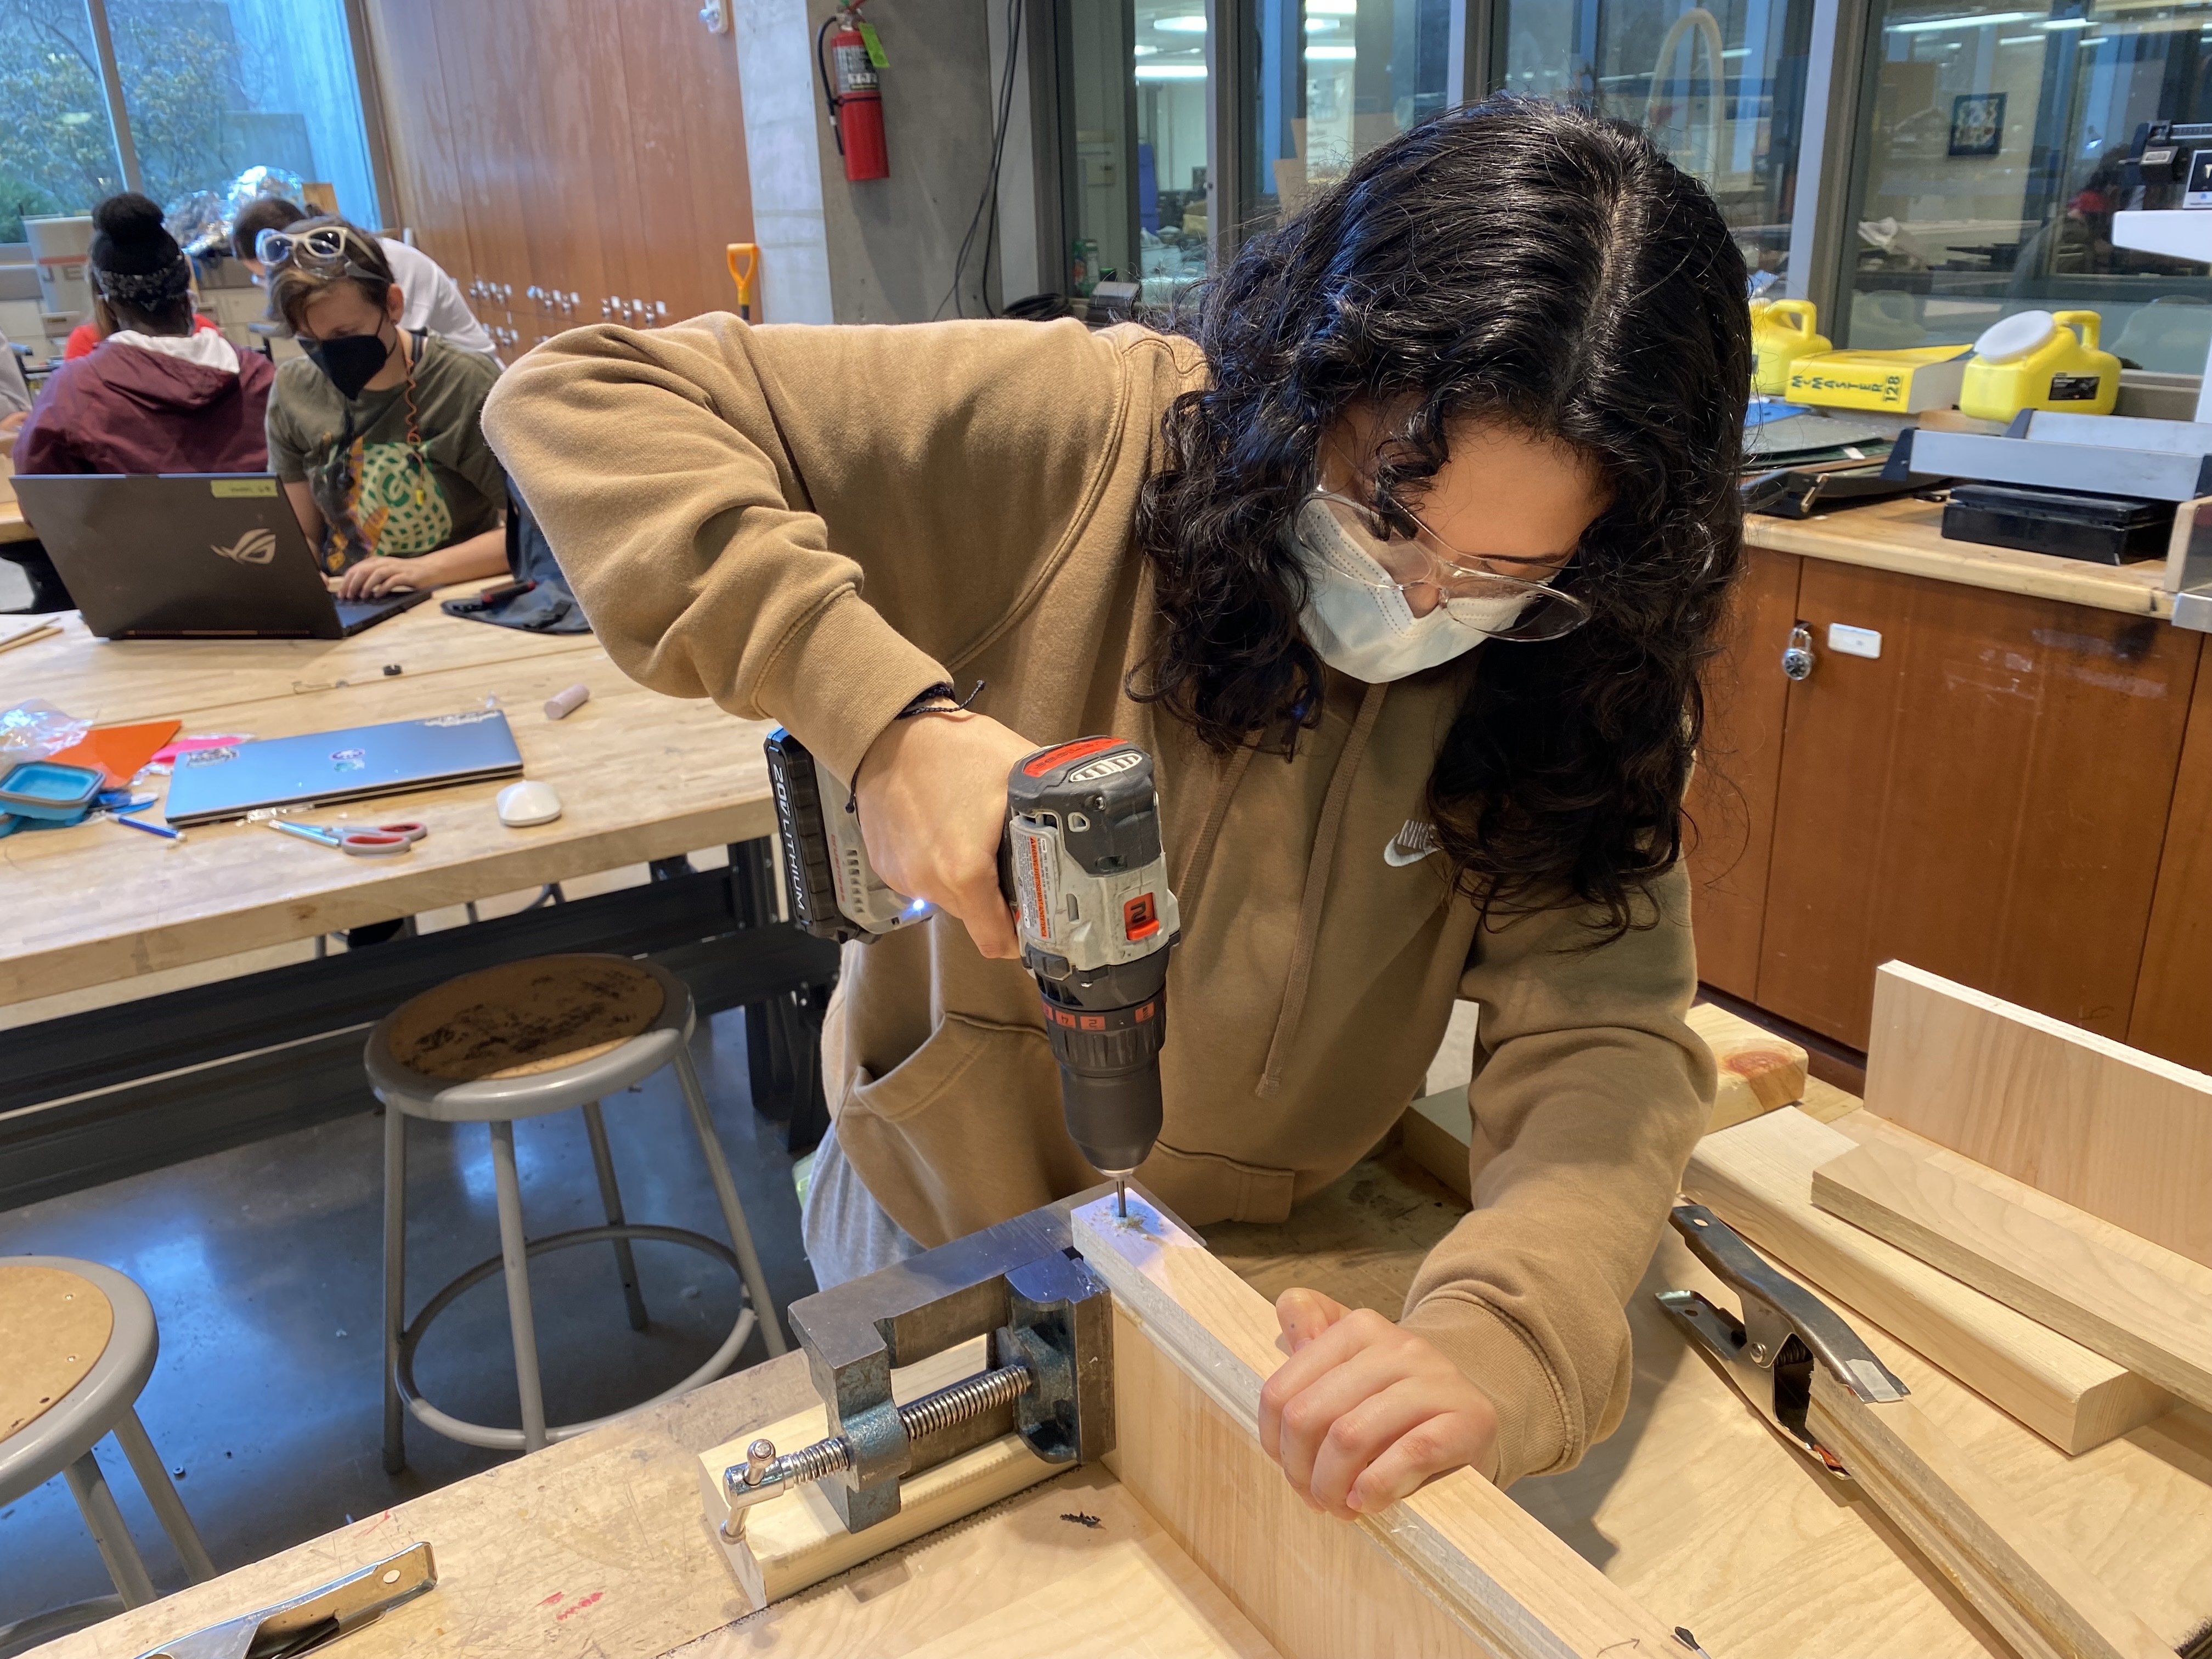
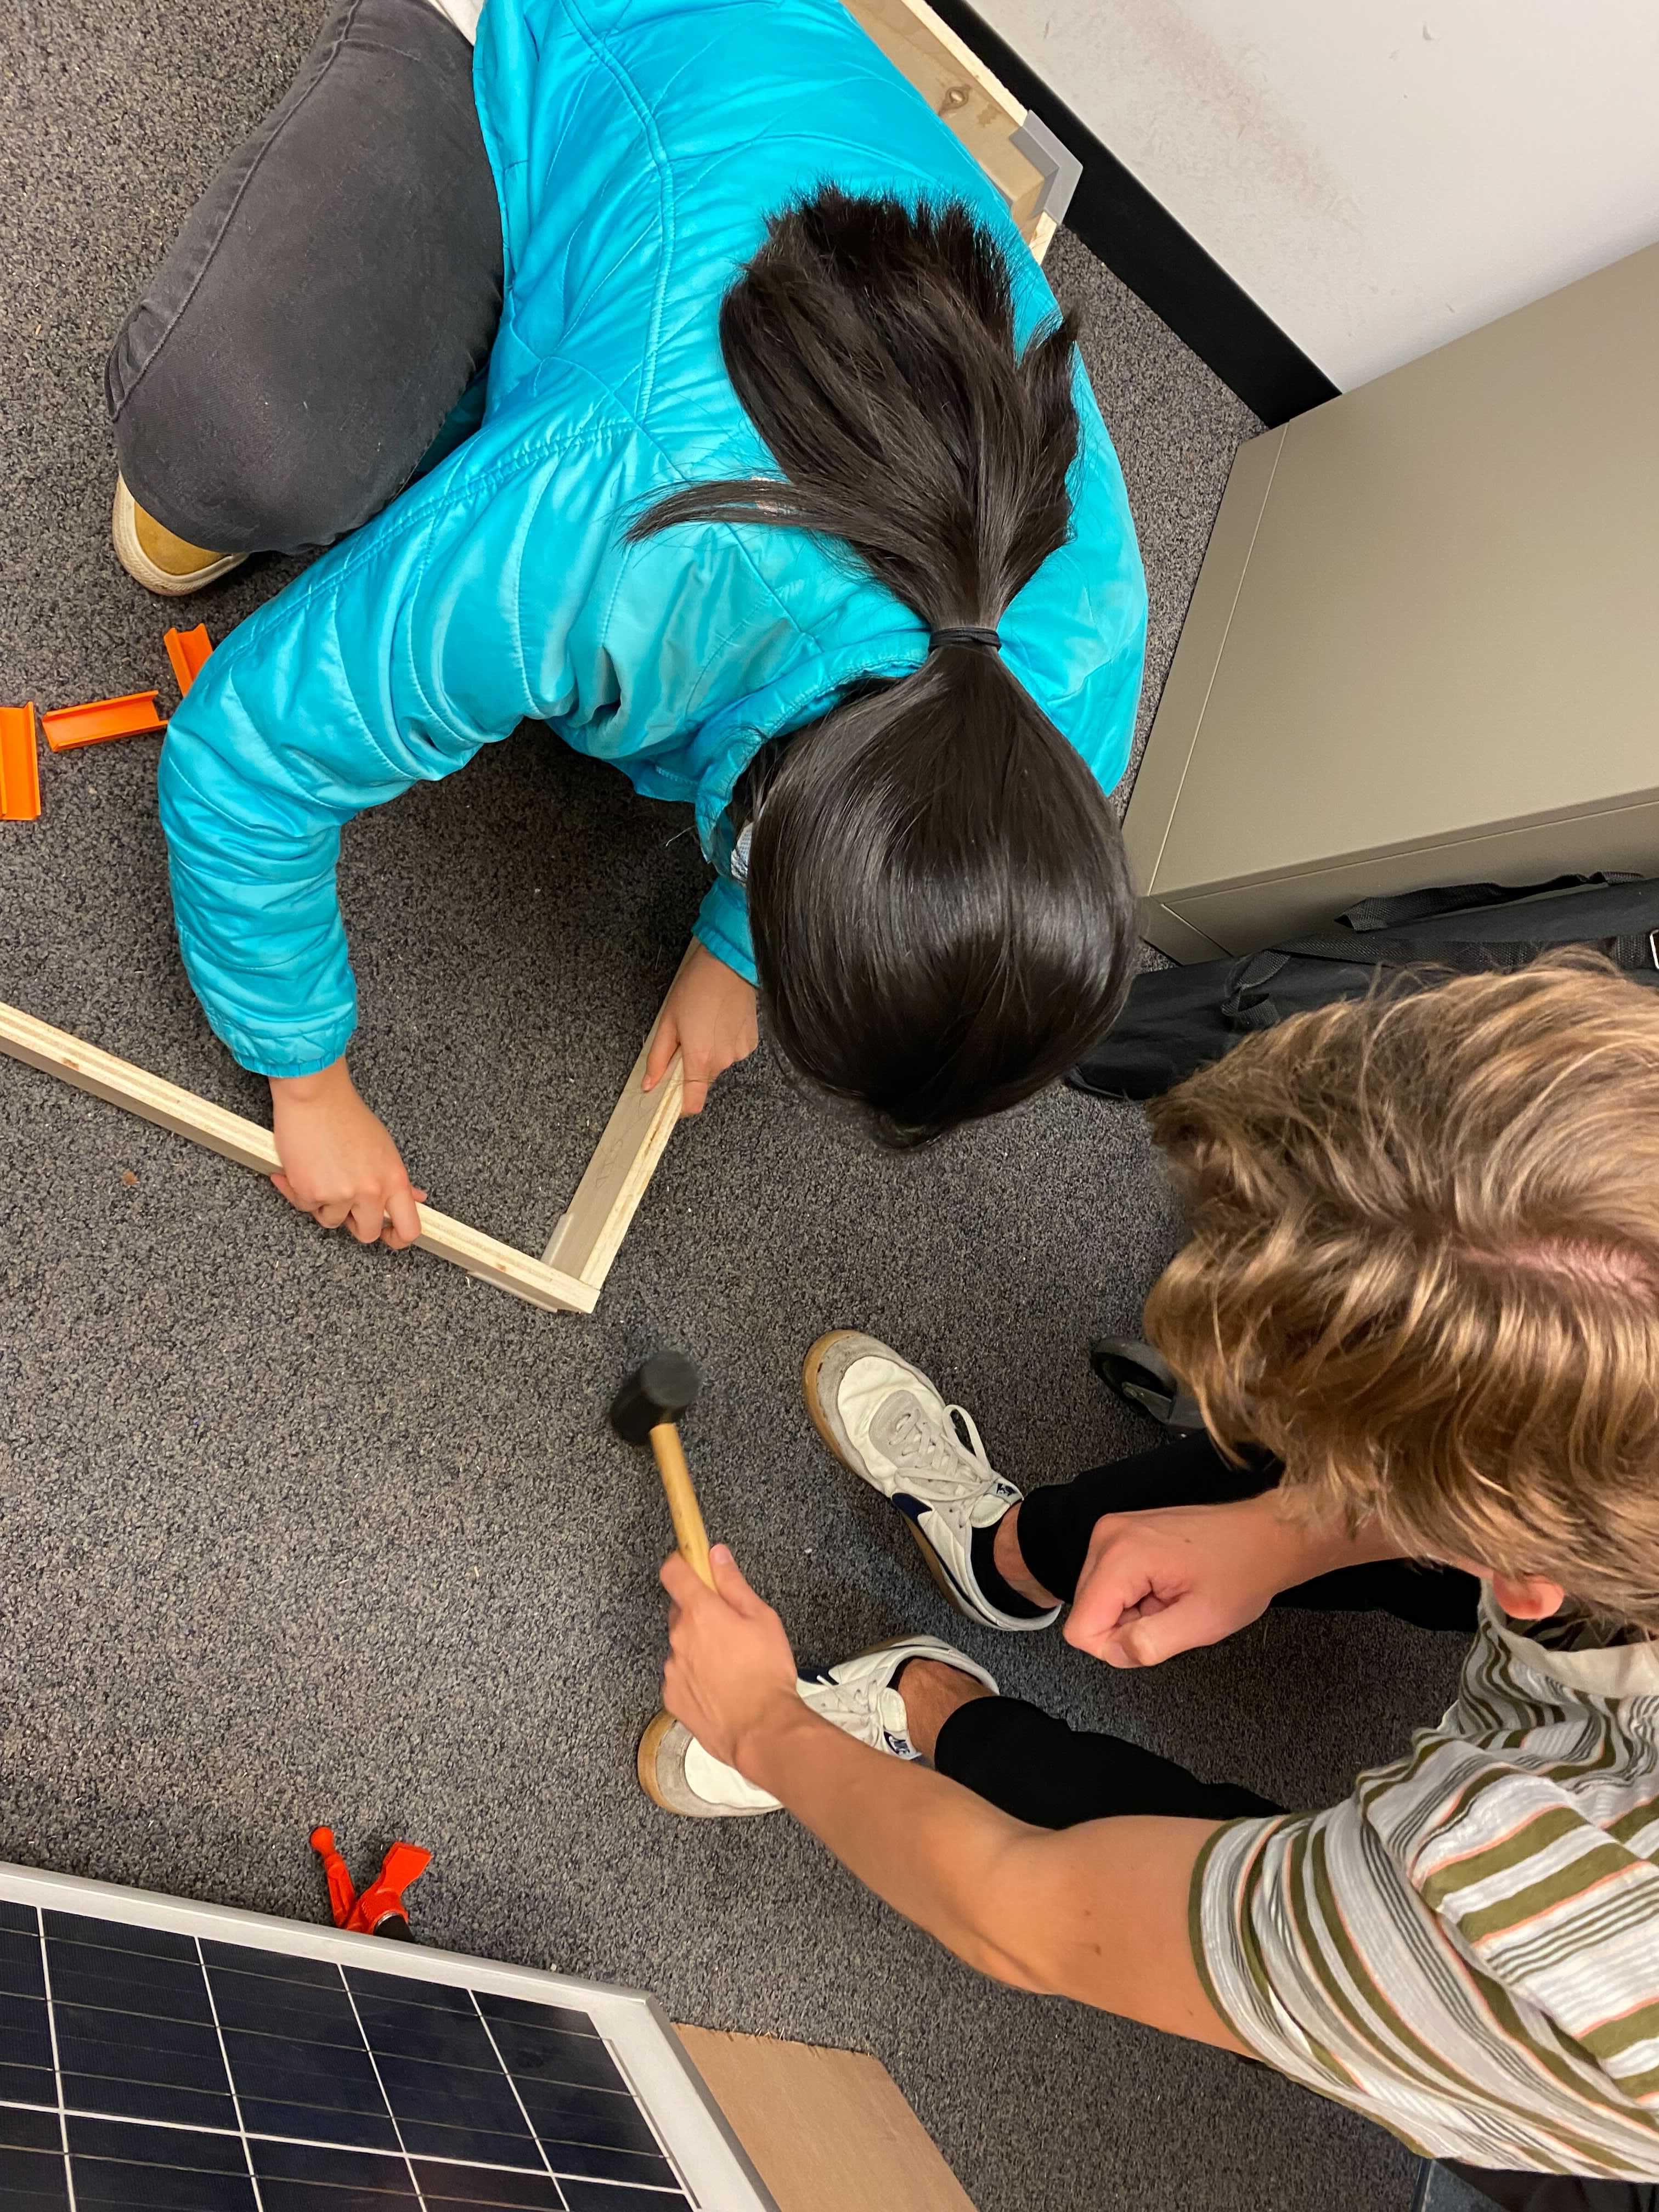
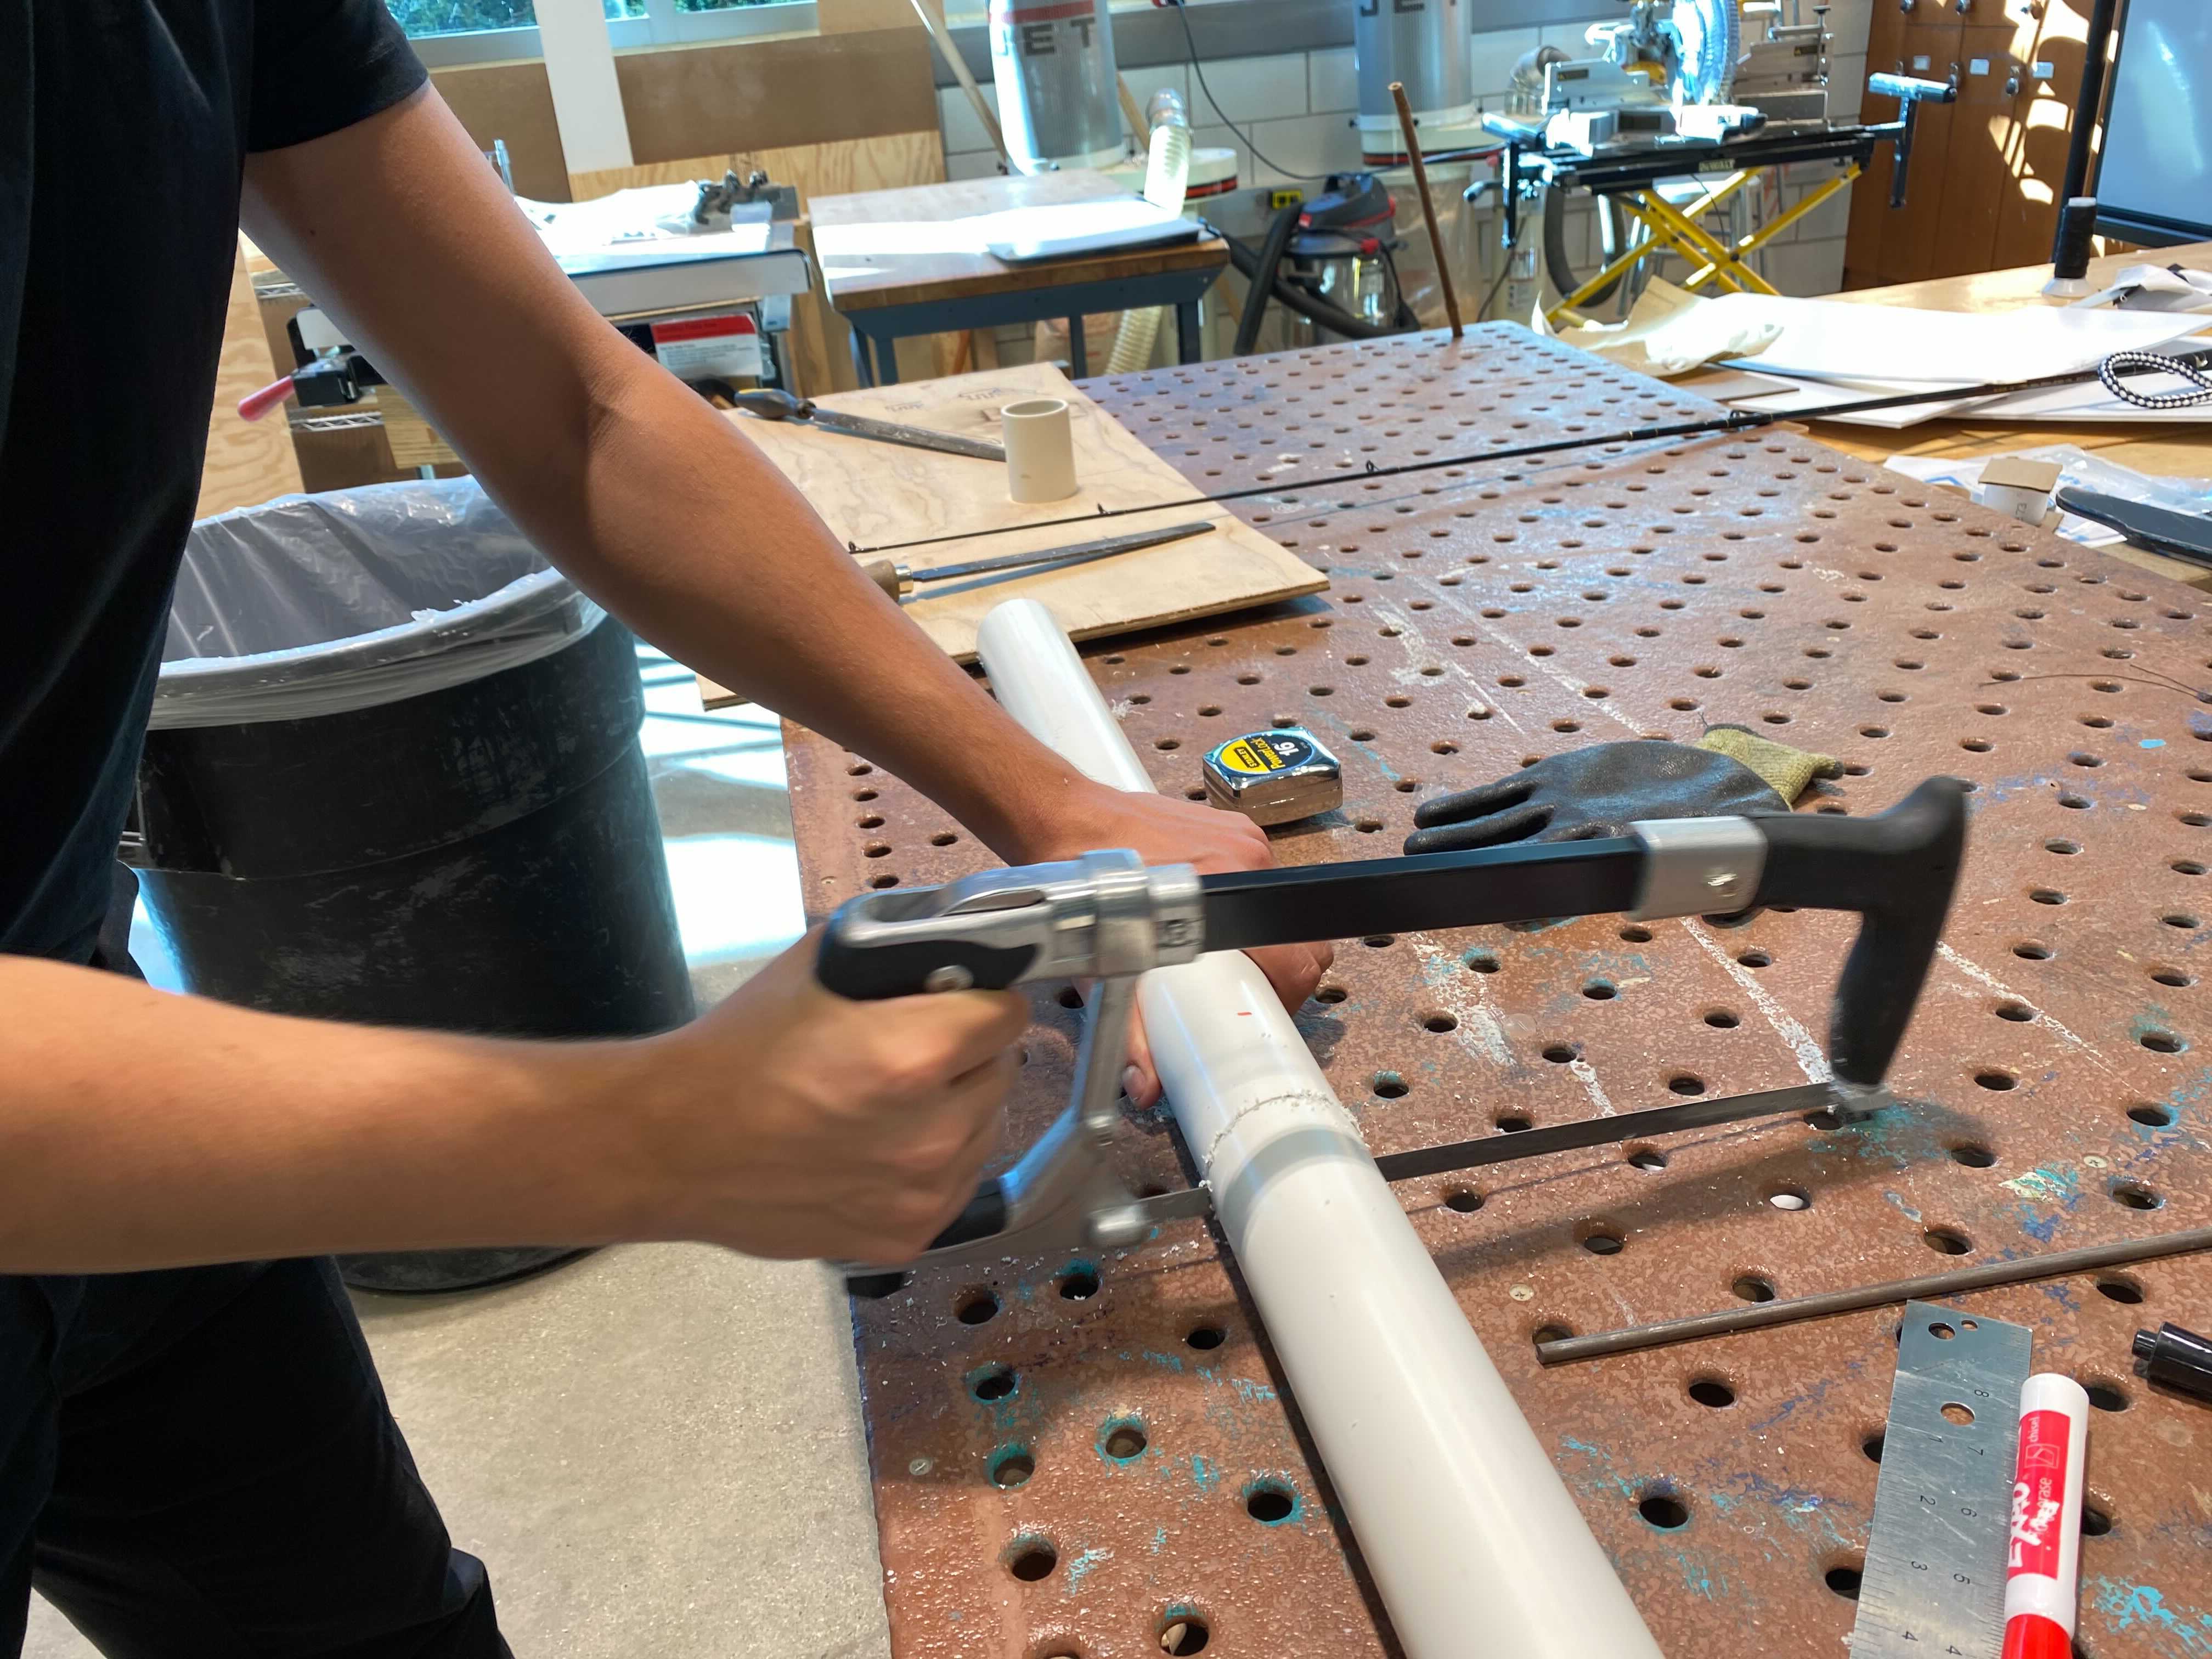
Cutting wood and drilling holes for new stand!

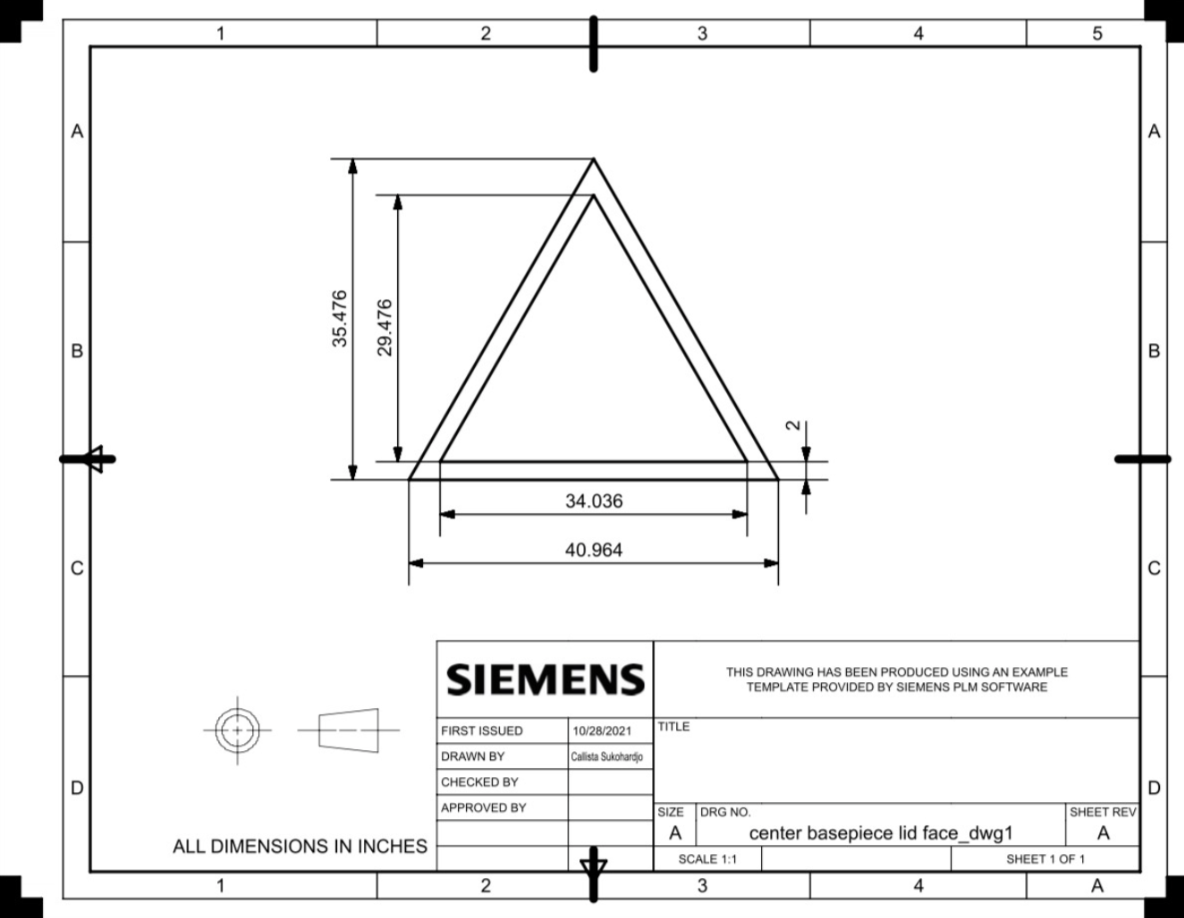
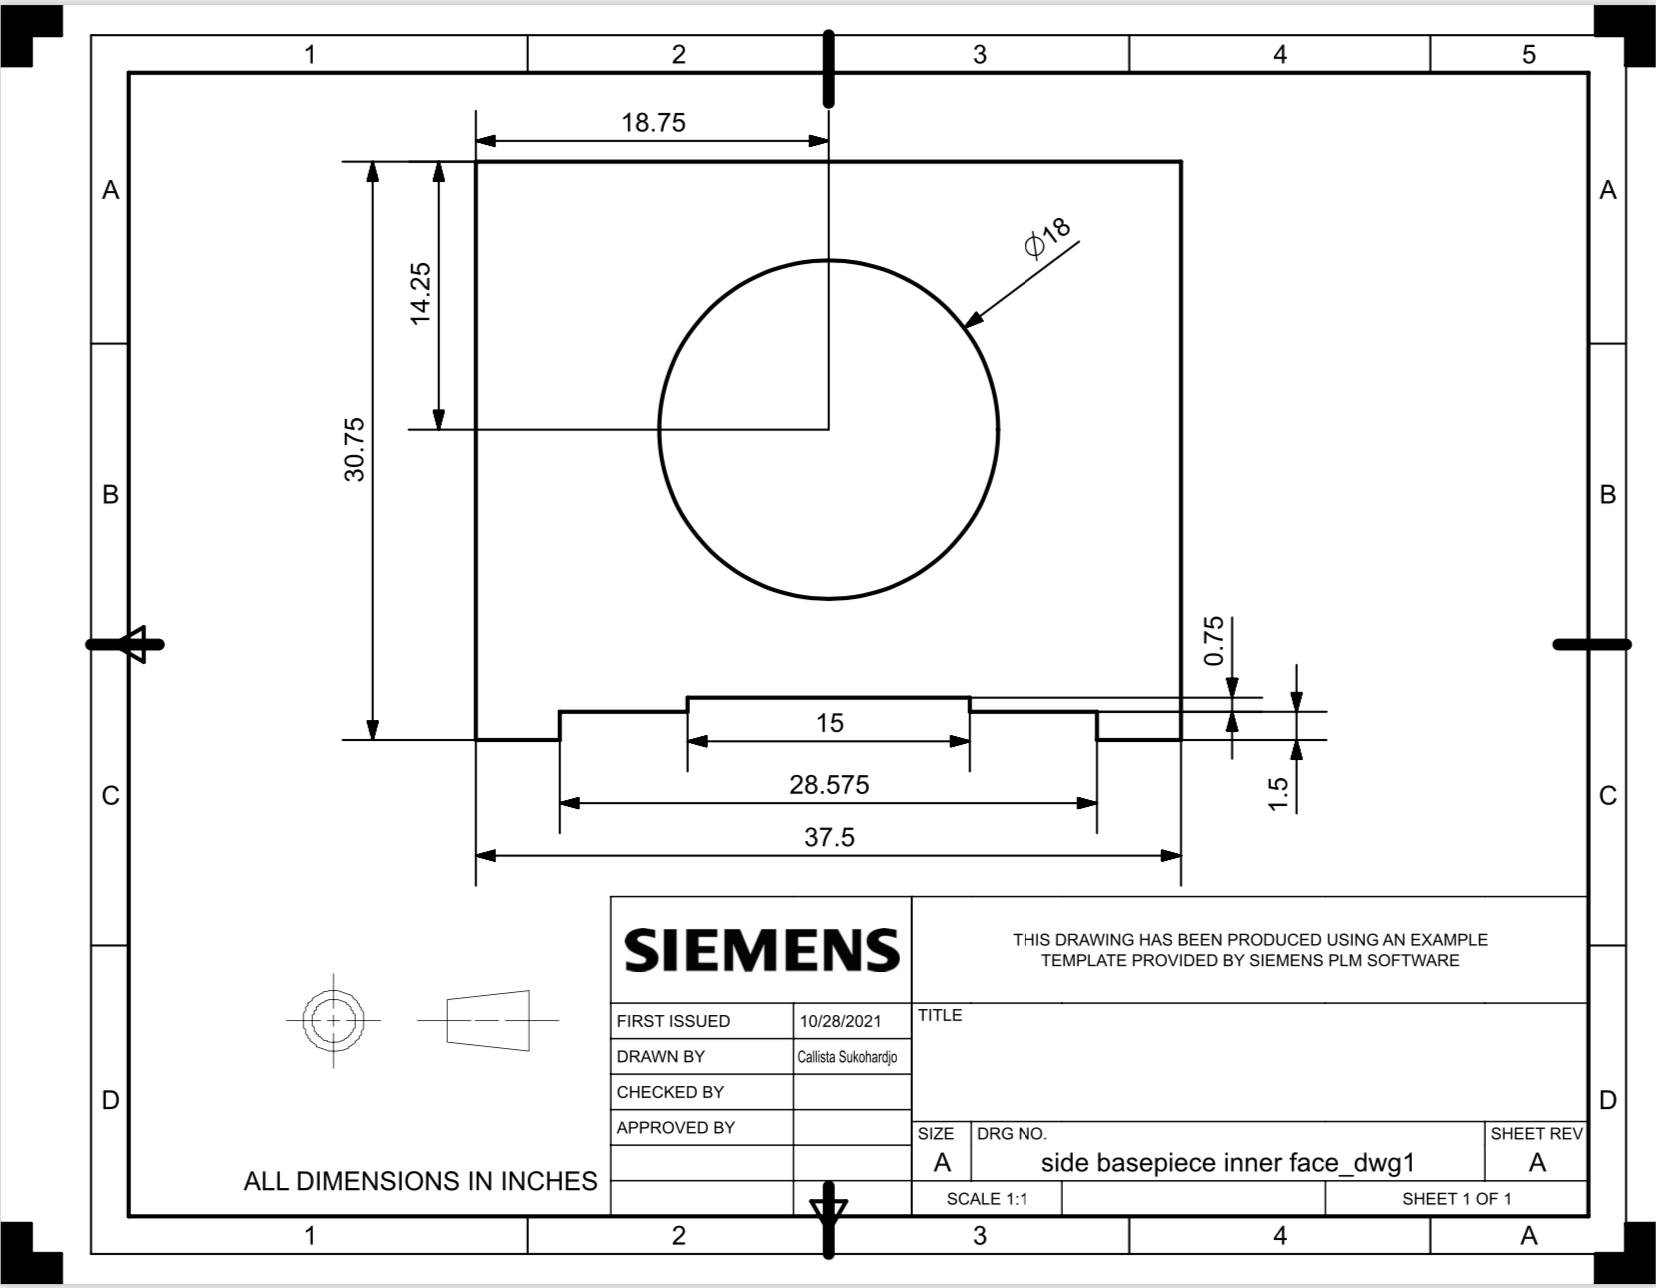
Spot our beautiful orthographic drawing on the bottom left corner of this picture :)

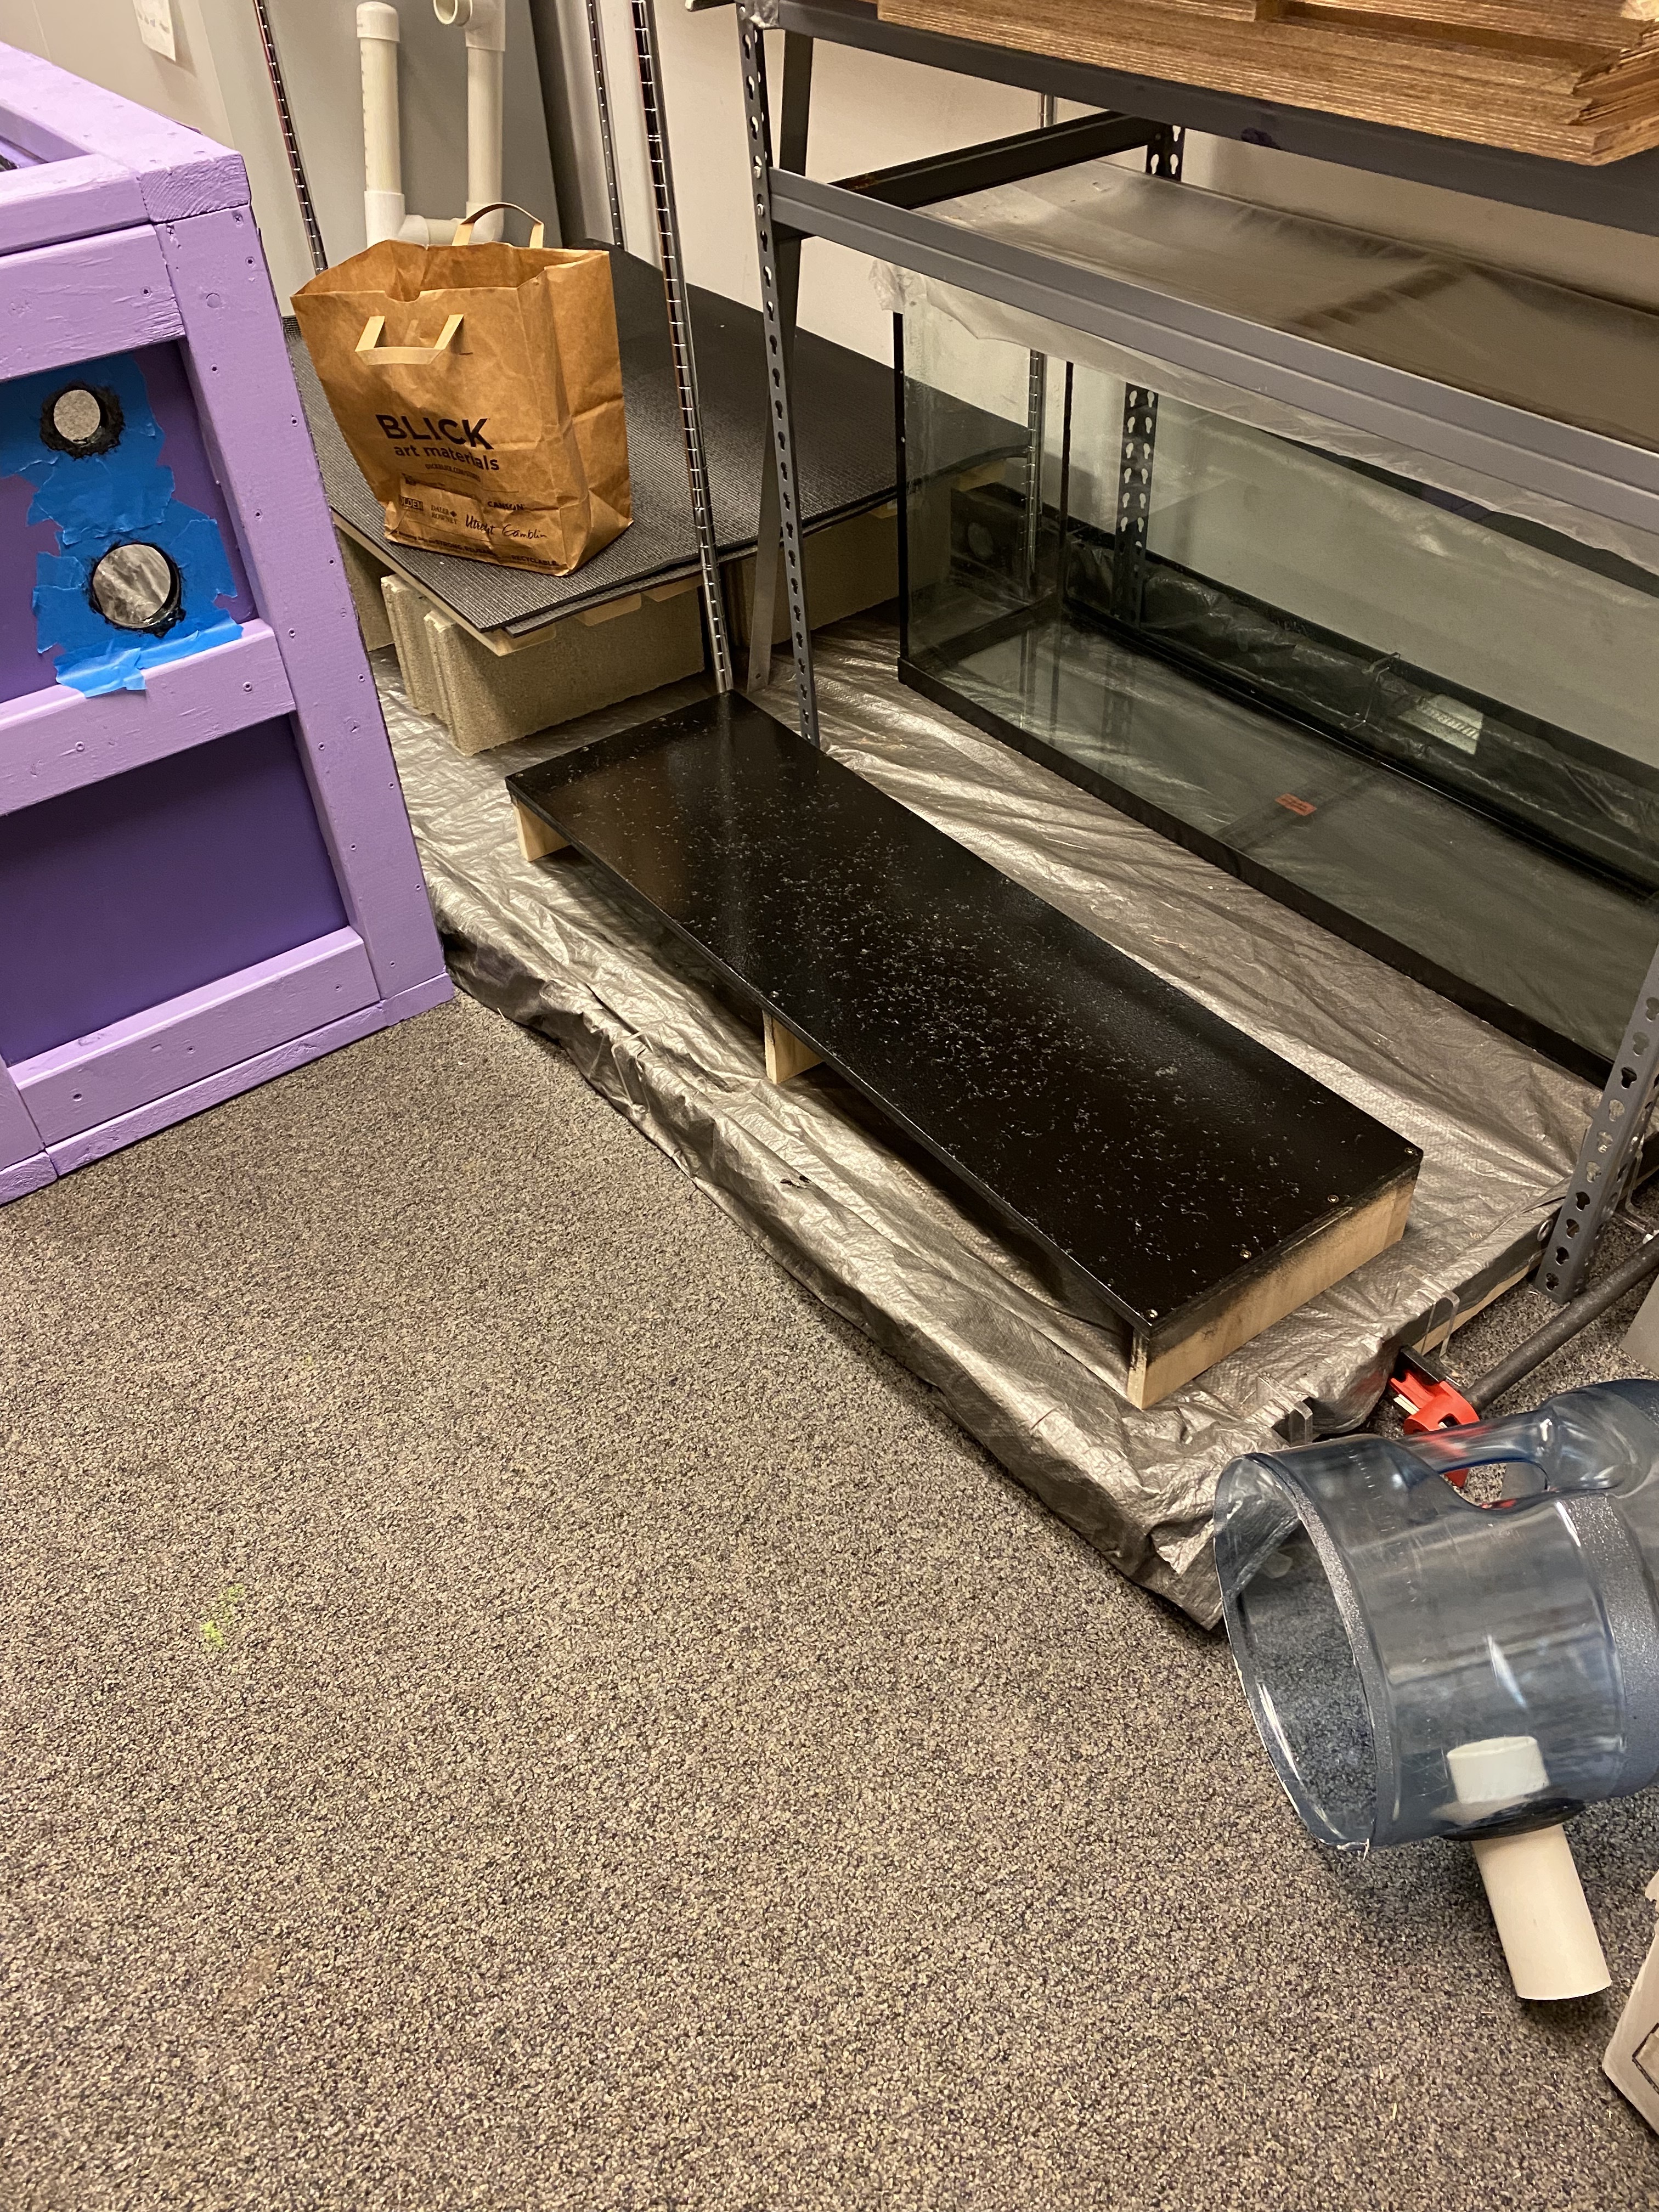
Coated with more epoxy and let it cure to make the stand waterproof:

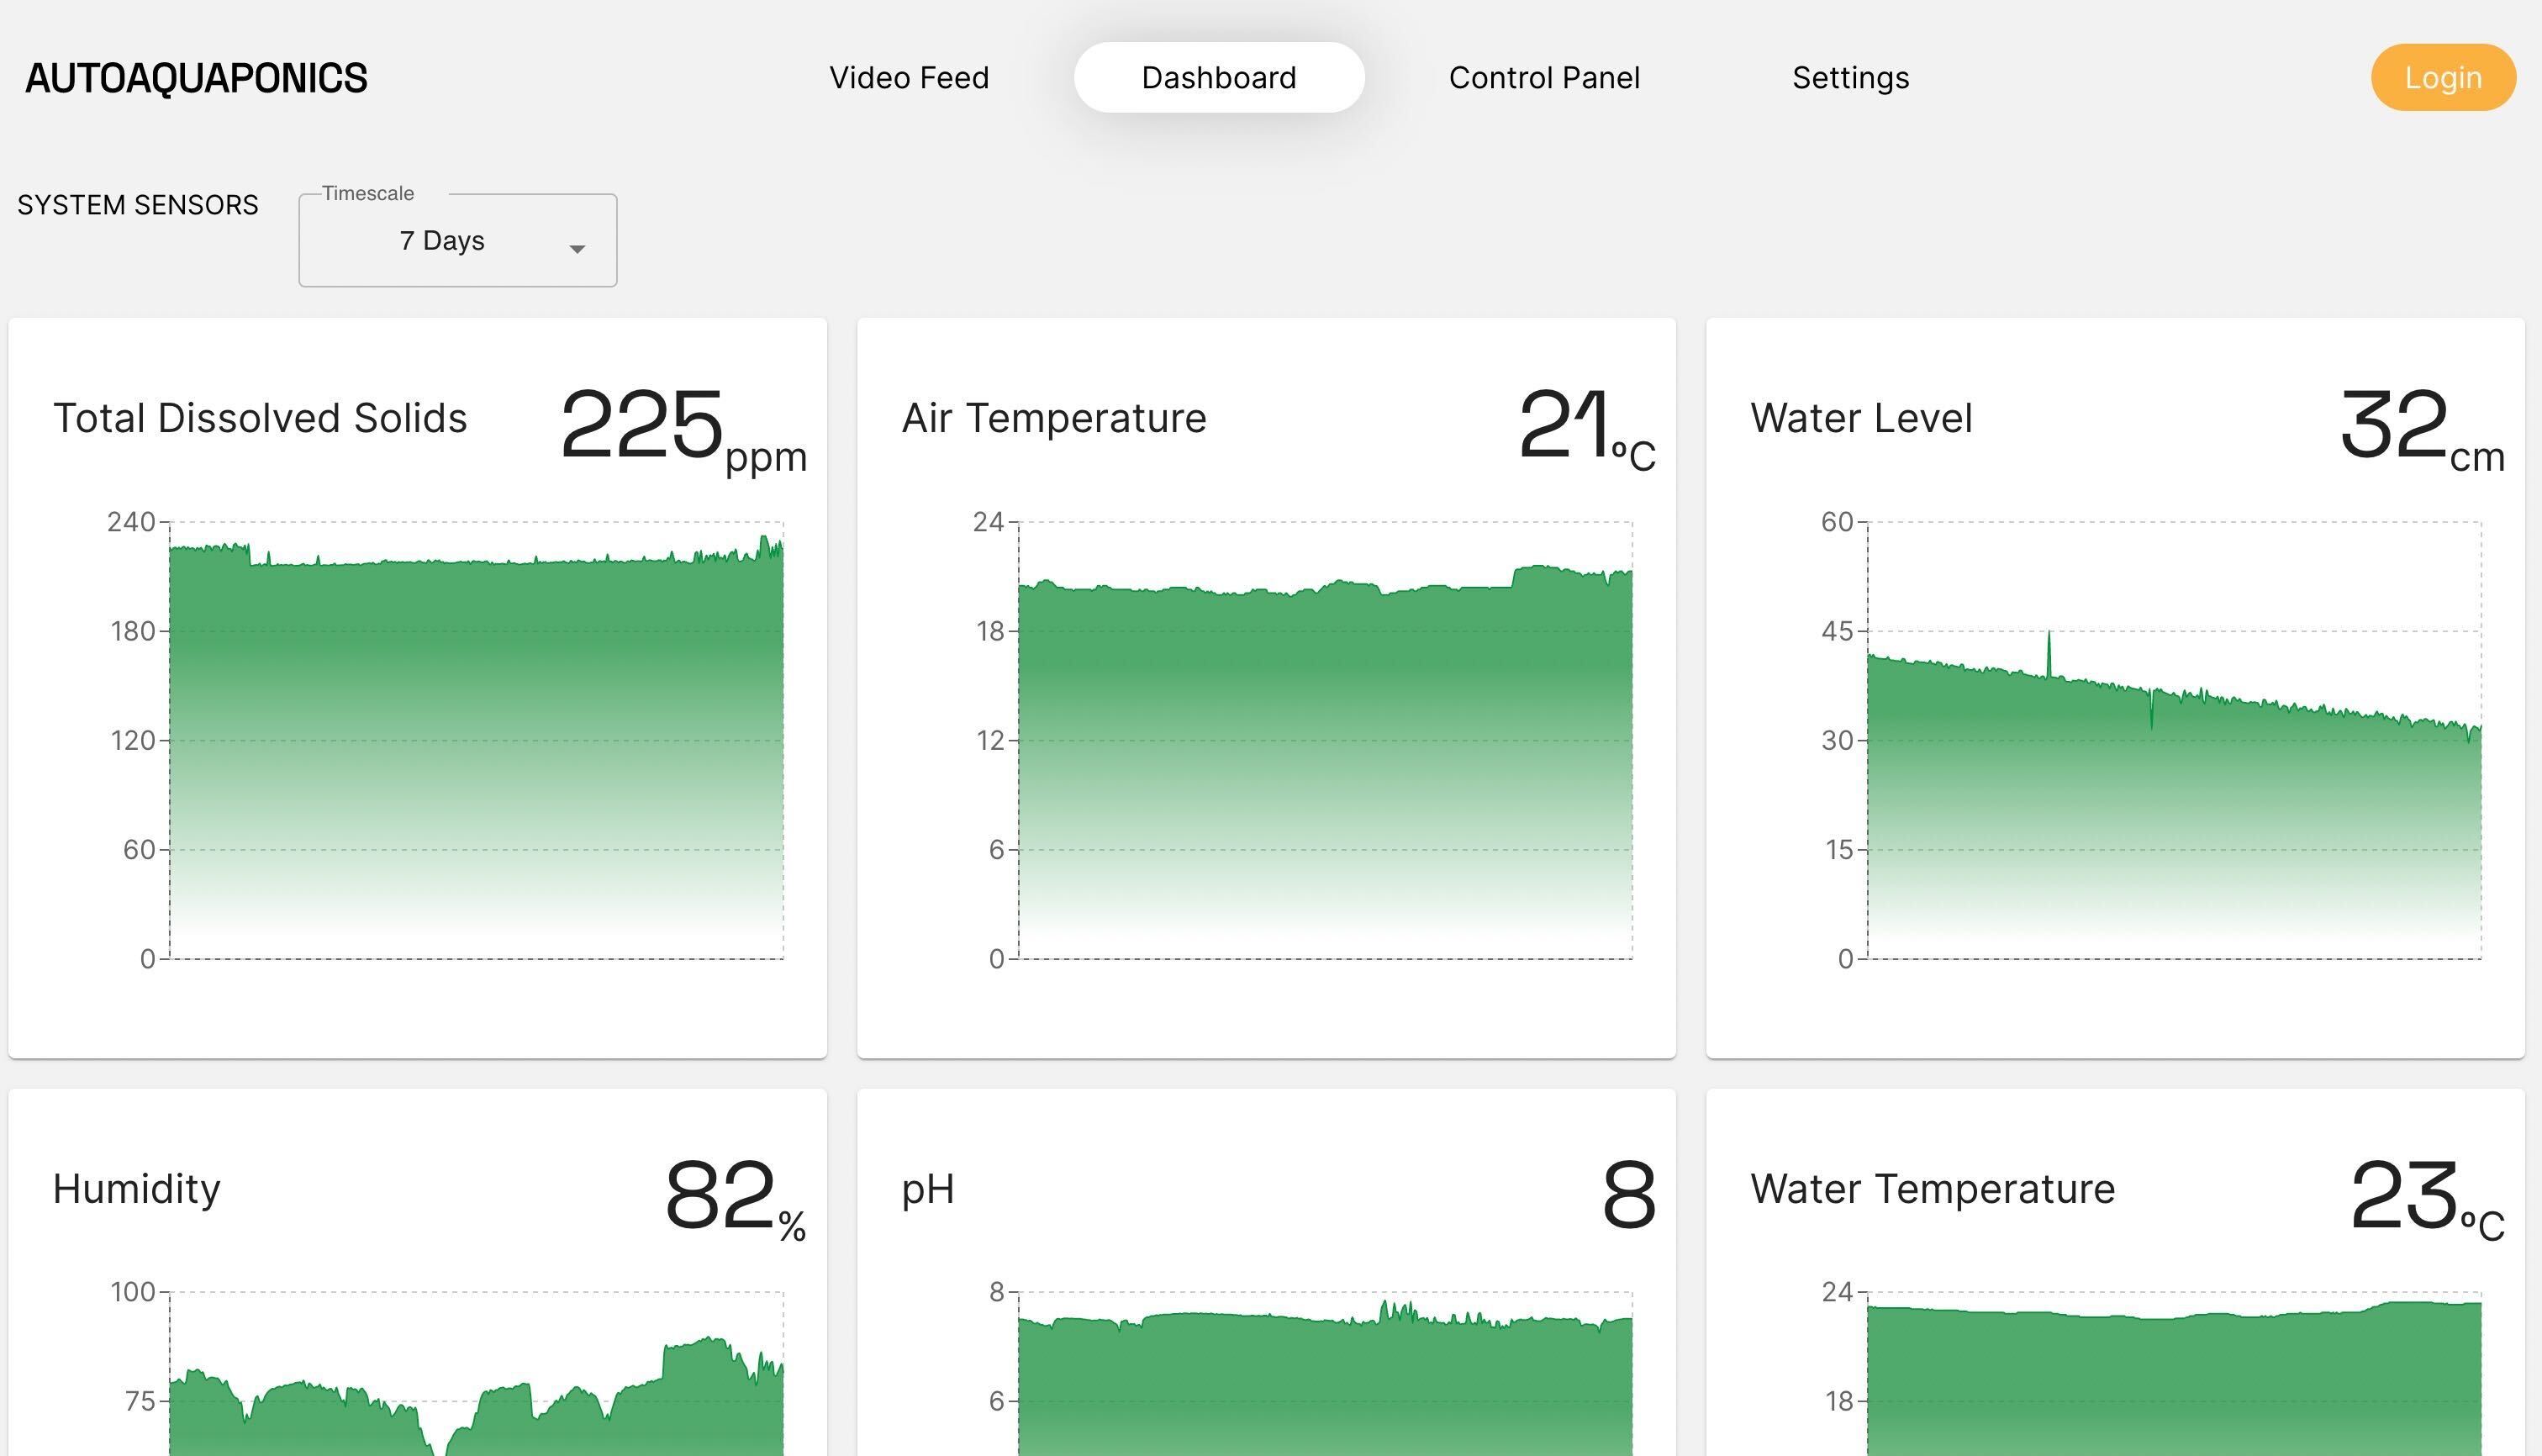
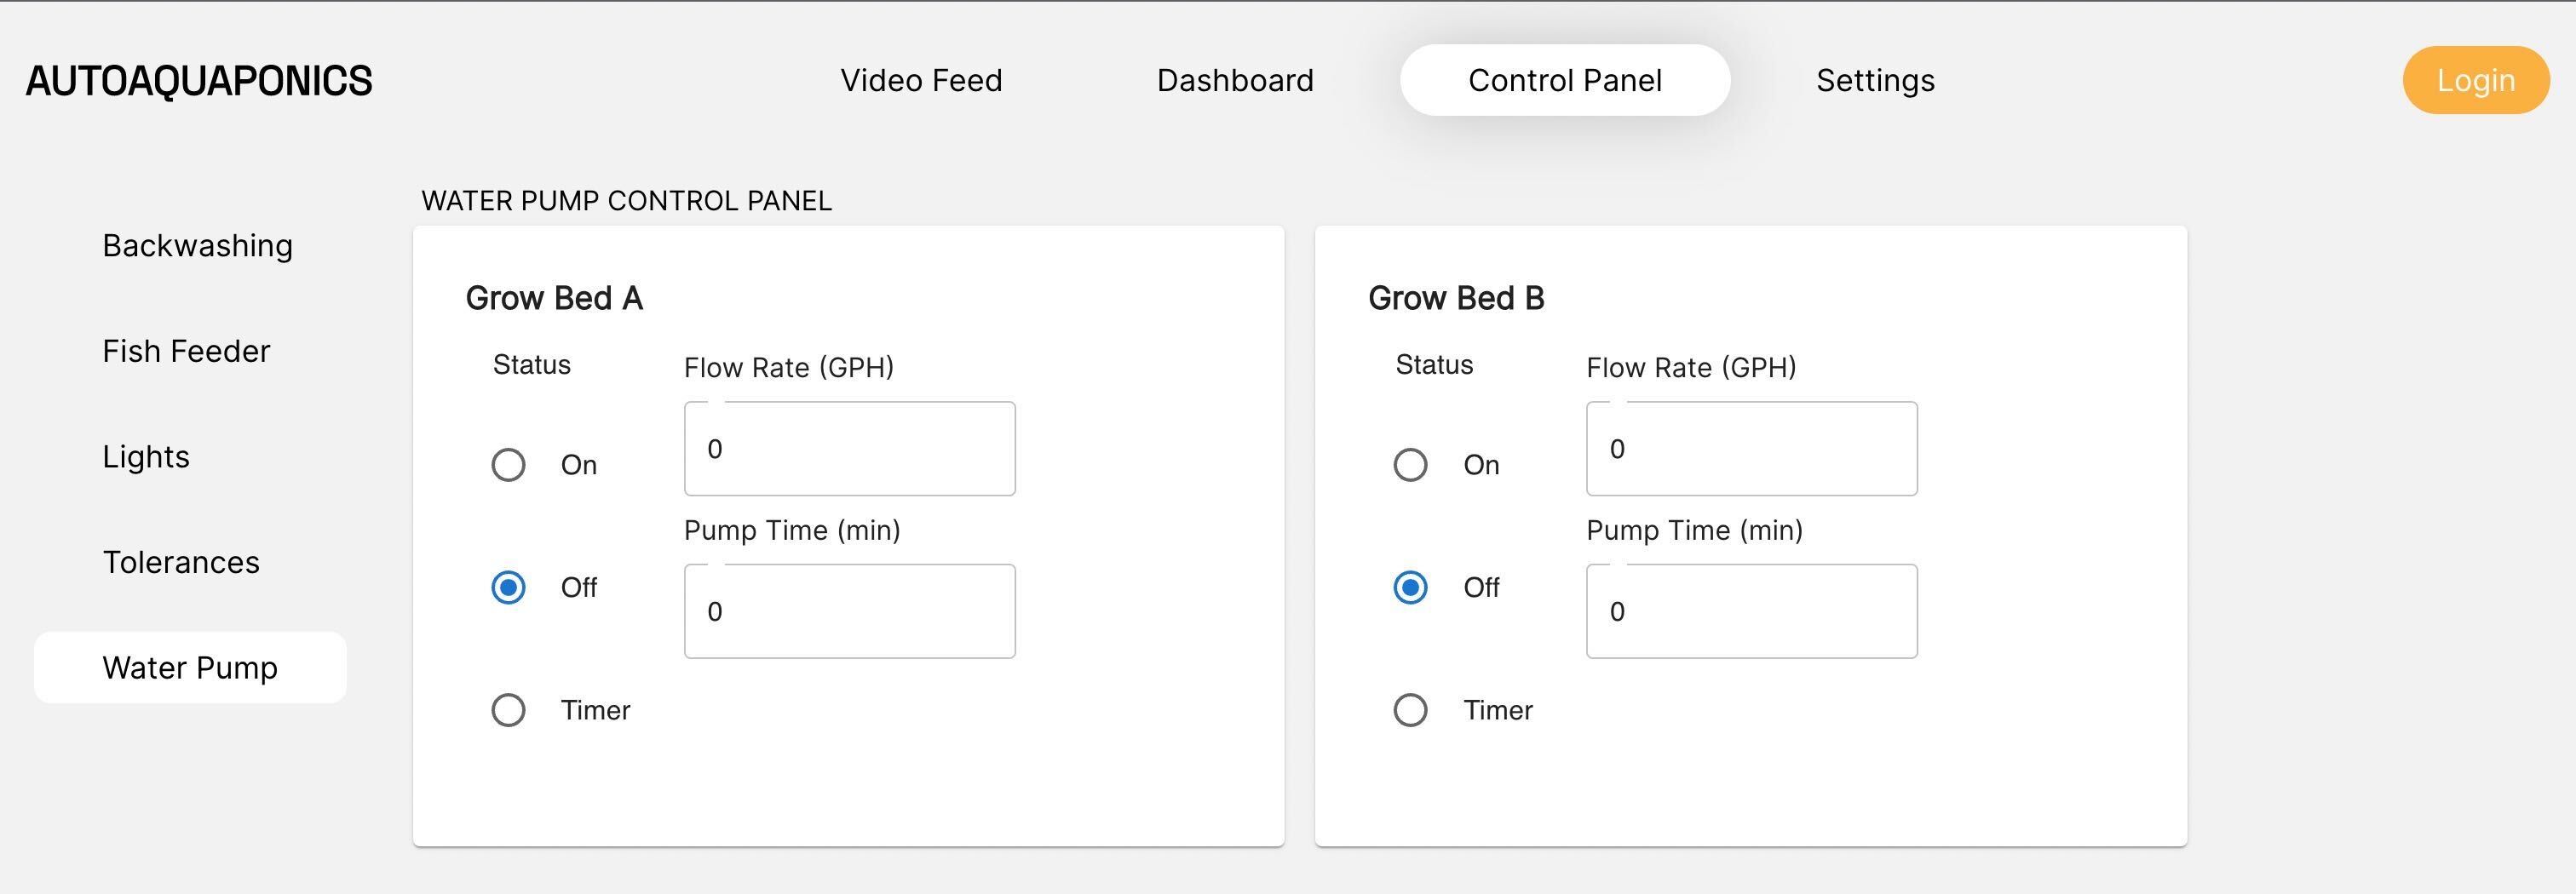
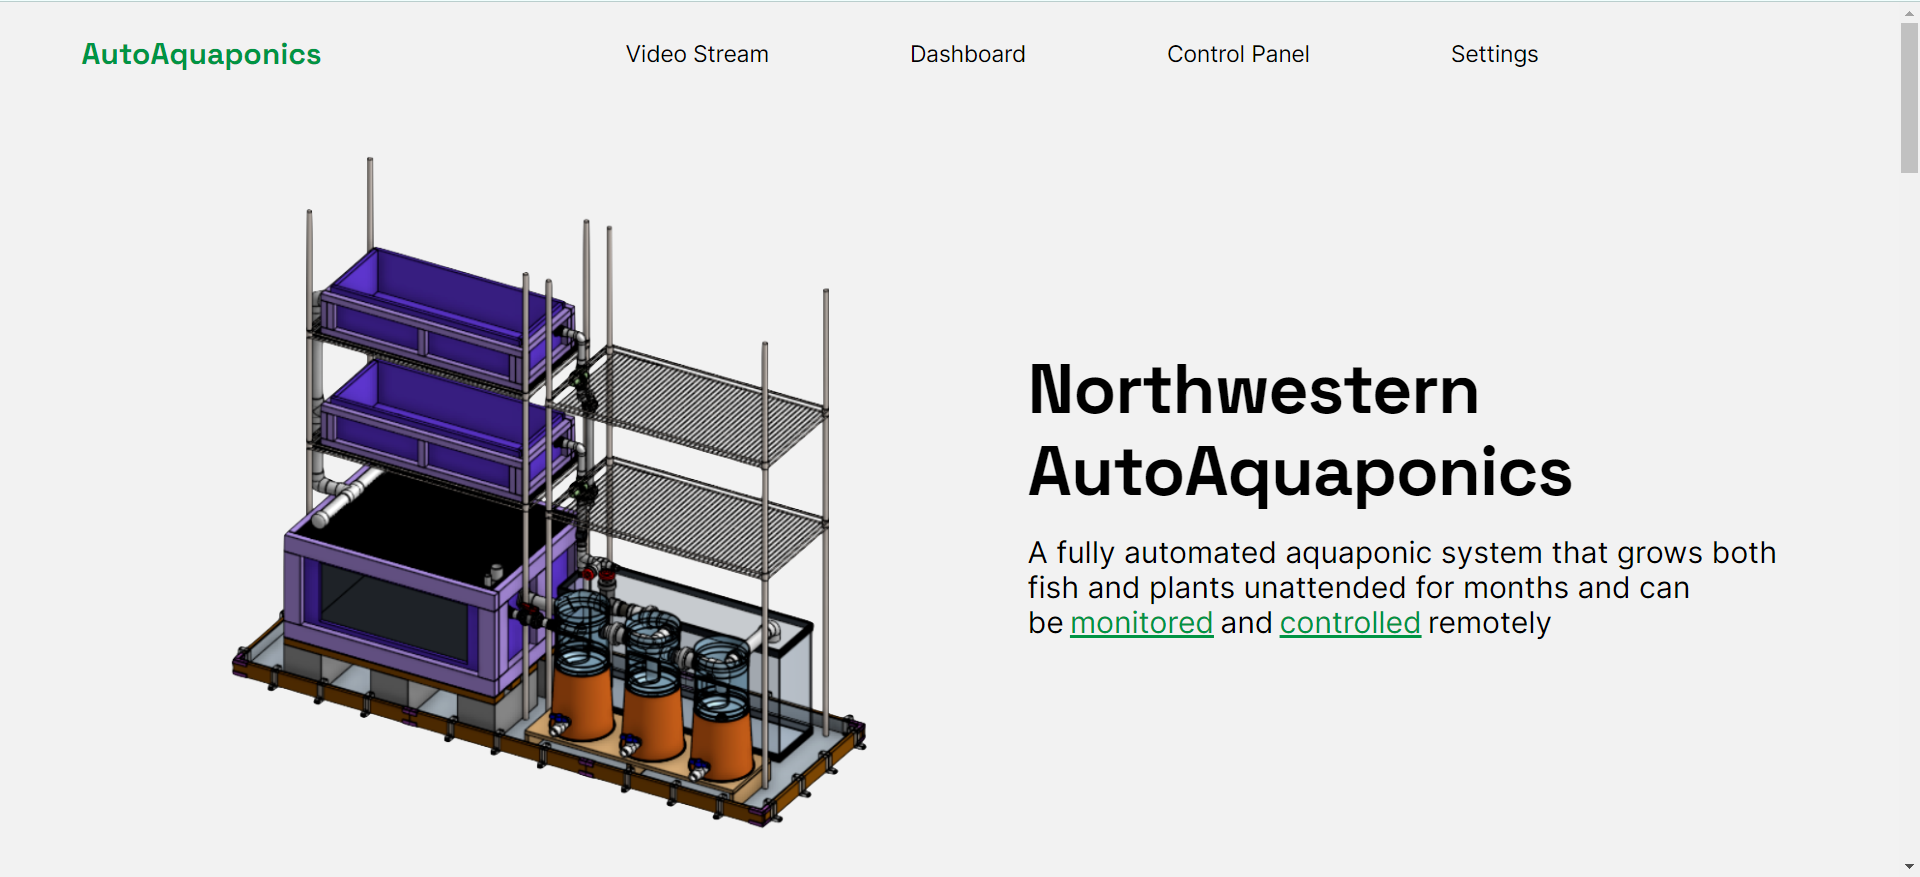
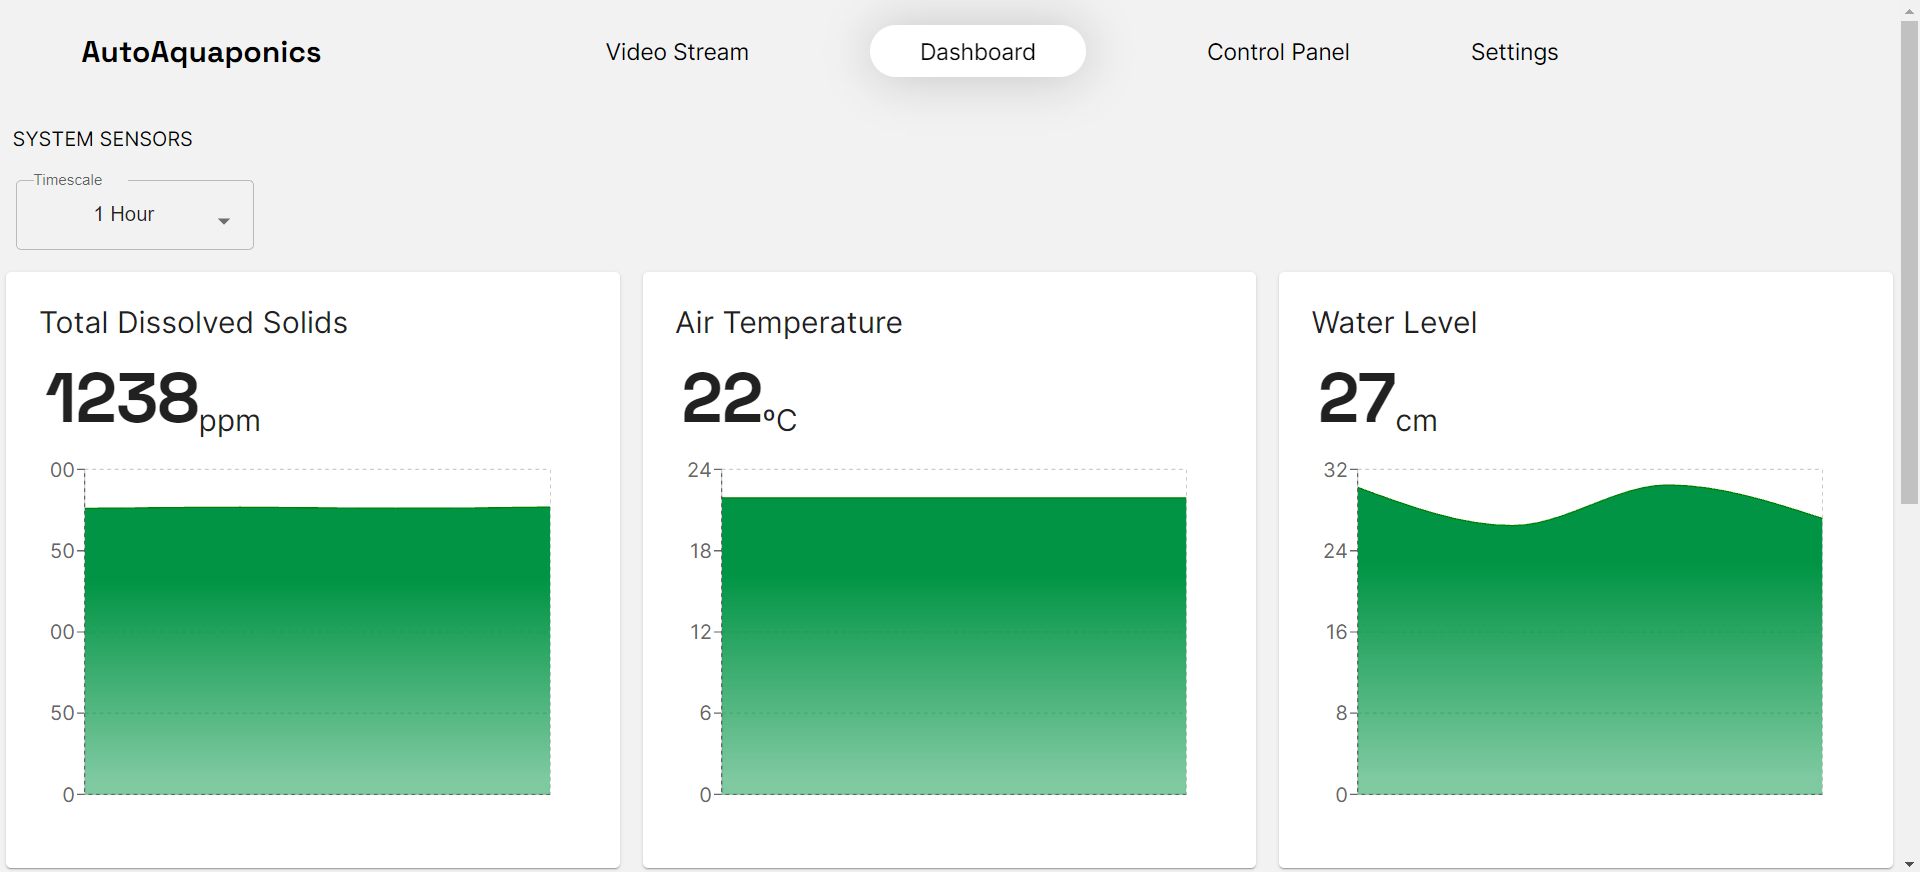
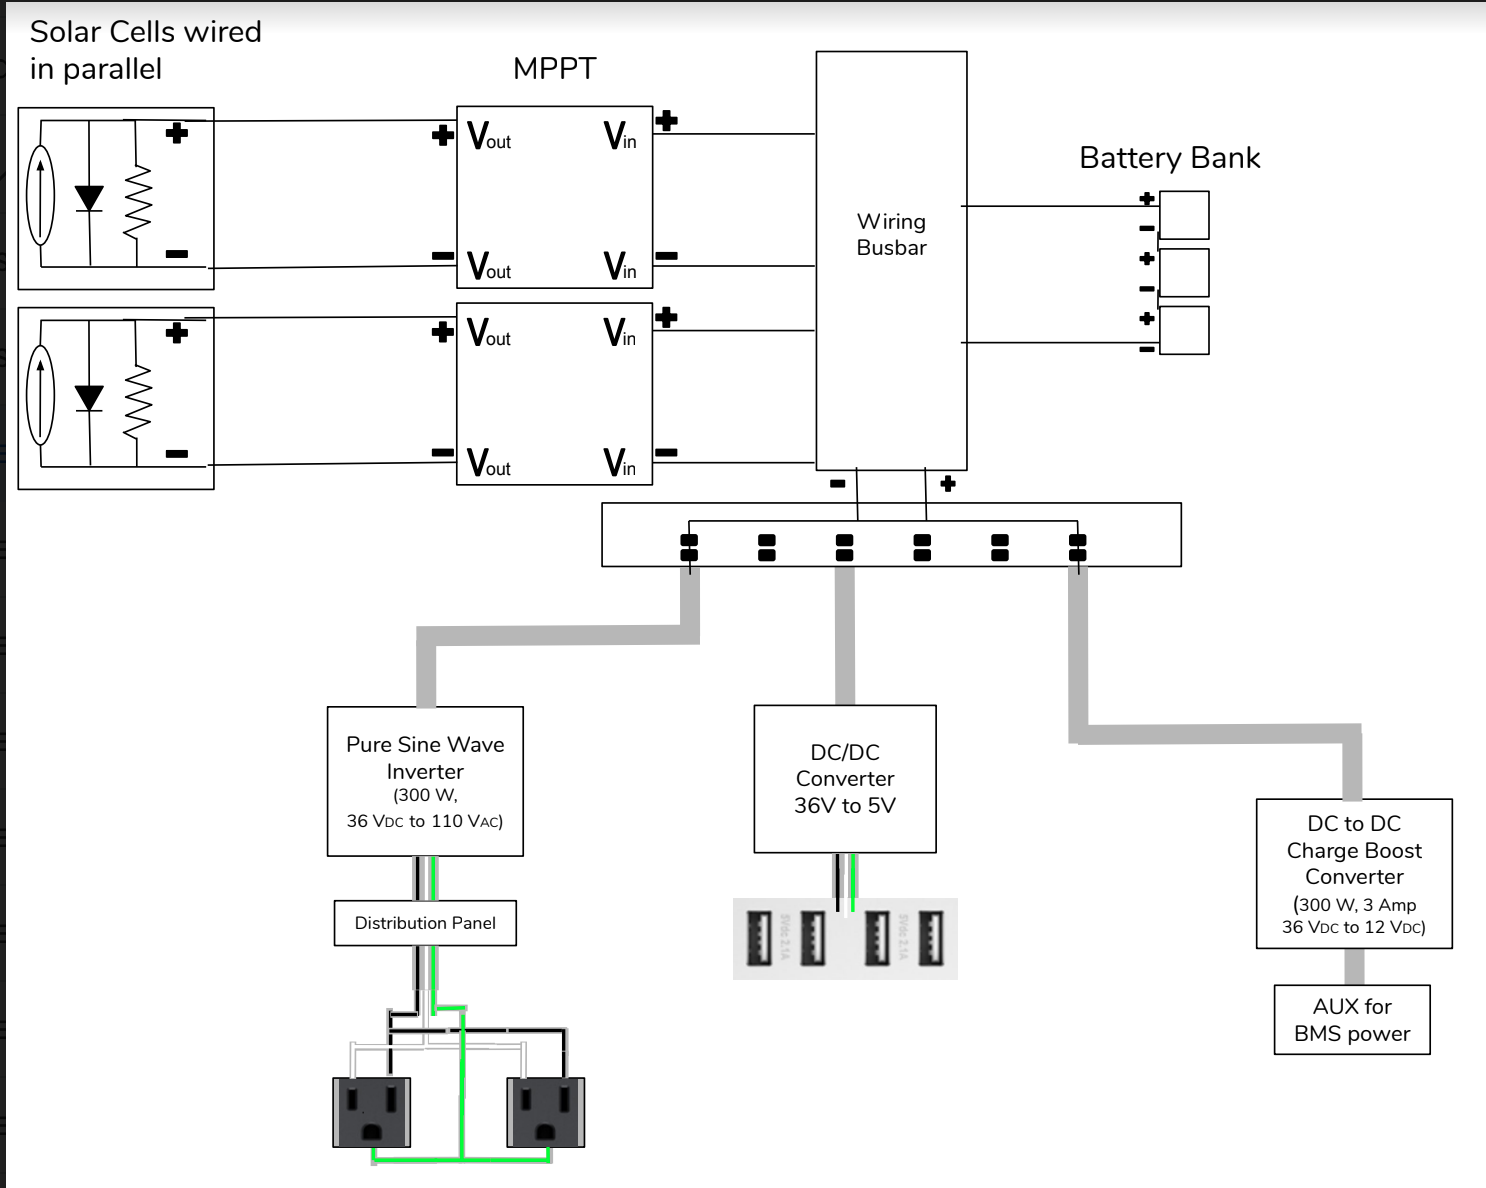
On the software and electronics side, we continued to make improvements on our control system. Right now we have our smart outlet box running numerous lights and motorized ball valves on timers to automate the flood/drain and lighting cycles. However, we currently cannot toggle these settings from our GUI, so our electronics team members are continuing to build the version of our software that will allow us to toggle our devices and adjust their timer settings through the GUI itself so that remote control can be possible. Because the front end of our Python GUI is mostly done, our software team is pivoting to creating AutoAquaponics 2.0, an exciting new version of our software that upgrades our graphical user interface from a Python application to a full-fledged website! With AutoAquaponics 2.0, anyone would be able to log onto our website with their Google accounts and check out how AutoAquaponics is doing at Northwestern by seeing our live sensor plots and live stream video. Members who have advanced access associated with their Google accounts would also be able to adjust system parameters on our website and see that change happen in real time. The biggest benefit this shift from a local Python GUI to a website has would be offloading the GUI processing task from our little Raspberry Pi to the cloud, which will drastically improve system performance. It would also allow for more flexible layouts and new exciting features, so stay tuned for more as we continue to work on this next iteration of our software!

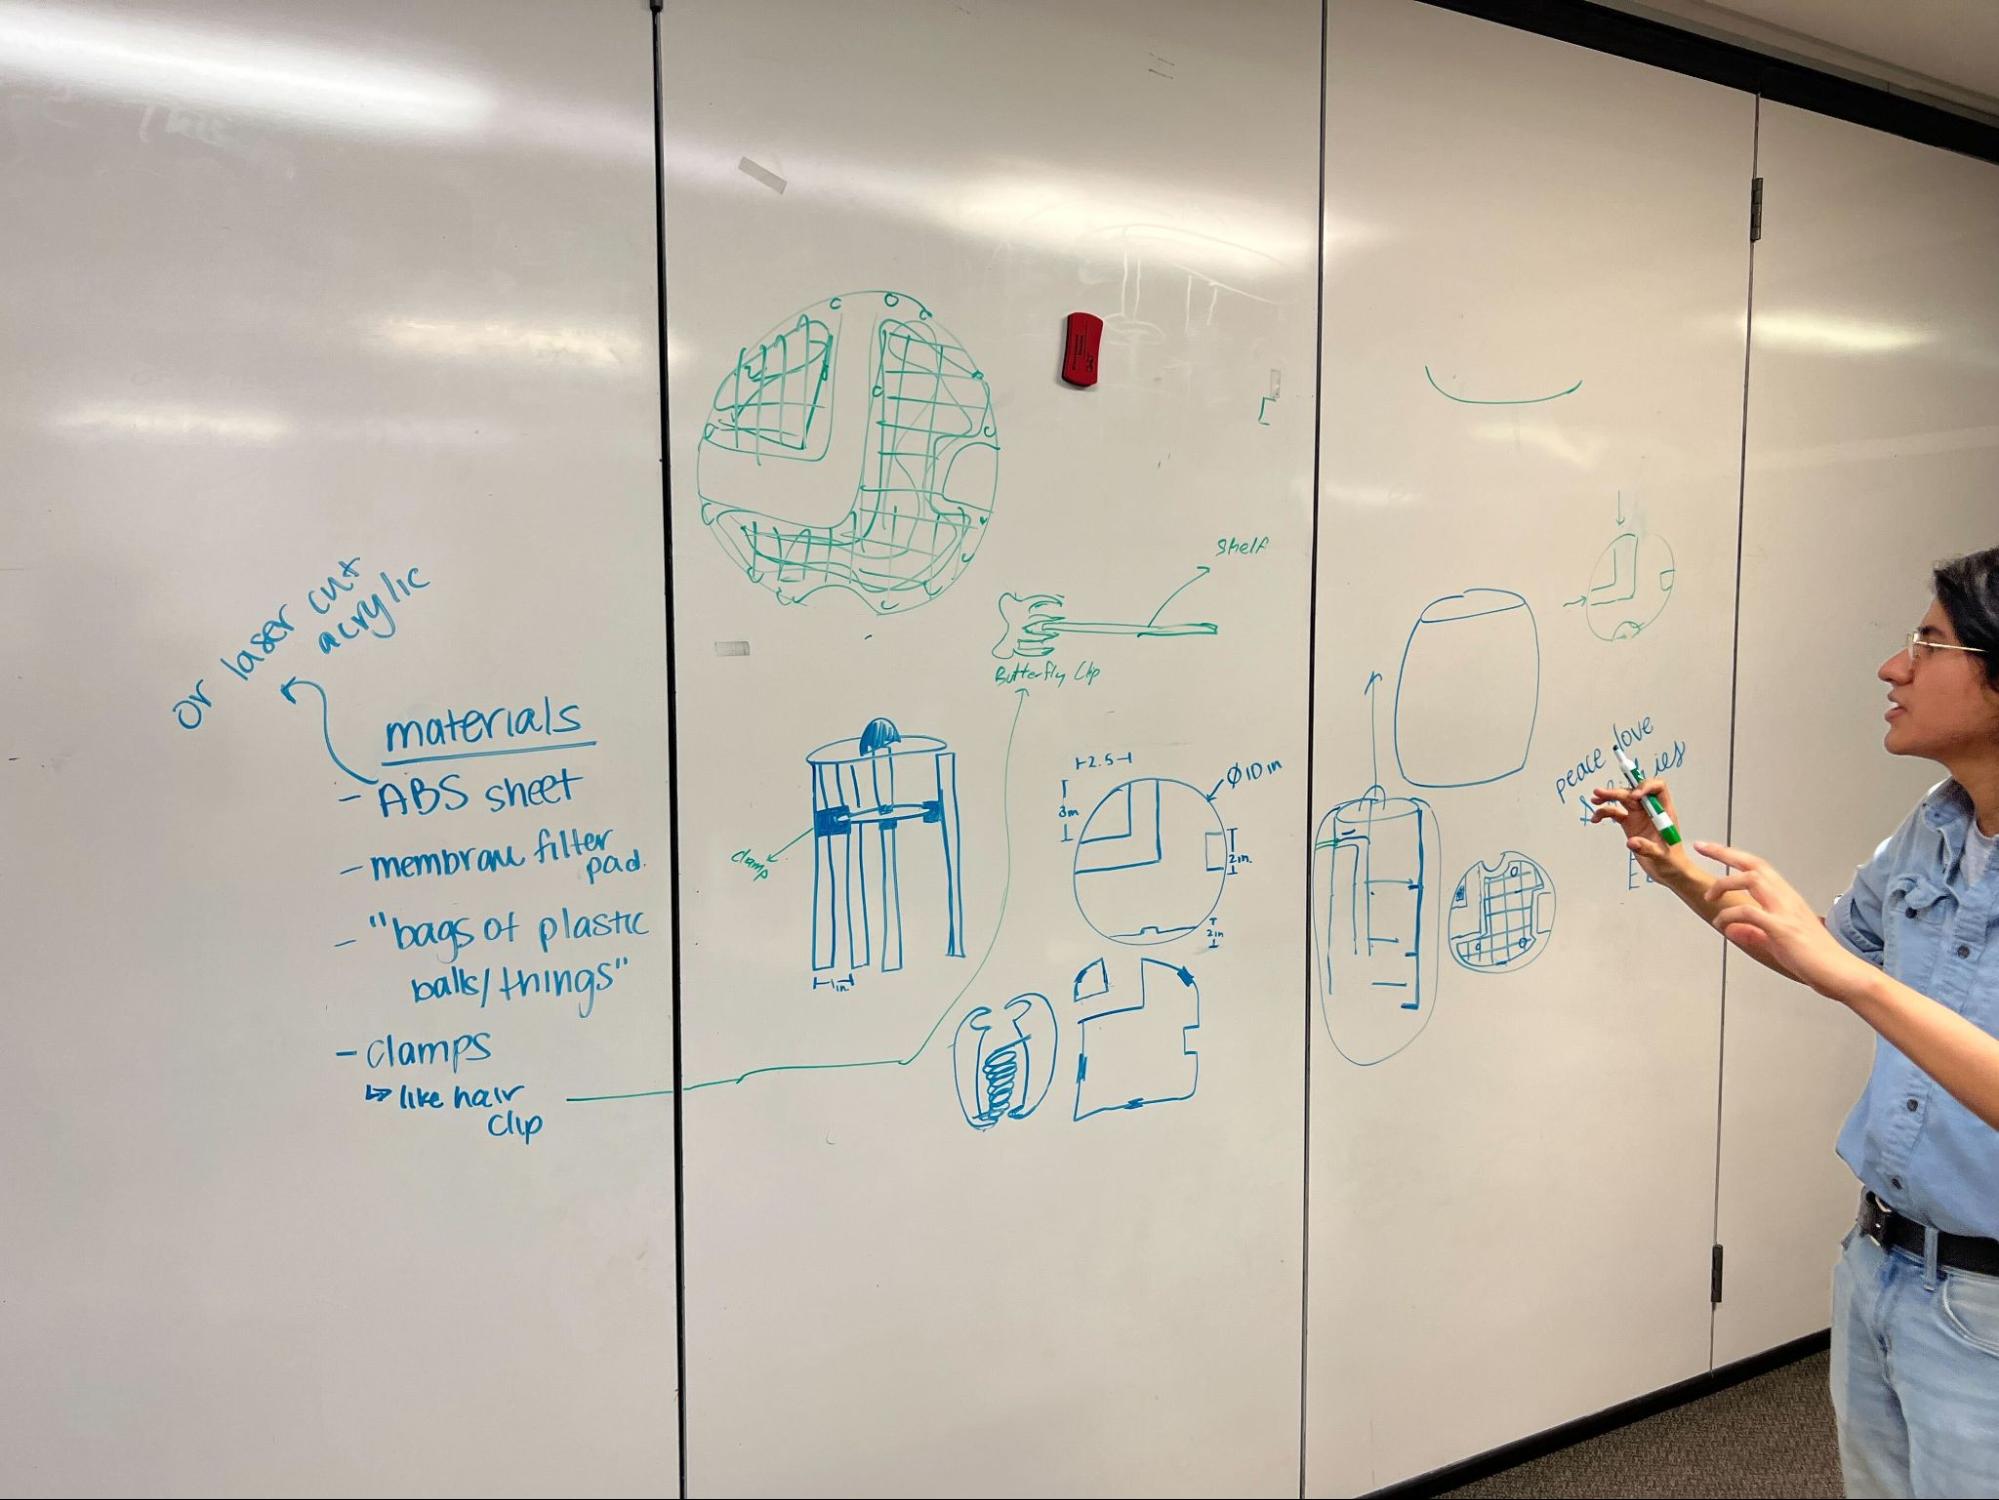
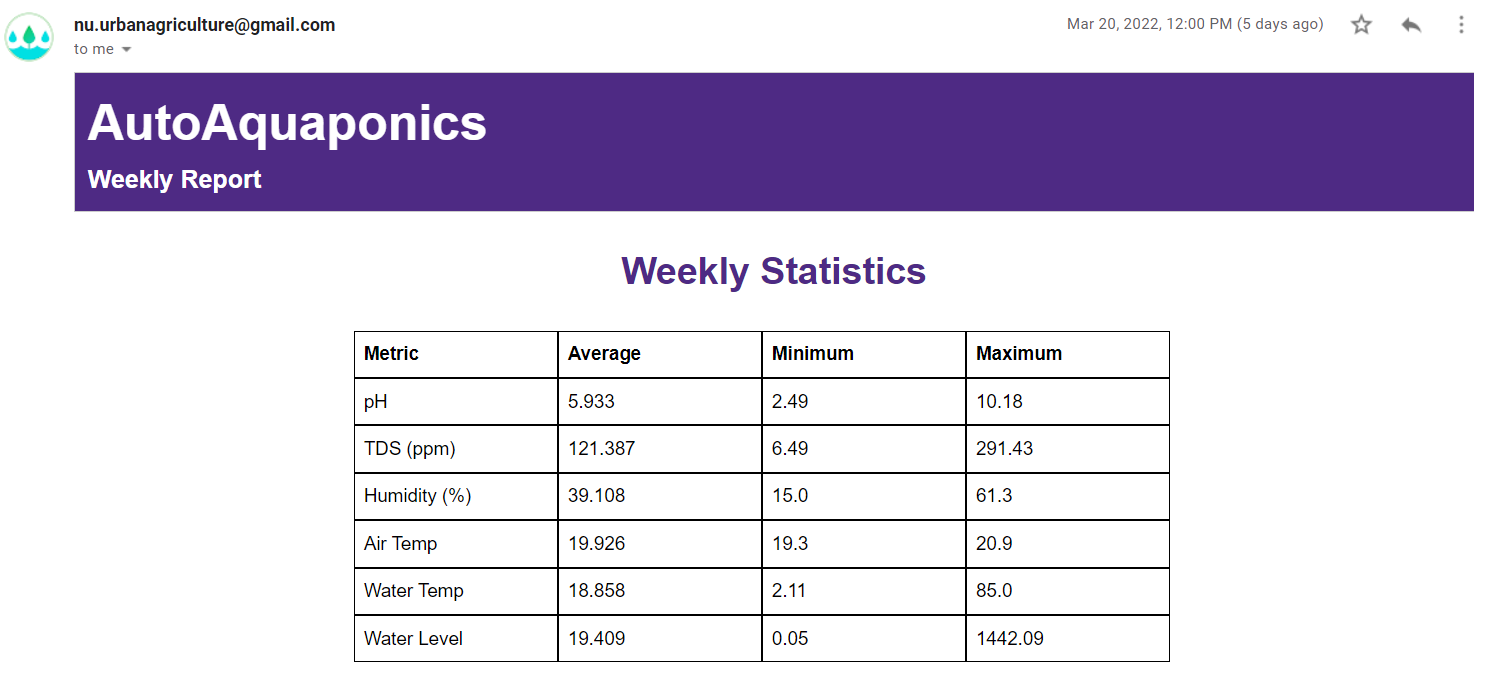
Sneak peek to what 2.0 will look like:

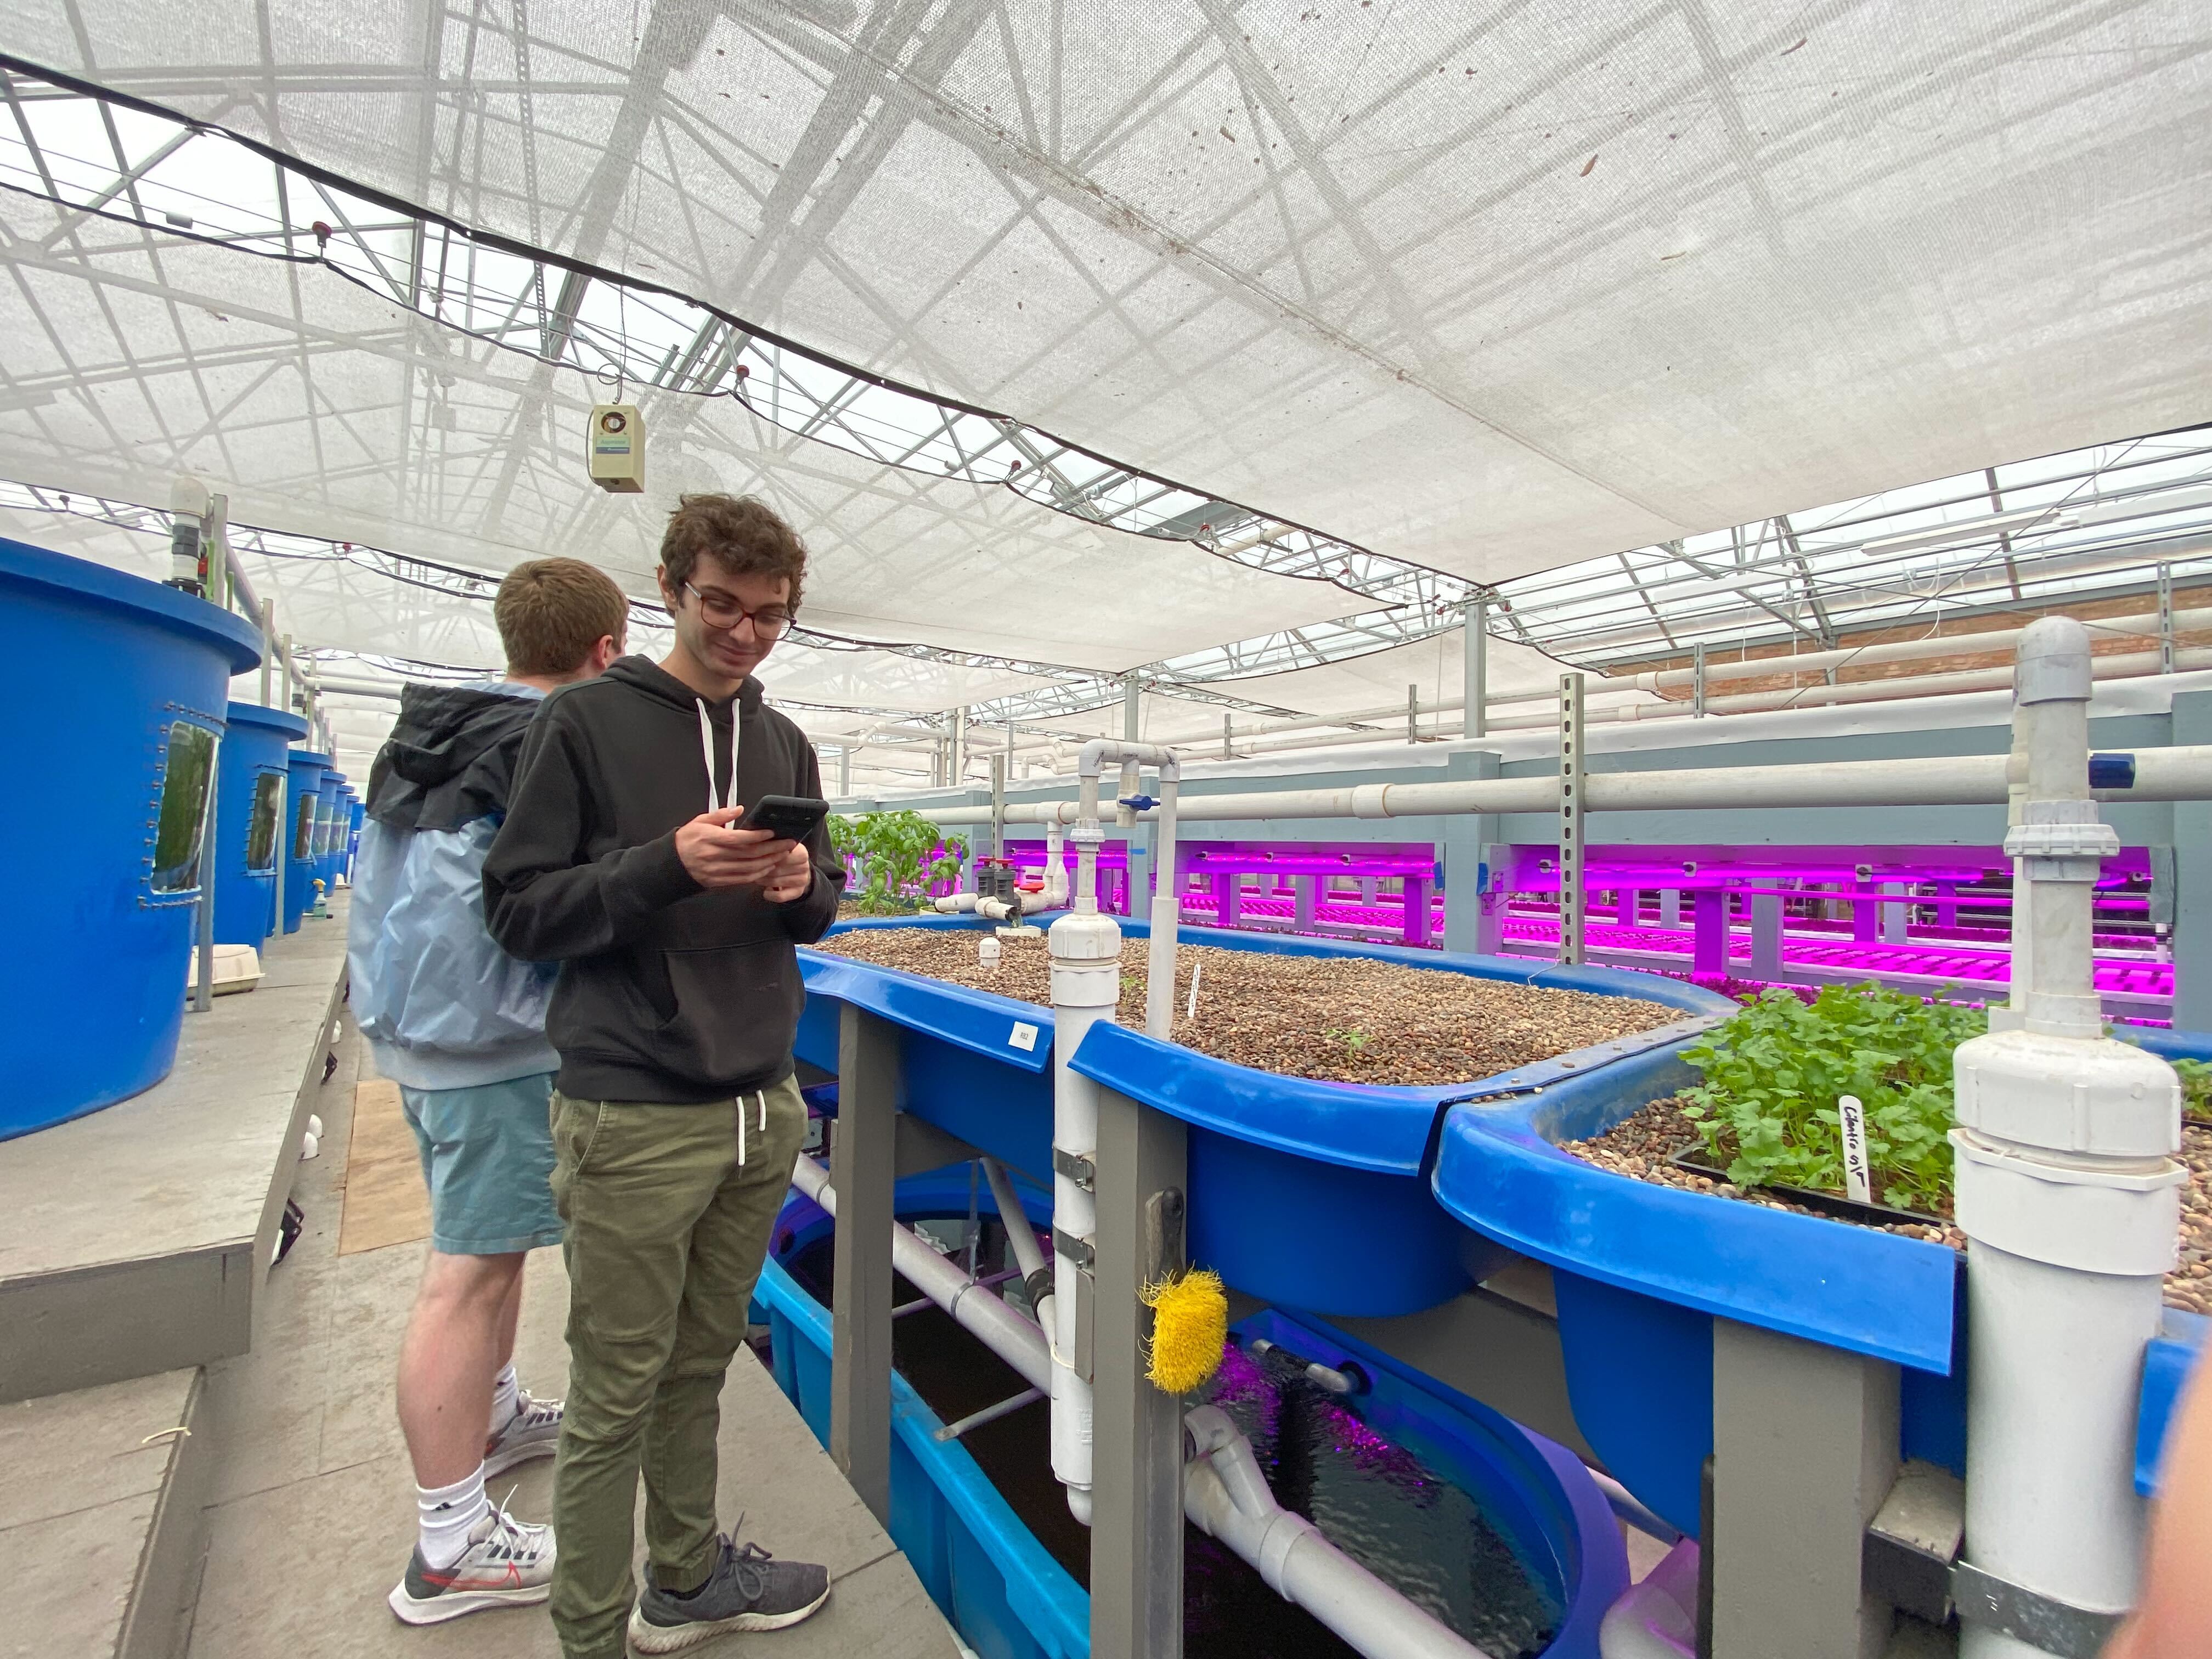
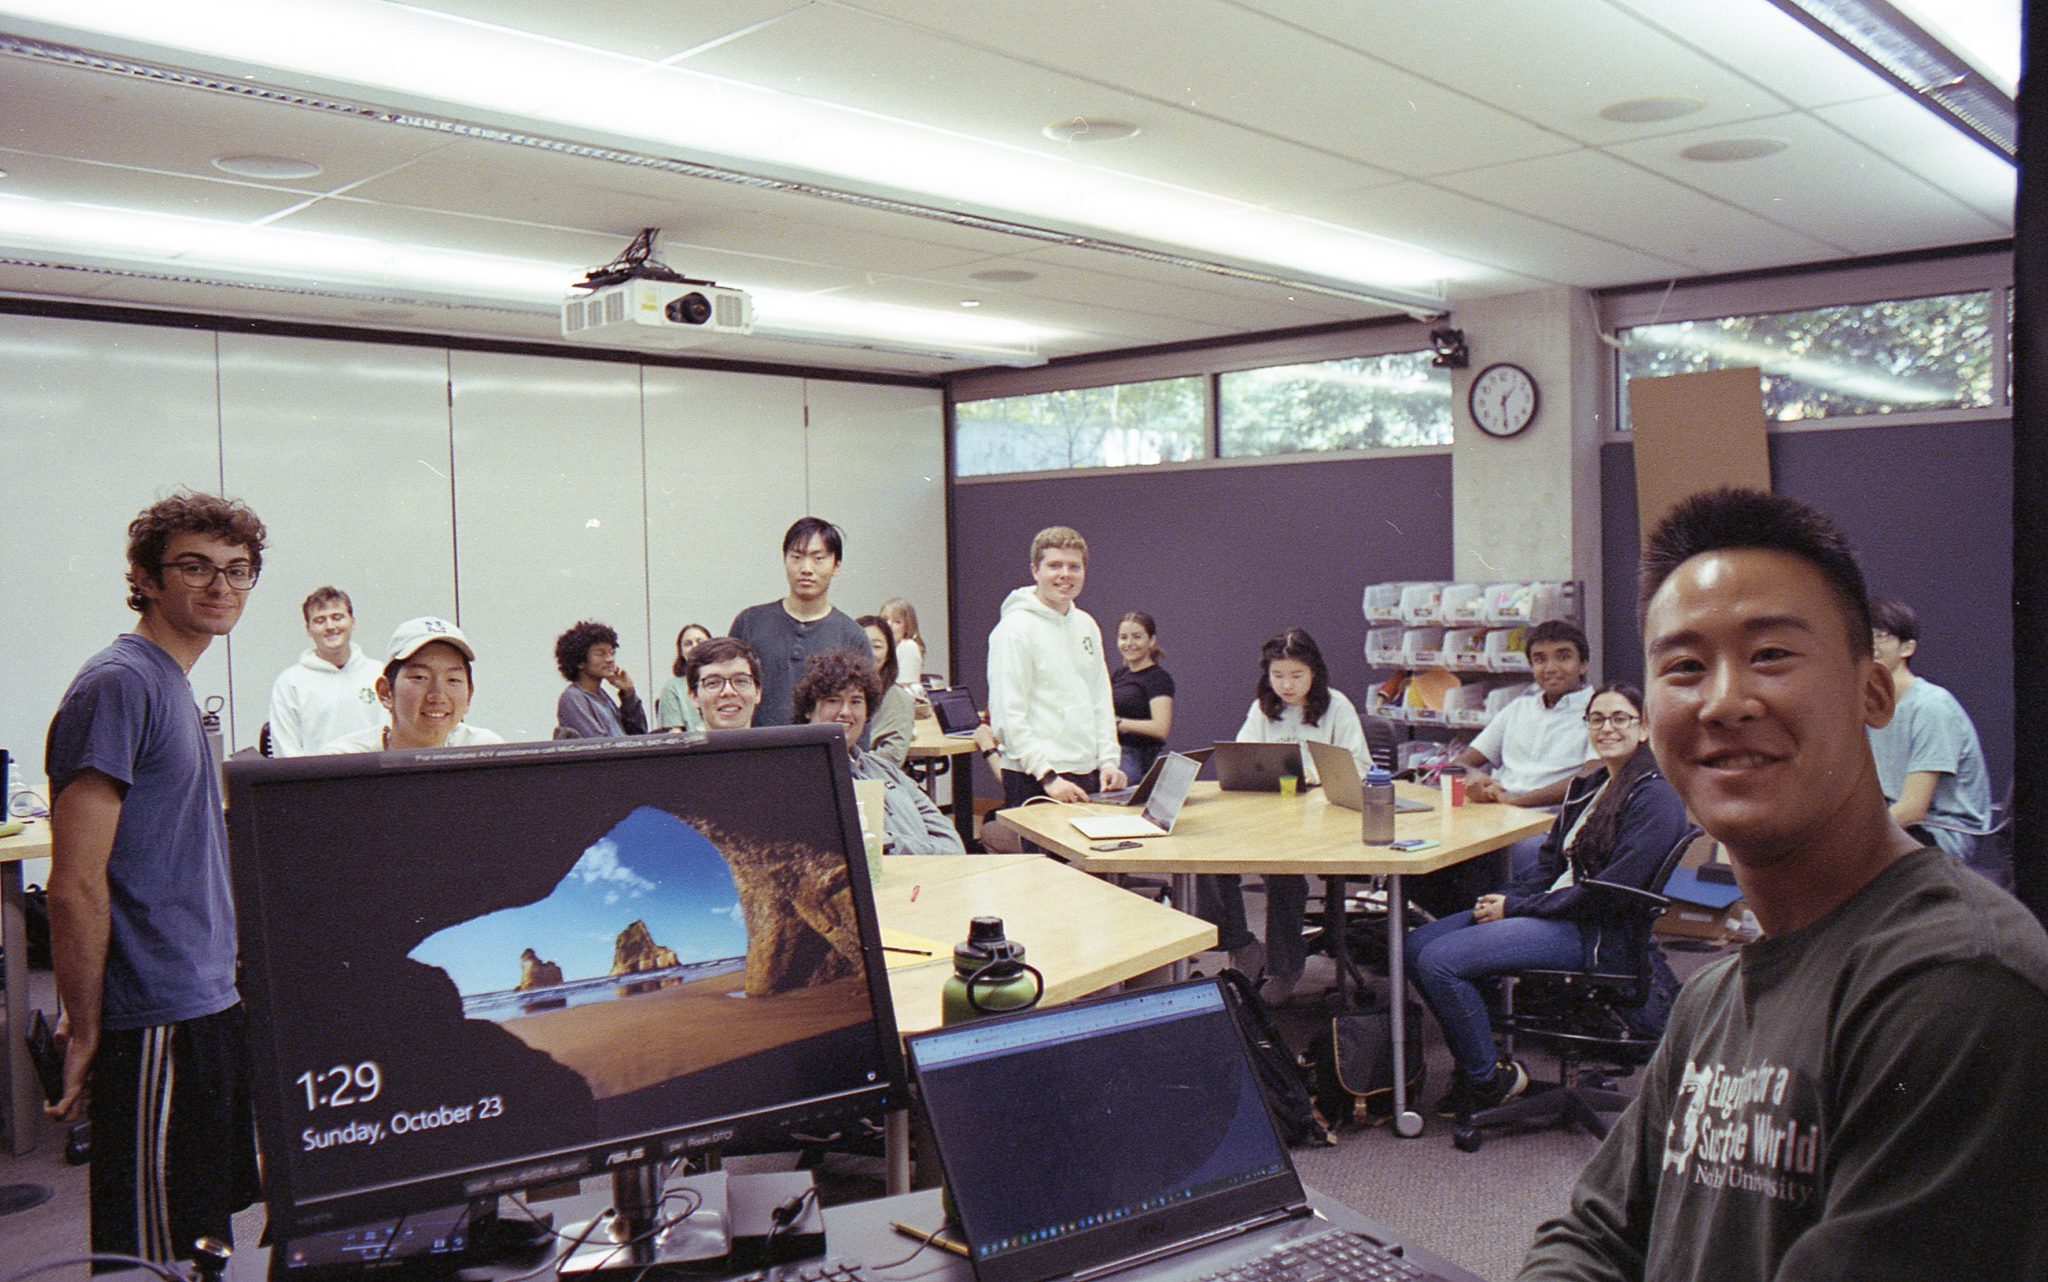
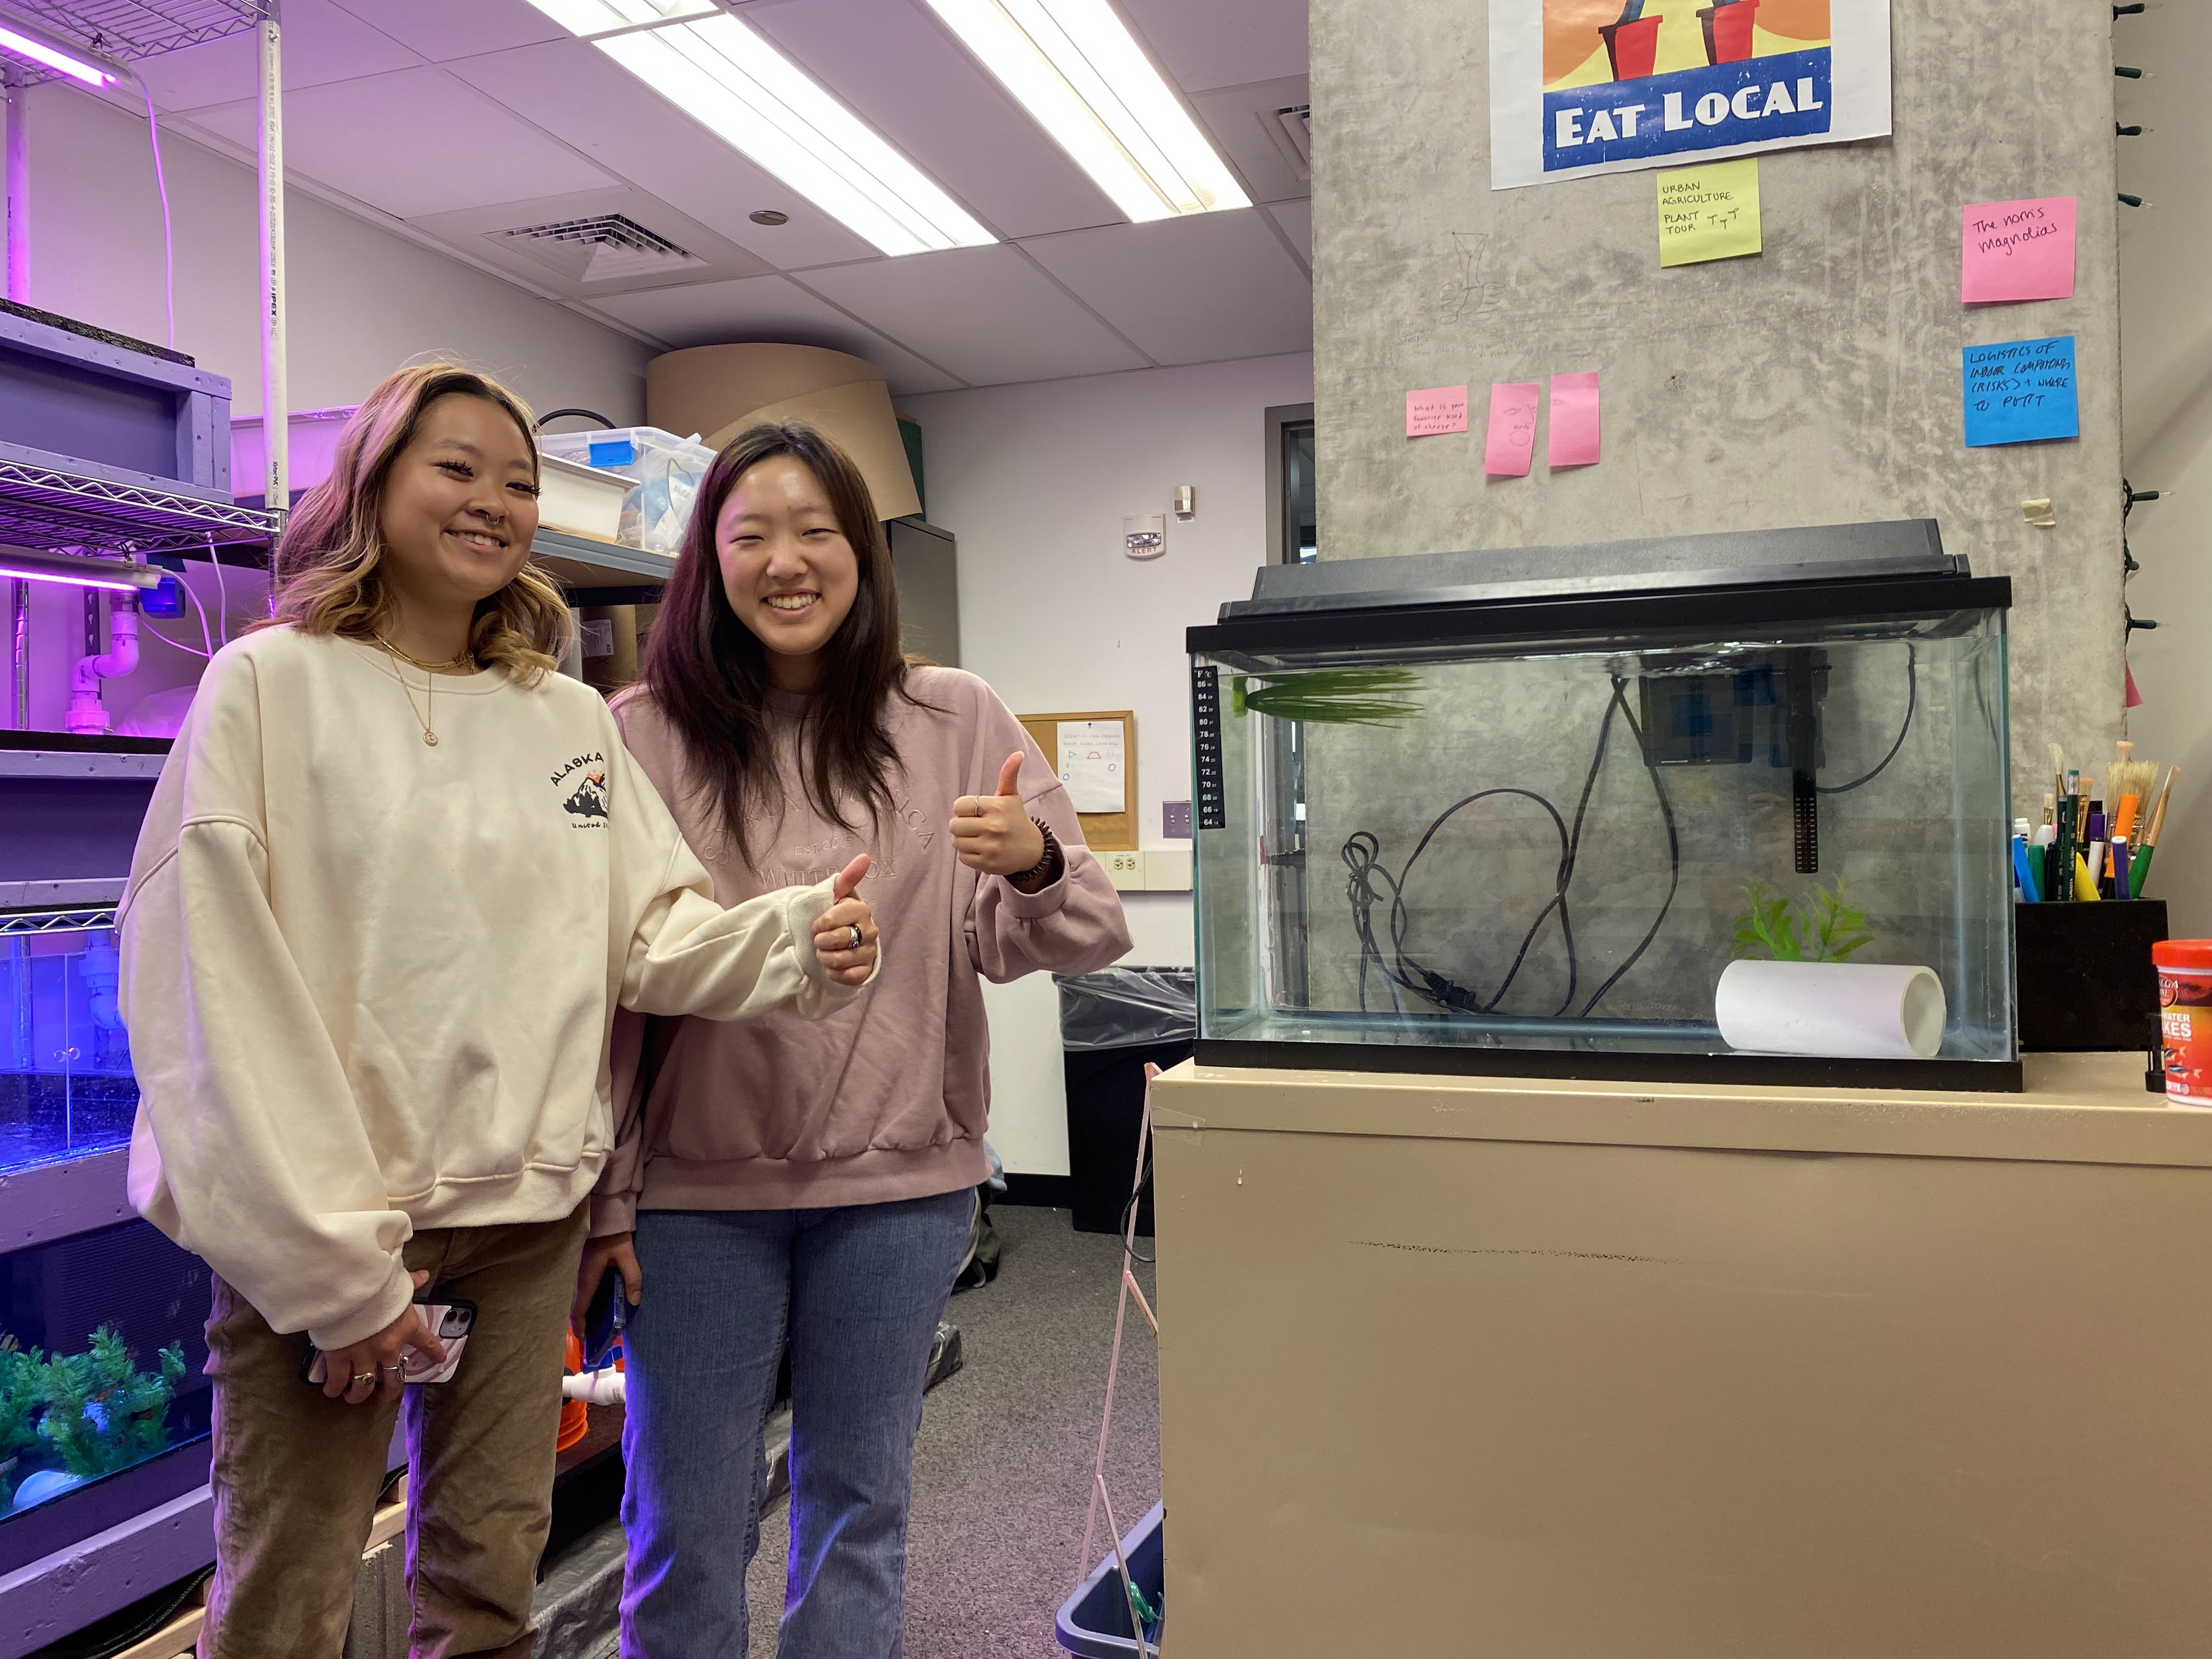
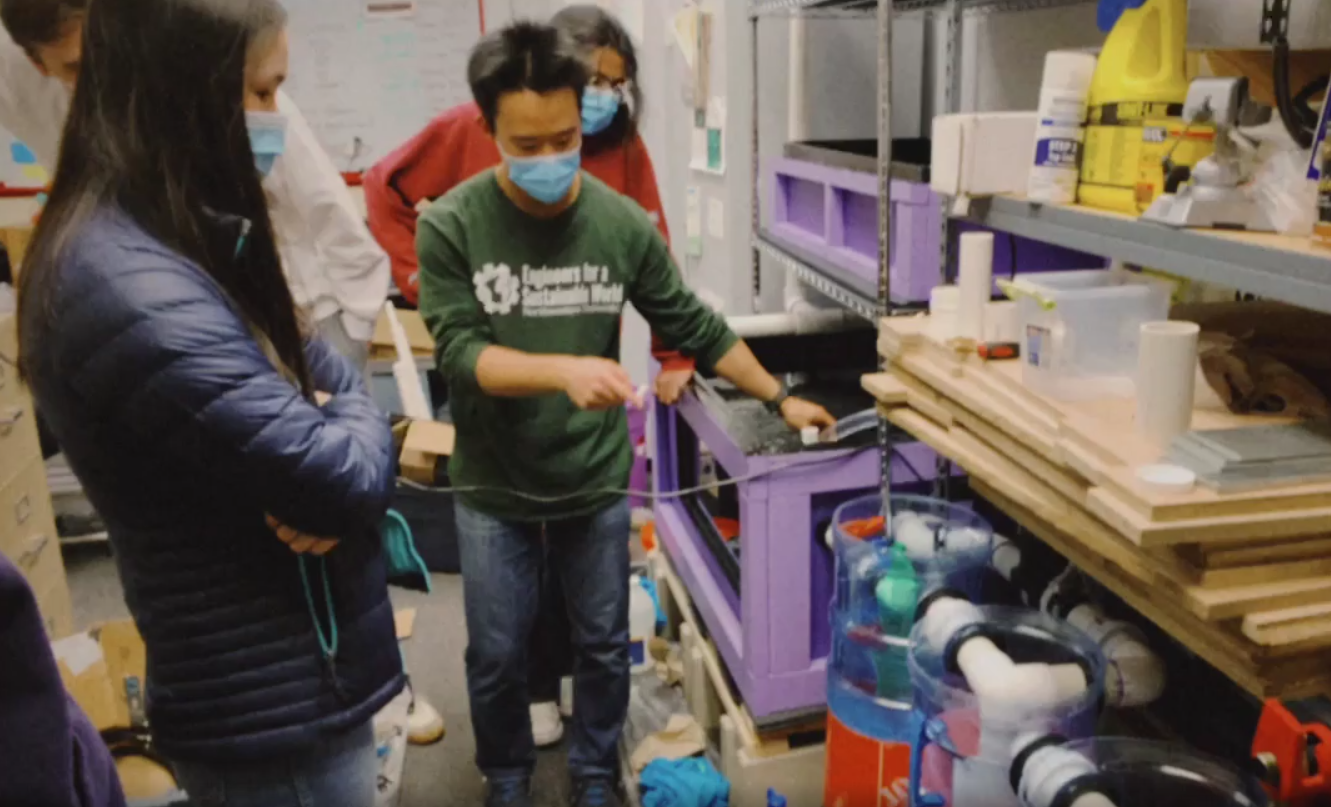
Since AutoAquaponics' ultimate goal is to become a resource for those interested in learning more about automation and aquaponics, this quarter we conducted a tour for a junior chapter of the National Society of Black Engineers and invited middle schoolers from Evanston to check out our system. It was amazing seeing their reaction to what we built together, and we thank NSBE and McCormick for this awesome opportunity!

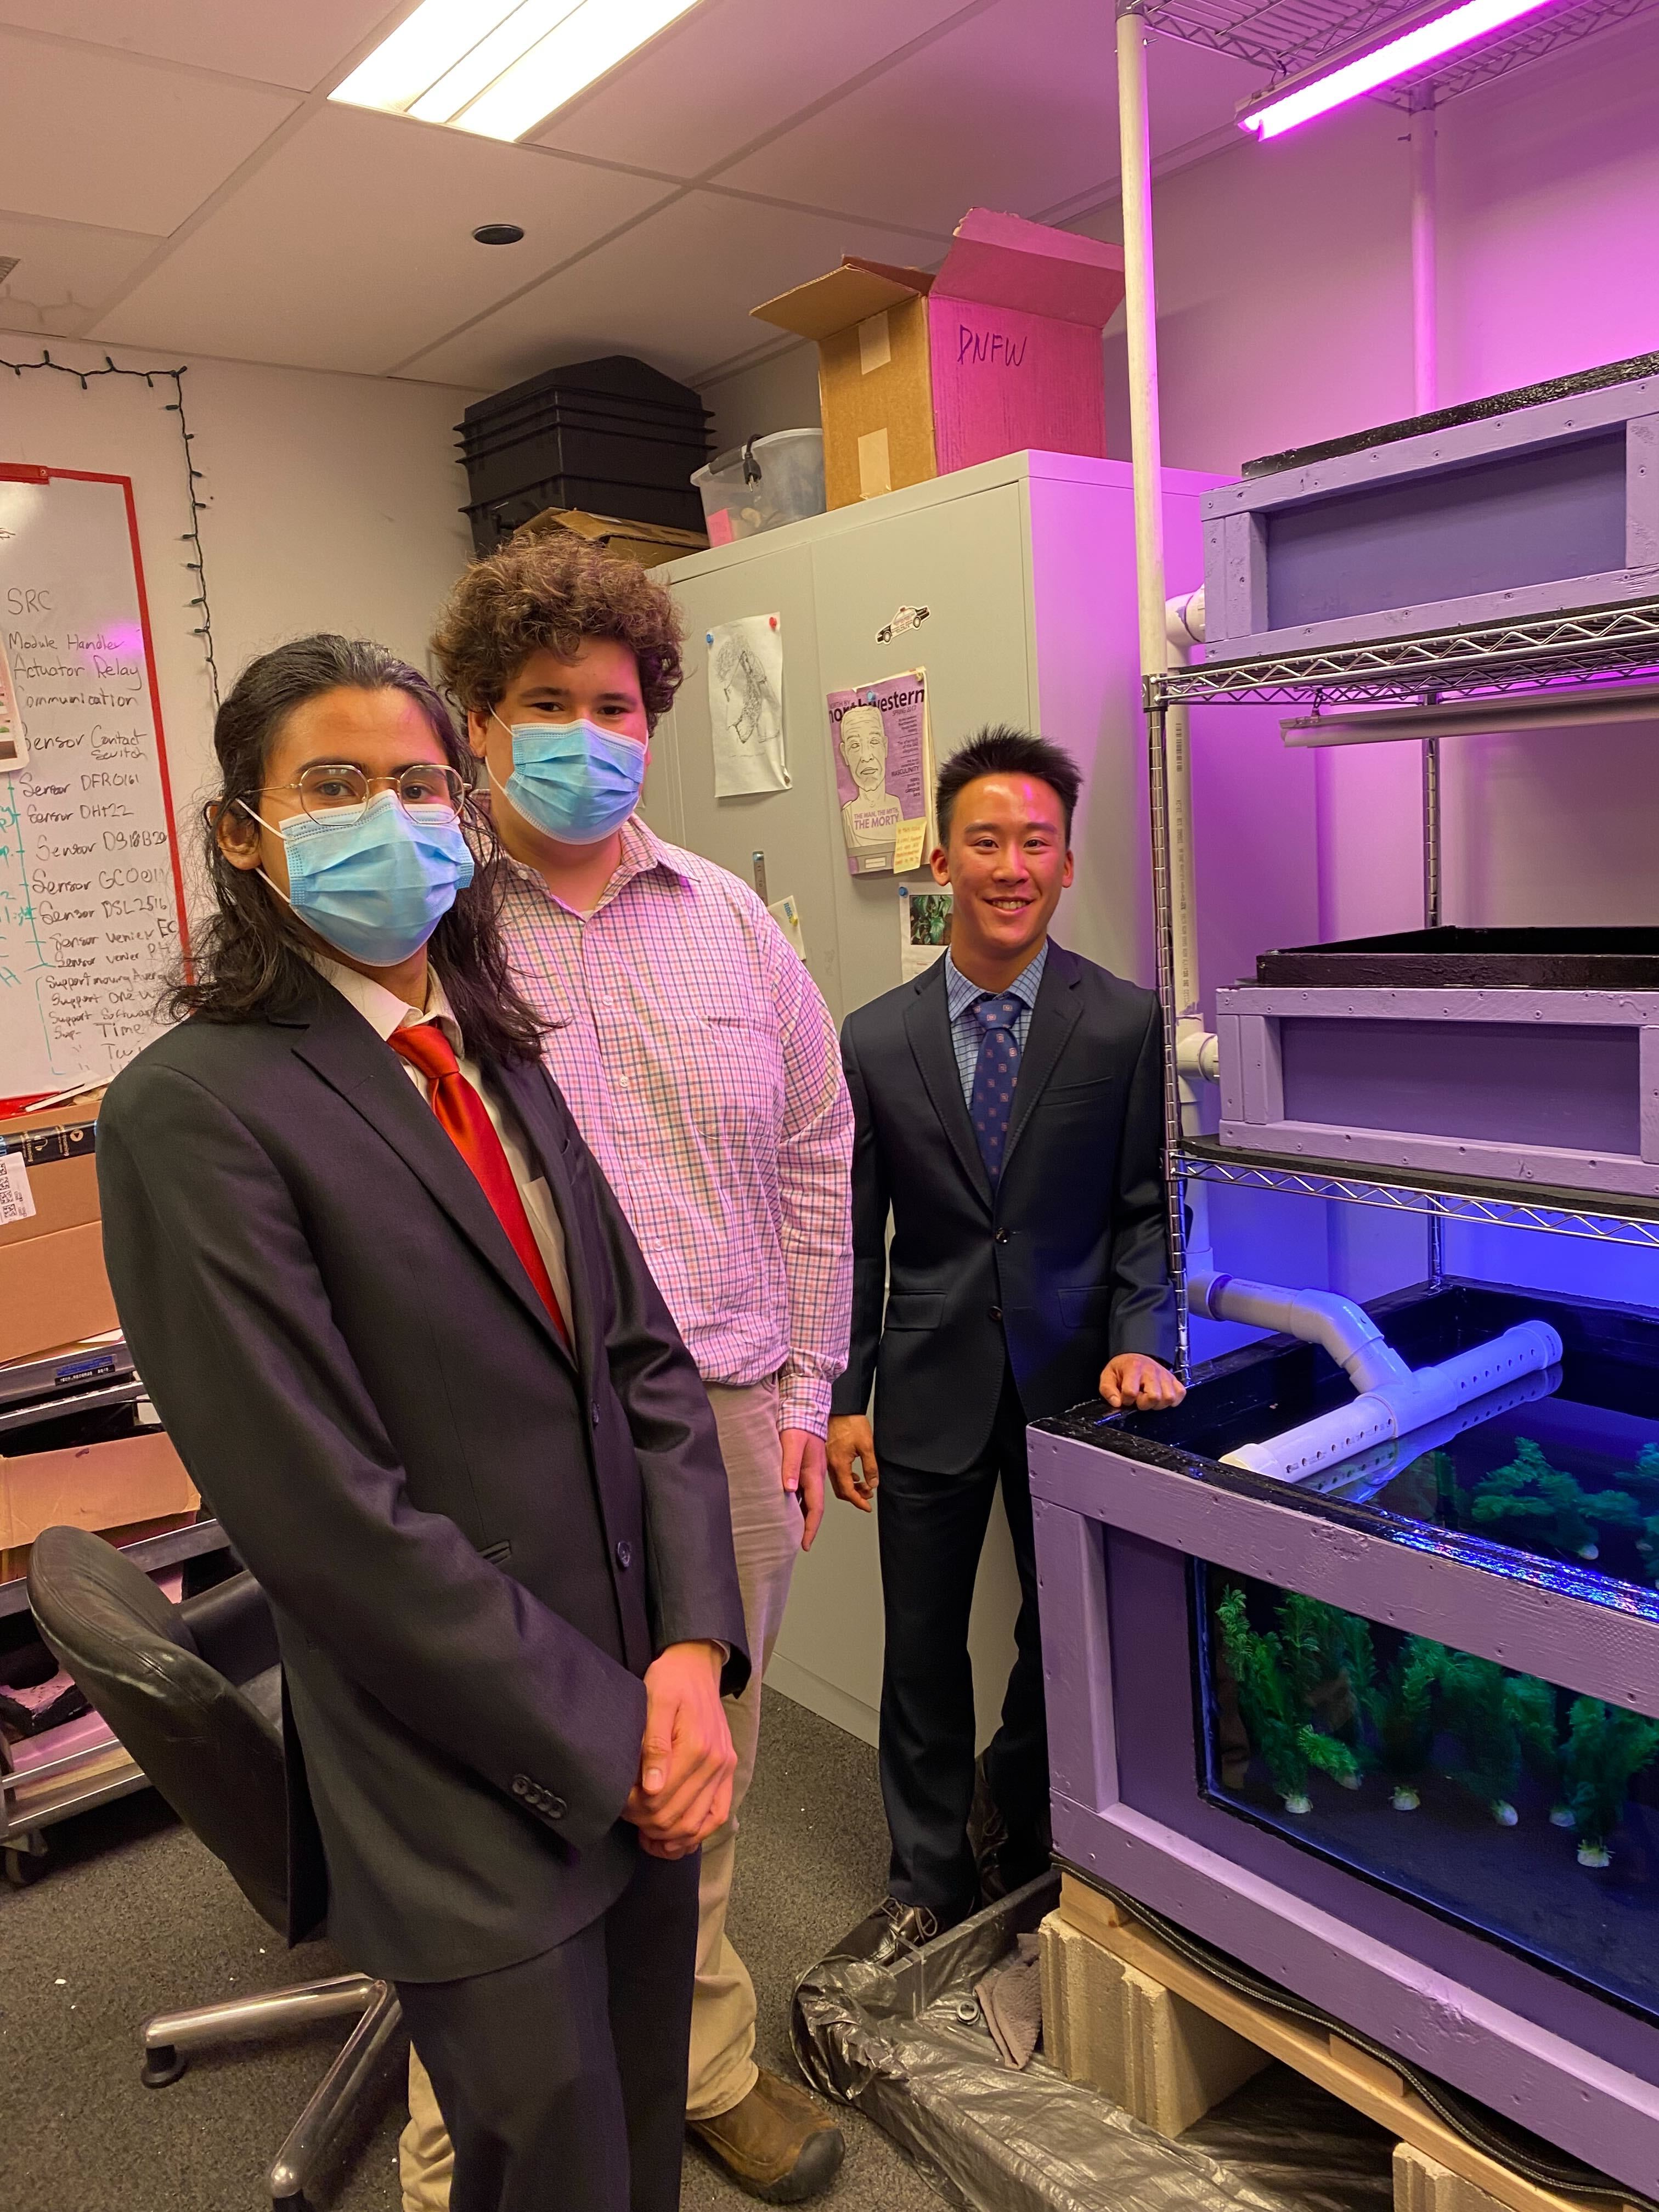
Furthermore, the one and only Dean Ottino asked three of the leaders in AutoAquaponics to present our project and how we grew from the small team we had during COVID to our present state to the McCormick Advisory Council, a group of prominent alumni who advises the dean to shape McCormick's strategy. We are beyond honored to be able to show them AutoAquaponics, and we appreciate everyone's enthusiasm on our project!

Our three presenters all dressed up:

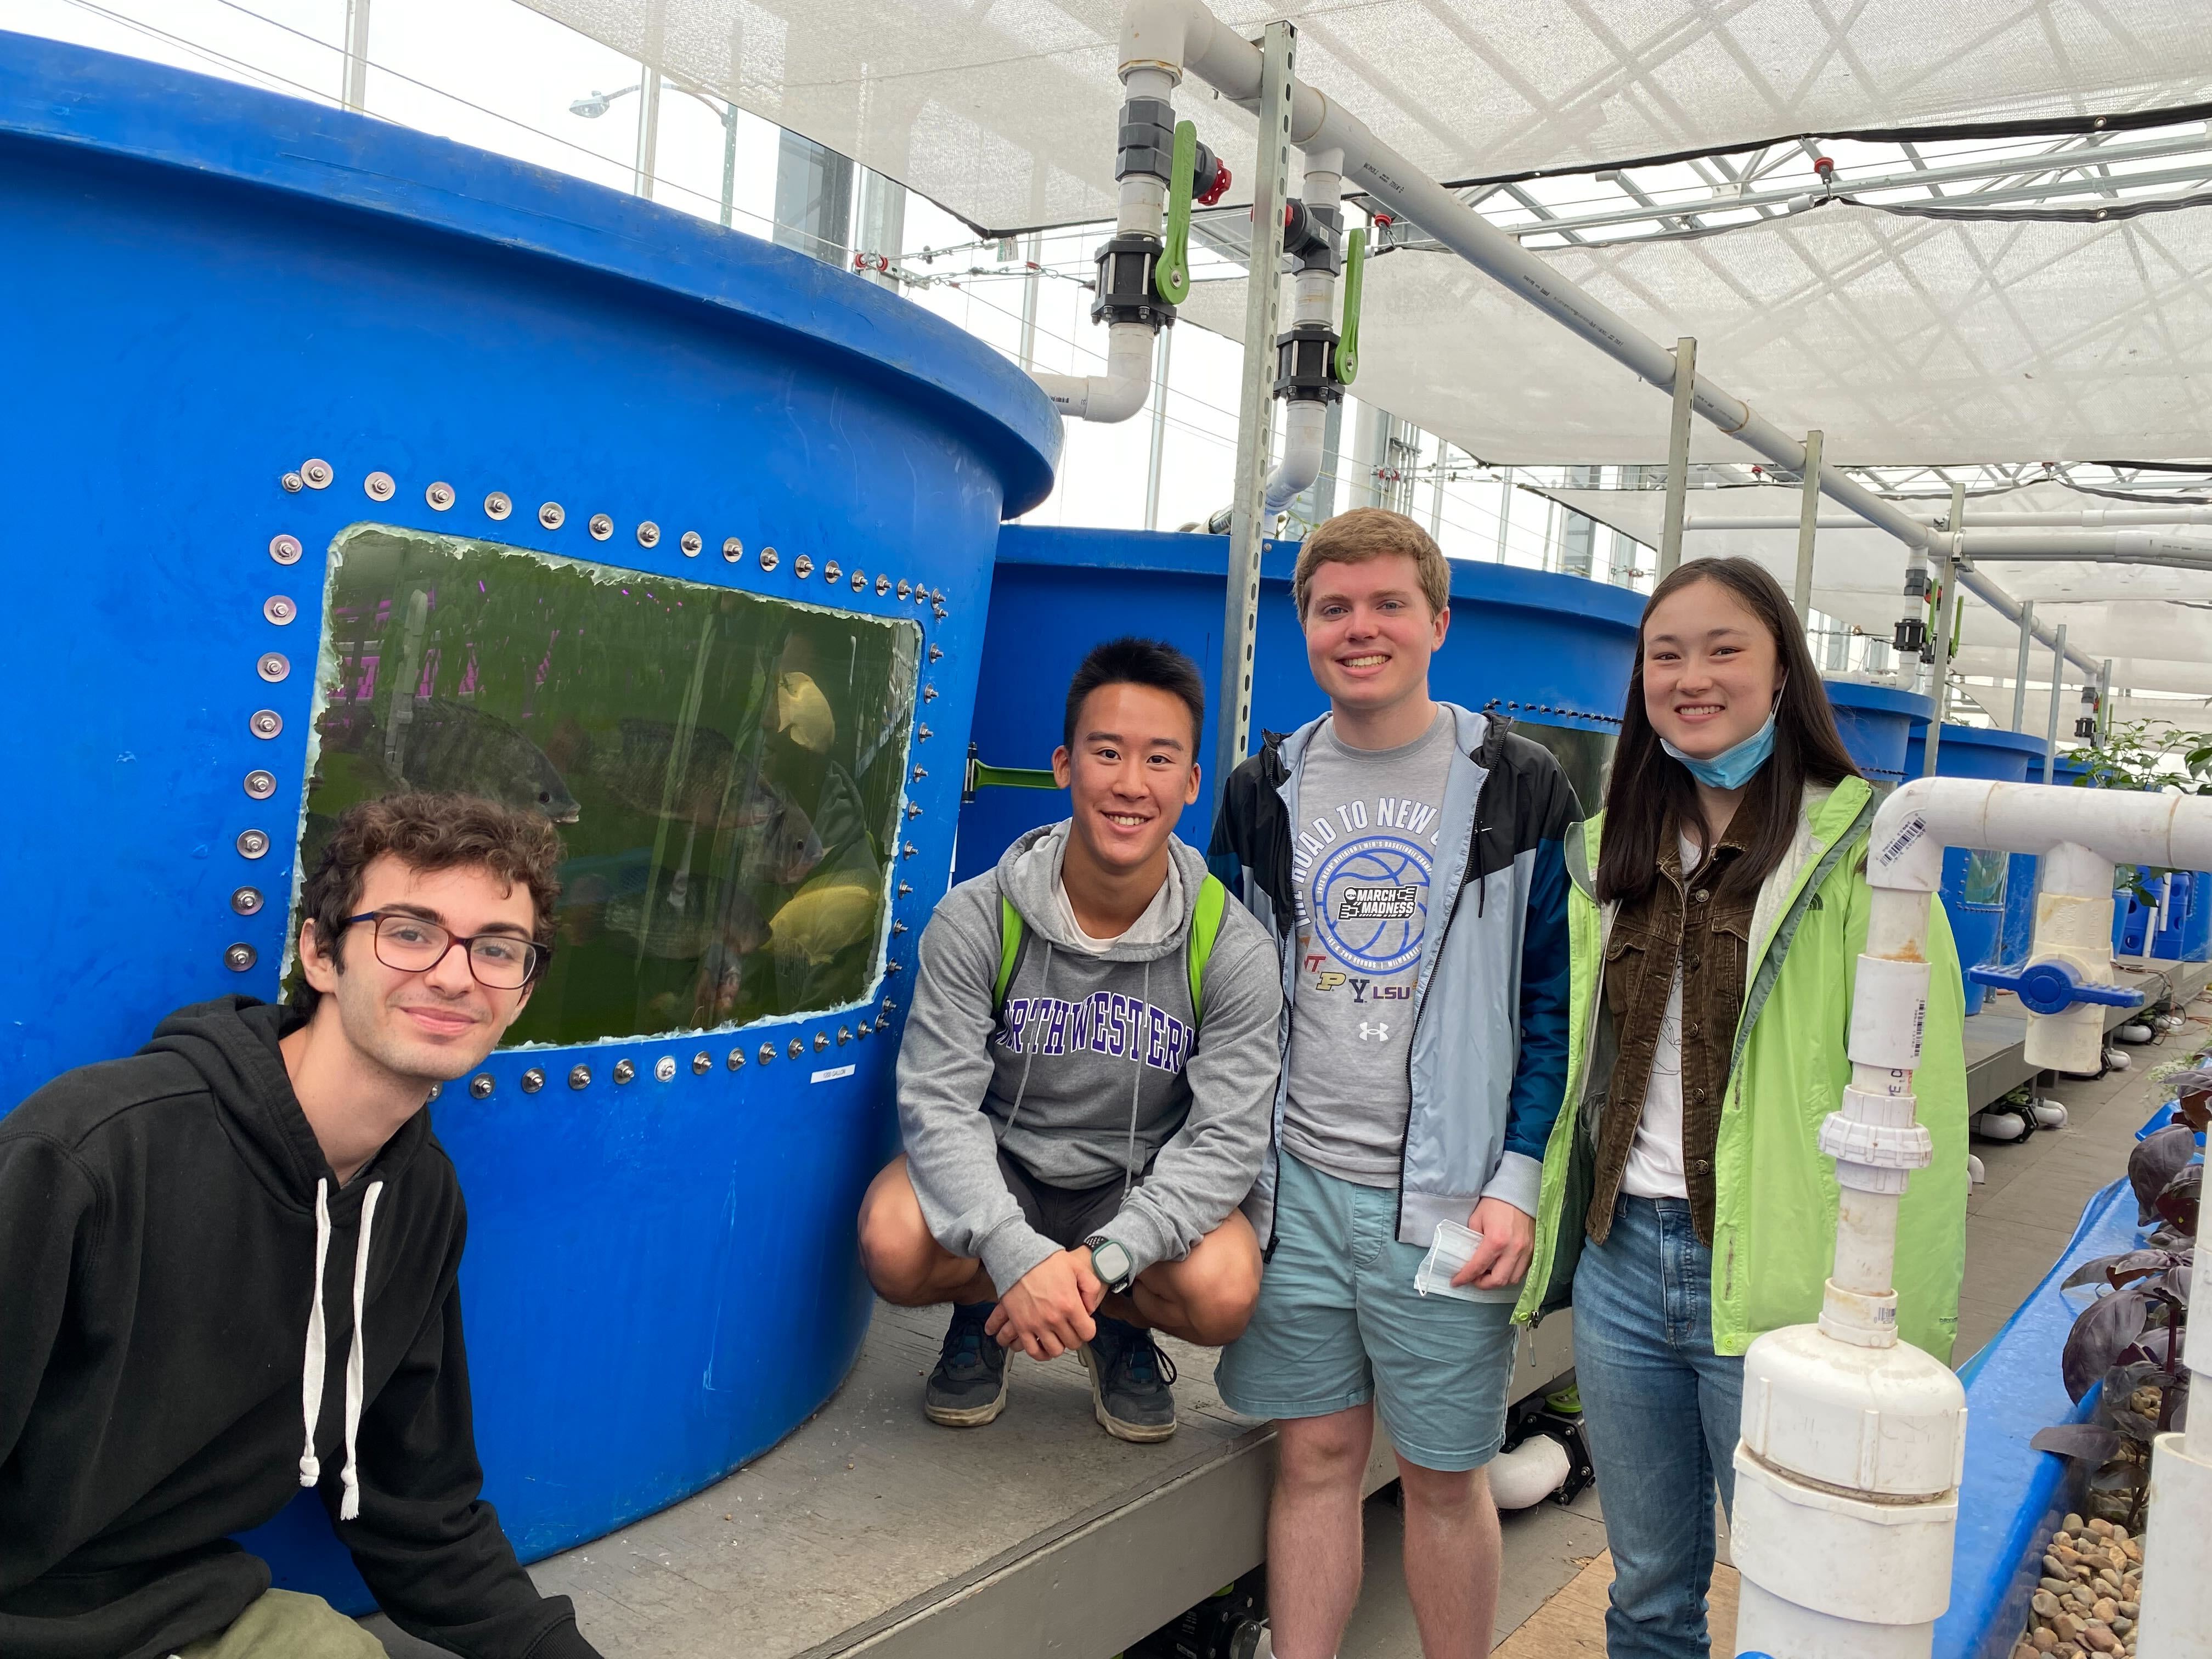
After the presentation, we received an invite from one of the board members present to visit Farm on Ogden , a nonprofit commercial scale aquaponic system in Chicago that is affiliated with the Chicago Botanic Garden. It was super cool seeing how their system works, and we got a ton of useful insight from the professionals there on the O&M of an aquaponic system and ideal plant parameters.

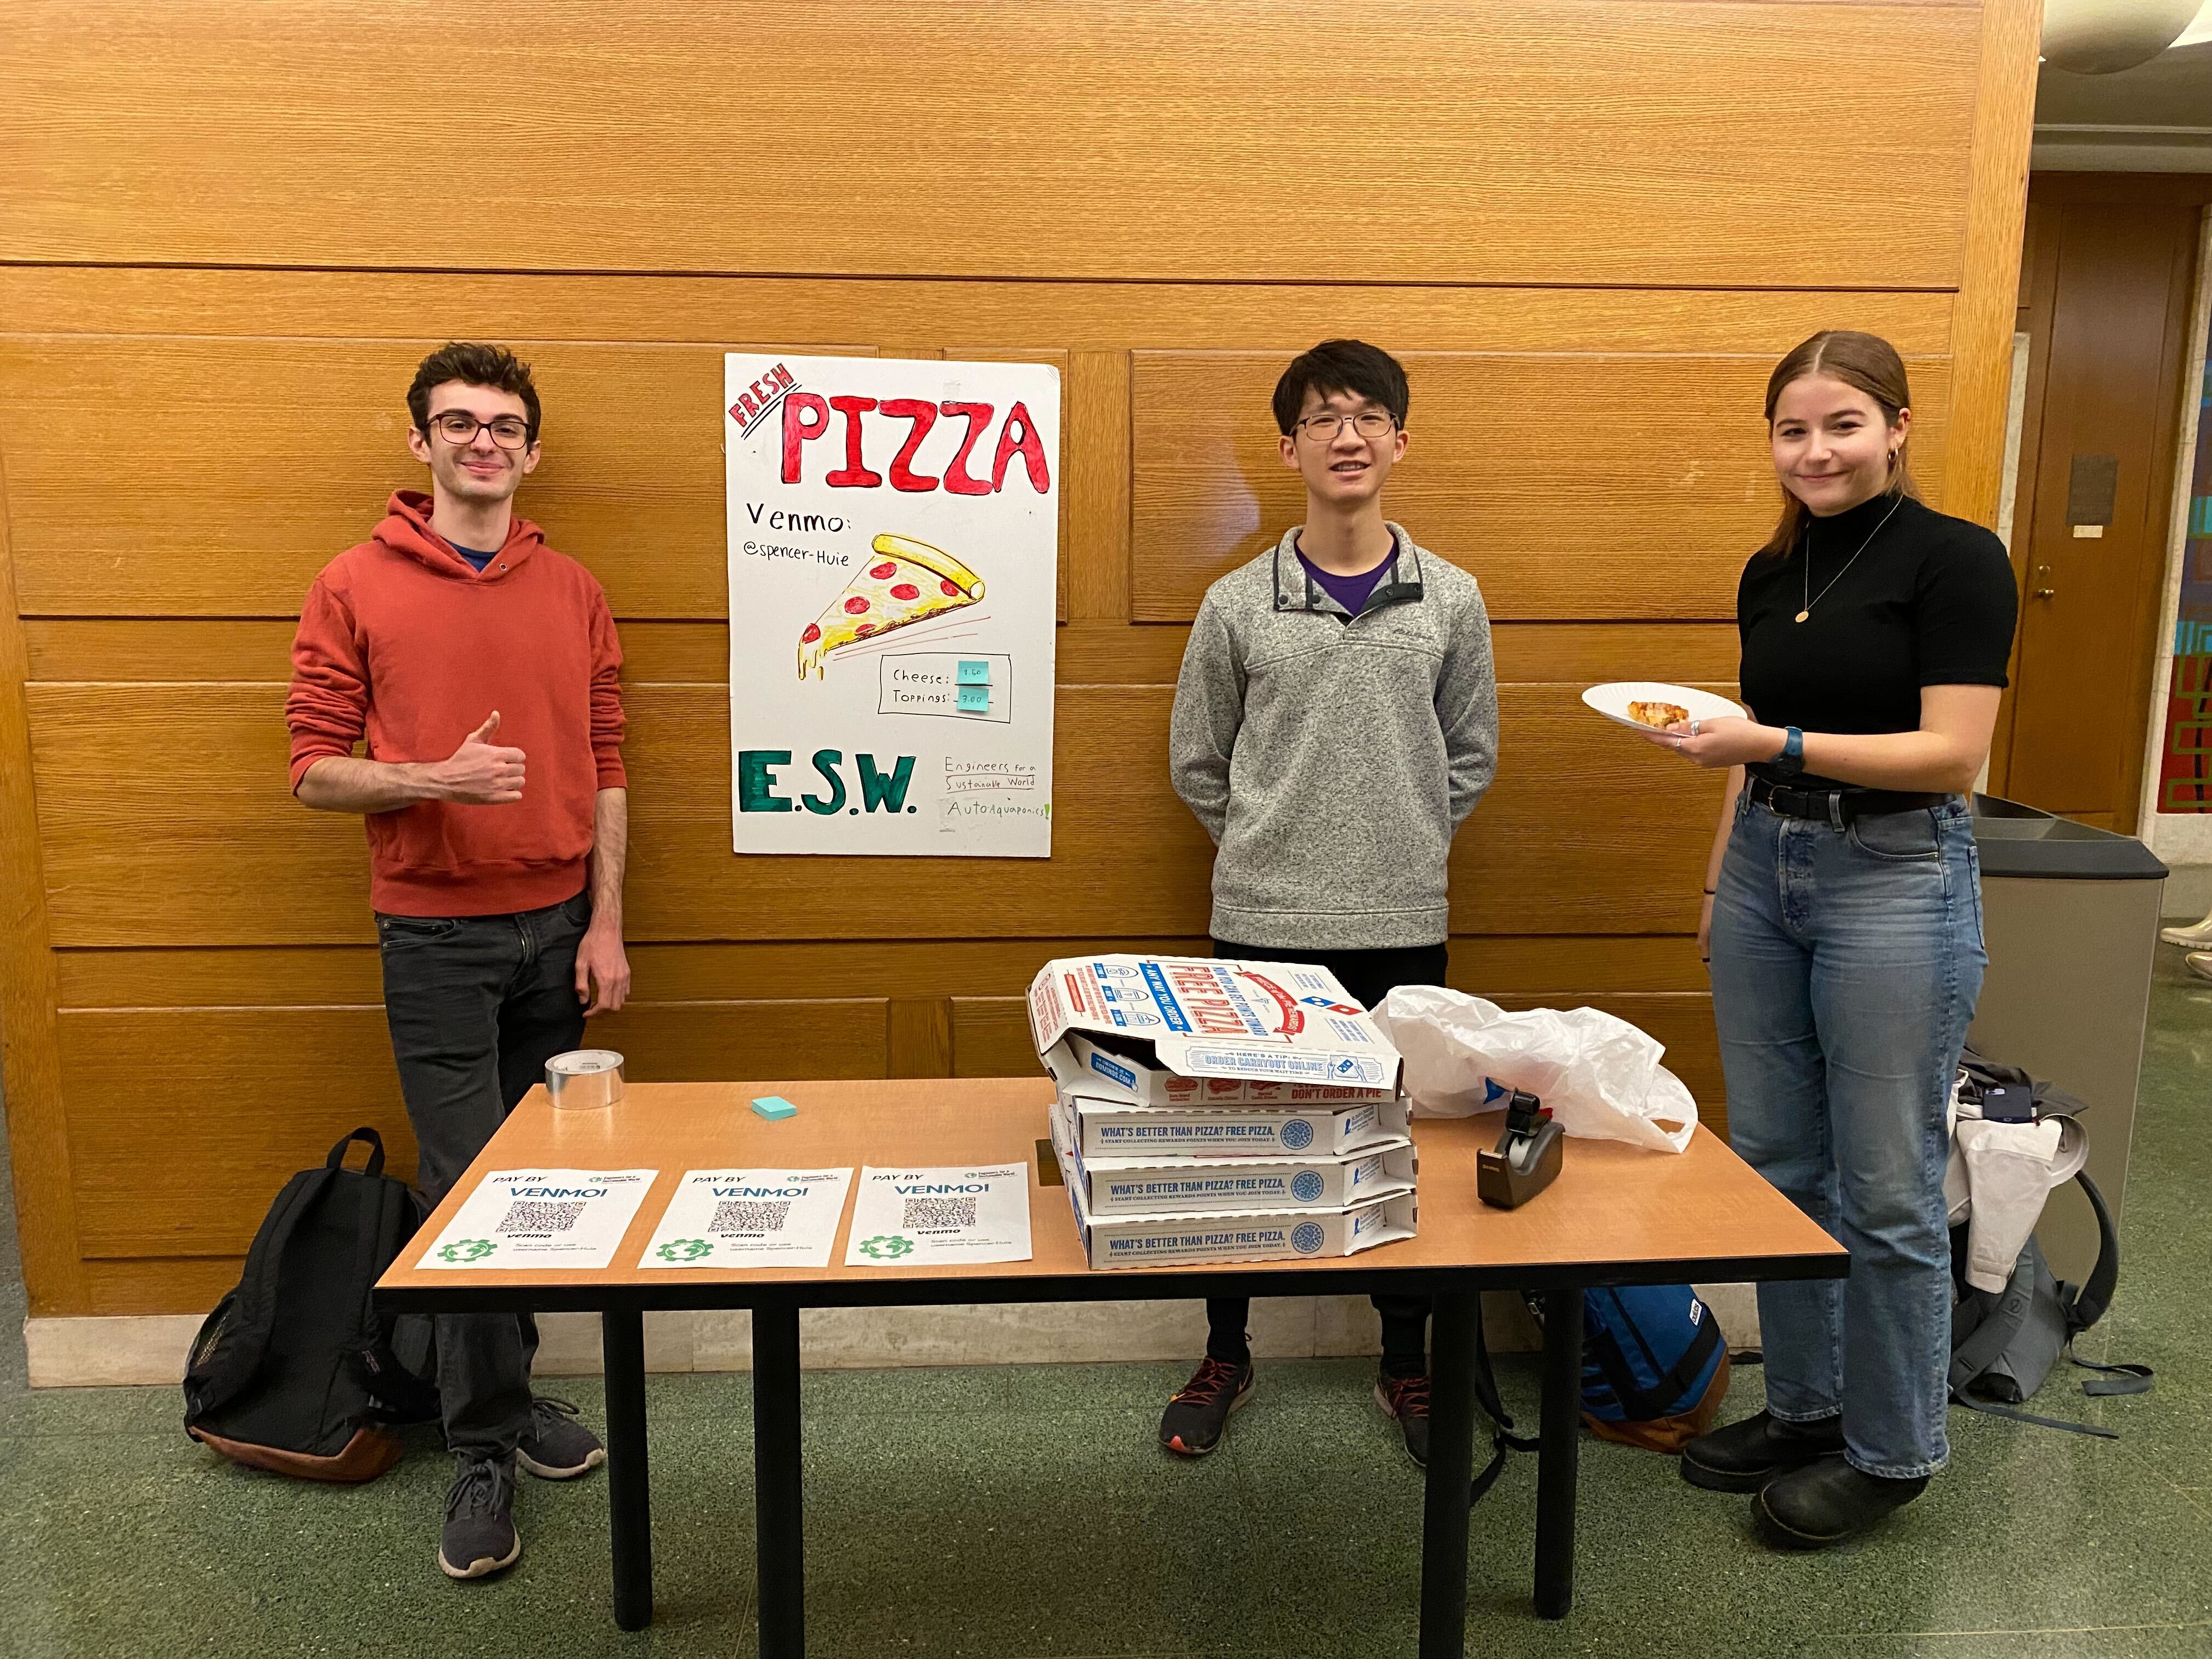
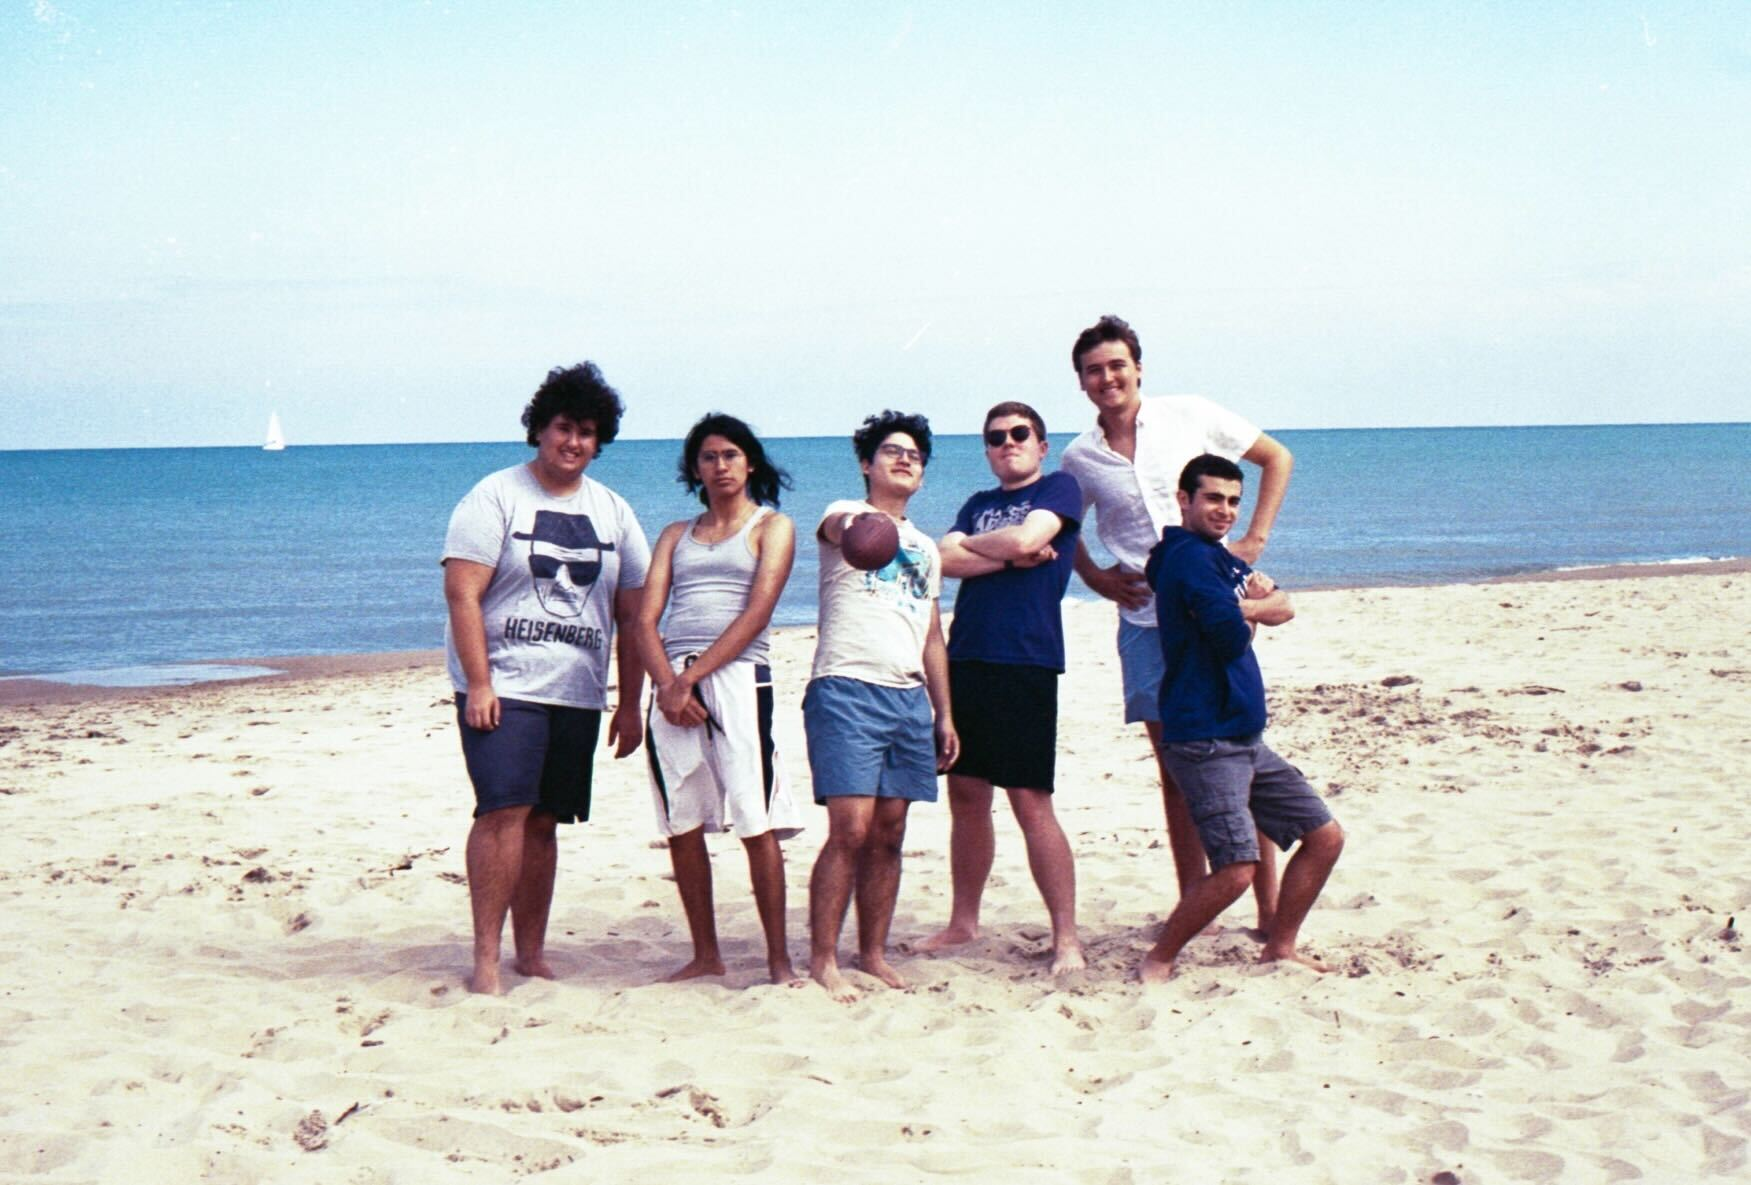
To further build the camaraderie on the AutoAquaponics team, we did two pizza sales to raise money for some cool ESW-AutoAquaponics hoodies for our members.

Sale 1 (slightly colder weather):

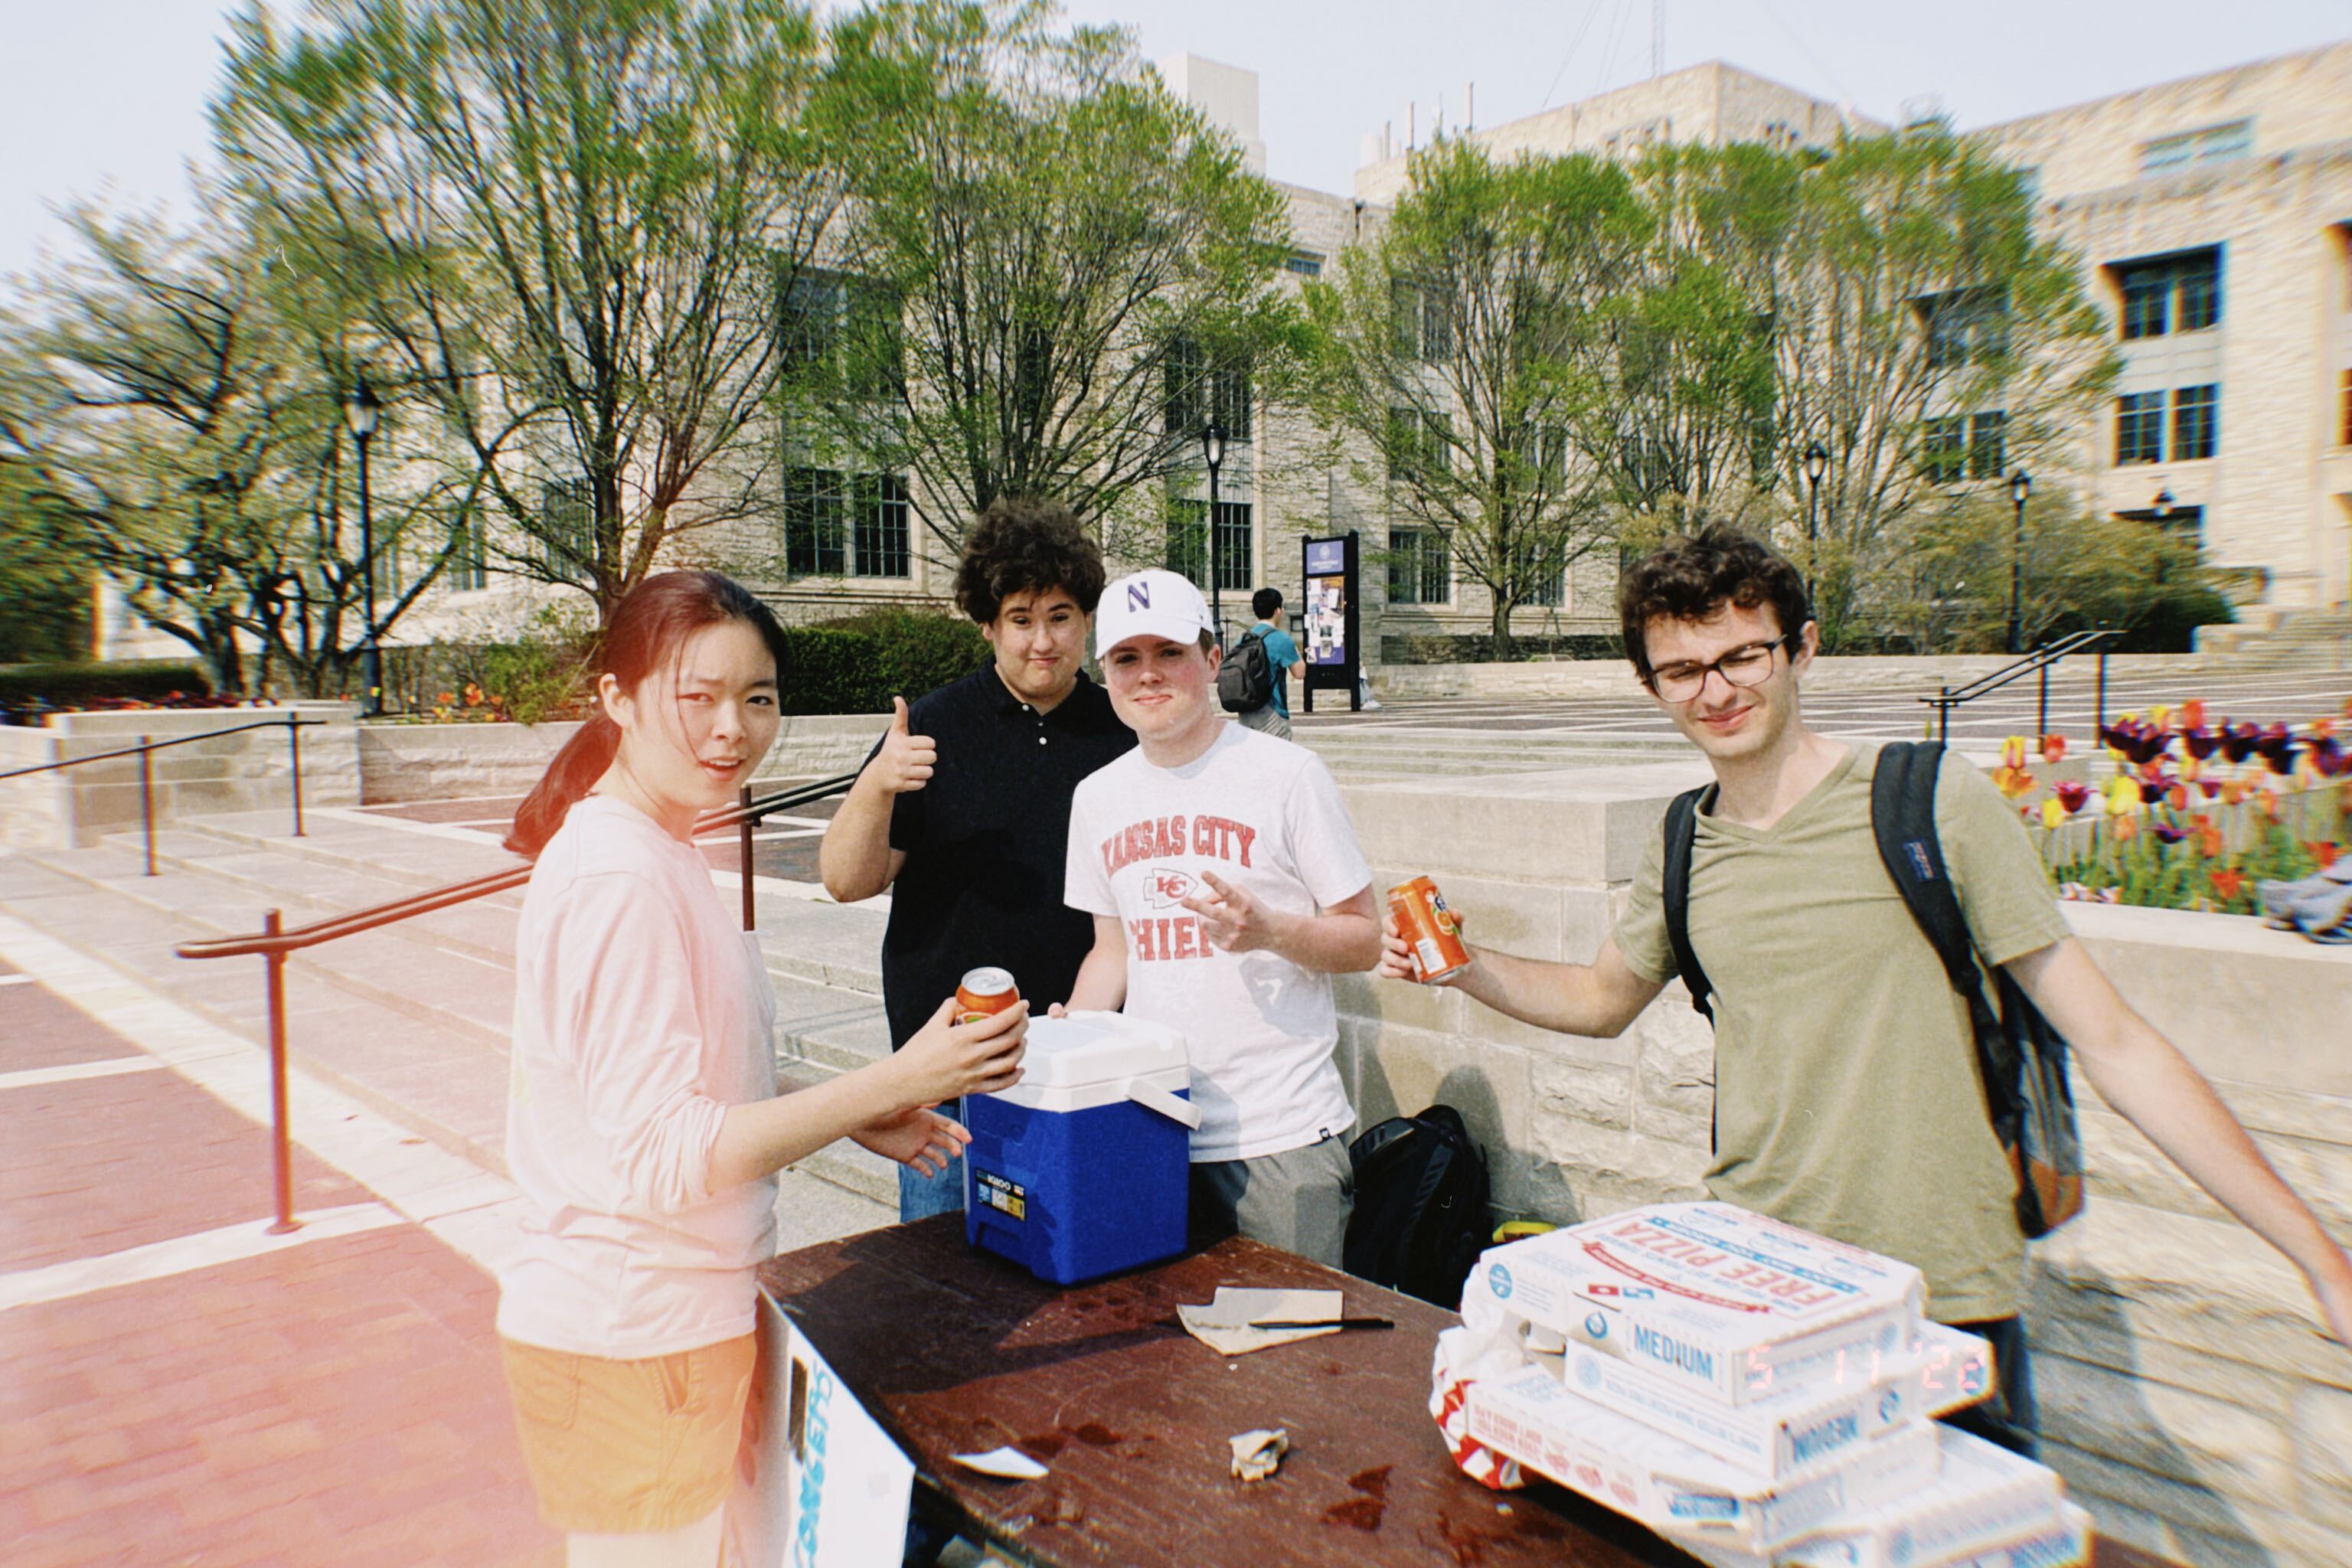
Sale 2 (we could finally be outside now!):

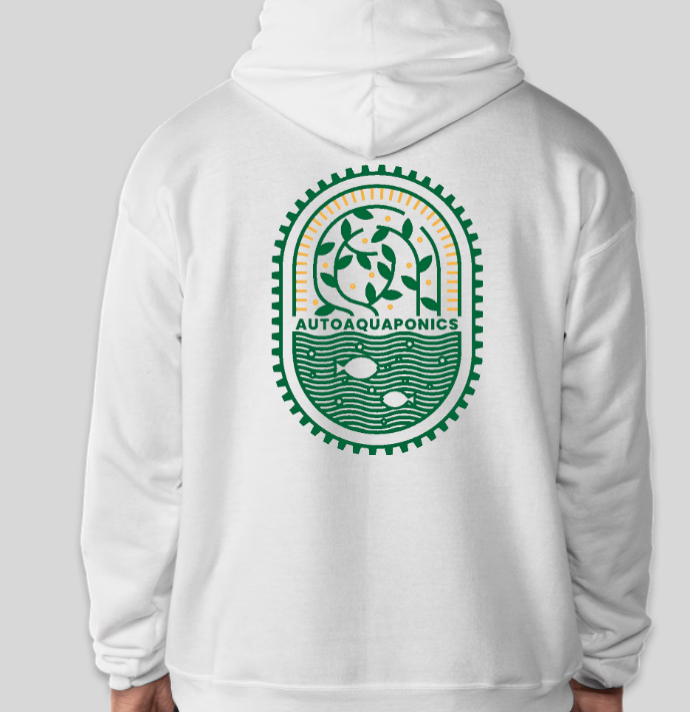
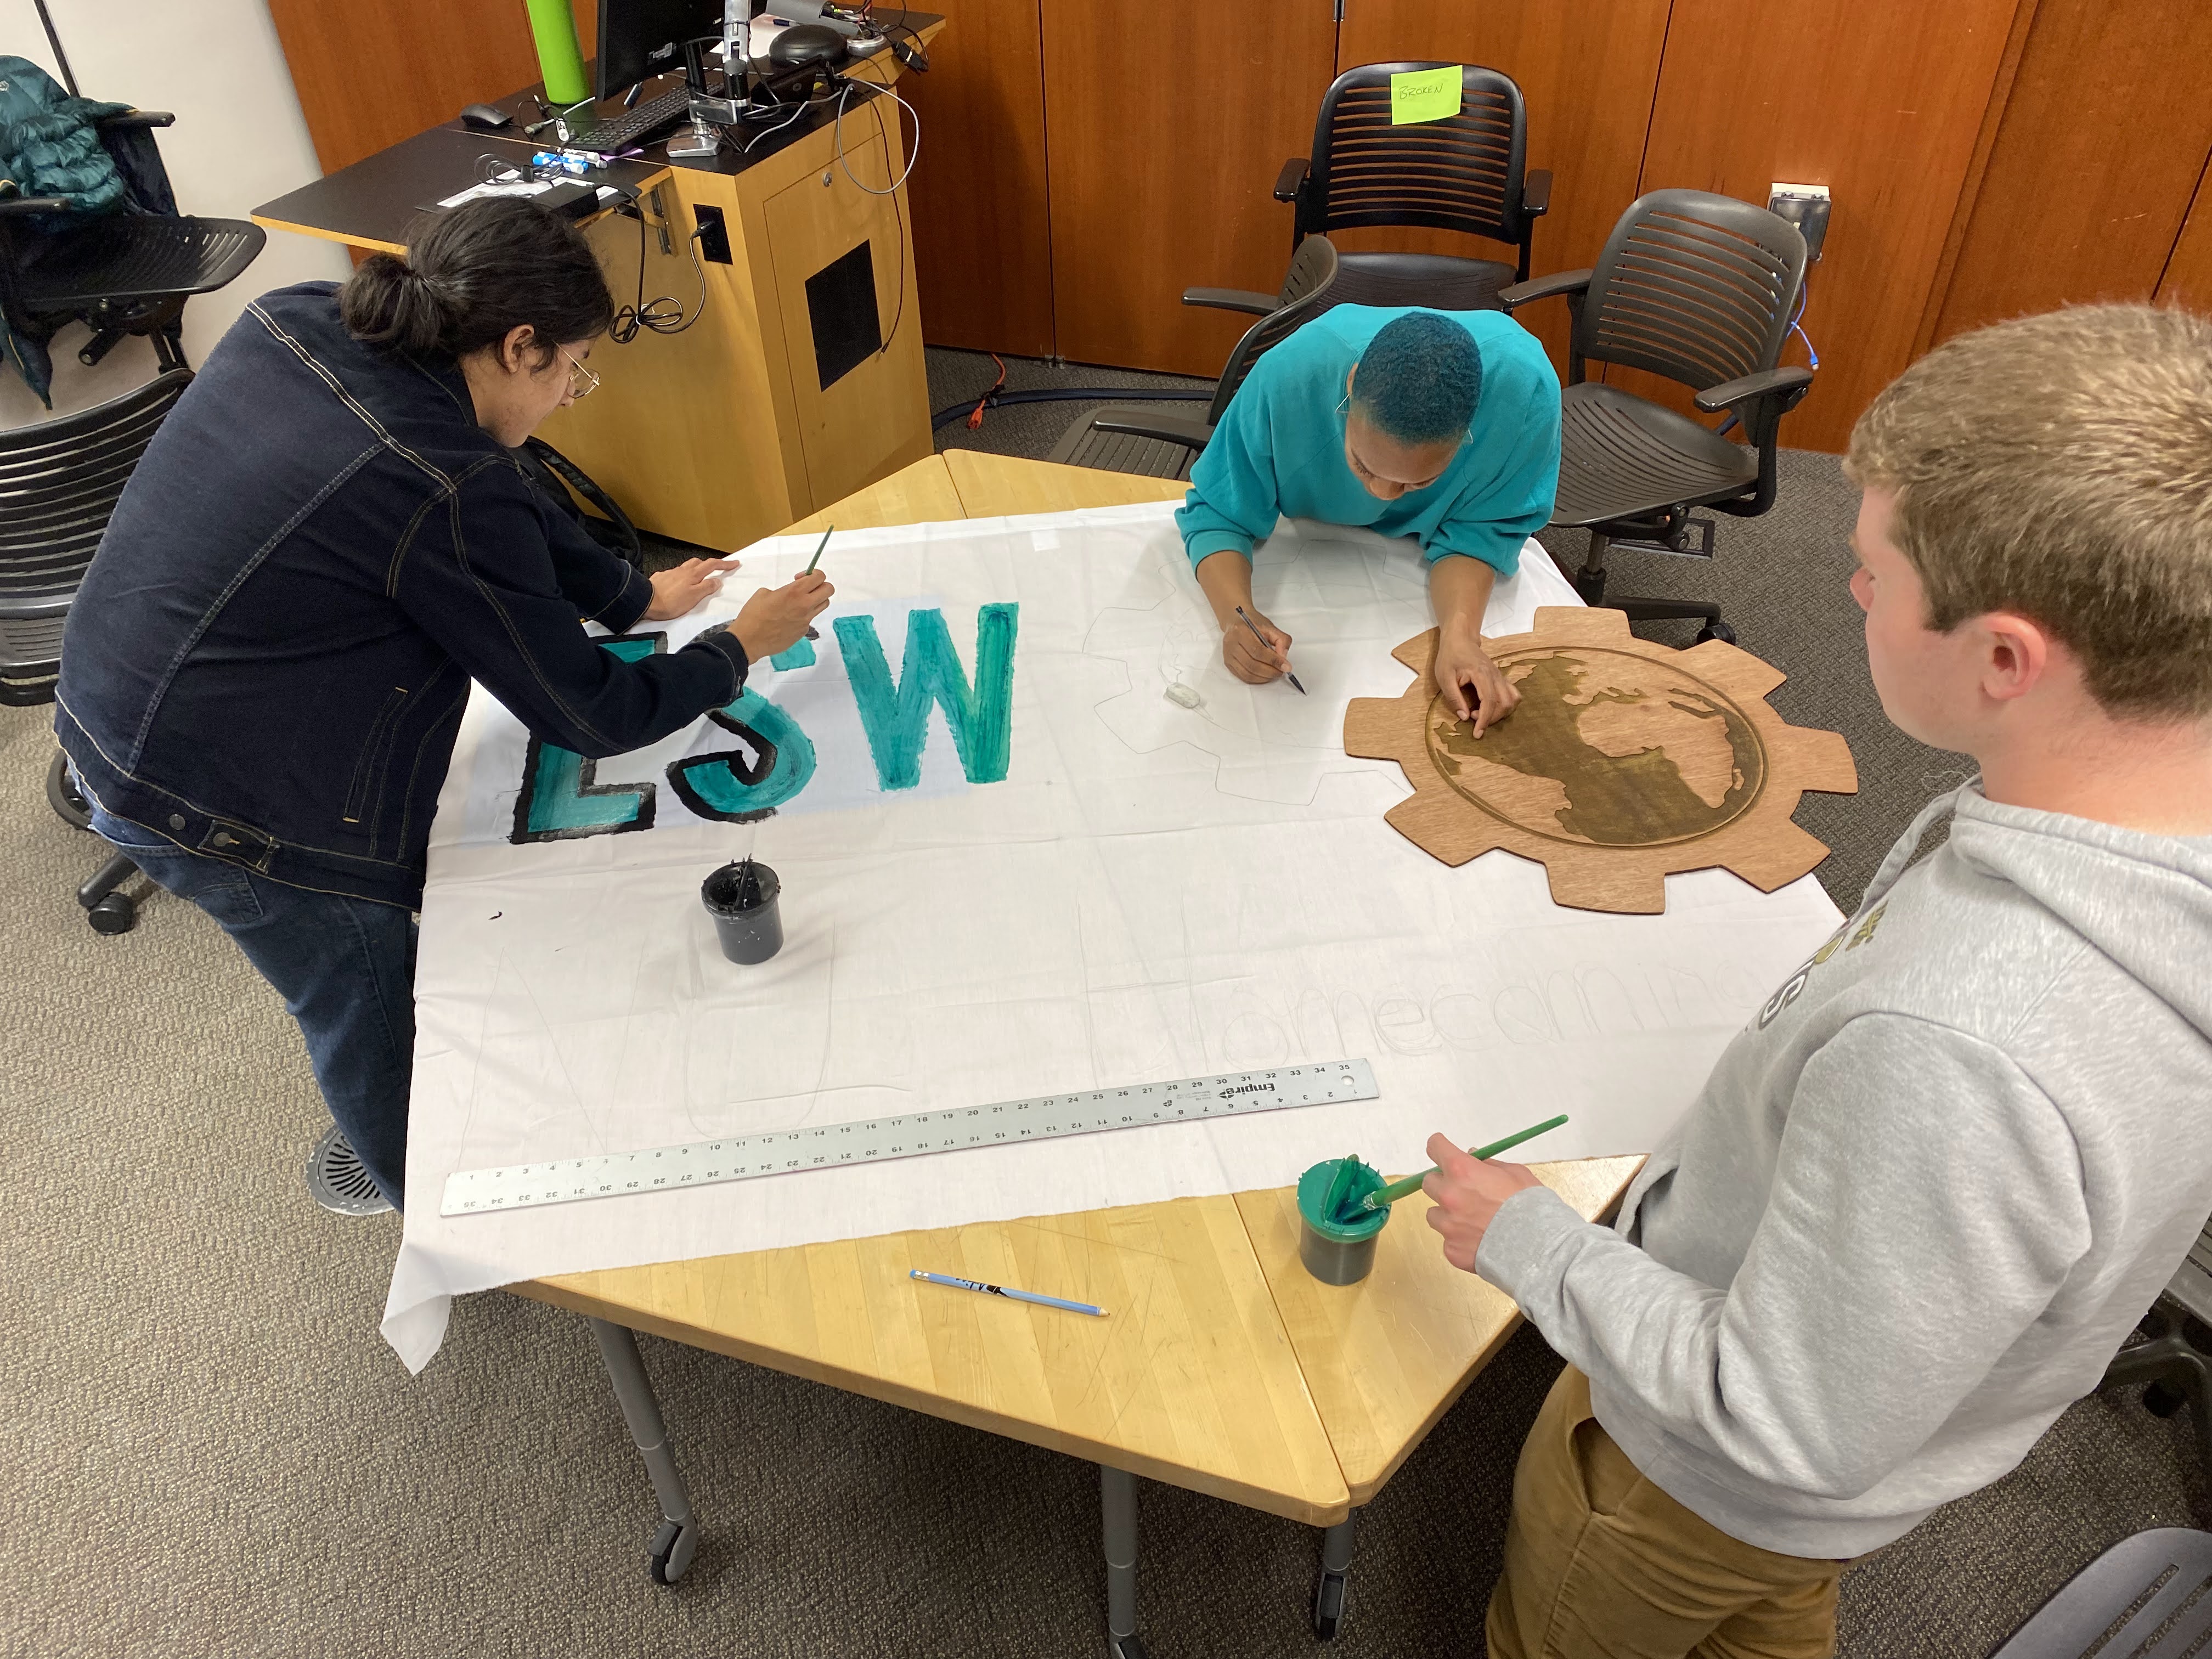
Hoodie design front & back (ESW logo in the front, AutoAquaponics' official logo on the back):

hoodie1 hoodie2

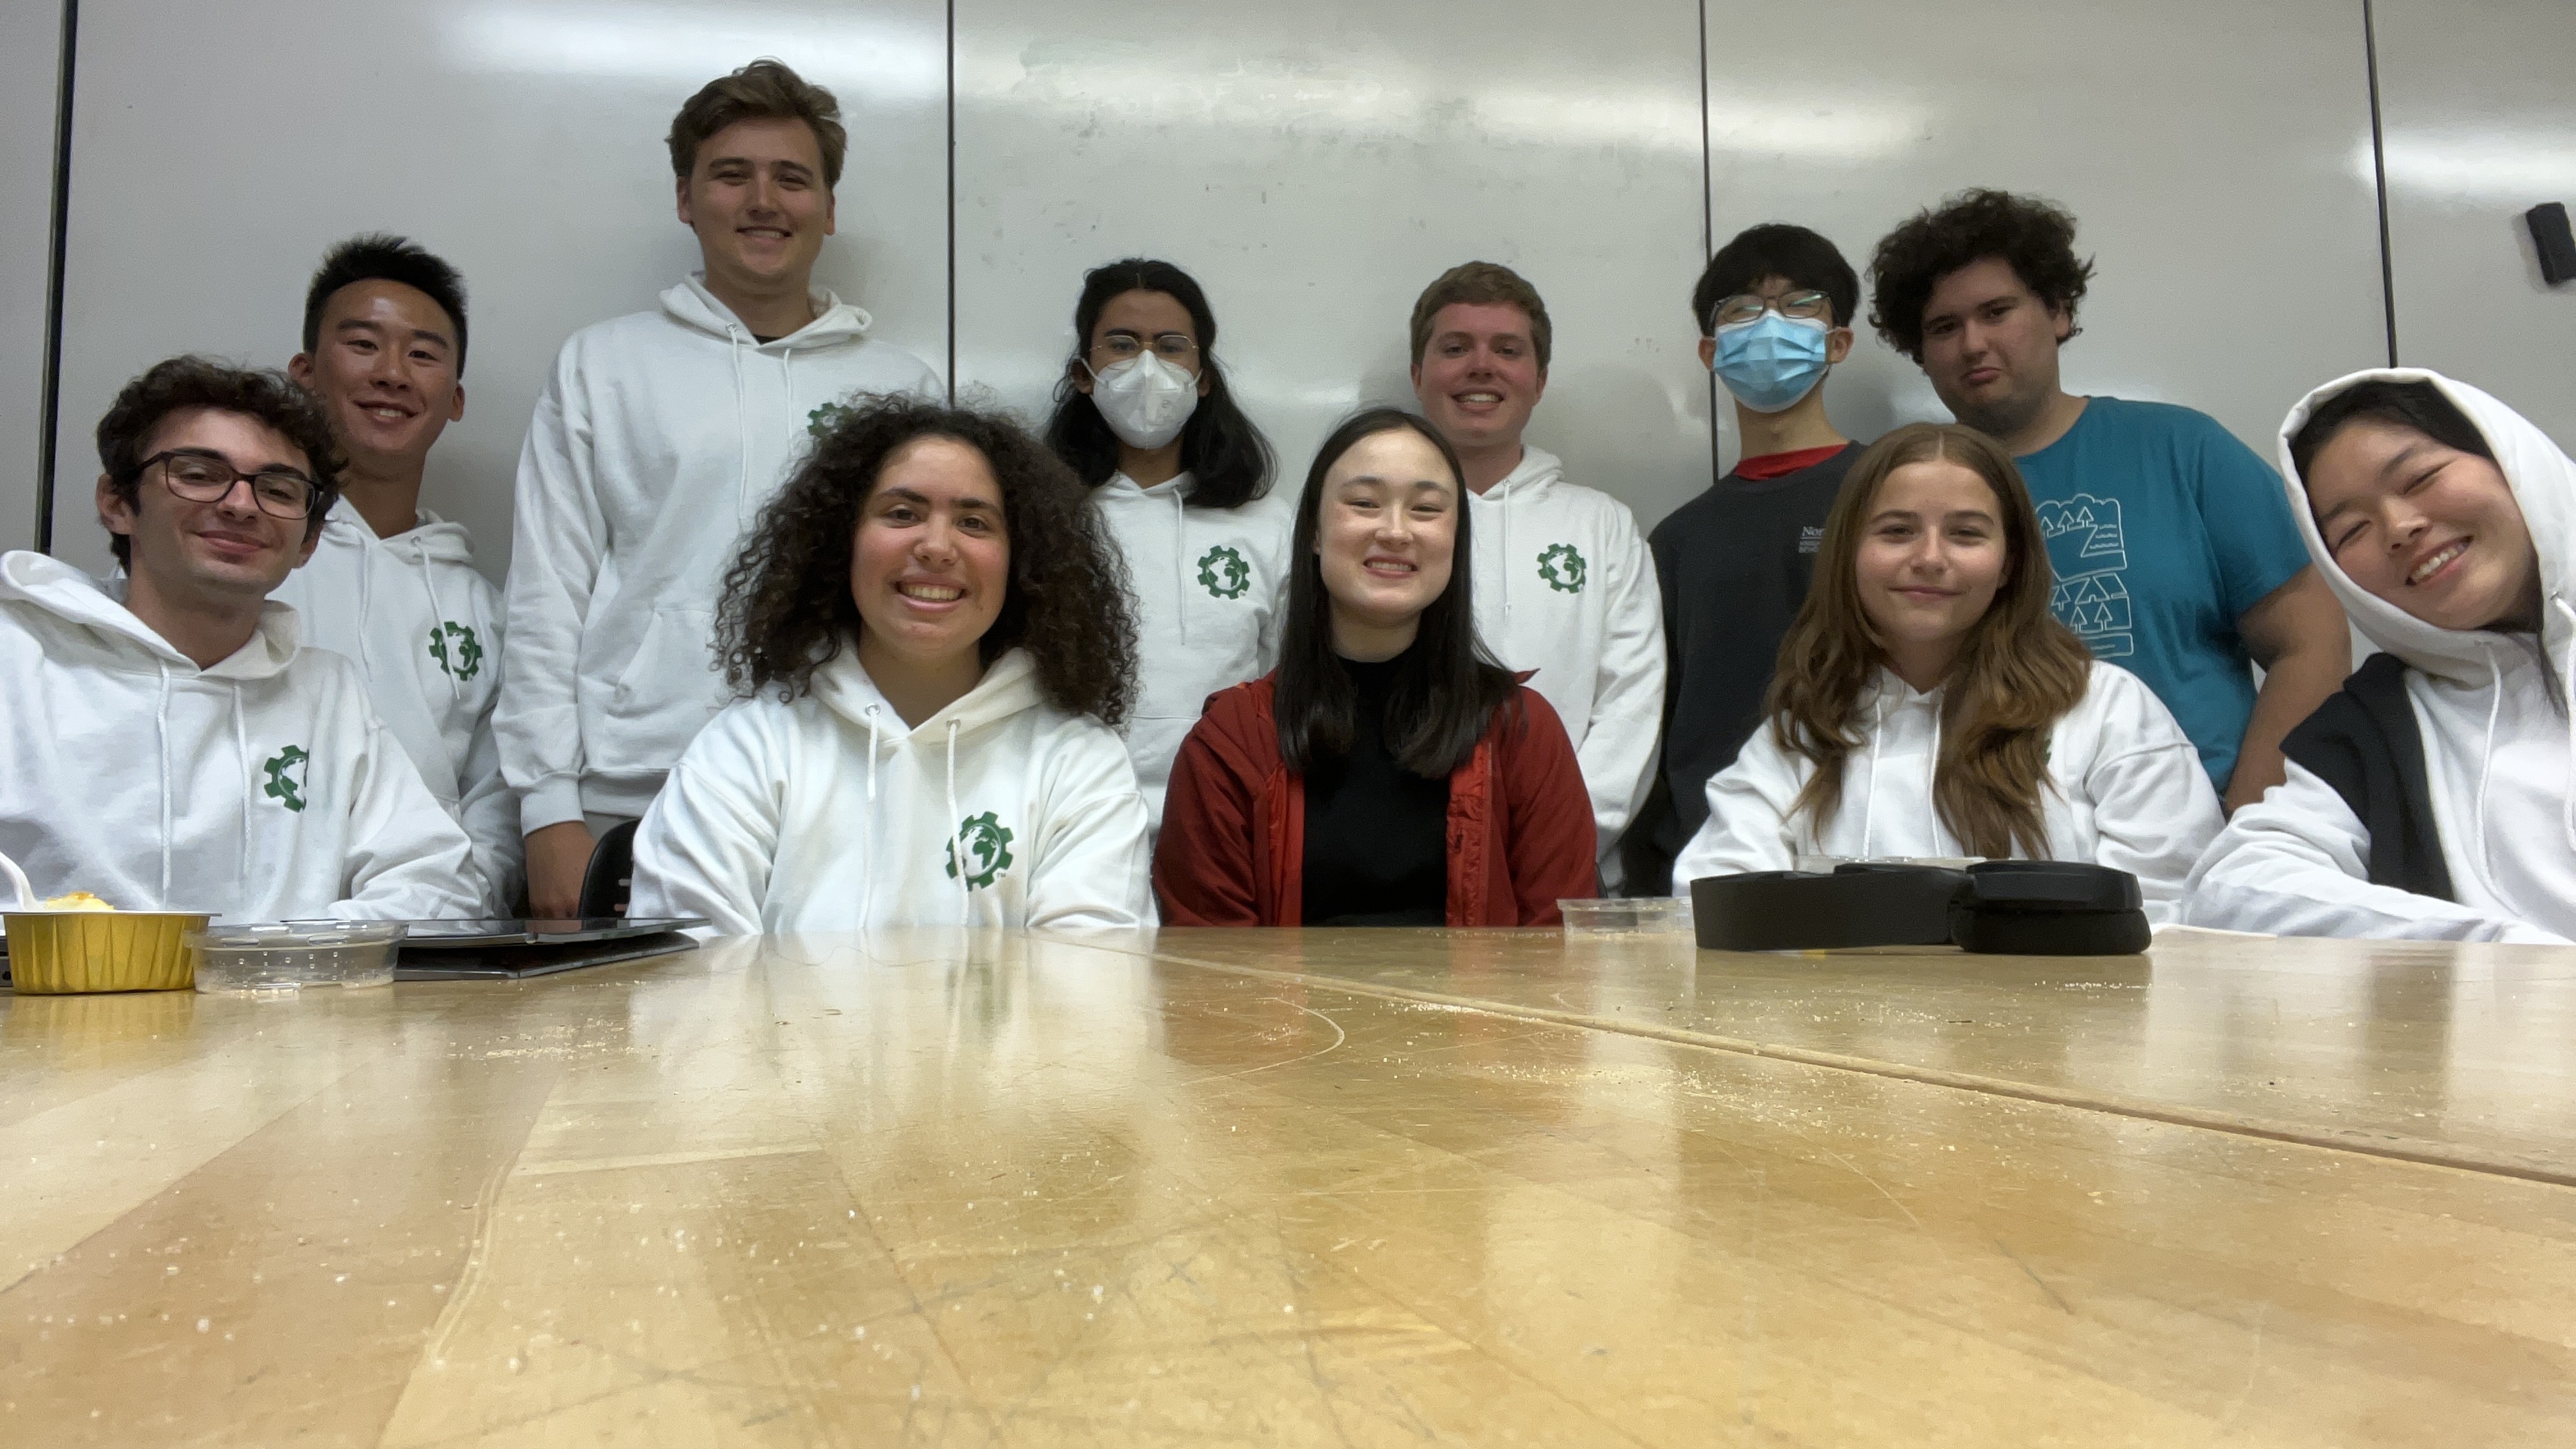
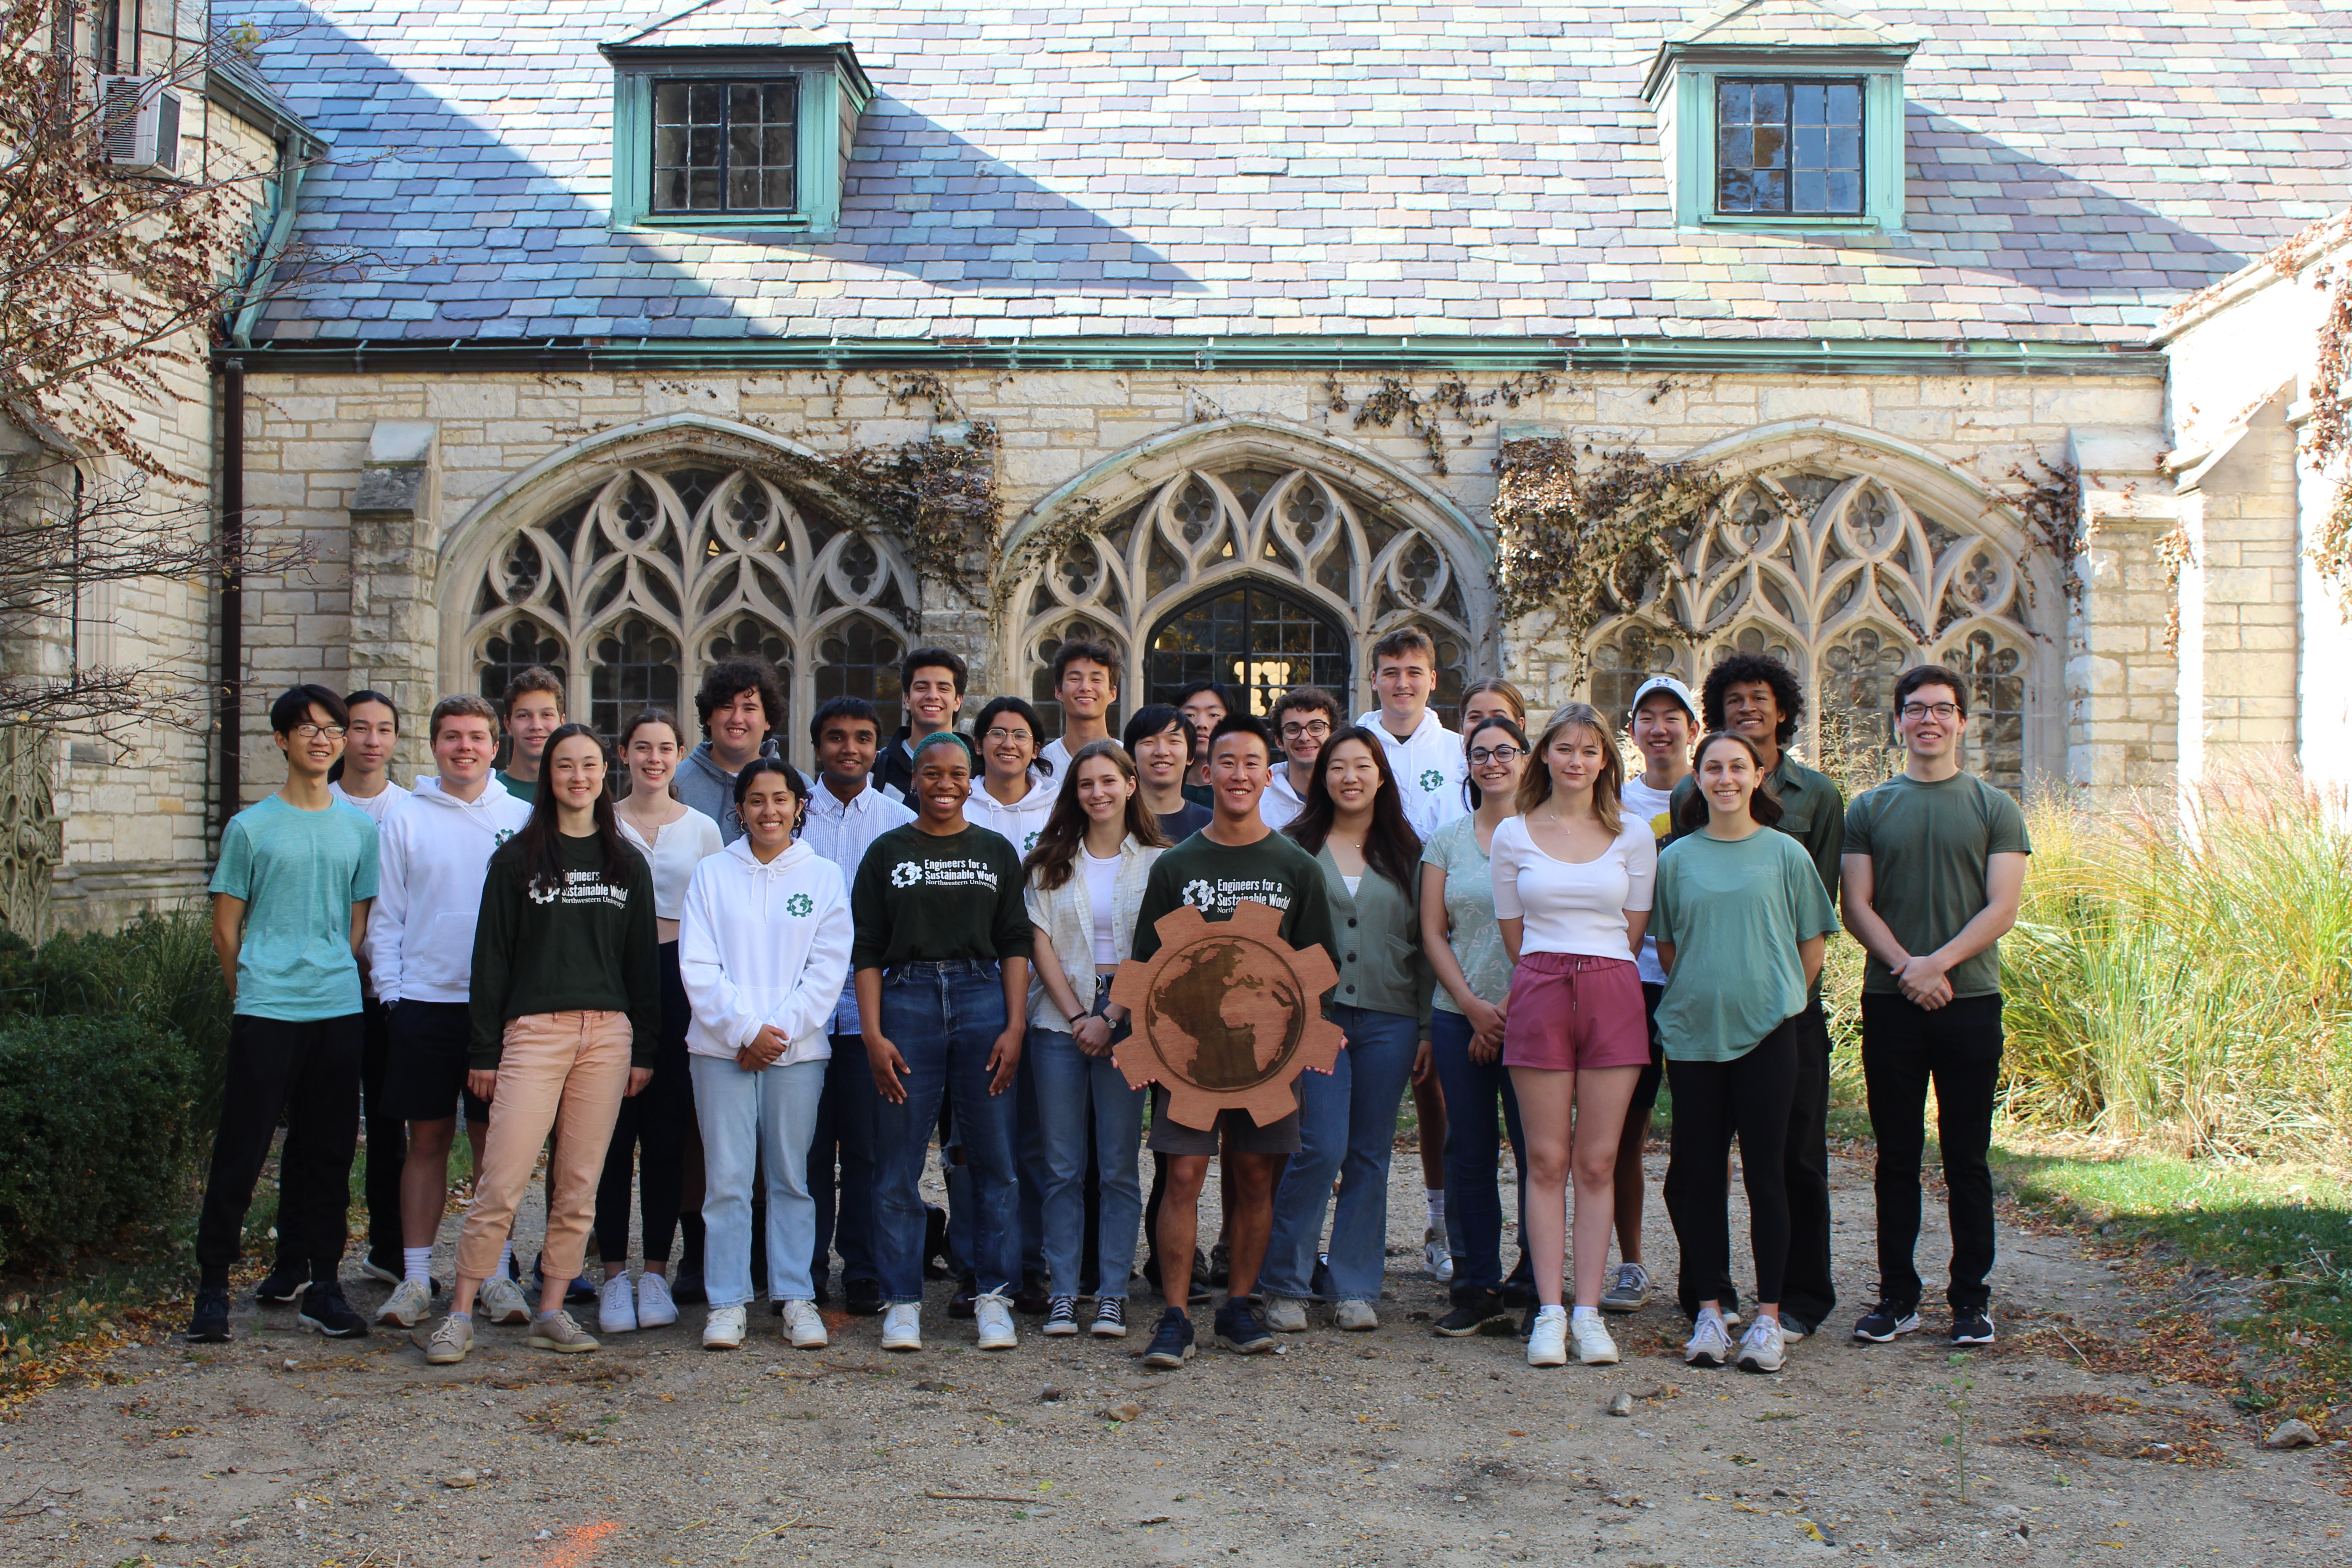
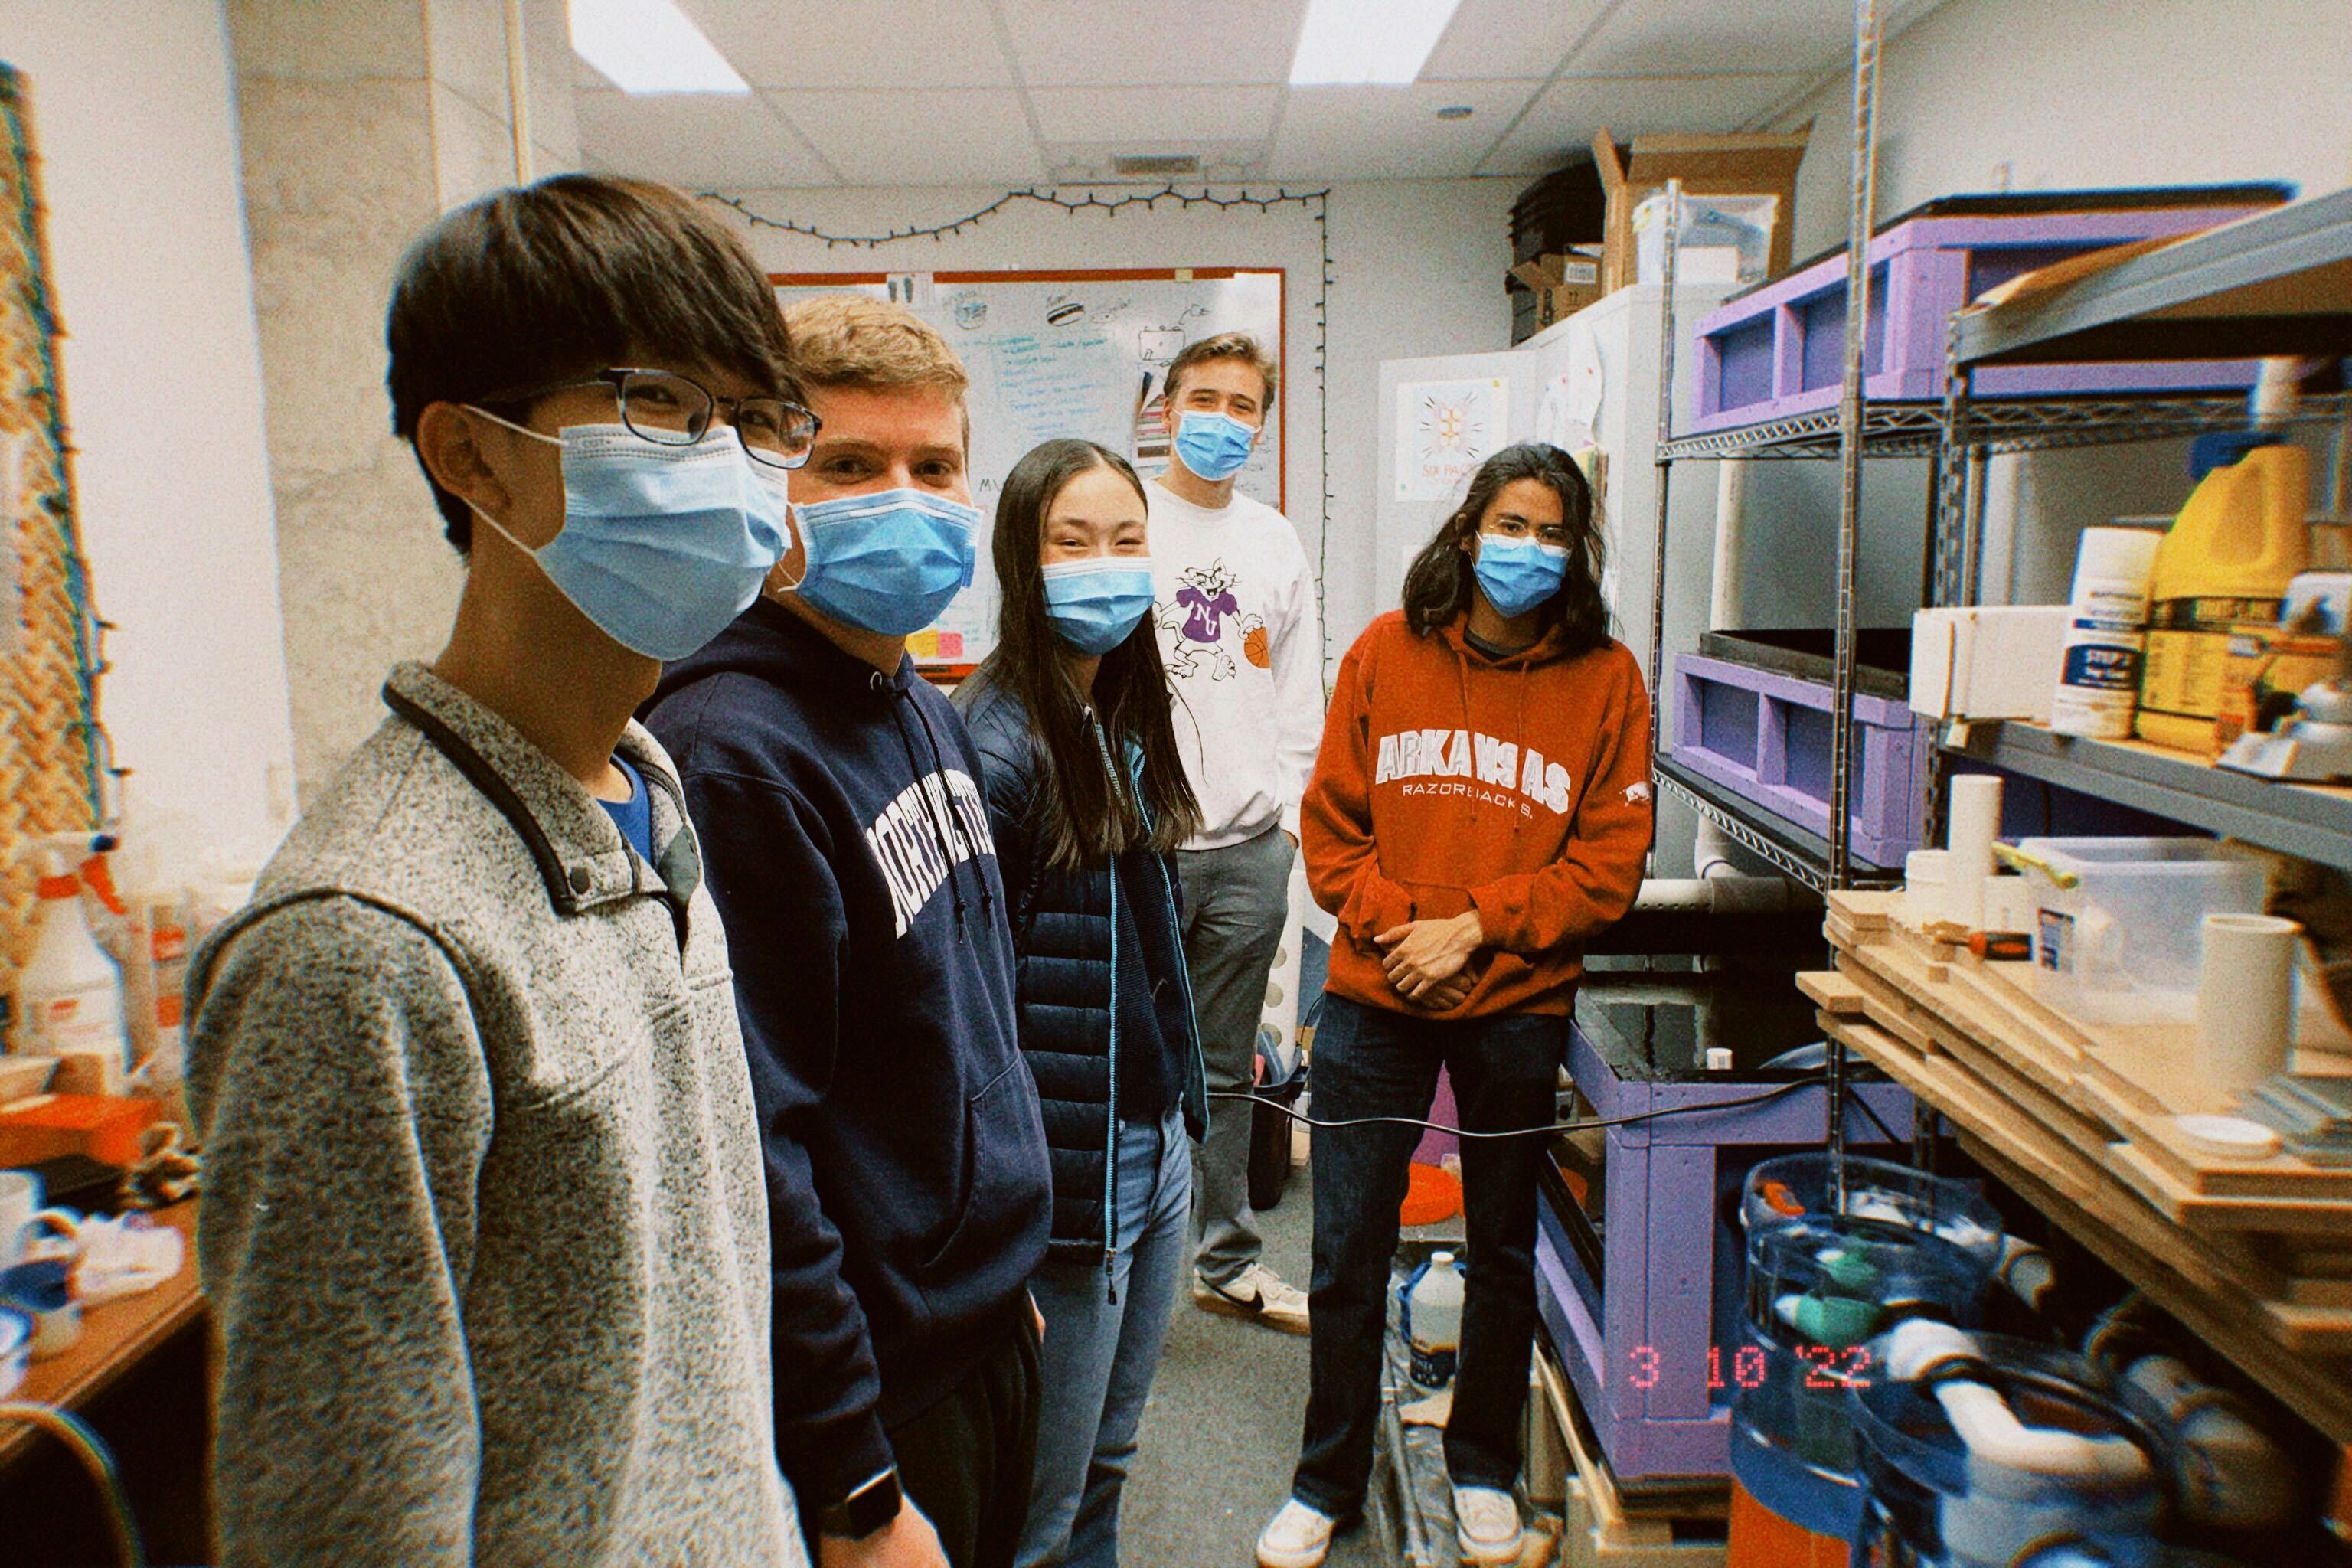
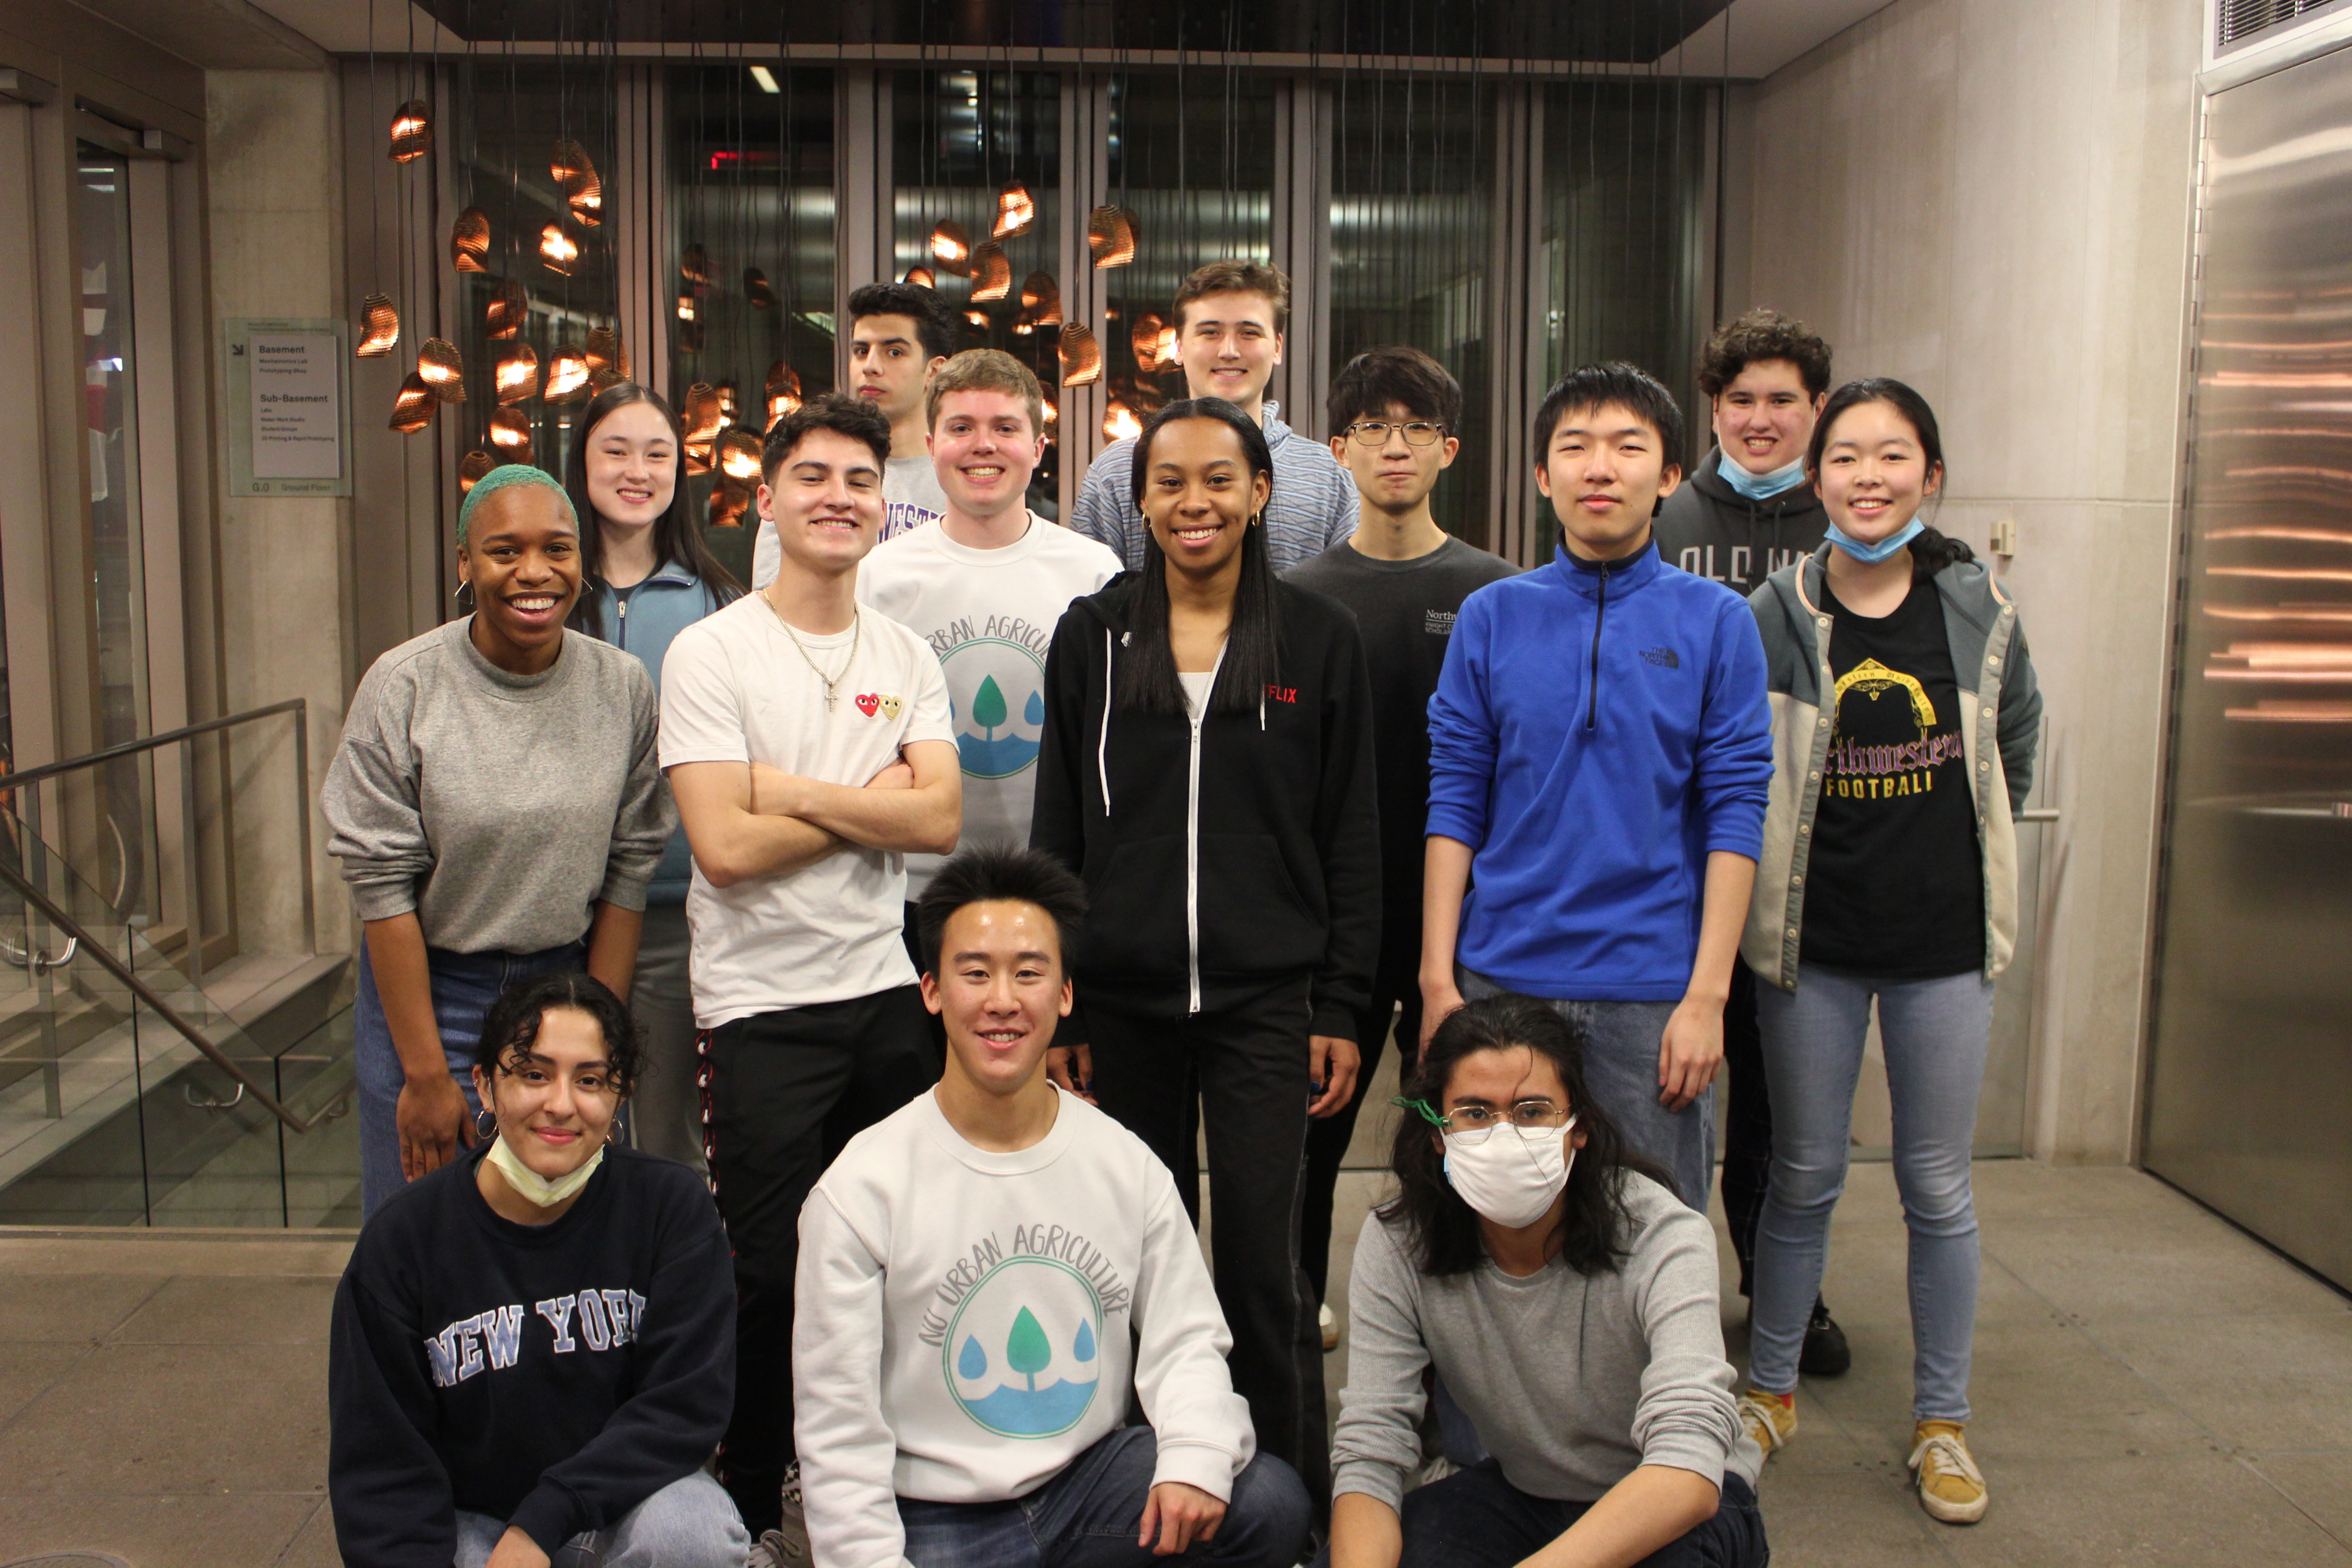
End of the year team photo featuring our new hoodies:

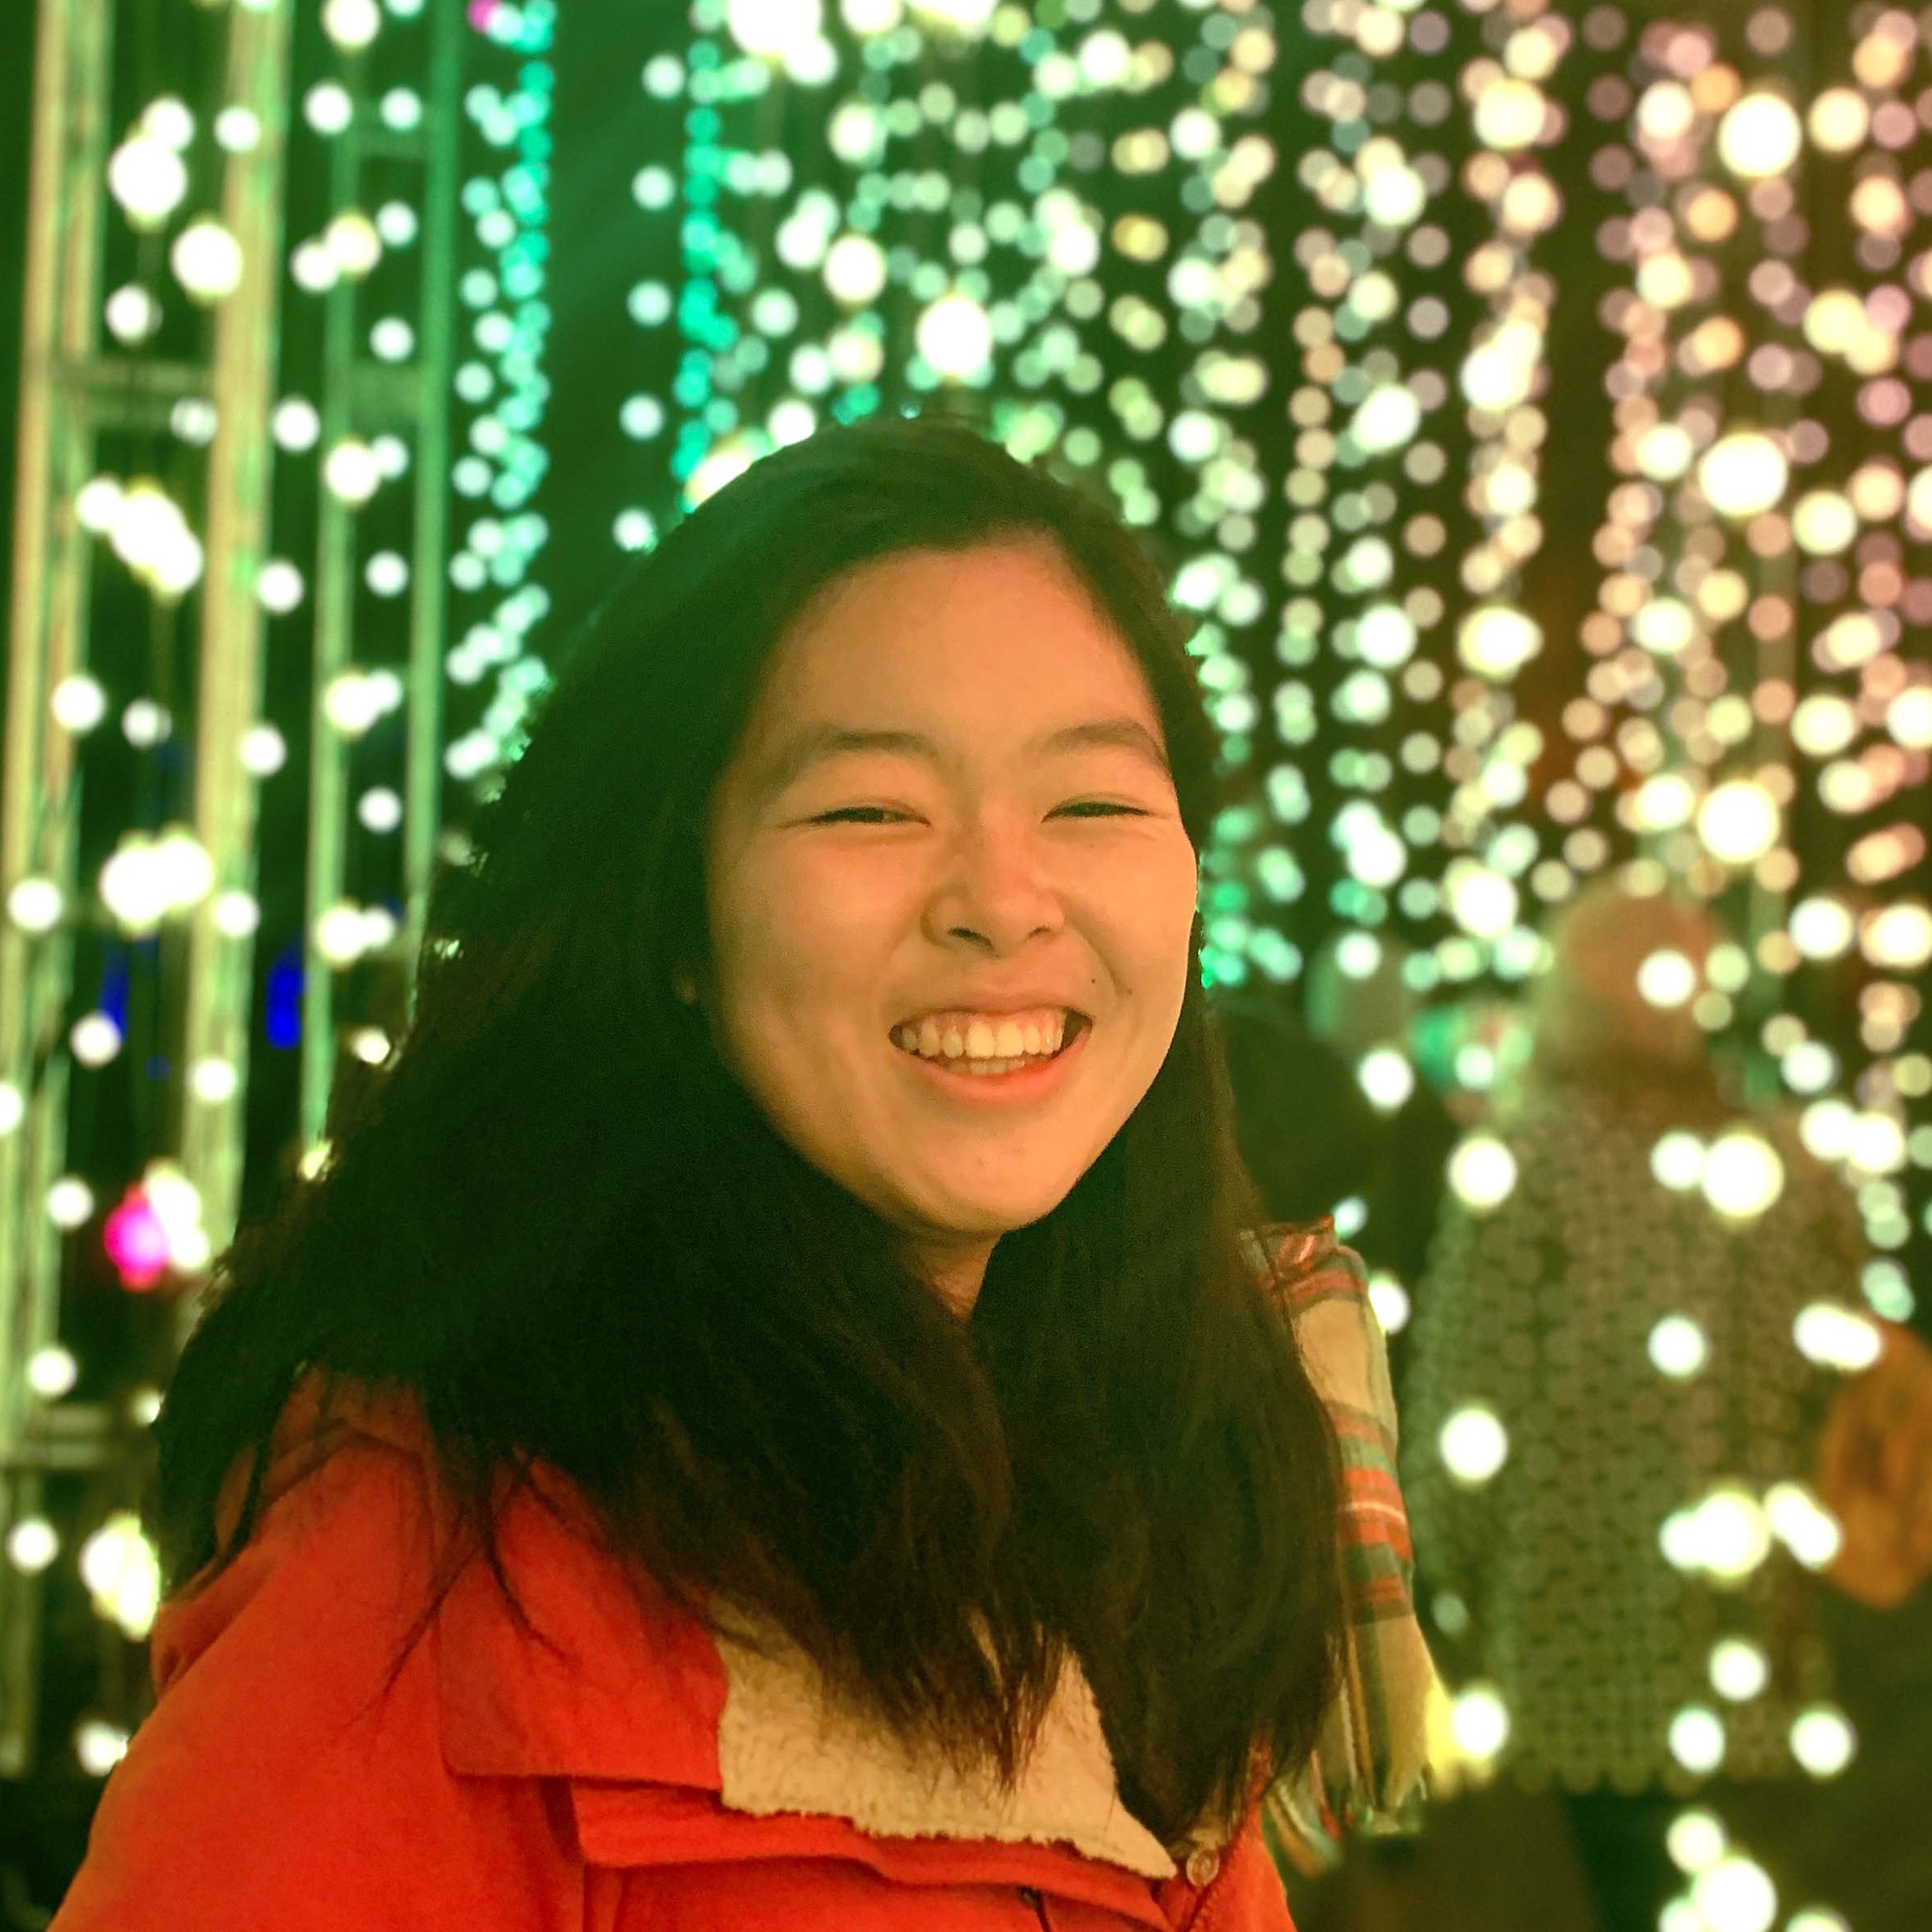
Before we wrap up this end of the year blog, we want to congratulate our friend and team member Sandra Chiu for completing her last quarter on Northwestern campus! Sandra will be studying abroad next year in Copenhagen and graduating in Spring of 2023. She has been an integral part of AutoAquaponics' development and contributed ever since our fully-remote days by designing/building our electronics box, secondary containment berm, fish tank, and grow bed. Sandra also served as the main lead for our automatic water tester sub-project, which we hope to complete next school year. Last but not least, Sandra was the aesthetics consultant of AutoAquaponics, and is responsible for not only the color layout of our fish tank/grow beds but also our official logo. We are grateful for the time Sandra spent with us, and we wish her the best in her future endeavors!

Sandra

That is it from AutoAquaponics this school year. Thank you for your support as always, and keep an eye out for more from us in the Fall!
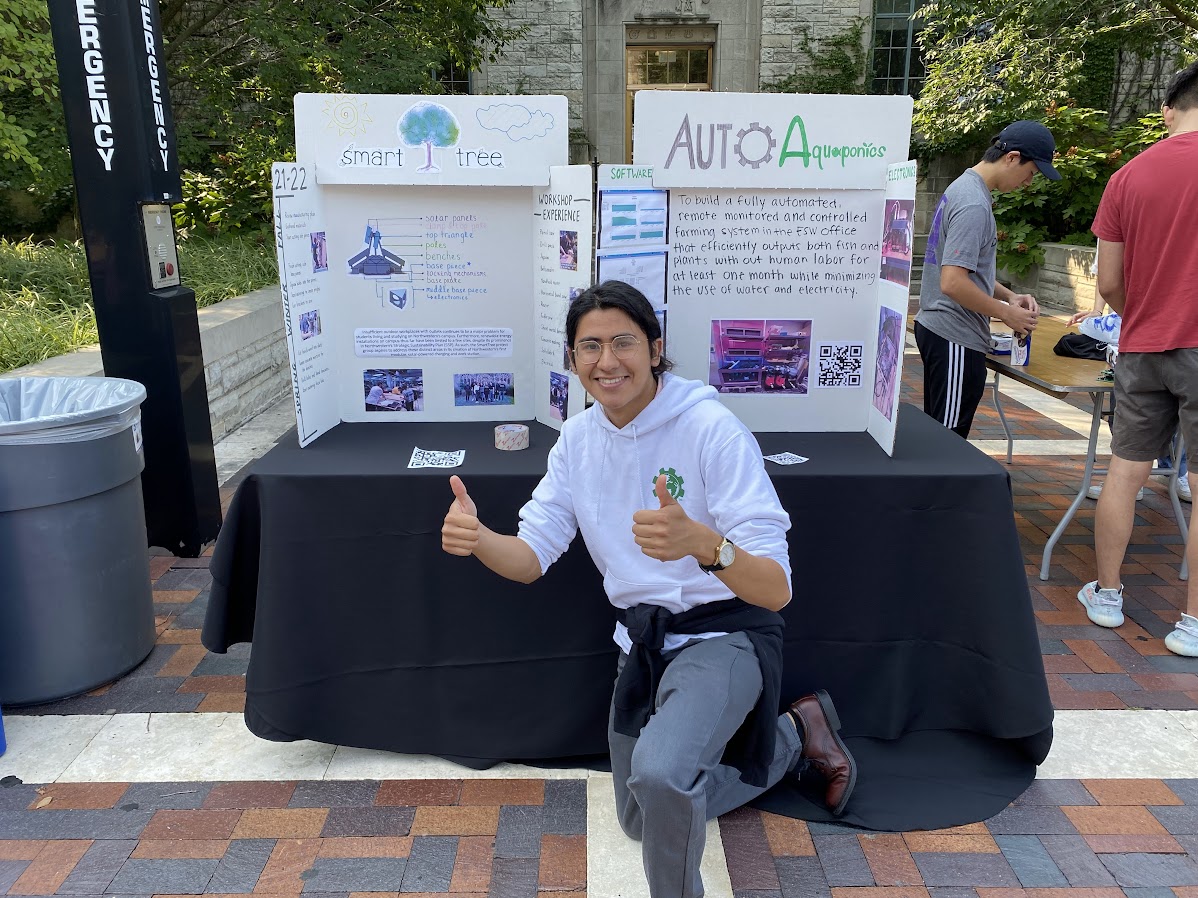
NU - SmartTree: Winter 2022 Update

Added by Katie Lev over 2 years ago

Between the first two weeks being virtual and the shop being closed off to non-DTC students at the end of the quarter, SmartTree made excellent strides in the construction and electrical groups. The construction team was only permitted 4 shop sessions, so we'd use the other weeks prior to review the construction plan and decide what needed to be done in the shop. In the shop, the team became increasingly independent, which made SmartTree PM's Cally and Katie extremely proud. Members returned to the table saw to cut the final base piece wood sheets to dimension as well as cut the bench slats using a 96" piece of wood!! Learning how to use the machine to the full capacity, members gained they'll be able to take with them to future shop builds. Additionally, all members learned how to use the jigsaw to cut out the circular shapes for wire holes as well as the complex geometries for the inner face of the base pieces (blueprint seen below).

The center hole of the circle requires a smooth finish because members may need to fit a body or an arm through the holes to fix wiring. Thus, members tried multiple methods to find the best method for sanding. At first, they tried to use a classic orbit sander, but this became hard around the edges. After consulting a shop specialist, we tried to use an oscillating spindle sander. This machine had functional issues, so then another shop specialist directed us to a small handheld belt sander which did the job very well. Now, all the wood pieces requiring the smooth finish are sanded. A video is attached below as a shared link to our drive

In our last session, members learned how to cut metal sheets and brackets. Each wooden connection requires a reinforcement in form of metal brackets. We have 90 degree angles and a metal sheet we plan on bending to a custom 60 degrees to reinforce to converging wooden base piece faces. A foot shear was used for the metal sheet, and a metal bandsaw was used for the 90 degree angles. After cutting the angles to dimension, we smoothed them with a belt sander.

Then, there was a whole lot done for the electrical side as well. We reviewed and finalized plans with hopes to construct at the beginning of the Spring. The team reconfigured and simplified an old bill of materials that optimized cost and reliability. We are very excited for the electrical team to get the same hands-on experience as the construction team when the materials arrive.

Finally, we have appointed two new project managers. Cally and Katie are very honored to announce new PM's Fay-Ling Laures and Thomas Huang to continue SmartTrees progress! Fay-Ling (Class of '25) is a natural leader and has been part of our construction team. She takes what she is taught and runs with it, asks the necessary questions and will be starting as a shop trainer next quarter. We are excited to have her expertise spread to our entire team! Thomas (Class of '25) is another natural leader and has been one of the most committed of SmartTree upon his arrival. He's part of both construction and electrical teams, holding great knowledge in both fields. Having knowledgeable leaders in both fields will allow for more effective meetings and progress.

Cally and Katie could not have been happier with the commitment from our team, having multiple applications for the role of project manager. As time progresses, members have gained confidence and autonomy, which has leading to a more cohesive, close-knit team working together with a common goal of assembling SmartTree!

Follow the link to view a few videos recorded over this past quarter: https://drive.google.com/drive/folders/1t9Fmixj68-cB_TF6MM6yUNTZLG7yShS9?usp=sharing .

We will check back after the Spring quarter with another update on construction and electrical. Have a great Spring, everyone!

NU - AutoAquaponics: Winter 2022 Update

AutoAquaponics Progress From Winter of 2022
Added by Bill Yen over 2 years ago

Though Northwestern began the quarter with a 2-week quarantine period due to the threat of Omicron on campus, AutoAquaponics continued our momentum by finishing out the plumbing build of our system, a fully-functional version 1.0 of our software prototype, and most of our smart outlet box build. We also got a new recruit, Natalie Brewster, who will be joining our software team to begin creating an exciting new version of our current GUI program starting Spring Quarter. On the plumbing side, we spiced up our fish tank and grow beds by spray painting them a very Northwestern purple (color scheme designed by Sandra Chiu):

Our final product looked like this:

In addition, our plumbing team also built the 3-stage water filtration system we designed last quarter (see the blog post from Fall 2021 for the detailed diagram) and plumbed the fish tank, grow beds, sump tank, and all three of our filter tanks together. We are currently in the process of “cycling” the overall system, which involves dosing controlled amounts of ammonia in the water to build up the nitrifying bacteria population in the filter so that they can support the bioload our fish will apply on the system once we introduce them in the Spring.

Our members drilling the fish tank to get them ready for bulkheads:

Building a wooden stand to bump up the filter tanks:

Filter stand in the middle of being coated in Pond Armor for waterproofing:

Cutting up 5 gallon jugs to turn them into our settling tank, membrane filtration tank, and biofilm reactor:

Assembling the system bit by bit with PVC cement:

Almost there…

Little adjustments here and there…

Completed system:

The tank closest to the fish tank is the settling tank, and it has a minimal amount of flow (only through that 1” pipe) coming from a solids lifting overflow (an overflow pipe that takes water from the bottom of the fish tank) to allow large solids to settle. This water (now free of larger solids) then overflows from both the top of the fish tank and the top of the settling tank into the membrane filtration tank (middle tank with pink floss in it), which removes the smaller solids. Finally, the now solids-free water goes into the biofilm reactor (tank on the right, empty in the picture) where a fluidized media with nitrifying bacteria growing in it removes ammonia and turns it into nitrate, which our aquaponic plants will uptake as their nitrogen source. The settling tank is a critical part of the design because it removes the larger chunks of fish waste from the fish tank that would’ve otherwise clogged the membrane filtration tank, which will greatly extend the longevity of our filter and allow us to go longer without cleaning the filter.

Team members water testing the system, hunting for leaks, and generally having a great time :)

Biofilm reactor with fluidized media (K1 filter media) inside:

While our plumbing folks were busy finishing out their part of the system, our electronics team put their focus on building our smart ESP32 controlled outlet box. We designed a CAD of the box and laser cut it out of acrylic, which houses not only the outlet strip itself but also a number of transformers, screw terminals, and a 3D printed switch that allows the box’ integrated ESP32 to be either plugged into a micro USB connector (enabling users to reprogram it) or be directly powered by the outlet box internally. Our NodeMCU ESP32 breakout board does not allow it to be plugged into a micro USB cable and a 5V power supply at the same time, so this clever workaround will allow future members to improve the control system of the outlet box without having to open it and take out the microcontroller. The screw terminals on the outlet box will be used to power actuators such as our electric ball valves, which have since replaced our original solenoids for indexing water to the grow beds due to the fact that they are much quieter, have significantly less pressure loss, and can close slower to eliminate water hammer. The box also features a laser-etched AutoAquaponics logo:

Because laser-etching is so much fun, we also spiced up our Raspberry Pi enclosure with our new logo:

Lastly, our software team worked on fleshing out the format of the weekly update email that our program sends subscribed users, which includes a plot of each of our system parameters (not shown in image below) and also a table detailing their weekly high, low, and average values:

We also finished the BLE code on the Raspberry Pi side, allowing users to send BLE messages from the Raspberry Pi that encodes what devices should turn on when for the outlet box. The outlet box side of the code is projected to be finished early Spring Quarter, allowing us to run lights, valves, pumps, and other devices on various types of timers (daily timer, interval timer, etc.). More detail will come in our wiki upon the completion of the system. Finally, some of the Control Panel pages have been restructured for better user experience.

AutoAquaponics will introduce fish and plants at the start of Spring Quarter after the cycling process, and we hope to produce our first batch of crops around May of this year. We are also happy to announce our new sub-team leaders: Marcos Sanchez and Aymen Lamsahel (Plumbing sub-team), Ben Caterine (Software sub-team), and Yanni Wilcox (Electronics sub-team). They are all driven, dedicated members of AutoAquaponics who have a proven track record of leadership and success on our team, and we can’t wait to see where they will take our individual subsystems Spring Quarter and beyond!

AutoAquaponics team, Winter 2022

First row: Vianey Guadian, Bill Yen, Marcos Sanchez

Second row: Raymonde Council, Kobe Chamba, Natalie Brewster, Johnny Chen, Sandra Chiu

Third row: Kaitlyn Hung, Ben Caterine, Lester Tai, Yanni Wilcox

Last row: Aymen Lamsahel, Spencer Huie

Not pictured: Niv Landau

More fun laser cut products featuring our logo (wooden and acrylic keychains for our members):

wooden keychain acrylic keychain

Thank you for your support as always, and don’t hesitate to contact us if you have any questions! Keep an eye out for more from us in the Spring!

[COMPLETED] Akron - Educational Wind Turbine: Fall 2021 Update

During the Fall 2021 semester, much of the construction of the wind turbine was completed. This includes the the base, tower, and nacelle with generator, blades, and tail. The
Added by ESW Akron OH over 2 years ago

Progress made during Fall 2021:

  • Turbine blades purchased and acquired.
  • Wind turbine base materials purchased and assembled.
    • The base is made from plywood with 2x4's for reinforcement.
    • Two elbows and a T-fitting are used to attach tower to the base.
  • Tower assembled.
    • Donated piping was used for the tower
  • Nacelle constructed with blades, generator, and tail.
    • Blades were attached to hub of the generator.
    • Generator was attached to nacelle through multiple pipe clamps.
    • Tail was fabricated using donated car fenders.
  • The electrical system was completed.
    • This consisted of connecting the generator to the battery with a diode in line.

In the Spring 2022 semester, the Wind Turbine Team plans to:

  • Reinforce the way the current nacelle is fixed to tower.
    • Current system is weak and susceptible to fatigue.
  • Add stability to tower through the use of guy-lines.
    • Current tower is secured by rigidly fixing base.
  • Test power output during operation.
    • The wind turbine will be assembled in open field on windy day.

A big thanks to the graduating seniors for all the work they have put into this project!

First raising of the wind turbine.

Construction of the nacelle.

Completed base with wiring being fed through tower to be connected to generator.

NU - AutoAquaponics: Fall 2021 Update

AutoAquaponics Progress From Fall of 2021
Added by ESW NU over 2 years ago

AutoAquaponics kicked off the year with a strong start and greatly expanded the number of first and second year students on our team. This quarter we welcomed Spencer Huie, Lester Tai, Yanni Wilcox, Ian Viegas, Vianey Guadian, Anabel Sanchez, Ellie Lind, and Ally Lazar to the team, and we were finally able to have in-person meetings for the first time. We were also recognized in a variety of Northwestern press such as the NU Declassified: Exploring Engineering podcast, The Daily Northwestern's article on climate advocates on campus, and the official McCormick School of Engineering Fall 2021 Magazine for the unique projects and welcoming communities we created. As a result of increasing membership and the solid foundation established by our existing member's research and design, AutoAquaponics was able to achieve the following in each of the sub-teams:

Plumbing:

  • Reattached a glass panel to the fish tank and successfully water testing the tank (it holds water with no leak!!!)

  • Completed a secondary containment berm around the entire aquaponic system with a combination of laser-cut clips, waterproof tarp, 3D printed brackets, and leftover plywood to prevent minor spills from reaching the carpet

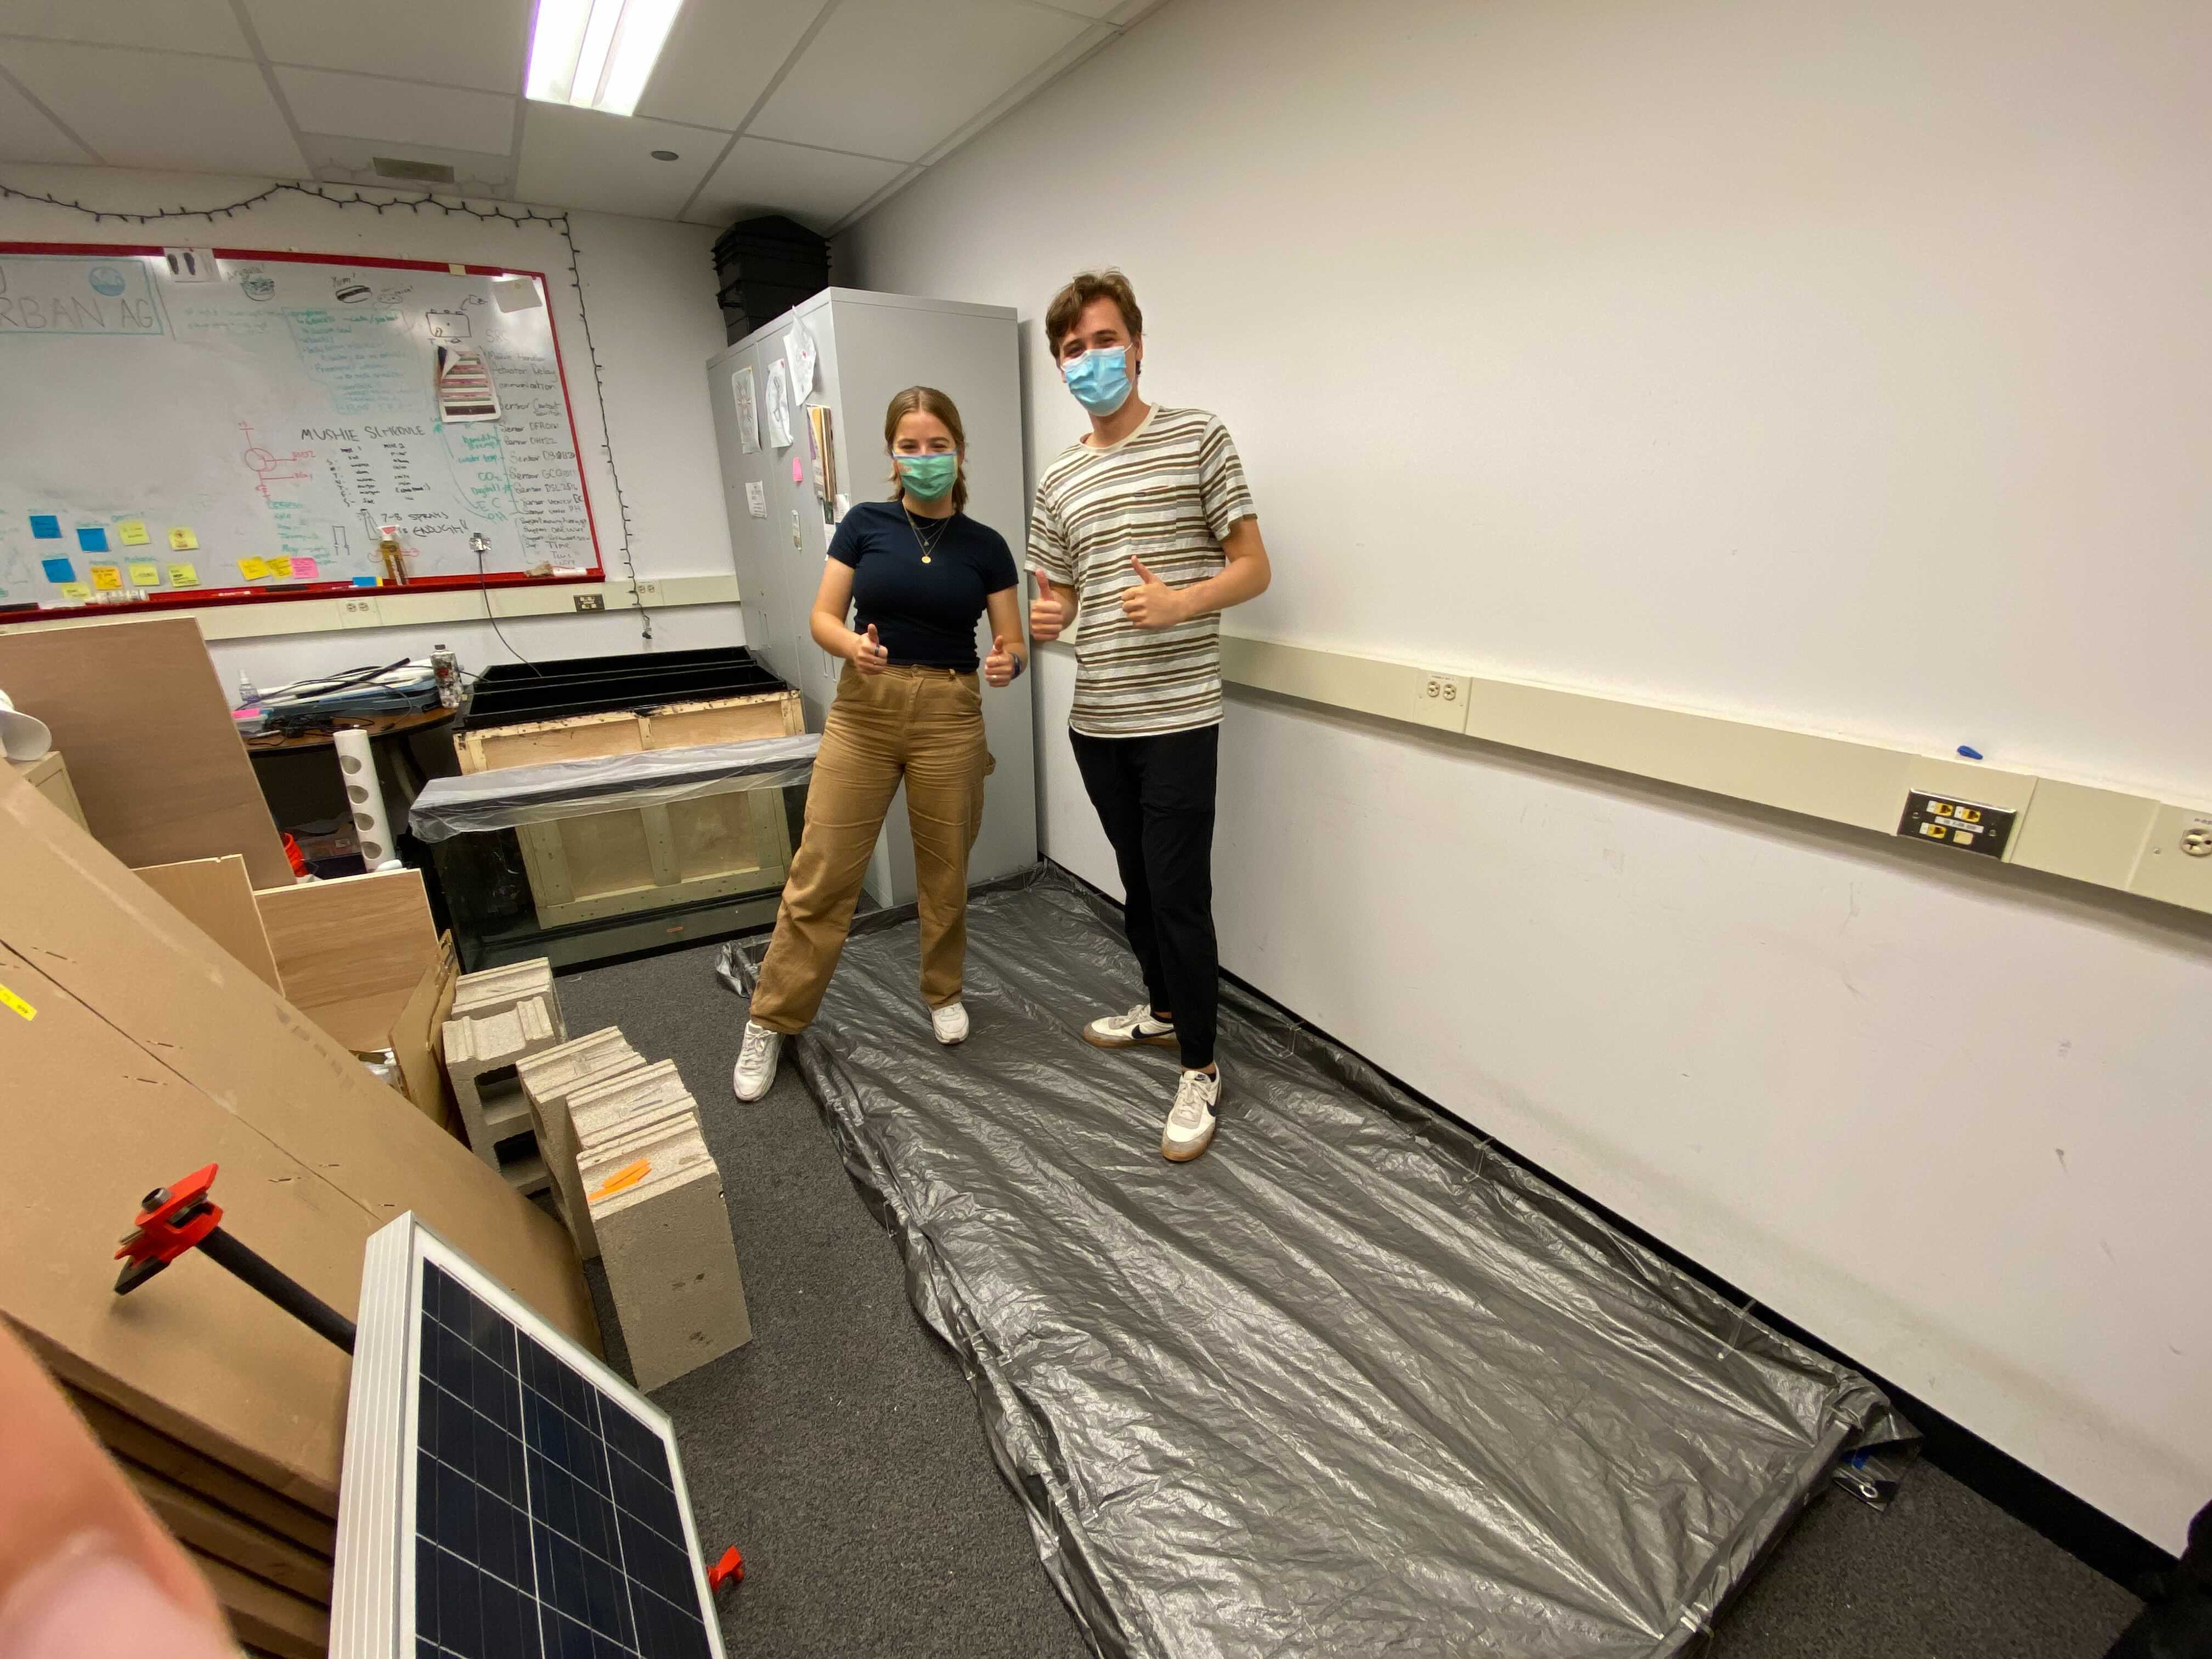
*Big thanks to SmartTree members for helping us clear the room so we can slide the containment berm under both of our shelves!

  • Plumbed the grow beds and the fish tank together with PVC pipes and bulkheads

  • Redesigned the water filtration system to decrease the flow rate to the settling tank to boost efficiency

  • Designed a color scheme to paint the grow bed and fish tank (stay tuned for next quarter's blog to see what it looks like :D )

Electronics:

  • Resolved the common issue of TDS sensors shorting pH ion selective electrodes and affecting each other's values

  • Created a concept and began 3D printing parts for a 2-motor design for the automatic water tester

  • Generated part of the CAD for a new outlet box enclosure that will allow for energy monitoring and a switch to enable "programming" mode for the ESP32
  • Tested mixing mechanism with magnetic stirrers for the automatic water tester reagents
  • Debugged automatic fish feeder stepper motor issues

Software:

  • Resolved GUI crashing issue and memory build-up from matplotlib
  • Reduced system lag by decreasing plotting frequency
  • Created a branch of the main repository to experiment with using blitting to speed up plotting speed
  • Train new members on Python programming, specifically how to use TKinter to create graphical user interface

The system design went through quite a few changes due to our recent discovery that indexing valves do not work as well as we thought (special shoutout to Kaitlyn Hung for leading the team on troubleshooting the valve and communicating with the manufacturer!), so we will instead be using two solenoids to control which grow bed gets water. Luckily, our electronics team was able to make the necessary (although slightly painful) adjustments to accommodate for the additional actuators we need to control. Next quarter, the team will aim to completely finish the outlet box (software and hardware portions), solenoid installation, and water filtration system so we can do a trial run of everything before Spring Break.

Photo of a now in-person AutoAquaponics whole-team meeting:

ESWNU team photo (includes our friends from SmartTree and the ESWNU exec board!):

Fun picture - the new official AutoAquaponics logo (designed by Sandra Chiu) on vinyl stickers that our members can use to show off their ESW pride:

Thank you for your support, and keep an eye out for more from AutoAquaponics in the Winter!

NU - SmartTree: Fall 2021 Update

Added by Katie Lev over 2 years ago

SmartTree has made great progress this quarter! After a very successful spring/summer, Project Managers Callista and Katie hoped to continue this momentum by bringing in new members, finalizing project details and starting construction. SmartTree is extremely excited to share that we have done it all!

We brought in multiple new members of backgrounds to aid progress on accomplishing all the tasks we had planned over the summer. Here’s a picture we took with most of our active members!

Although former experiences varied, all the SmartTree members were eager to join design conversations while we were finalizing the SmartTree design and learn new things outside of their comfort zone. We even had a group of three students, two of which with no prior experience, create an electrical team to focus on building the very core of our structure, which will help convert the solar energy harnessed into usable power! Cally and Katie really enjoyed watching this group grow in confidence and knowledge over the quarter.

Beyond electrical, SmartTree also had a construction team that met for around 4 hours/week in the Ford Design Shop to build our structure. We learned how to be safe in the shop around the heavy machinery, how to use various machines and power tools, as well as and how important tolerancing is. At this point, we have a significant portion of our giant modular base pieces cut out with most of our materials delivered to our office.

Mostly we focused on the outer base pieces. First, we cut out the exterior portions using a panel saw. Then, we drew and cut out the geometries on the bottom using a band saw. These angles are cut out so these pieces fit snug on the triangular foundation. We also started mitering these pieces so they fit together smoothly at the proper angle of 60 degrees. We'll definitely be continuing to miter throughout the winter as it's a lengthy and time-consuming process. ![](side piece.jpg)

For the interior portions, we followed the same procedure of cutting with a panel saw then tracing the complex geometries and cutting them out with the band saw. We are still in the middle of tracing and cutting with the band saw and plan to continue this process throughout the winter. The unique part of the interior portion is the gaping hole used for access to electrical wiring. We will be cutting these out with a handheld table saw during the winter. ![](mid piece.jpg)

With that being said, we’ve also finalized plans, ordered materials, prepared parts and are so excited to continue on in the winter! Hope everyone has an amazing rest of their 2021, and we will touch base once again at the end of the upcoming quarter with even more updates on our structure!

Texas A&M Greenhouse Air Analyzer: Winter 2021 Update

Added by Anonymous over 2 years ago

We have now accomplished our goal of installing a remote monitoring system at the greenhouses on campus! In August 2020, ESW’s Texas A&M University chapter set out to design and implement a remote monitoring system for the environments of the Greenhouses on campus. It is now December 2021 and in that time we have had a few setbacks and course corrections but also many accomplishments and now at last a working solution.

During this fall semester, we welcomed two new members to the team, Chloe and Zahra. Throughout the whole project, our team consisted of many members of ESW: Jenny Vu, Joey Leal, Samuel Donoho, Kristen Koike, Nicholas Pierson, Max Taubert, Chloe Ebeling, and Zahra Mehedi. Our team worked with the greenhouse manager on campus, Jennifer Bugge, who helped us understand the needs from a greenhouse and who this project will help. We were able to help many research professors and groups that nurse plants which will be used for research and for decoration around the university campus for everyone to look at. Not pictured: Chloe and Zahra

The monitoring system features a sensor that is able to track the temperature and humidity in the greenhouse as well as a camera that can be used to check for weather damage. The sensor we decided to use is the DHT22 from Adafruit which is capable of operating in temperatures ranging from -40℃ to 80℃ or -40℉ to 176℉ and in a relative humidity (RH) range of 0%-100%. It is accurate within 0.5℃ or 0.9℉ and 2%-5% RH. The camera is the OV5647 5 Megapixel Camera. All of the data can be exported onto Google Drive or it can be found on an app called Blynk. Blynk is an IoT service that allows microcontrollers and sensors like ours to transmit data over WiFi. It can also allow users to set a certain temperature/humidity range that the environment should stay in. If the temperature or humidity exceed that range then Blynk sends a push notification to the user’s phone alerting them to the anomaly. This is especially useful in cases where weather damage in the winter can cause cold air to leak in and there are less staff on campus to catch the issue in time.

Screenshot from Blynk app

components All the components inside the container

The sensor up close

The monitoring system placed in the greenhouse

graph The data from December 15th

During the past year, we ran into some problems such as the costs of some products and how COVID-19 affected the team. Materials were limited so it was somewhat difficult to test for data which slowed our rate of progress. Another setback was working during COVID-19 since communication between everyone was a little bit harder. Additionally, we decided to not use a carbon dioxide sensor as it was to expensive and we realized that the data wouldn't be as useful as other types of monitoring. A professor informed us that monitoring light levels are much more necessary. At the moment we are very close to having this feature implemented using a calibrated solar panel, but the calibration process took more time and was more difficult. The solar panel will be implemented in the future, with the calibration process allowing it to display sunlight intensity in ppfd (Photosynthetic Photon Flux Density) rather than a scale of 0-5 V. Another part we decided to change from our original plan is measuring bug density with sheets and a camera since the sticky sheets were replaced often by plant caretakers and they would be able to provide a more knowledgeable assessment of the sheet, how covered it was, and what type of bugs were present compared to any image analysis we could have implemented. Now we decided to use the camera to monitor for weather damage. We came to this conclusion since during the big freeze in Texas, there was some hail which damaged all of the greenhouses, and we realized monitoring for weather damage would be a better use for the camera.

Even with those setbacks, we were able to complete our main goal of the project and now plan to add more in the future. The most prominent addition to the project which neared completion in December is the addition of a solar panel in the device to read intensity of sunlight. This was requested by the greenhouse manager to monitor the plants and collect sunlight data from Blynk. The features of this addition would be giving instantaneous readings of sun intensity in ppfd (Photosynthetic Photon Flux Density) or possibly taking data throughout a whole day with settings entered by the Blynk user. The calibration process for the solar panel was aided by a grad student and professor in the college of Horticulture, and the panel should be ready to link with the Blynk app and installed soon.

Although we have a lot of ideas of where to take the project next, in the immediate future we plan on wrapping up the solar panel implementation and providing support and documentation to our end user.

NU - SmartTree: Summer 2021 Update

Added by Katie Lev almost 3 years ago

Even during the summer, SmartTree has continued to make progress on our structure! We are hopeful to begin manufacturing this upcoming quarter, so SmartTree’s project managers (Katie and Callista) decided to meet weekly for the last two months to finalize unfinished details from the spring.

A major portion of the work completed this summer consisted of Katie and Callista printing out CAD drawings for each part, previously completed by our team members in the spring, and then discussing each part individually. These conversations consisted of finalizing dimensions, manufacturing feasibility and material choice. They also spent a significant amount of time focusing on the top and bottom locking mechanisms, a topic of long discussion in the spring as the previous plans were not as feasible to manufacture as anticipated. Thus, our project managers came up with an alternate plan that they are going to propose to our teammates: create a metal-platform base with a 15 degree angled wooden wedge to hold an umbrella pier base for a pole of 3”.

Speaking of 3” poles, that is another big change that occurred this summer. Previously, SmartTree was planning on using a pole of a larger diameter; however, locating such a pole, especially one to fit our pier base plan for the locking mechanisms, does not exist. After doing some mathematical analysis, modeling the pole as a fixed-fixed beam with gravity and weather loads, Katie and Callista concluded making the pole size 3” with an inner diameter of 2.5” would not significantly decrease the structural integrity of SmartTree.

Katie and Callista also discussed the base pieces and base plates, or the giant triangular focus of the structure and its foundational element. First, they decided that the entire base plate (foundation) would be allowable to slice into 4 modular puzzle pieces rather than 8. Four pieces will not be unmanageable to manufacture nor move, and 8 pieces would lead to more complex tolerancing. For the base pieces (triangular center of structure), the lid for the center will fit on top of the triangular piece encapsulating the electrical home of the structure and will have no taper as water could perform capillary action and trap itself in the wood. The connection between the lid and center base piece walls will be lined with rubber to prevent water from seeping inside.

More minor decisions were considered this summer, all summarized on a spreadsheet placed in our shared team folder for easy reference. All general meetings between the project managers were also carefully recorded in our team’s meeting minutes folder. Katie and Callista are excited for team input and for the soon-approaching manufacturing phase! OH! And how could we forget… we now have a MINI-SCALED MODEL of our structure!!!! After Katie and Callista redid the CAD for each piece, Callista put extra hours in Ford Design Center printing each part. This model is supposed to act as a method for our new and returning members to better understand the structure. It sure helped our project managers identify missed details and holes within the project…

Hope everyone is having an amazing rest of their summer, and we will touch base once again this coming fall with even more updates on our structure!

(21-30/37)

Also available in: Atom